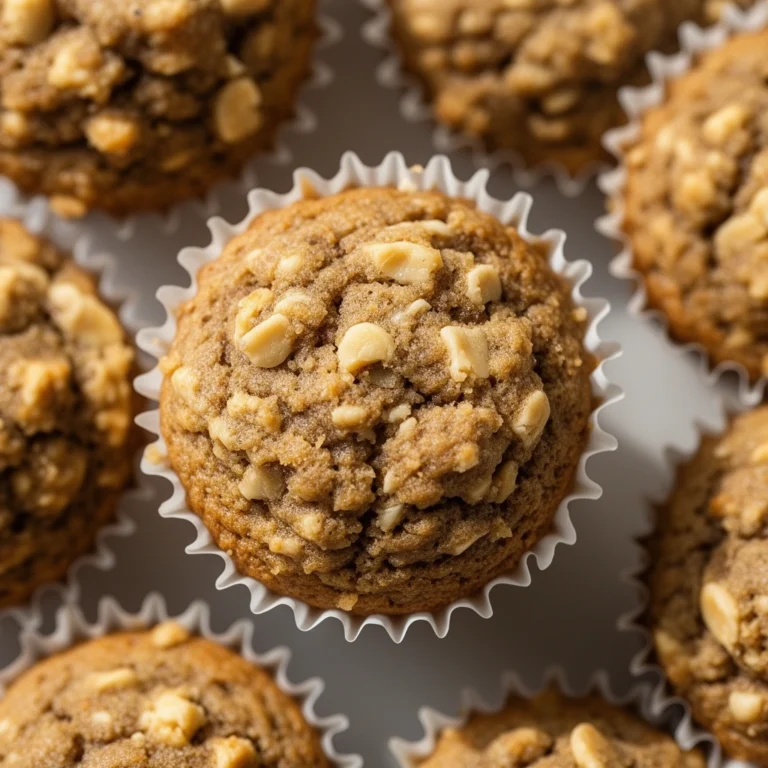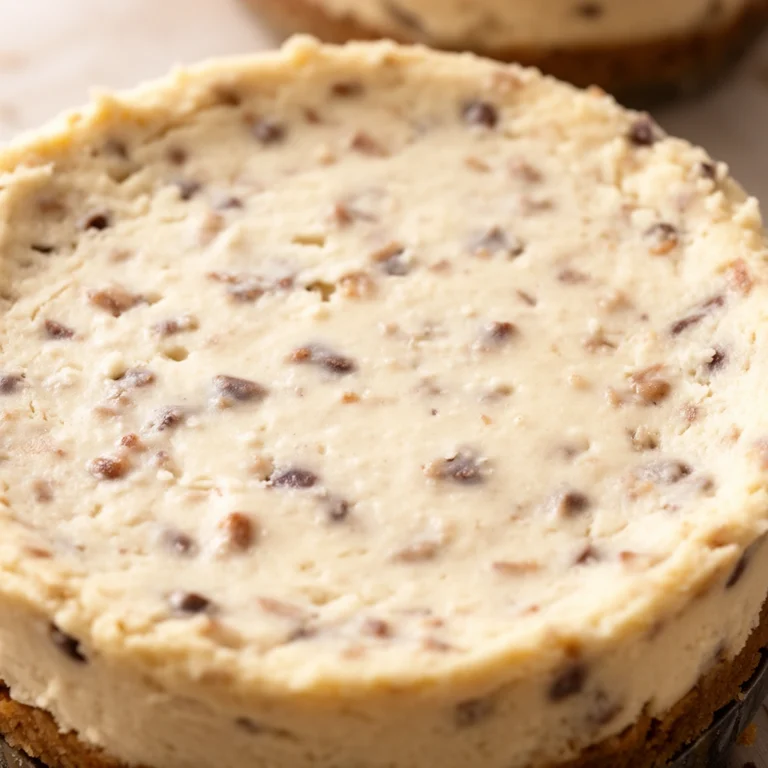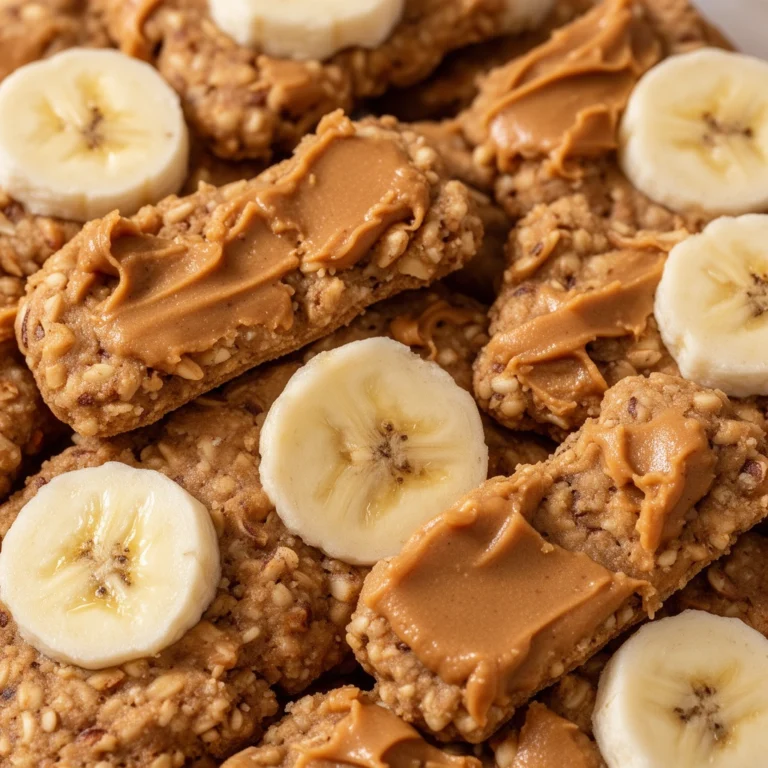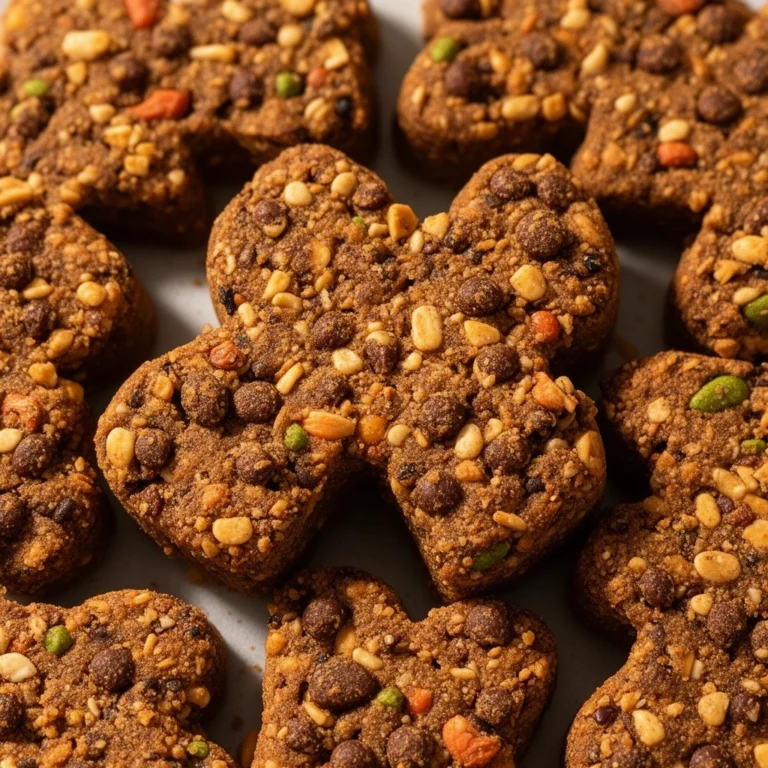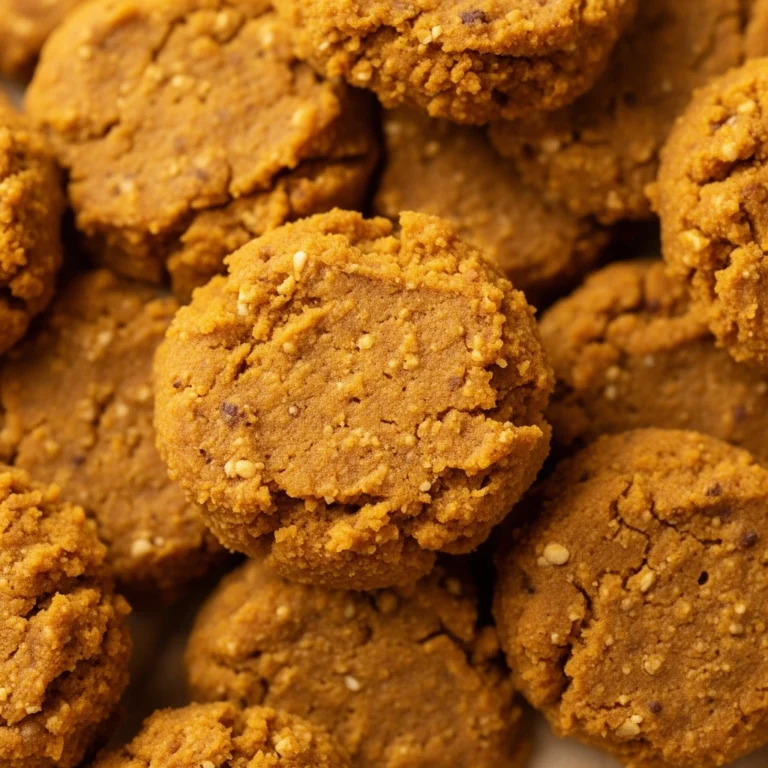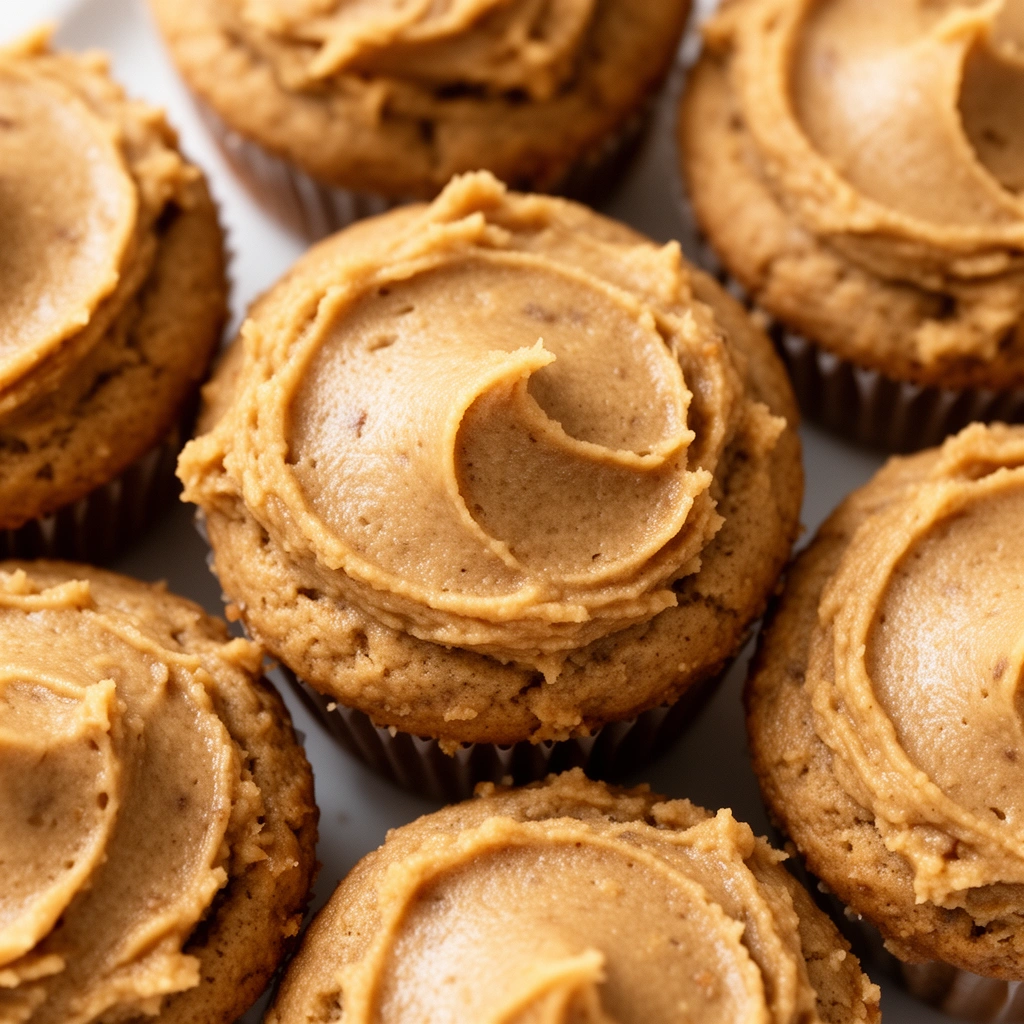
Homemade Peanut Butter Dog Cupcakes: A Treat Your Pup Will Actually Beg For
Ever caught your dog staring at your birthday cake like it’s the best thing on earth? I have. And that look gave me an idea. Why not make homemade peanut butter dog cupcakes that are safe, tasty, and made just for them? These little treats let your pup join the celebration without the tummy troubles that come from human desserts loaded with sugar and chocolate.
I’ve tried a bunch of recipes over the years, tweaked them, messed some up, and finally landed on a version that works every single time. In this article, I’ll walk you through everything, from picking the right ingredients to fixing common baking mistakes. By the end, you’ll have a cupcake recipe your dog will practically do backflips for.
What Are Peanut Butter Dog Cupcakes?
So what exactly makes a cupcake “dog-safe”? Basically, it’s a small, cake-like treat baked without the stuff that hurts dogs. No chocolate. No xylitol. No excess sugar. Instead, we swap in dog-friendly ingredients like peanut butter, pumpkin, and whole wheat flour.
These cupcakes work great for birthdays, adoption anniversaries, or just a random Tuesday when your dog deserves something special. They’re soft, a little dense (not fluffy like human cupcakes), and packed with a flavor dogs go nuts over. Peanut butter is the star here because most dogs love it, and it’s packed with protein and healthy fats. Just make sure it’s the natural kind with no added sweeteners.
Key Ingredients You’ll Need
Before jumping into the baking process, let’s break down what goes into these cupcakes and why each ingredient matters.
Peanut Butter
: The main flavor and binding agent. Always choose natural, unsweetened peanut butter without xylitol, since that ingredient is toxic to dogs.
Whole Wheat Flour
: Gives the cupcake structure. It’s easier on a dog’s digestion compared to refined white flour.
Pumpkin Puree
: Adds moisture and natural sweetness. It’s also great for digestive health.
Eggs
: Acts as a binder and adds protein, helping the cupcakes hold their shape.
Baking Powder
: Helps the cupcakes rise slightly, giving them a better texture.
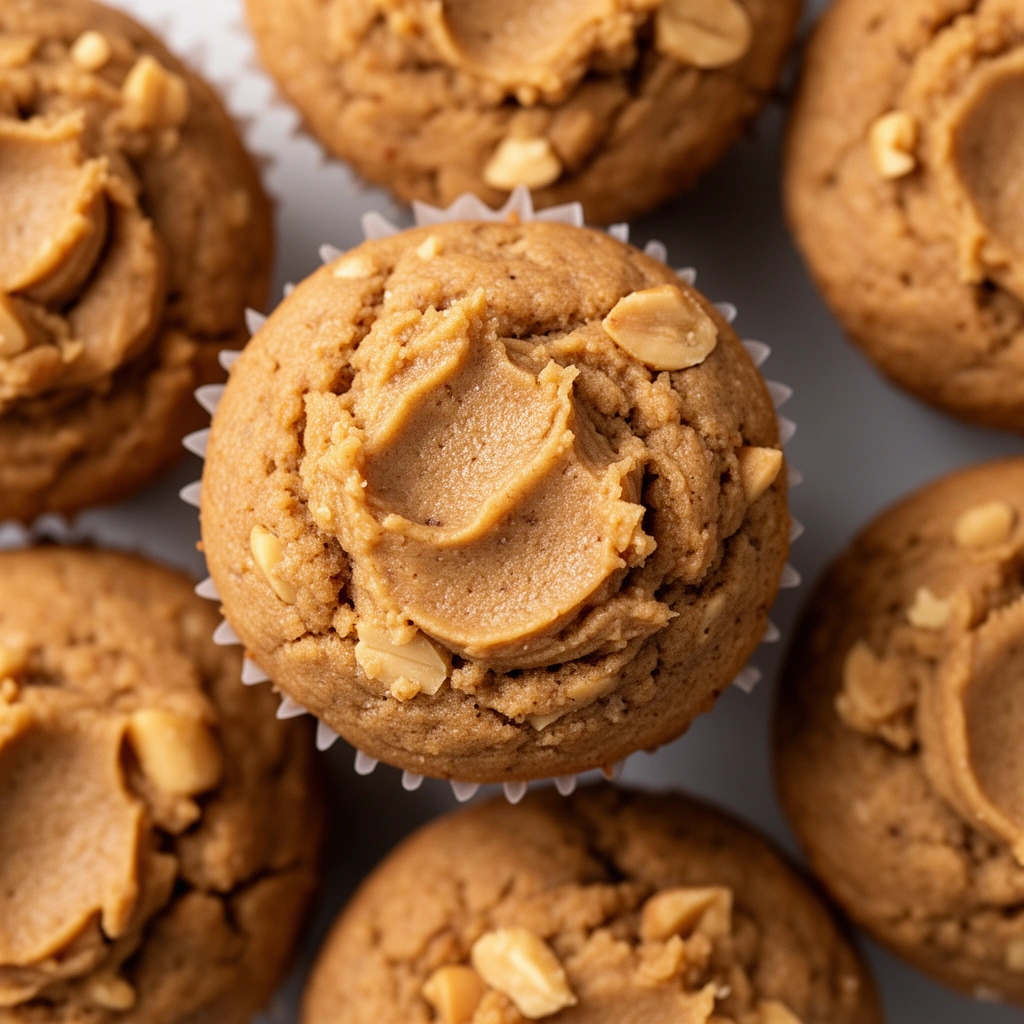
Plain Greek Yogurt
: Used in the frosting. It’s a healthy, protein-rich alternative to sugary cream cheese frosting.
Honey (optional, small amount)
: Adds a touch of natural sweetness. Only a small drizzle is needed since dogs don’t need much sugar.
Tools You’ll Need
Here’s what to have on hand before you start:
- A mixing bowl (medium size works fine)
- A whisk or hand mixer
- A cupcake or muffin tin
- Paper liners (unbleached, if possible)
- A rubber spatula
- A cooling rack
- Measuring cups and spoons
Step-by-Step: How to Make Peanut Butter Dog Cupcakes
Alright, let’s get into the fun part. Here’s exactly how I make these at home.
- Preheat your oven to 350°F (175°C). Line your cupcake tin with paper liners or lightly grease it.
- Mix the dry ingredients. In a bowl, combine 1 ½ cups whole wheat flour with 1 teaspoon baking powder. Give it a quick stir.
- Combine the wet ingredients. In another bowl, whisk together ½ cup natural peanut butter, ½ cup pumpkin puree, 2 eggs, and a tablespoon of honey if you’re using it.
- Bring it all together. Slowly fold the dry mixture into the wet mixture. Stir until just combined. Don’t overmix, or the cupcakes turn out tough.
- Fill the cupcake liners about ¾ of the way full. This gives them room to rise slightly without overflowing.
- Bake for 18-20 minutes. They’re done when a toothpick comes out clean.
- Cool completely. This step matters more than people think. Frosting warm cupcakes makes a melty mess.
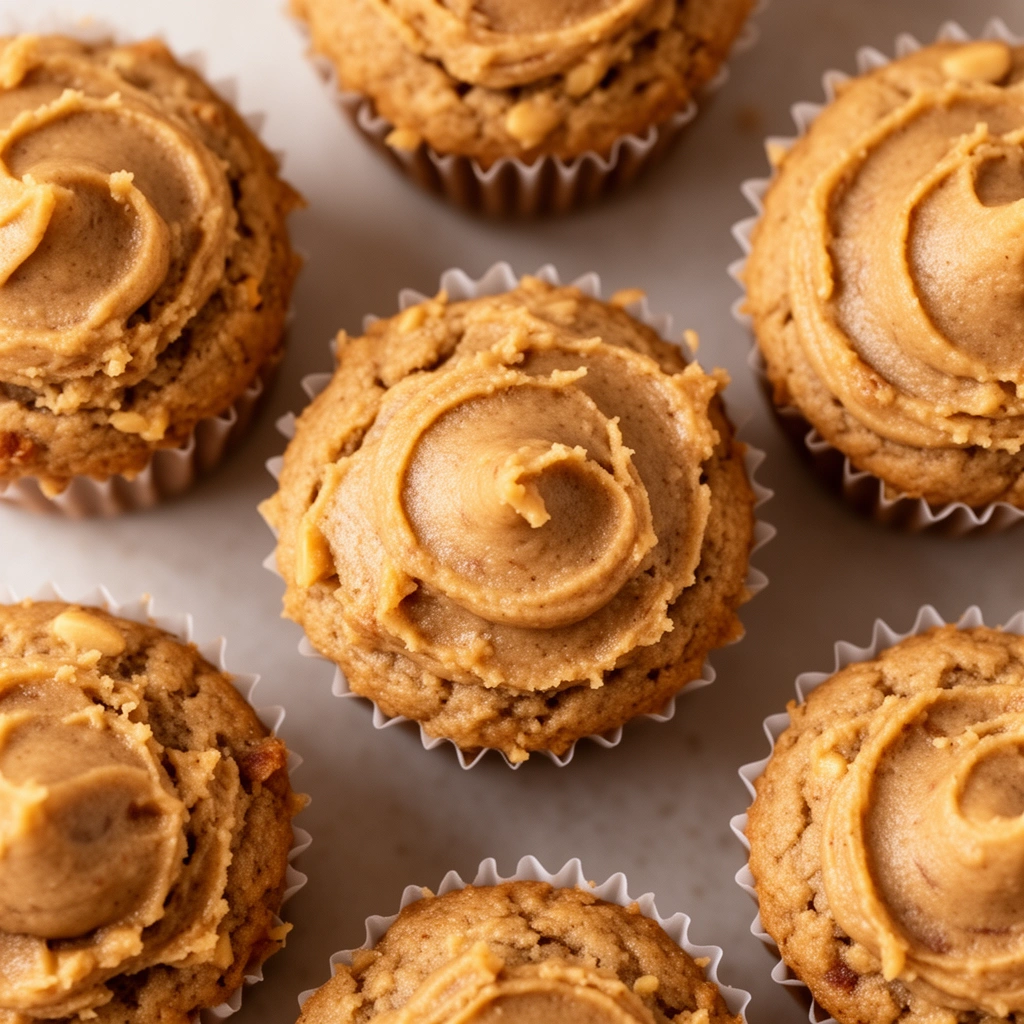
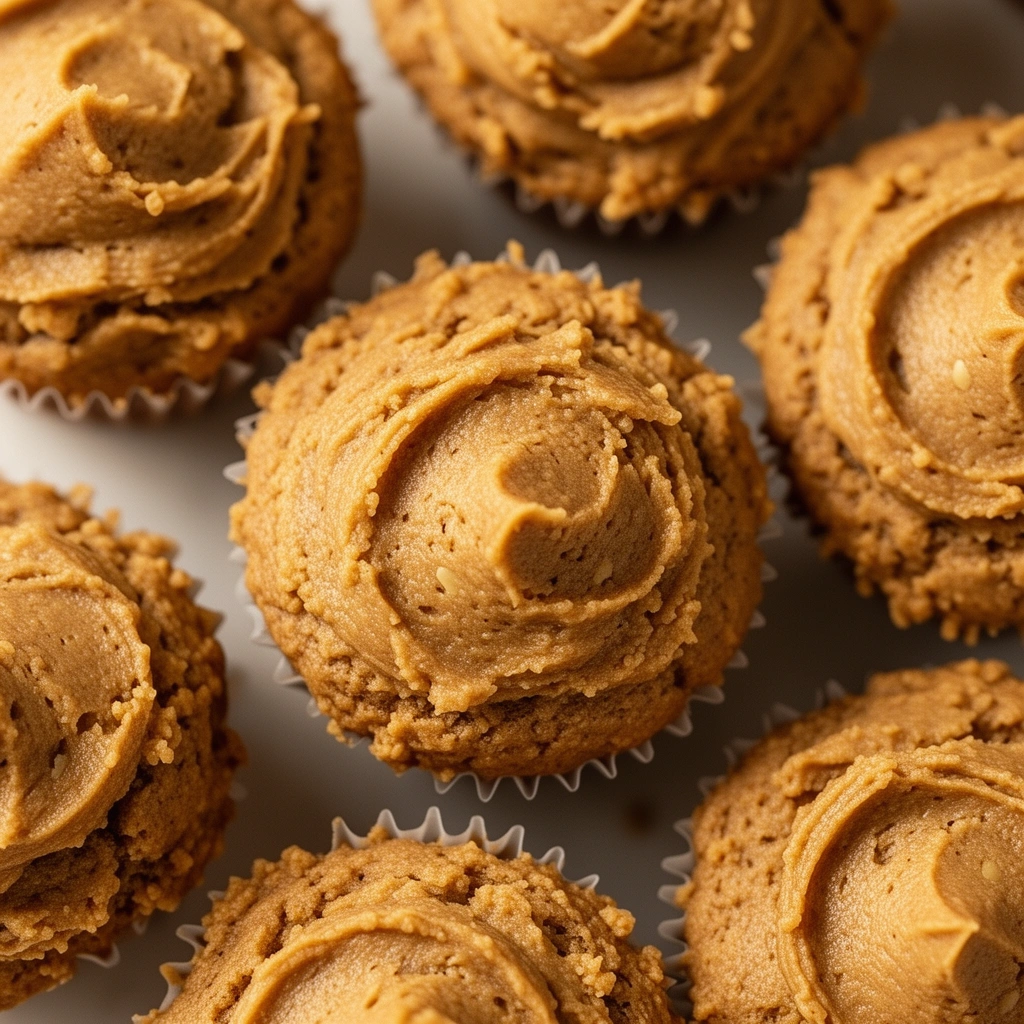
- Make the frosting. Mix plain Greek yogurt with a spoonful of peanut butter until smooth. Spread or pipe it on top once the cupcakes are fully cooled.
- Add a garnish (optional). A small dog biscuit on top or a sprinkle of dog-safe treats makes it look extra festive.
That’s it. Simple, right? The whole process takes under an hour, and most of that is just baking and cooling time.
Tips for Success
I learned a few things the hard way, so let me save you the trouble.
- Always double-check your peanut butter label for xylitol. Even trace amounts can be dangerous for dogs.
- Use room-temperature eggs. They mix more evenly into the batter.
- Don’t skip greasing the tin even if you’re using liners. Some liners stick to peanut butter batter.
- Let the cupcakes cool on a wire rack, not directly on the counter, so air can circulate underneath.
- Taste test the batter… just kidding. Don’t do that. But you can smell it to check the peanut butter aroma is strong.
- Keep portions small. Dogs don’t need giant servings, especially smaller breeds.
Common Mistakes and How to Avoid Them
Here are the slip-ups I see most often, along with how to dodge them.
Using the wrong peanut butter
: Some peanut butters contain xylitol or added sugar. Always read the ingredient label carefully before buying.
Overbaking the cupcakes
: Baking too long dries them out. Check at the 18-minute mark and pull them as soon as a toothpick comes out clean.
Skipping the cooling step
: Frosting hot cupcakes causes the topping to slide right off. Patience pays off here.
Making them too sweet
: Dogs don’t need the sugar levels humans crave. Stick to small amounts of natural sweeteners like honey or none at all.
Overmixing the batter
: This leads to dense, rubbery cupcakes instead of a soft, cake-like texture. Mix just until the ingredients come together.
Ignoring portion size
: These treats are still calorie-dense. Cut cupcakes into smaller pieces for tiny dogs or puppies.
Tasty Variations to Try
Once you’ve nailed the basic recipe, it’s fun to switch things up. Here are a few variations I’ve tried and loved.
- Banana Peanut Butter Cupcakes: Swap the pumpkin puree for mashed ripe banana for a fruity twist.
- Carrot Peanut Butter Cupcakes: Add finely grated carrot to the batter for extra crunch and nutrients.
- Apple Cinnamon Version: Mix in unsweetened applesauce and a pinch of cinnamon (cinnamon is safe for dogs in small amounts).
- Blueberry Peanut Butter Cupcakes: Fold in a handful of fresh blueberries before baking for a berry burst.
- Grain-Free Version: Replace whole wheat flour with almond flour or oat flour for dogs with grain sensitivities.
- Frozen Pupcake Treats: Skip baking and freeze the peanut butter and yogurt mixture in cupcake liners for a cool summer snack.
Each of these keeps the peanut butter base while adding a little something new. It’s a great way to keep your dog excited without starting from scratch every time.
Storage and Shelf Life
Once baked, these cupcakes stay fresh for about 3-4 days in an airtight container in the fridge. If you want to keep them longer, freeze them for up to 2 months. Just thaw at room temperature before serving. I usually make a double batch and freeze half, since they disappear fast once my dog catches wind of the smell.
Wrapping Things Up
Making homemade peanut butter dog cupcakes isn’t complicated, and honestly, it’s one of the most rewarding things you can bake in your kitchen. Your dog gets a safe, tasty treat, and you get the joy of watching their tail wag like crazy. Whether it’s a birthday, a holiday, or just a random day you want to spoil your pup, these cupcakes hit the spot every time.
Give this recipe a try, tweak it with your own favorite variation, and watch your dog’s reaction. I bet it’ll become a regular thing in your house, just like it did in mine.