3-Ingredient Homemade Peanut Butter Carrot Dog Treats: The Ultimate Guide
Ever caught your dog staring at you with those big, hopeful eyes while you’re munching on a snack? I get it. My own pup does the same thing every single time I open the pantry. That’s exactly why I started making peanut butter carrot dog treats at home. They’re simple, cheap, and my dog goes absolutely bonkers for them.
If you’ve been searching for a treat recipe that won’t take up your entire afternoon or leave you with a sink full of dishes, you’re in the right place. This guide walks you through everything you need to know about making these treats, including a few things I noticed other recipes tend to skip over.
What Are Peanut Butter Carrot Dog Treats?
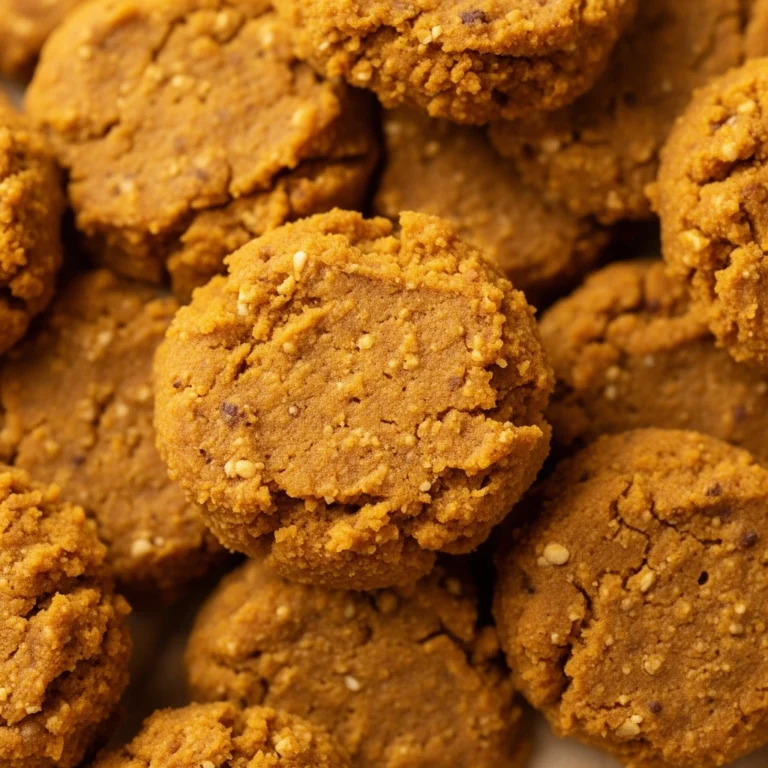
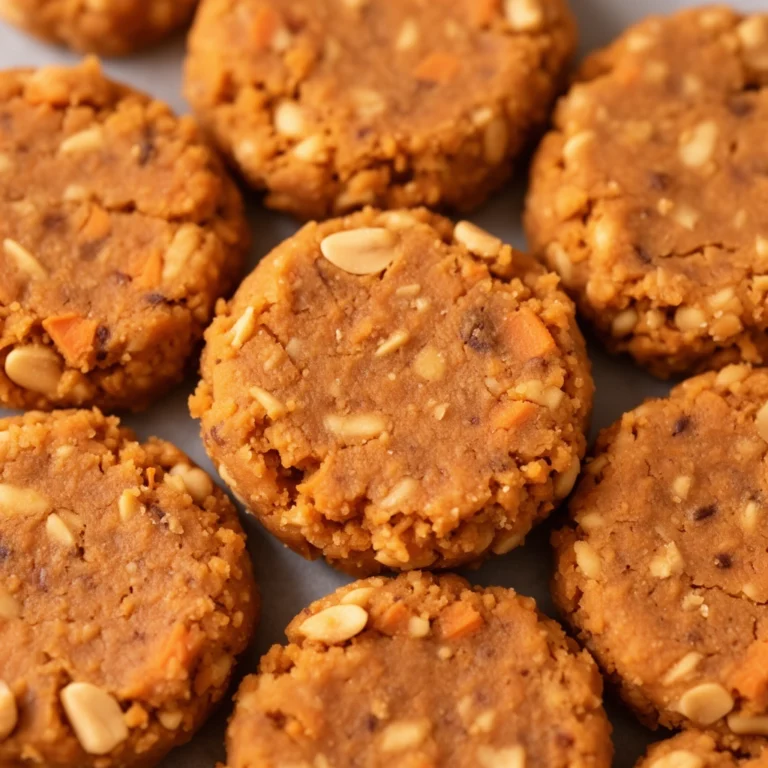
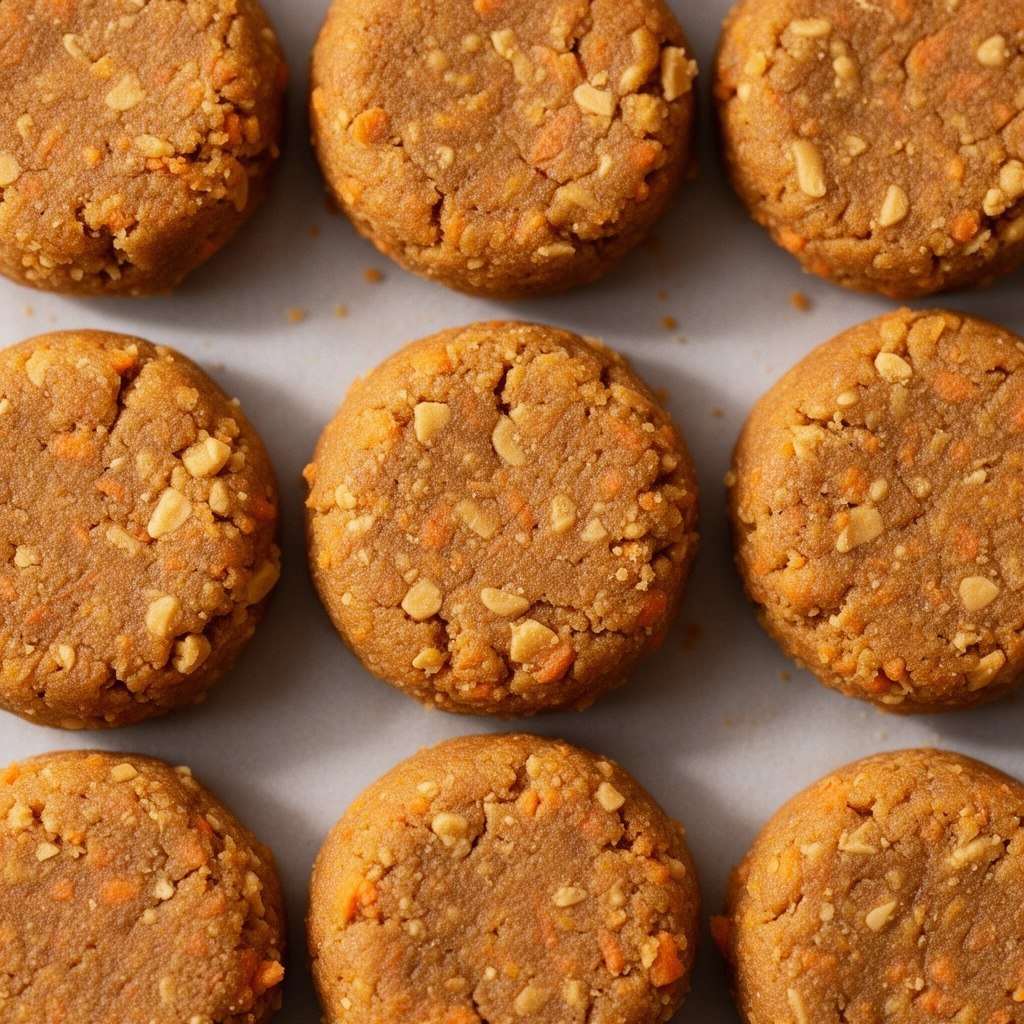
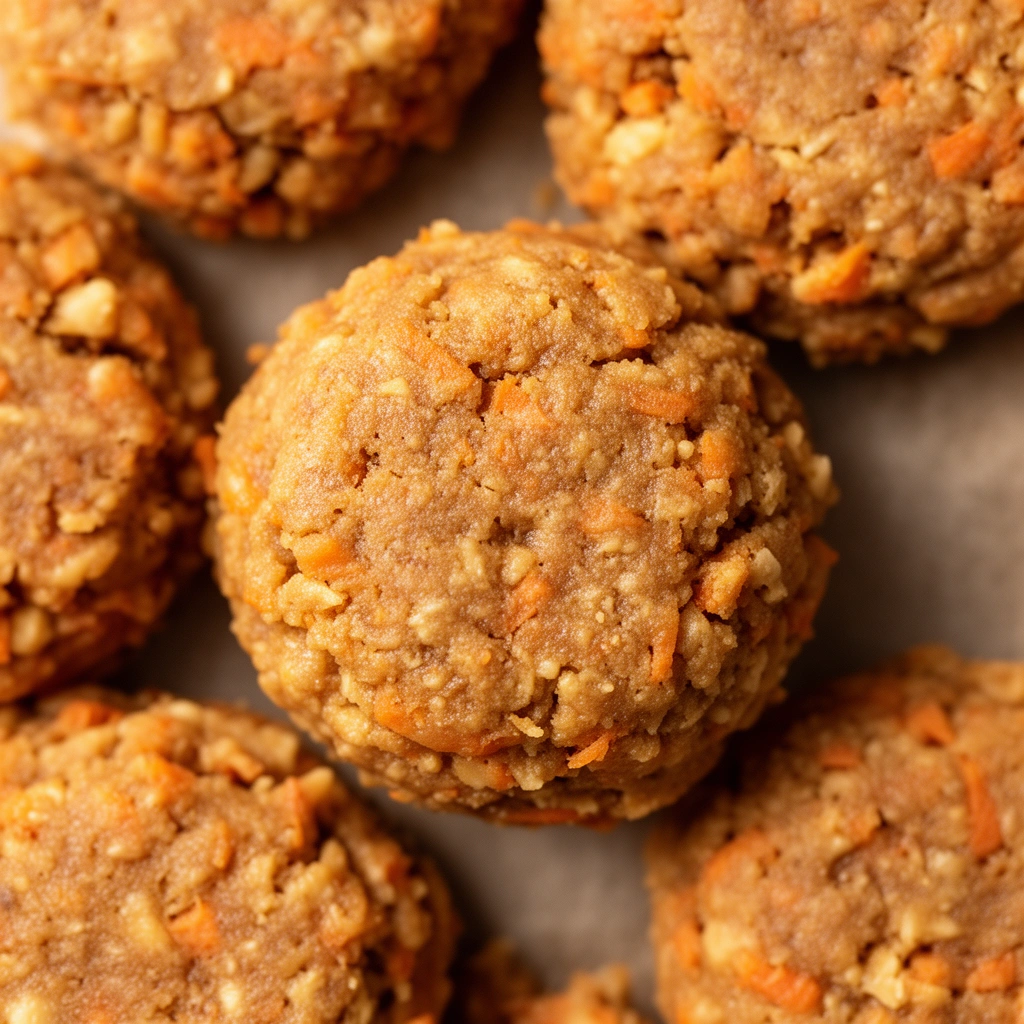
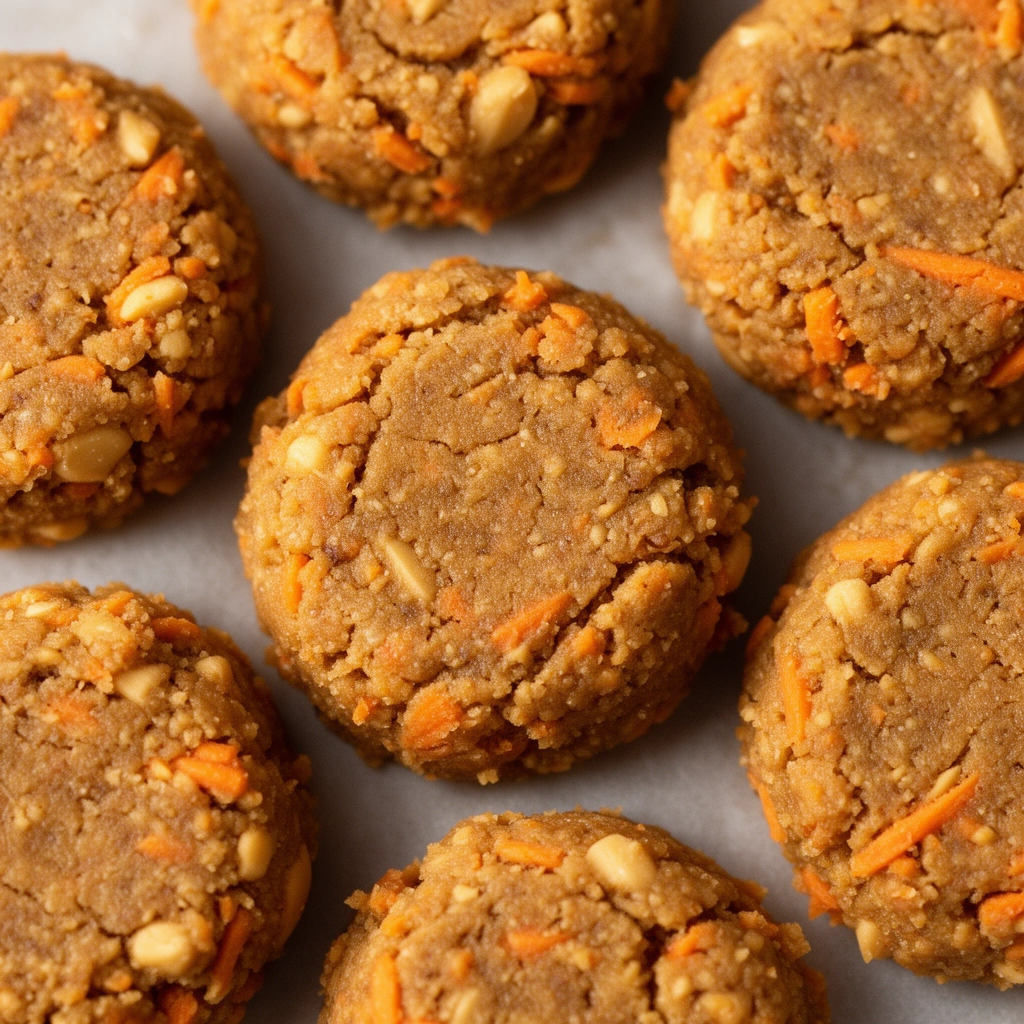
Let’s talk about what we’re actually making here. Peanut butter carrot dog treats are baked biscuits made from just three pantry staples. No fancy equipment. No weird ingredients you’ve never heard of. Just flour, peanut butter, and carrots combined into a dough, rolled out, and baked until crunchy.
These treats work great for dogs of all ages, though I’d say they’re especially good for pups who need a little extra fiber in their diet or who could use more vitamin A. Carrots pack a nutritional punch, and peanut butter (the right kind) adds protein and healthy fats. Put them together, and you’ve got a treat that’s actually good for your dog, not just tasty.
Here’s the thing though — a lot of recipes out there don’t mention the peanut butter safety issue. I’ll get into that in detail below because it genuinely matters for your dog’s health.
Key Terms You Should Know
Before we jump into the recipe, let’s clear up a few terms that’ll pop up along the way.
Xylitol
: A sugar substitute found in some peanut butter brands, gum, and baked goods. It’s extremely toxic to dogs, even in small amounts. Always check labels before buying peanut butter for treats.
Rolling pin dough thickness
: The measurement of how thick you roll out your dough before cutting shapes. Thinner dough (about ¼ inch) bakes crunchier, while thicker dough stays softer.
Cooling rack
: A wire rack that lets air circulate around baked treats, helping them crisp up evenly instead of getting soggy on the bottom.
Airtight container
: A sealed storage container that keeps moisture and air out, which helps treats stay fresh longer without going stale or moldy.
Whole wheat flour
: A flour made from the entire wheat grain, offering more fiber and nutrients than regular white flour. It’s the base most homemade dog treat recipes use.
Ingredients You’ll Need
Here’s what goes into this recipe. Simple, right?
- 1 cup unsalted, xylitol-free peanut butter (natural peanut butter works best)
- 1 cup finely grated carrots (about 2 medium carrots)
- 2 cups whole wheat flour (plus extra for dusting)
- 1 egg (optional, but it helps bind everything together)
- A splash of water, if needed, to bring the dough together
I added the egg as an optional fourth ingredient because I’ve found it makes the dough way easier to work with. If you want to keep it strictly to three ingredients, you can skip it, but the dough might need a bit more water.
Step-by-Step Instructions
Alright, let’s get into the actual making process. I’ll break this down so it’s easy to follow, even if you’ve never baked a single thing in your life.
- Preheat your oven to 350°F (175°C). Line a baking sheet with parchment paper so nothing sticks.
- Grate your carrots finely. The smaller the pieces, the easier they blend into the dough and the safer they are for your dog to chew.
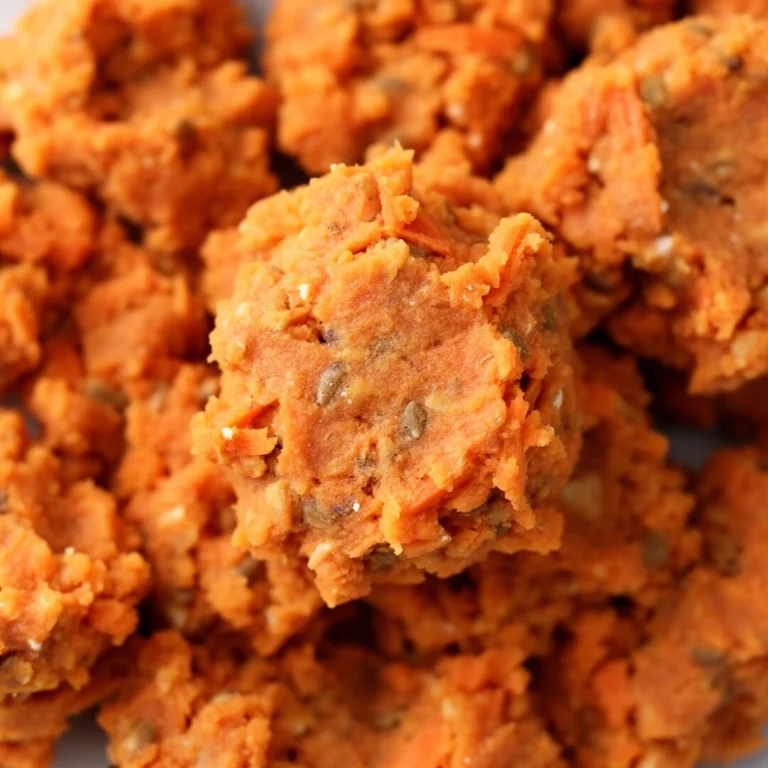
- Mix the peanut butter and carrots in a large bowl. Stir until fully combined. It’ll look a little chunky, and that’s totally normal.
- Add the flour gradually. Mix it in about half a cup at a time. The dough will start out sticky, then firm up as you add more flour.
- Knead the dough. Once it’s thick enough to handle, use your hands to knead it for about a minute. If it’s too dry, add a splash of water. Too wet? Sprinkle in more flour.
- Roll out the dough. Use a rolling pin on a lightly floured surface until the dough is about ¼ inch thick.
- Cut into shapes. Use a cookie cutter (bone shapes are fun, but any shape works) or just cut squares with a knife.
- Place treats on the baking sheet. Leave a little space between each one since they don’t spread much but need airflow.
- Bake for 20-25 minutes. You’re looking for a golden-brown color and a firm texture.
- Turn off the oven and leave the treats inside for another hour. This step dries them out further, giving you that satisfying crunch dogs love.
- Cool completely on a wire rack before storing or serving.
That’s it. Nine simple steps and you’ve got a batch of treats ready to make your dog’s whole day.
Tips for Success
I’ve made these treats more times than I can count, and I’ve picked up a few tricks along the way that make a real difference.
- Grate carrots instead of chopping them. Grated carrots blend into the dough smoothly and reduce choking risks, especially for small dogs.
- Use natural peanut butter without additives. Always double-check the ingredient label for xylitol or added sugar.
- Don’t skip the second bake. Leaving treats in the cooling oven really does make them crunchier and helps them last longer.
- Make treats small for small dogs. A giant biscuit might be tough for a Chihuahua to manage, so size your cutter to fit your pup.
- Store treats properly. Keep them in an airtight container at room temperature for up to a week, or freeze for up to three months.
Common Mistakes and How to Avoid Them
I’ve messed these treats up before, so let me save you the trouble.
- Using peanut butter with xylitol. This is the biggest mistake anyone can make. Xylitol poisoning can be fatal to dogs, so always read labels carefully, even on brands you trust.
- Rolling the dough too thick. Thick dough bakes soft and chewy, which isn’t necessarily bad, but it won’t last as long in storage and can spoil faster.
- Skipping the cooling step. Treats that go straight into a container while warm trap moisture inside, leading to mold within days.
- Overbaking or underbaking. Keep an eye on your oven. Every oven runs a little different, so check treats at the 20-minute mark to avoid burning them.
- Forgetting portion control. These treats are healthy, but they’re still extra calories. Stick to a treat or two a day, especially for smaller breeds.
Variations You Can Try
Once you’ve nailed the basic recipe, it’s fun to switch things up a little.
- Pumpkin swap: Replace the carrots with canned pumpkin puree for a fall-flavored treat that’s also great for digestion.
- Oat flour version: Swap whole wheat flour for oat flour if your dog has a wheat sensitivity.
- Apple addition: Add finely grated apple (no seeds) alongside the carrots for extra sweetness and vitamins.
- Cinnamon boost: A small pinch of cinnamon adds flavor and offers some anti-inflammatory benefits for dogs.
- Sweet potato twist: Cooked, mashed sweet potato can replace carrots for a slightly different texture and taste.
A Quick Word on Nutrition
I think it’s worth mentioning what your dog actually gets from these treats. Carrots bring vitamin A, fiber, and antioxidants to the table. Peanut butter offers protein and healthy fats, plus dogs just love the taste. Whole wheat flour adds a bit of fiber too. None of this replaces a balanced dog food diet, but as an occasional treat, it’s a solid, wholesome choice compared to store-bought options loaded with preservatives.
Wrapping It Up
Making peanut butter carrot dog treats at home really doesn’t take much effort, and the payoff is huge when you see your dog’s tail going wild over something you made yourself. I’ve walked you through the exact steps, shared the mistakes I’ve made so you don’t have to repeat them, and given you a few fun variations to try once you’ve got the basics down.
Give this recipe a shot this weekend. Your dog will thank you, and honestly, you’ll probably feel pretty great knowing exactly what went into every single treat. That’s the beauty of homemade peanut butter carrot dog treats — simple ingredients, real care, and a happy pup at the end of it all.