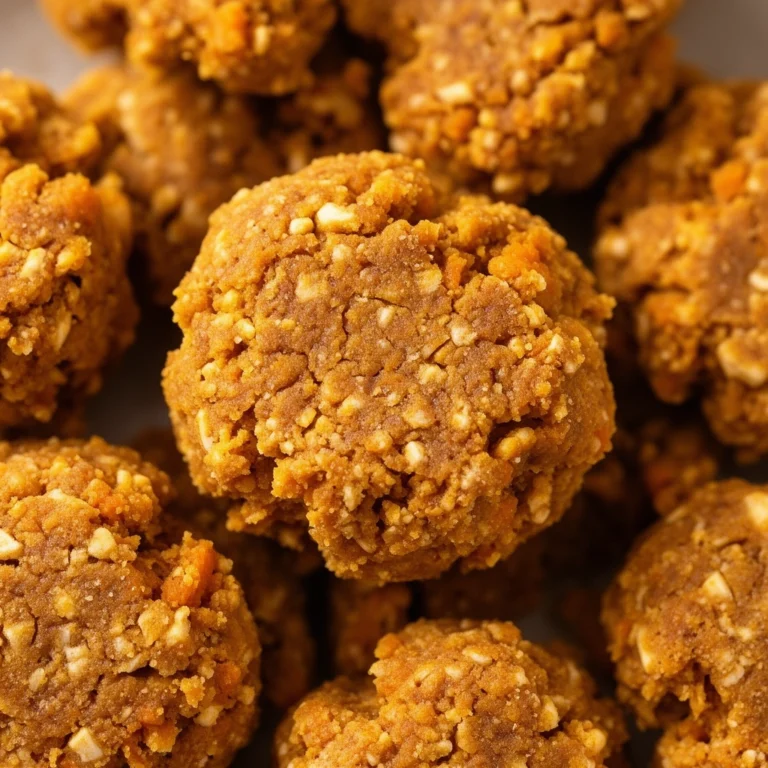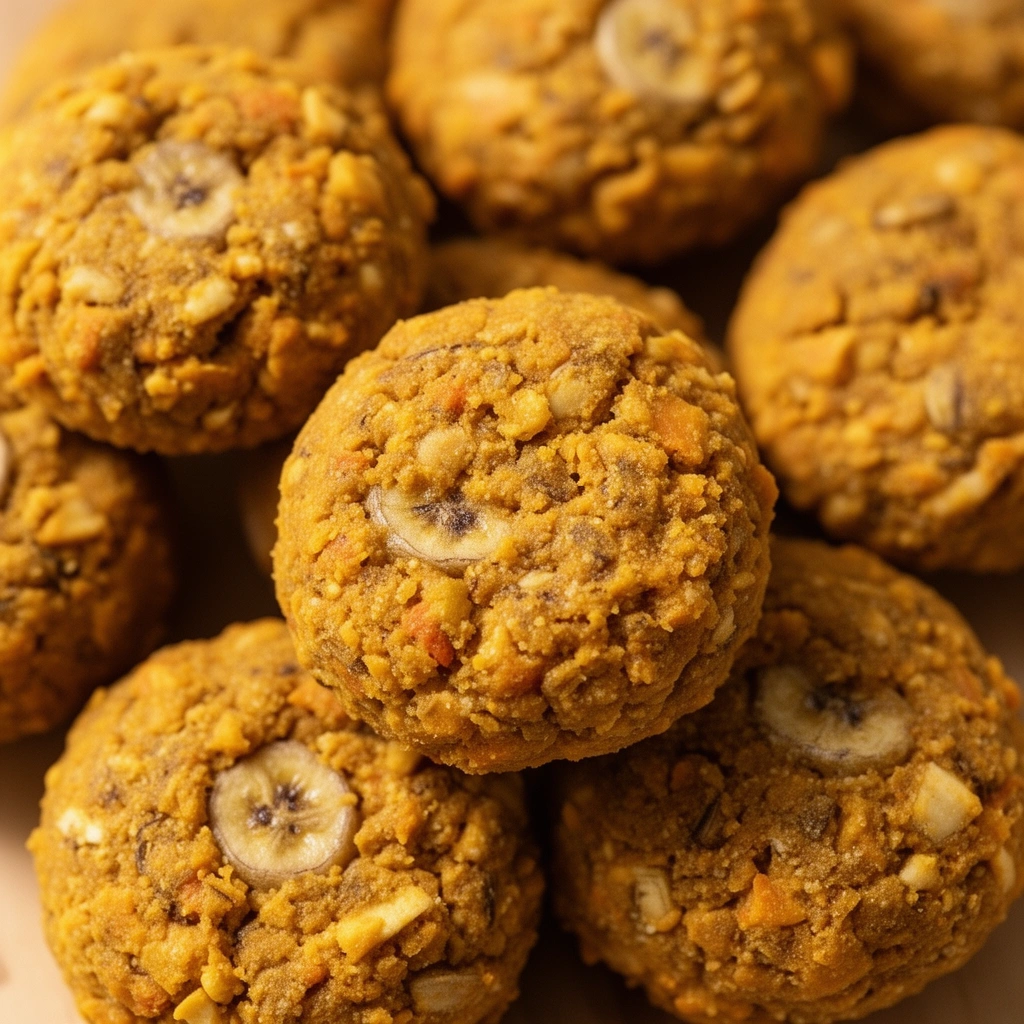
Banana Pumpkin Dog Treats: The Ultimate Guide to Homemade Goodness
Ever wonder what to do with that half-used can of pumpkin sitting in your fridge? Or maybe you’ve got a banana turning brown on your counter and you’re thinking, “Could my dog eat this?” I’ve been there too. That’s exactly how I stumbled onto making banana pumpkin dog treats, and honestly, it changed snack time forever for my pup.
I know what you’re thinking. Store-bought treats are easier, right? Sure, they are. But once you see how simple this recipe is—and how much your dog loses their mind over it—you won’t go back. These treats combine two ingredients dogs absolutely adore, wrapped up in a healthy, easy-to-make snack you can whip up on a Sunday afternoon.
What Makes Banana Pumpkin Dog Treats So Special
Let me break this down for you. Banana pumpkin dog treats aren’t just another trendy recipe floating around Pinterest. They’re a genuinely good option for your furry friend’s diet.
Pumpkin is a superfood for dogs. It’s packed with fiber, which helps with digestion. Vets often recommend it for dogs dealing with tummy troubles. Bananas bring potassium, vitamins, and natural sweetness to the mix without any refined sugar.
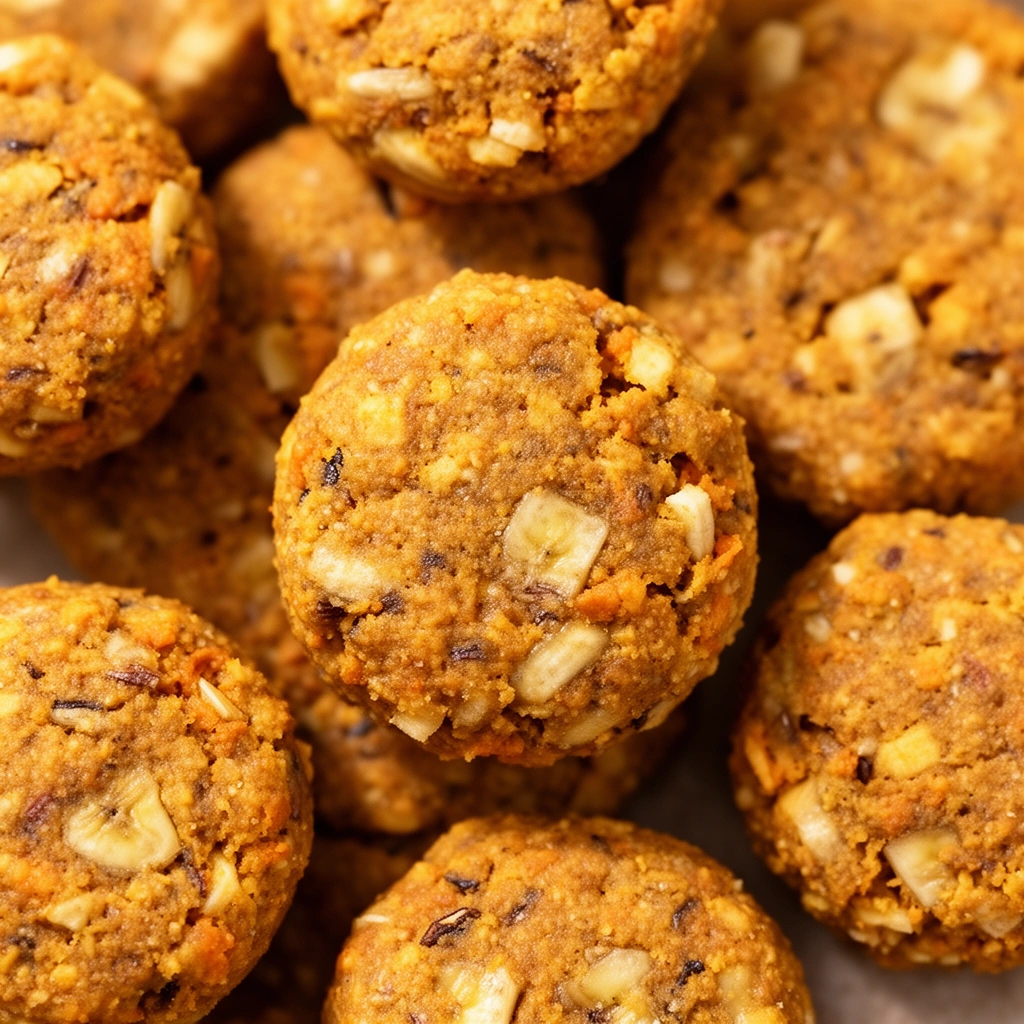
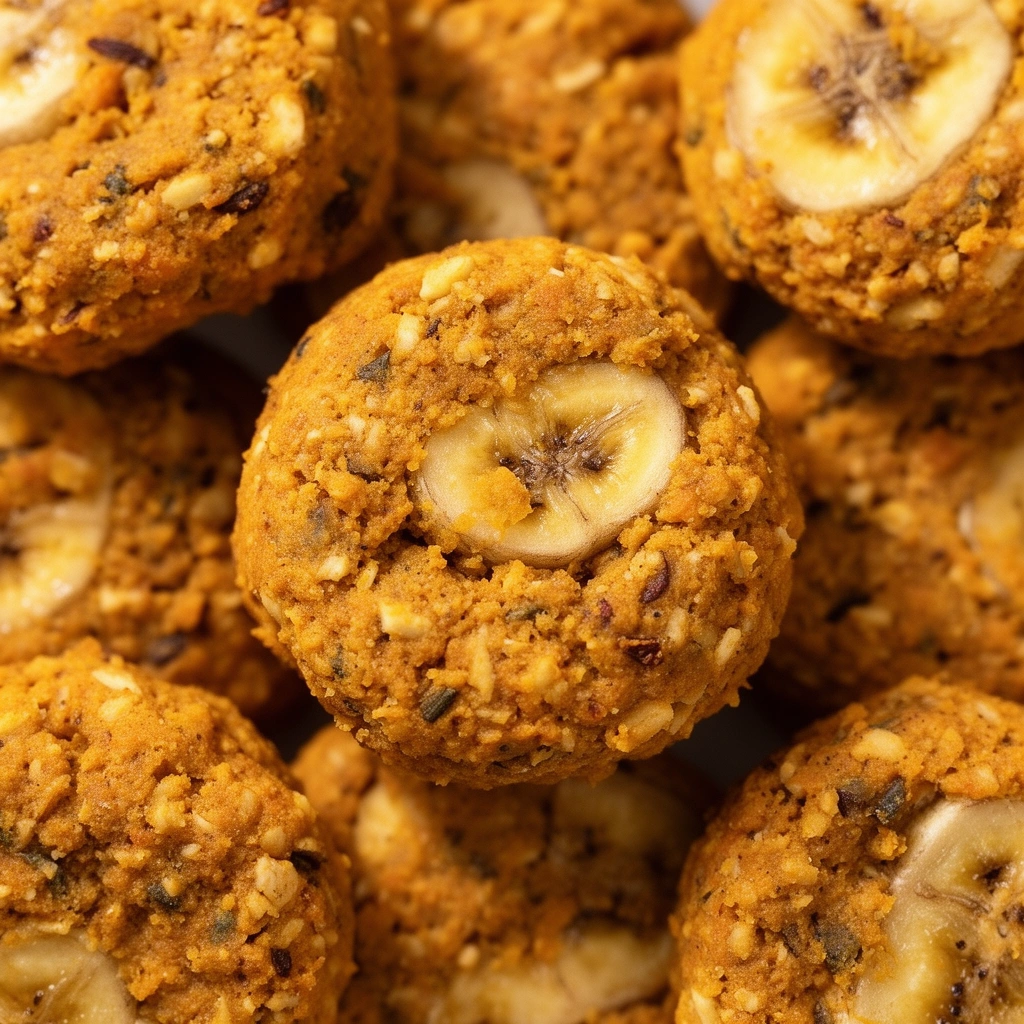
Together, these two ingredients create a treat that’s soft, chewy, and naturally sweet. No weird additives. No preservatives you can’t pronounce. Just real food your dog can actually digest and enjoy.
Here’s a quick breakdown of why this combo works so well:
Key Ingredients Defined
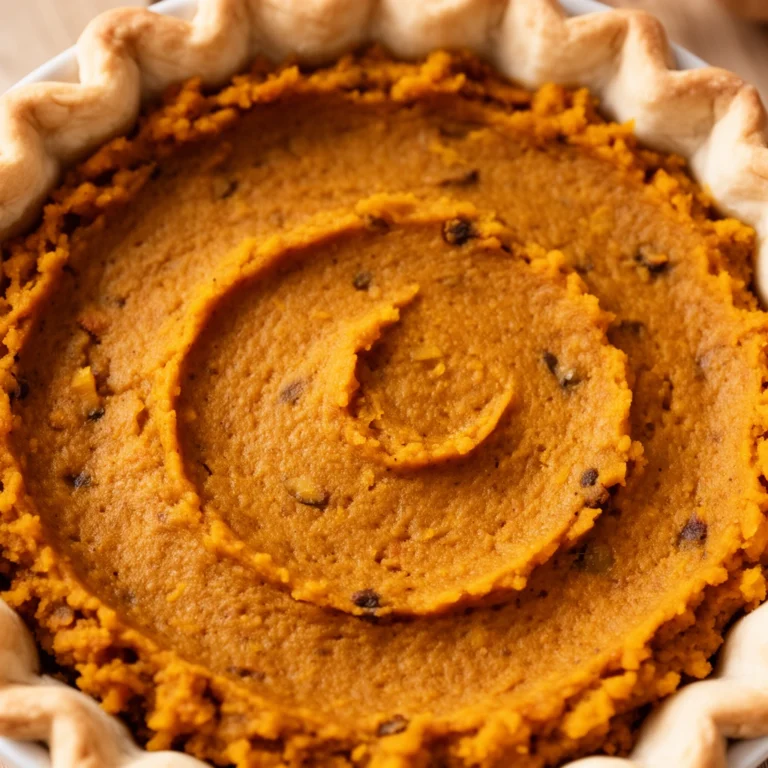
Pumpkin puree
: The pulp of a pumpkin, cooked and mashed into a smooth texture. Always use plain, unsweetened puree—never the spiced pie filling.
Banana
: A soft fruit rich in potassium and natural sugars. Ripe bananas work best because they mash easily and add more sweetness.
Whole wheat flour
: A healthier flour option that adds fiber and helps bind the treat dough together.
Rolled oats
: An optional add-in that boosts fiber content and gives treats a heartier texture.
Peanut butter (unsweetened, xylitol-free)
: Often used as a binder and flavor booster. Always check labels—xylitol is toxic to dogs.
Why Dogs Love This Combo
Dogs have a sweet tooth, believe it or not. That’s why banana works so well here. It masks any bland flavors while pumpkin adds a slightly earthy, comforting taste dogs seem to crave, especially in cooler months.
Plus, both ingredients are gentle on sensitive stomachs. If your dog has food allergies or sensitivities to common treat ingredients like corn or soy, this recipe sidesteps those issues entirely.
Step-by-Step: How to Make Banana Pumpkin Dog Treats
Alright, let’s get into the kitchen. This process takes about 15 minutes of prep and 20-25 minutes of baking. Not bad for a batch that’ll last your dog weeks.
Ingredients You’ll Need:
- 1 ripe banana, mashed
- 1/2 cup pumpkin puree (unsweetened)
- 1 3/4 cups whole wheat flour
- 1/2 cup rolled oats
- 1 egg
- 2 tablespoons peanut butter (optional)
- A splash of water if the dough feels too dry
The Process:
- Preheat your oven to 350°F (175°C). Line a baking sheet with parchment paper.
- In a large bowl, mash the banana until smooth. No lumps allowed—your dog won’t mind, but it helps with mixing.
- Add the pumpkin puree and egg. Stir until fully combined.
- Mix in the peanut butter if you’re using it. This adds extra flavor dogs go crazy for.
- Slowly add the flour and oats. Stir until a thick dough forms. If it’s too sticky, sprinkle in a bit more flour. Too dry? Add a splash of water.
- Turn the dough onto a lightly floured surface. Roll it out to about 1/4 inch thickness.
- Use a cookie cutter (bone-shaped is fun, but any shape works) to cut out treats.
- Place the treats on your prepared baking sheet, leaving a little space between each one.
- Bake for 20-25 minutes, or until the edges turn golden brown.
- Let them cool completely on a wire rack before serving. This step matters—warm treats can crumble easily.
That’s it. Seriously, that’s the whole process. No fancy equipment, no complicated techniques.
Storing Your Homemade Treats
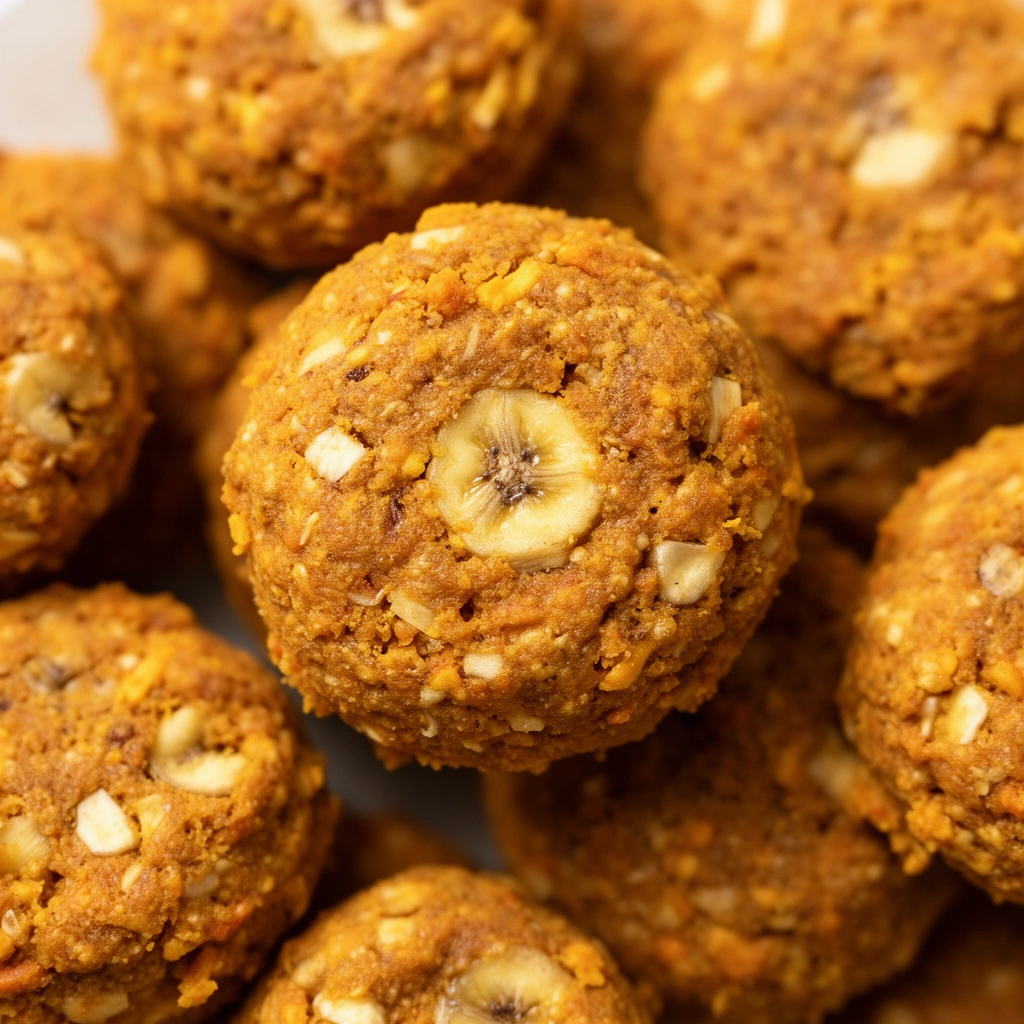
Once baked and cooled, these treats keep well for about a week at room temperature in an airtight container. Want them to last longer? Pop them in the fridge, and they’ll stay fresh for up to three weeks.
For long-term storage, freeze them. Just place treats in a freezer-safe bag, and they’ll keep for up to three months. Thaw a few at a time as needed.
Tips for Success
Making treats sounds simple, but a few small tweaks can make a big difference in texture and taste.
- Use very ripe bananas. The riper they are, the sweeter and more mashable they become.
- Don’t overmix the dough. Overworking it can make treats tough instead of chewy.
- Roll the dough evenly. Uneven thickness means some treats will burn while others stay underbaked.
- Let treats cool fully before storing. Trapped steam can make them soggy or moldy faster.
- Adjust size based on your dog. Smaller treats work better for tiny breeds, while larger dogs can handle bigger pieces.
Common Mistakes and How to Avoid Them
Even simple recipes have pitfalls. Here’s what trips people up most often—and how you can dodge these issues.
Mistake: Using pumpkin pie filling instead of plain puree
This one’s huge. Pie filling contains added sugars and spices like nutmeg, which isn’t safe for dogs. Always double-check the label. You want just “100% pumpkin” listed as the ingredient.
Mistake: Adding sweeteners
Dogs don’t need sugar, honey, or syrup in their treats. The banana and pumpkin provide plenty of natural sweetness already. Adding more just isn’t necessary and can lead to weight gain over time.
Mistake: Skipping the cooling step
I get it, you want to give your dog a treat right away. But warm treats are softer and can fall apart, making a mess. Patience pays off here.
Mistake: Using too much peanut butter
While peanut butter adds flavor, too much can turn your dough greasy and hard to work with. Stick to two tablespoons max for this recipe size.
Mistake: Not checking for xylitol
This is a big one. Some peanut butter brands sneak in xylitol as a sugar substitute. It’s extremely toxic to dogs, even in small amounts. Always read labels carefully before adding peanut butter to any dog treat recipe.
Variations You Can Try
Once you’ve nailed the basic recipe, feel free to get creative. Here are some fun twists worth trying.
Cinnamon boost
Add a small pinch of cinnamon to the dough. It’s safe for dogs in small amounts and adds a warm, comforting flavor.
Oatmeal banana pumpkin bites
Swap half the flour for extra rolled oats. This creates a chewier, denser treat that’s great for dogs who prefer more texture.
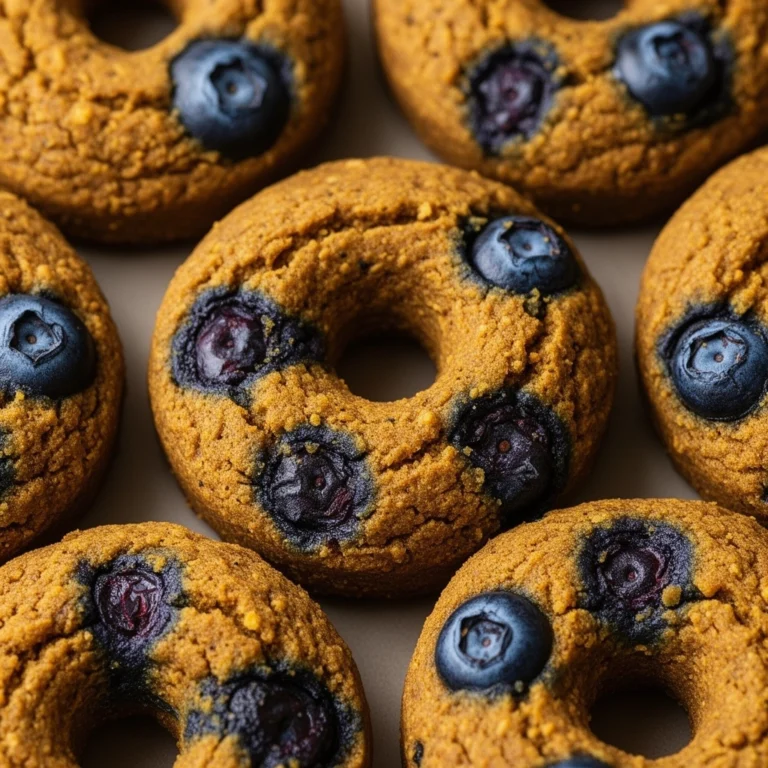
Blueberry banana pumpkin treats
Mash in a handful of blueberries along with the banana. This adds antioxidants and a slightly tart flavor dogs often enjoy.
Grain-free version
Replace whole wheat flour with almond flour or coconut flour for dogs with grain sensitivities. Note that you may need to adjust liquid ratios slightly since these flours absorb moisture differently.
Frozen banana pumpkin treats
Skip the baking altogether. Mix the same ingredients minus the flour, pour into silicone molds, and freeze. Perfect for hot summer days when your dog needs a cool snack.
Soft training treats
Reduce baking time by five minutes and keep treats slightly underbaked for a softer texture. This works well if you’re using them for training since dogs tend to prefer chewier snacks during sessions.
Wrapping It All Up
Making banana pumpkin dog treats at home isn’t just about saving money, though that’s a nice bonus. It’s about knowing exactly what goes into your dog’s snacks. No mystery ingredients. No fillers. Just wholesome food made with love.
I’ve made batches of these more times than I can count, and every time, my dog acts like it’s the best day of her life. There’s something satisfying about watching her enjoy a treat I made myself, knowing it’s actually good for her.
So next time you’ve got a ripe banana and some leftover pumpkin puree, skip the store-bought aisle. Whip up a batch of banana pumpkin dog treats instead. Your dog will thank you, one happy tail wag at a time.