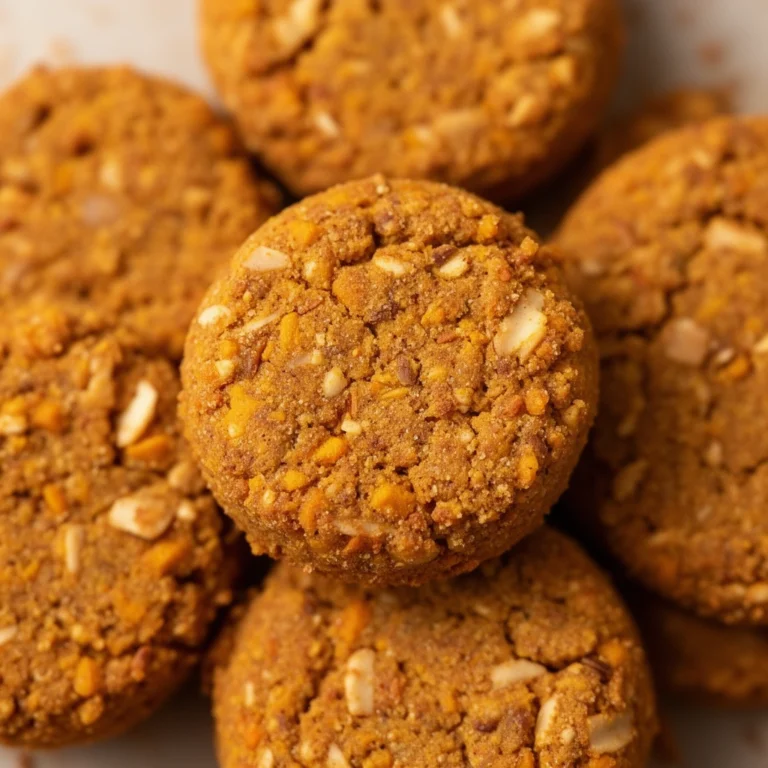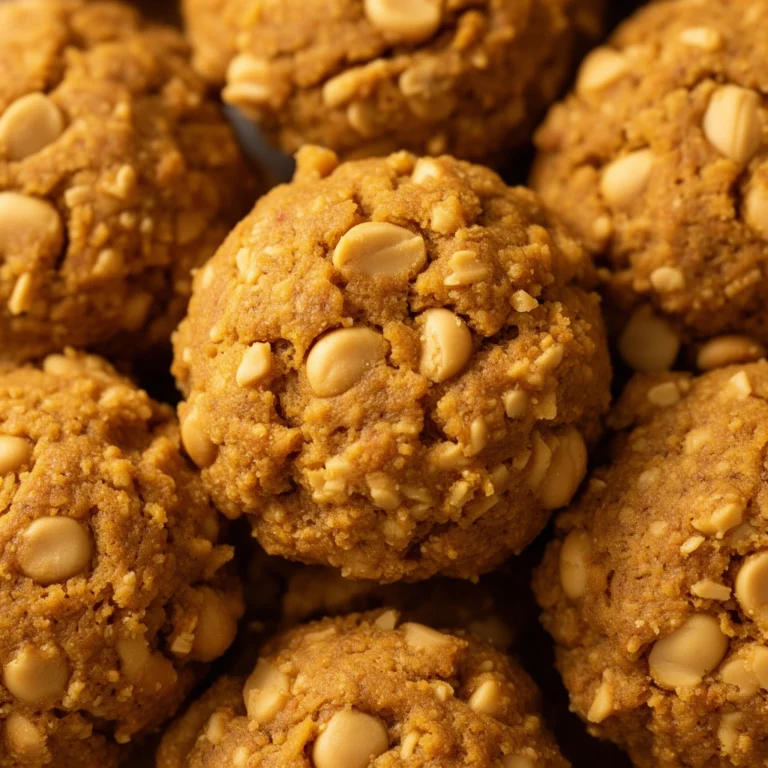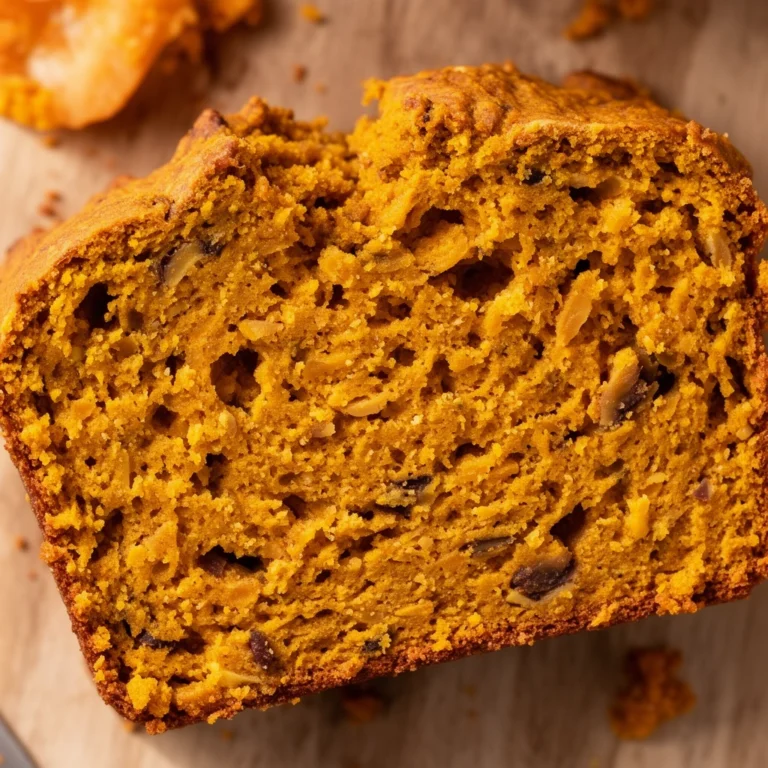
Best Homemade Dog Treats With Pumpkin: A Complete Guide Your Pup Will Beg For
Ever caught your dog staring at you with those pleading eyes while you’re prepping dinner? I know that look all too well. That’s exactly why I started making homemade dog treats with pumpkin—and trust me, once you try this recipe, you’ll wonder why you ever bought store-bought biscuits in the first place.
Pumpkin isn’t just a fall trend for your latte. It’s actually one of the best things you can feed your furry friend. Packed with fiber, vitamins, and that natural sweetness dogs go crazy for, pumpkin treats check every box: healthy, affordable, and ridiculously easy to whip up in your own kitchen.
I’ve spent months tweaking recipes, testing different flour combinations, and yes, dealing with a few kitchen disasters (burnt batches, anyone?). Through all that trial and error, I’ve landed on a foolproof method that gives you crunchy, dog-approved treats every single time.
What Makes Pumpkin Treats So Special?
Let’s talk about why pumpkin deserves a spot in your dog’s treat jar. This orange squash isn’t just tasty—it’s a nutritional powerhouse that vets often recommend for digestive issues.
Pumpkin contains soluble fiber that helps regulate your dog’s digestive system, whether they’re dealing with diarrhea or constipation. It’s also loaded with beta-carotene, which converts to vitamin A and supports eye health, skin condition, and immune function.
Here’s what makes homemade pumpkin treats stand out from anything you’d grab off a store shelf:
- No mystery ingredients – you control exactly what goes into each batch
- Cost-effective – a can of pumpkin costs way less than a bag of premium treats
- Customizable texture – soft chews or crunchy biscuits, your call
- Longer shelf life options – dehydrate them for treats that last weeks
- Perfect for training – small, bite-sized pieces work great for reward-based training
Before we jump into the recipe, let’s clear up some terminology you’ll see throughout this guide.
Key Terms You Should Know
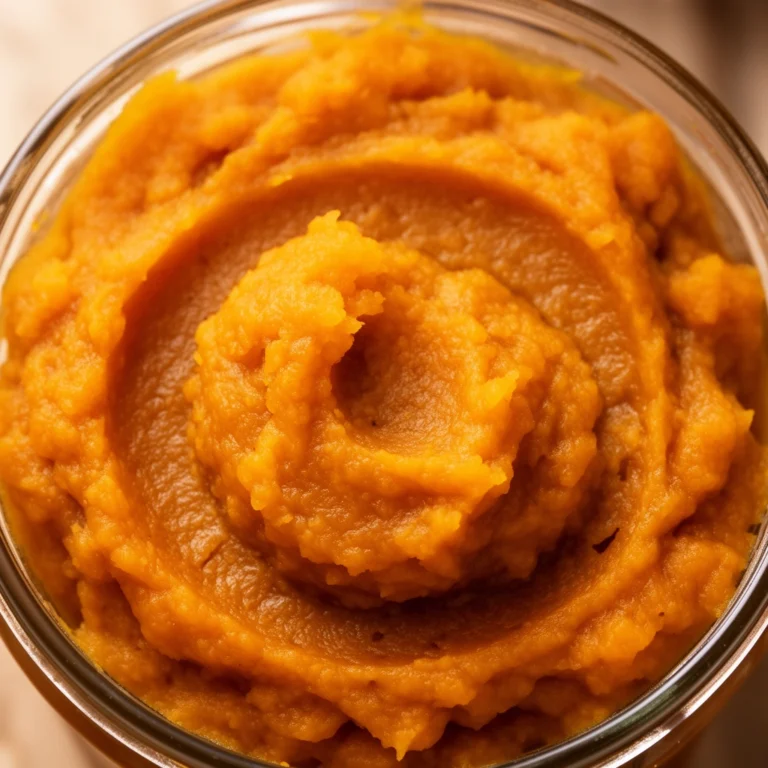
Pumpkin puree
: Pure, cooked pumpkin with nothing added—no sugar, no spices, no preservatives. This differs from pumpkin pie filling, which contains added sweeteners and spices that aren’t dog-friendly.
Whole wheat flour
: A nutrient-dense flour option that’s gentler on digestion compared to refined white flour. Some dogs with grain sensitivities may need alternatives.
Binding agent
: An ingredient (like eggs or peanut butter) that holds your dough together, giving the treats structure so they don’t crumble apart.
Dehydration
: A slow-baking process at low temperatures that removes moisture, creating crunchy treats with extended shelf life.
Xylitol
: A sugar substitute found in some peanut butter brands that’s extremely toxic to dogs. Always check labels before adding peanut butter to any recipe.
Ingredients You’ll Need
Gathering the right ingredients makes all the difference between treats your dog devours and ones that end up ignored on the floor. Here’s my go-to list:
- 1 cup pure pumpkin puree (not pumpkin pie mix)
- 2 cups whole wheat flour (or oat flour for grain-sensitive pups)
- 2 large eggs
- 2 tablespoons peanut butter (xylitol-free, always double-check)
- 1 teaspoon cinnamon (optional, but adds a nice aroma)
- A splash of water if the dough feels too dry
That’s it. No fillers, no preservatives, no confusing ingredient lists you need a chemistry degree to understand.
Step-by-Step Instructions
Making these treats doesn’t require any fancy equipment or advanced baking skills. If you can mix ingredients and roll dough, you’re already halfway there.
Step 1: Preheat your oven
Set your oven to 350°F (175°C). Line a baking sheet with parchment paper so nothing sticks.
Step 2: Combine wet ingredients
In a large mixing bowl, whisk together the pumpkin puree, eggs, and peanut butter until smooth. The mixture should look creamy with no lumps.
Step 3: Add dry ingredients gradually
Slowly mix in the flour, about half a cup at a time. Stir until a thick dough forms. If it’s too sticky, add a bit more flour. If it’s too crumbly, add a splash of water.
Step 4: Knead the dough
Turn the dough onto a lightly floured surface. Knead it for about 2 minutes until it feels smooth and pliable, similar to bread dough.
Step 5: Roll it out
Using a rolling pin, flatten the dough to about ¼ inch thickness. Thicker dough means chewier treats; thinner dough gives you crunchier results.
Step 6: Cut into shapes
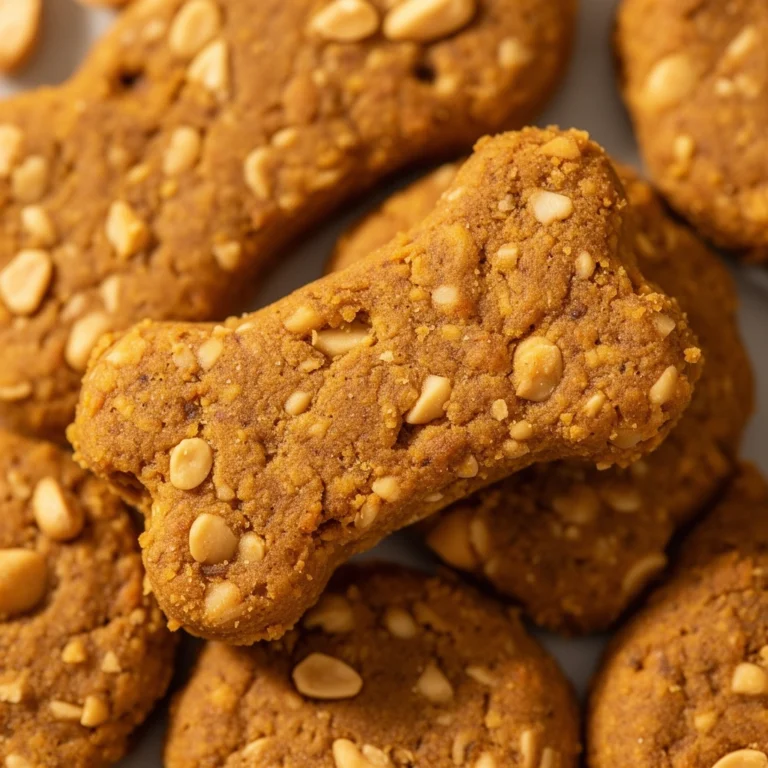
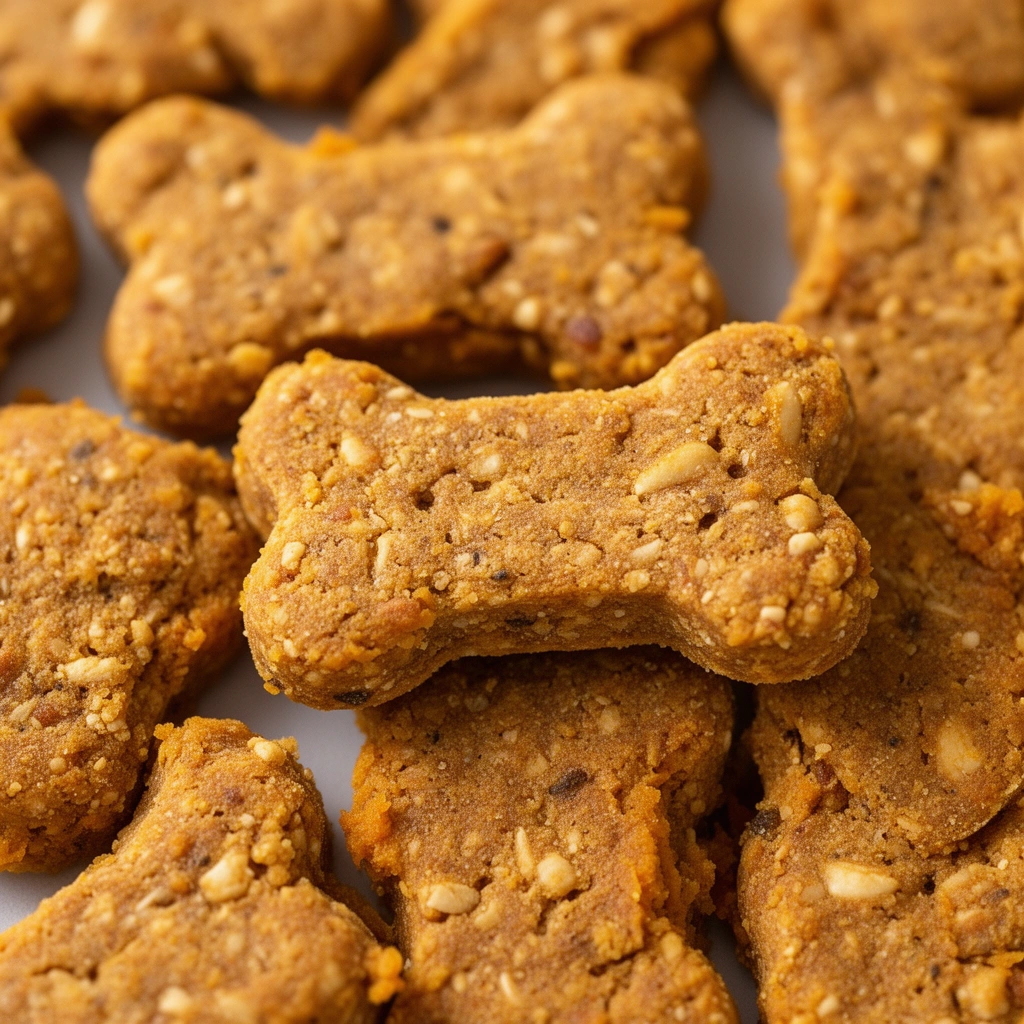
Grab a cookie cutter—bone shapes are classic, but honestly, any shape works. Even cutting into simple squares with a knife does the job just fine.
Step 7: Bake
Place the cut shapes onto your prepared baking sheet, leaving a little space between each. Bake for 20-25 minutes, or until the edges turn golden brown.
Step 8: Cool completely
This step matters more than you’d think. Let the treats cool fully on a wire rack. They’ll continue to harden as they cool, giving you that satisfying crunch dogs love.
Step 9: Store properly
Keep treats in an airtight container. They’ll stay fresh for about a week at room temperature, or up to three months if frozen.
Tips for Success
I’ve learned these lessons the hard way, so you don’t have to:
- Don’t skip the parchment paper. Trust me, cleanup becomes a nightmare without it.
- Measure your pumpkin carefully. Too much liquid makes rolling the dough nearly impossible.
- Use a toothpick test. Insert one into a treat—if it comes out clean, they’re done baking.
- Make treats small. Dogs don’t need giant biscuits; bite-sized pieces work better for training and portion control.
- Cool on a wire rack, not the baking sheet. This prevents sogginess from trapped steam underneath.
- Batch cook when possible. Double the recipe and freeze extras—future you will be grateful.
Common Mistakes and How to Avoid Them
Even simple recipes can go sideways. Here’s what typically trips people up:
Mistake #1: Using pumpkin pie filling instead of pure puree
This is probably the biggest error I see. Pumpkin pie filling contains sugar and spices like nutmeg, which can be toxic to dogs in larger amounts. Always grab plain, 100% pumpkin puree.
Mistake #2: Overbaking the treats
Leaving treats in too long dries them out completely, sometimes to the point where they’re rock hard. Keep an eye on the clock and check for that golden-brown color rather than guessing.
Mistake #3: Skipping the peanut butter check
Some brands sneak xylitol into their peanut butter as a sugar substitute. This ingredient is highly toxic to dogs, even in tiny amounts. Read every label, every time.
Mistake #4: Not adjusting for your dog’s size
A treat sized perfectly for a Great Dane could be a choking hazard proportionally speaking for a Chihuahua. Cut treats according to your dog’s breed and size.
Mistake #5: Storing treats improperly
Leaving treats out in humid environments causes mold growth surprisingly fast. Always use airtight containers and check for any signs of spoilage before serving.
Variations Worth Trying
Once you’ve nailed the basic recipe, feel free to get creative. Here are some variations I’ve tested with great results:
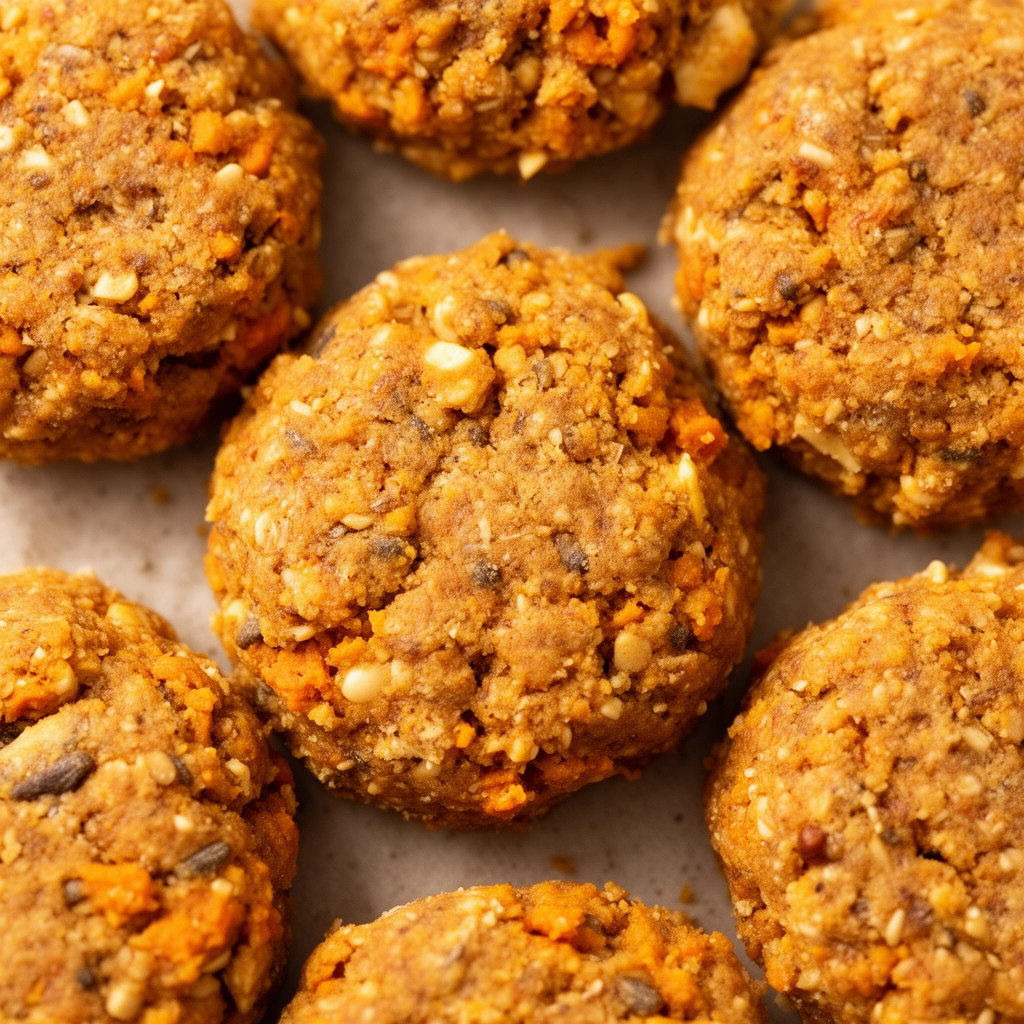
- Pumpkin and banana treats – swap peanut butter for mashed banana for a naturally sweet twist
- Pumpkin and oatmeal treats – replace half the flour with rolled oats for extra fiber and a heartier texture
- Grain-free pumpkin treats – use coconut flour or almond flour instead of wheat flour for dogs with grain sensitivities
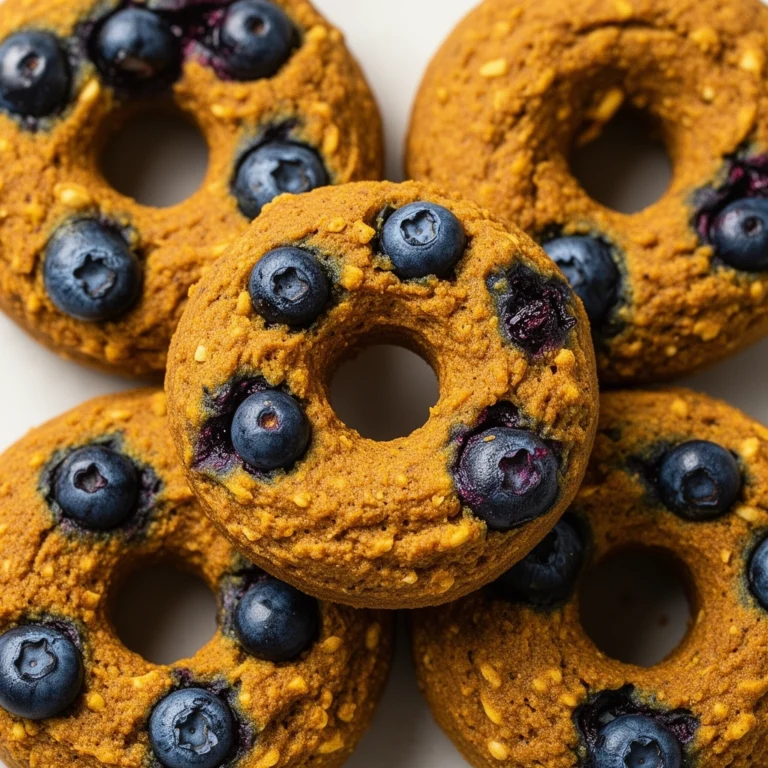
- Pumpkin and blueberry treats – fold in a handful of mashed blueberries for added antioxidants
- Frozen pumpkin treats – skip baking altogether and freeze the pumpkin mixture in silicone molds for a cooling summer snack
- Pumpkin and sweet potato treats – combine equal parts pumpkin puree and mashed sweet potato for extra vitamins
Each variation keeps that core pumpkin goodness while switching things up enough to keep your dog interested and excited during treat time.
Wrapping It Up
Making homemade dog treats with pumpkin honestly ranks among the easiest things you can do to show your dog some love. You get full control over ingredients, save money compared to store-bought options, and honestly, there’s something satisfying about watching your dog’s tail wag like crazy over something you made yourself.
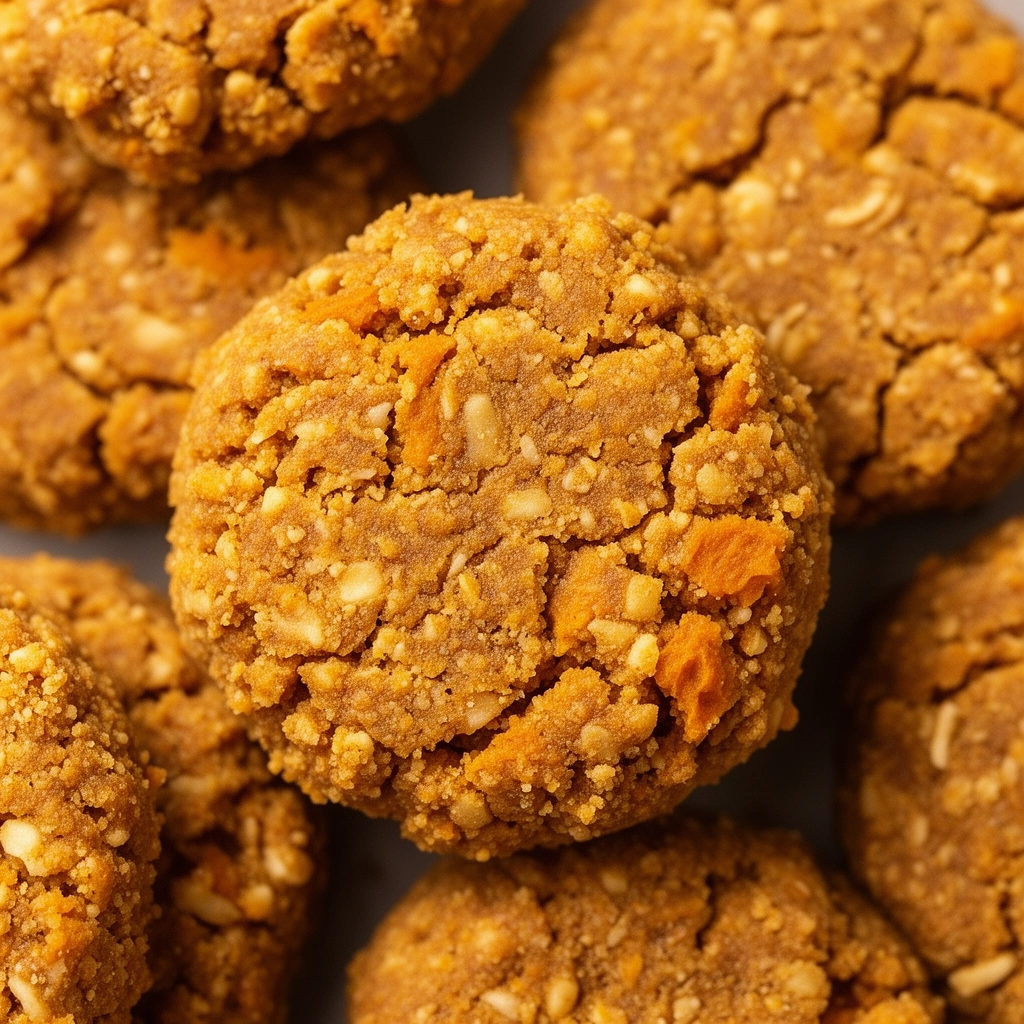
Give this recipe a try this weekend. Grab that can of pumpkin sitting in your pantry, follow these steps, and watch your pup’s reaction. I promise it’ll be worth every minute spent in the kitchen—and your dog will probably start following you around every time you open the fridge from now on.