Pumpkin Dog Cookies: The Ultimate Homemade Treat Your Pup Will Beg For
Ever caught your dog staring at you with those big, hopeful eyes while you’re baking in the kitchen? Yeah, me too. That’s exactly why I started making pumpkin dog cookies at home. They’re healthy, easy to whip up, and honestly smell so good you might want to grab a bite yourself (don’t worry, I won’t judge).
If you’ve ever wondered how to make treats that are both nutritious and delicious for your furry best friend, you’re in the right place. Pumpkin dog cookies check every box: they’re gut-friendly, packed with fiber, and way cheaper than store-bought biscuits loaded with mystery ingredients.
What Are Pumpkin Dog Cookies, Anyway?
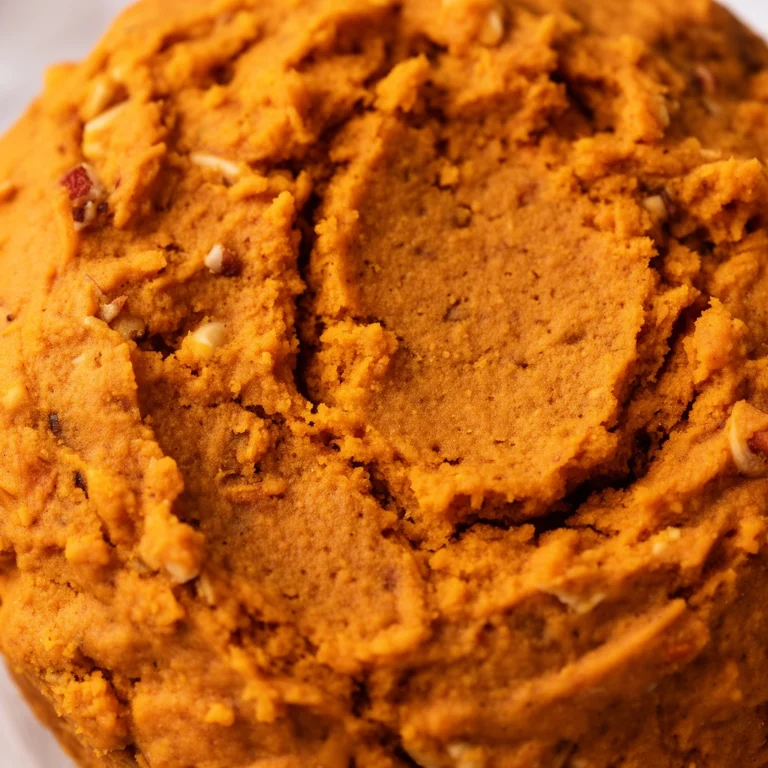
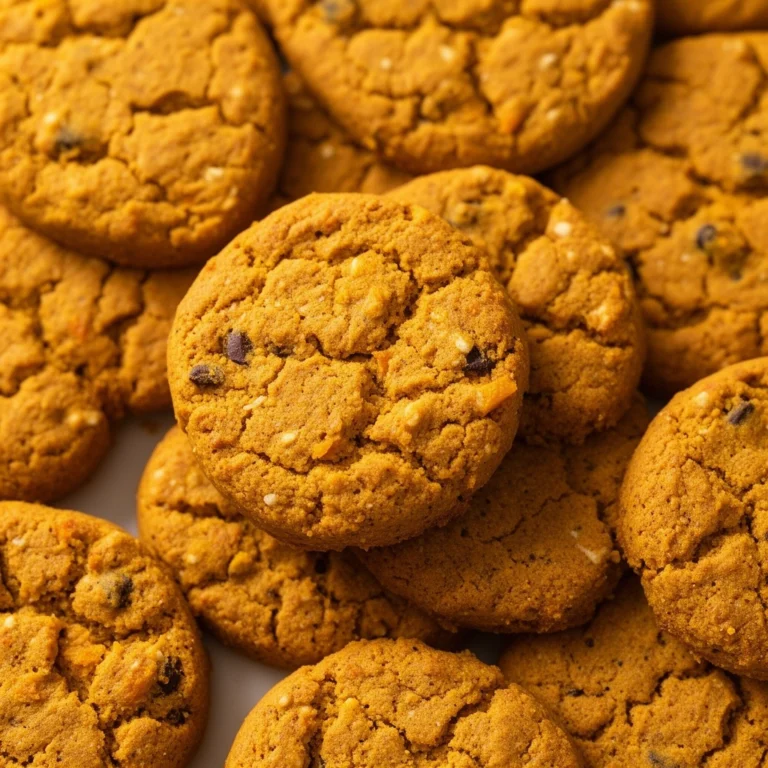
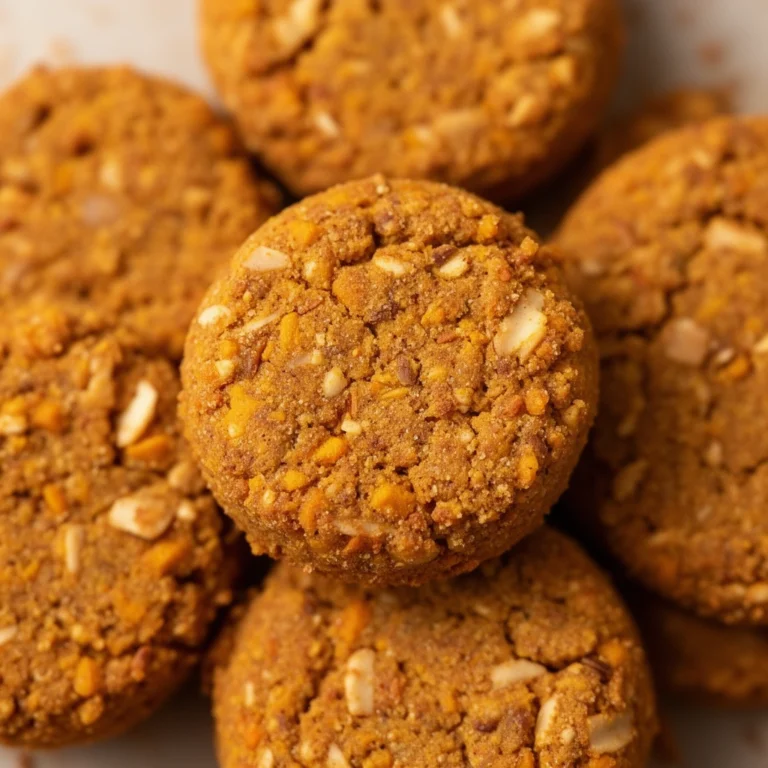
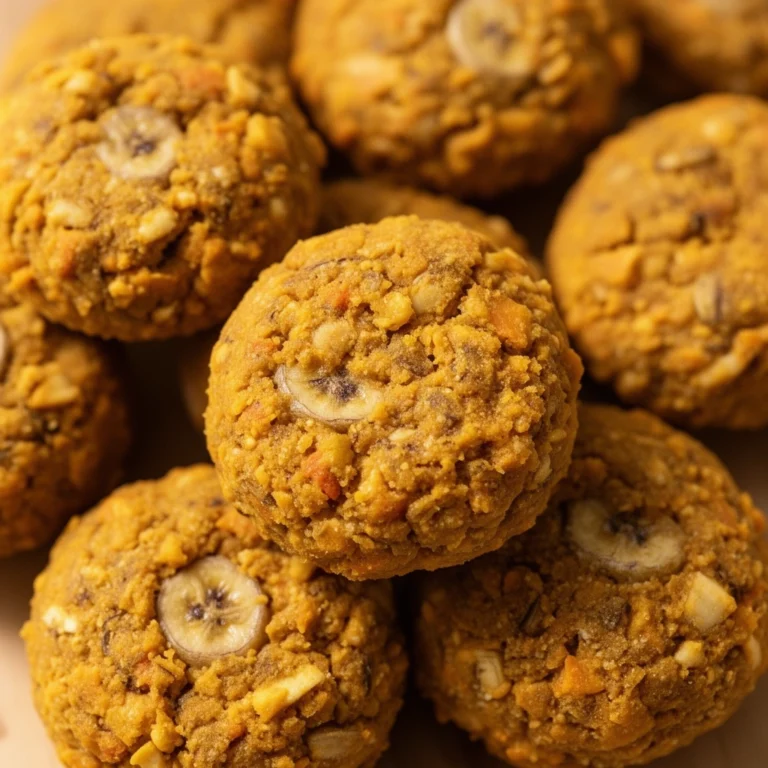
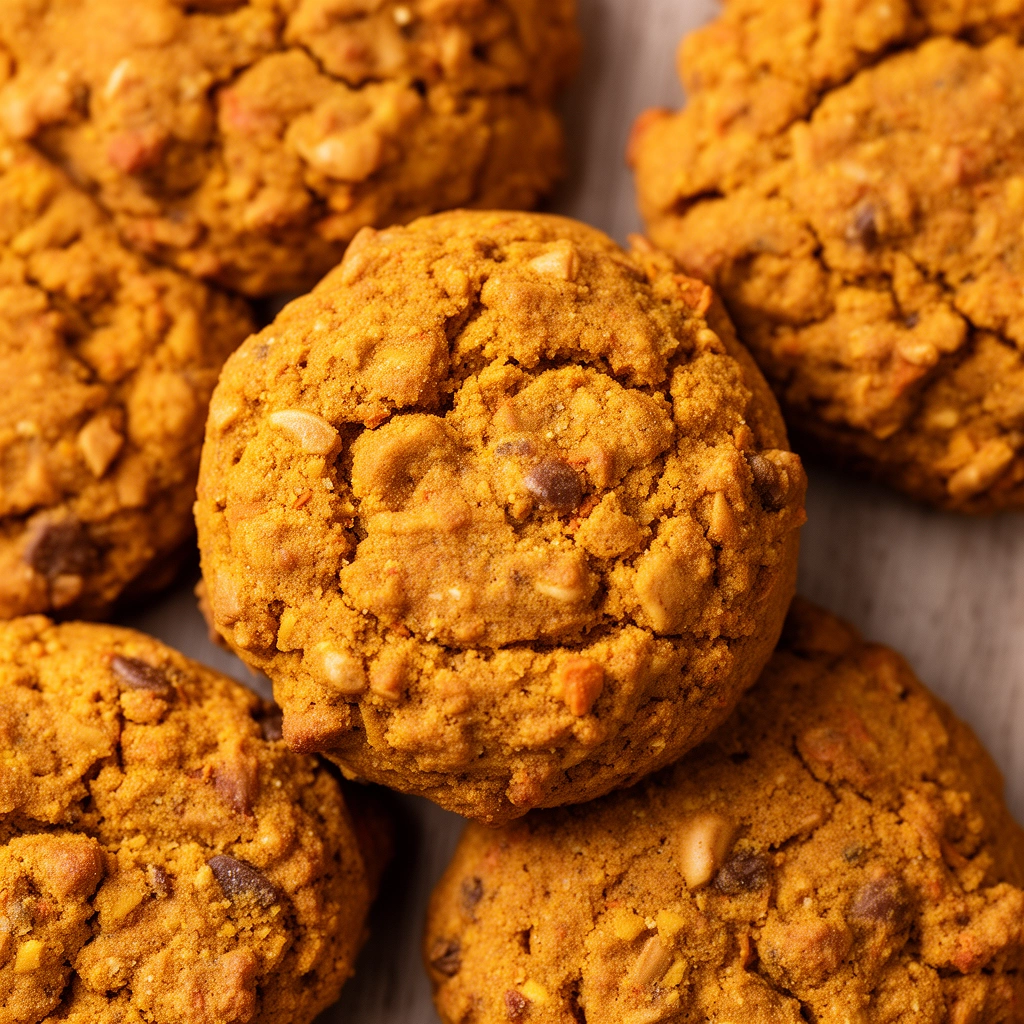
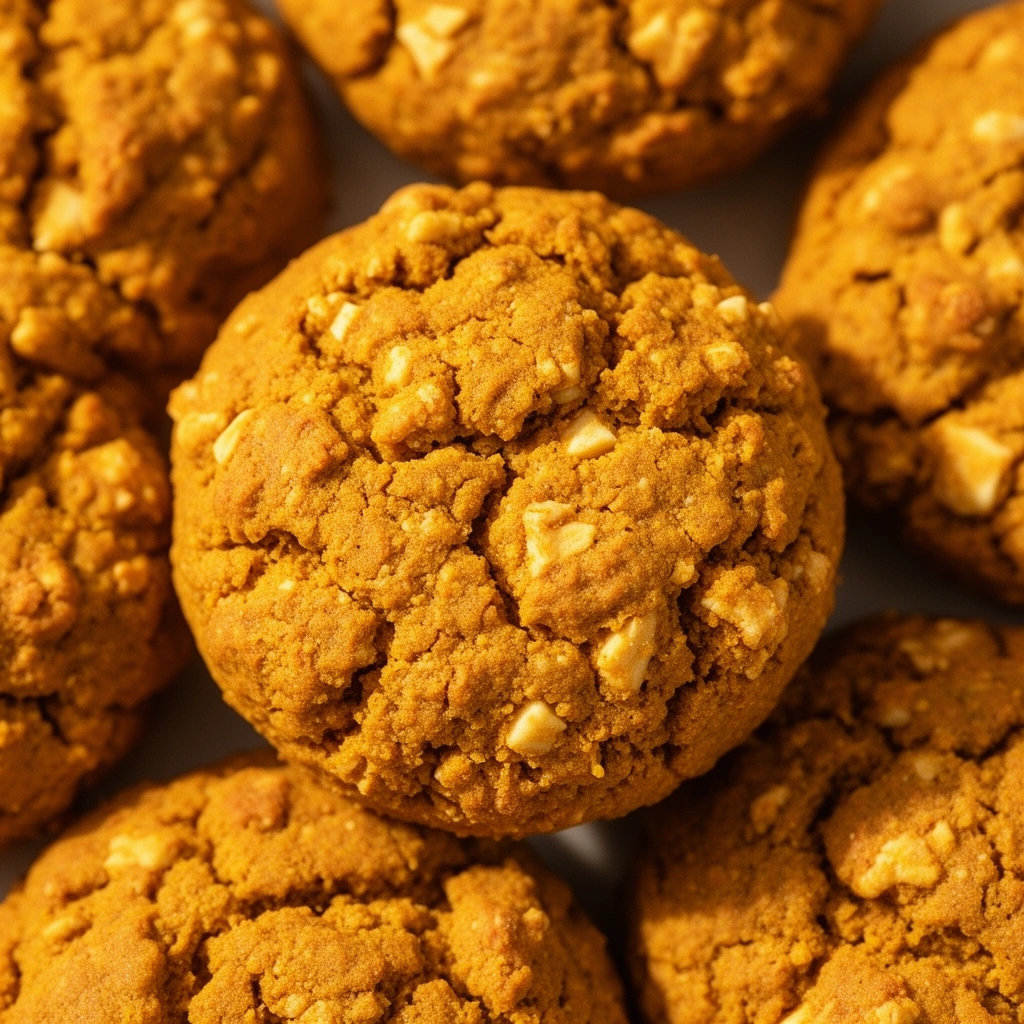
Let’s break it down simply. Pumpkin dog cookies are baked treats made primarily with pumpkin puree, flour, and a few other dog-safe ingredients. They’re crunchy on the outside, slightly soft in the middle, and loaded with nutrients that actually benefit your dog’s digestion.
Pumpkin itself is a superstar ingredient in the pet world. Vets often recommend it for dogs dealing with upset tummies because of its high fiber content. It’s low in calories, rich in vitamins A and C, and most dogs genuinely love the taste.
I’ve made these cookies dozens of times now, tweaking the recipe until I found the version my dog goes absolutely bonkers for. Below, I’ll walk you through everything—from ingredients to storage—so you don’t hit the same bumps I did.
Key Terms You Should Know
Before diving into the recipe, let’s clarify a few terms you’ll see throughout this guide.
Pumpkin Puree
: Plain, cooked, and mashed pumpkin with no added sugar, spices, or preservatives. Not to be confused with pumpkin pie filling, which contains sugar and spices toxic to dogs.
Xanthan Gum
: A natural thickening agent sometimes used in gluten-free baking. Optional here, but helps bind ingredients if you’re skipping wheat flour.
Rolled Fondant Cutter
: A cookie cutter, often shaped like bones or paws, used to shape dough before baking.
Dehydration
: The process of removing moisture from treats to extend shelf life, often done through low-heat baking.
Grain-Free
: Recipes that avoid wheat, corn, or rice, often used for dogs with grain sensitivities.
Knowing these terms will make the rest of this guide easier to follow, especially if you’re new to baking for pets.
Ingredients You’ll Need
Here’s what goes into a solid batch of pumpkin dog cookies. I’ve kept things simple and dog-safe.
- 1 cup pumpkin puree (unsweetened, plain)
- 2 cups whole wheat flour (or oat flour for grain-sensitive pups)
- 2 eggs
- 2 tablespoons peanut butter (make sure it’s xylitol-free)
- 1 teaspoon cinnamon (optional, but adds warmth)
- 1/4 cup water (adjust as needed for dough consistency)
That’s it. No sugar, no salt, no artificial anything. Just real food your dog can actually digest properly.
Step-by-Step: How to Make Pumpkin Dog Cookies
Now let’s get into the fun part. Follow these steps closely, and you’ll have a batch of golden, crunchy cookies in under an hour.
- Preheat your oven to 350°F (175°C) and line a baking sheet with parchment paper.
- In a large bowl, mix the pumpkin puree, eggs, and peanut butter until smooth.
- Slowly add the flour, one cup at a time, stirring as you go.
- Add cinnamon if you’re using it, then mix until a thick dough forms.
- If the dough feels too dry, add water a tablespoon at a time until it holds together.
- Turn the dough onto a floured surface and roll it out to about 1/4 inch thickness.
- Use a cookie cutter (bones work great) to cut out shapes.
- Place the cookies on your prepared baking sheet, spacing them slightly apart.
- Bake for 20–25 minutes, or until the edges turn golden brown.
- Remove from the oven and let them cool completely on a wire rack.
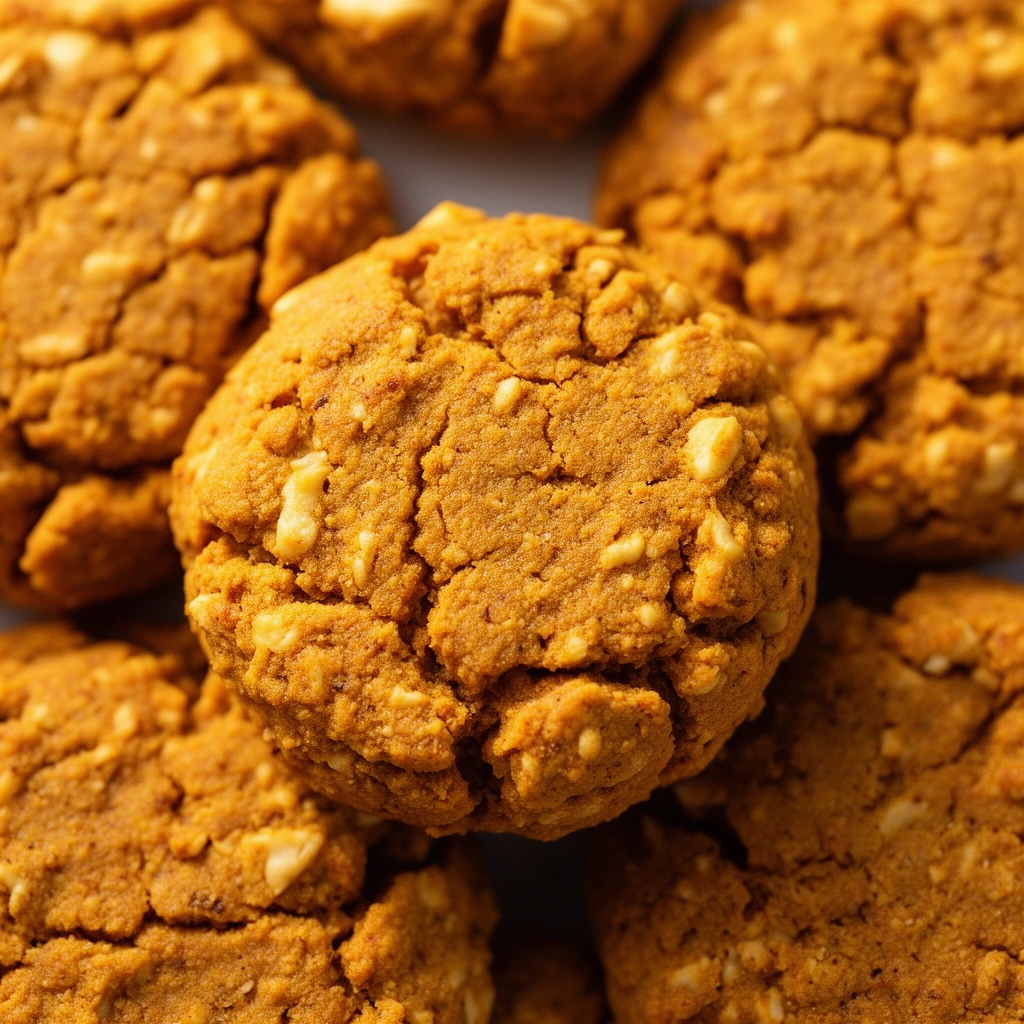
That cooling step matters more than you’d think. Cookies continue to firm up as they cool, so don’t rush this part.
Tips for Success
I’ve learned a few things the hard way, so let me save you the trouble.
- Always use plain pumpkin puree, never pumpkin pie mix. The spices in pie mix can upset your dog’s stomach or worse.
- Roll the dough evenly. Uneven thickness means some cookies burn while others stay underbaked.
- Store cooled cookies in an airtight container to keep them crunchy longer.
- If your dog has allergies, swap wheat flour for oat or rice flour without changing the recipe’s structure much.
- Bake a test batch first if you’re trying a new flour type. Some flours absorb moisture differently.
Common Mistakes and How to Avoid Them
Even simple recipes can go sideways. Here’s where most people slip up.
Using Pumpkin Pie Filling Instead of Puree
: This is probably the biggest mistake. Pie filling has added sugar, nutmeg, and other spices that are harmful to dogs. Always double-check the label.
Skipping the Cooling Time
: Cookies taken straight from the oven feel soft and might seem underdone. Give them at least 30 minutes to cool and harden properly.
Overbaking to Get Extra Crunch
: I get it, we all want that satisfying crunch. But baking too long dries out the treats completely and can make them rock hard. Stick to the recommended time and adjust slightly based on your oven.
Adding Sweeteners
: Honey, sugar, or syrup might seem harmless, but dogs don’t need added sugar. It can lead to weight gain and dental issues over time.
Not Adjusting for Small Dogs
: If you’ve got a tiny pup, consider making smaller cookies. Portion control matters, especially for treats meant to be occasional snacks, not meals.
Storage and Shelf Life
This part often gets overlooked, but it’s important. Homemade treats don’t have preservatives, so they won’t last as long as store-bought ones.
- Store in an airtight container at room temperature for up to one week.
- Refrigerate for up to two weeks if you want them to last longer.
- Freeze in a sealed bag for up to three months. Just thaw before serving.
I usually make a big batch and freeze half. That way, I’ve always got treats ready without baking every week.
Variations Worth Trying
Once you’ve nailed the basic recipe, feel free to experiment. Here are a few variations I’ve tried myself.
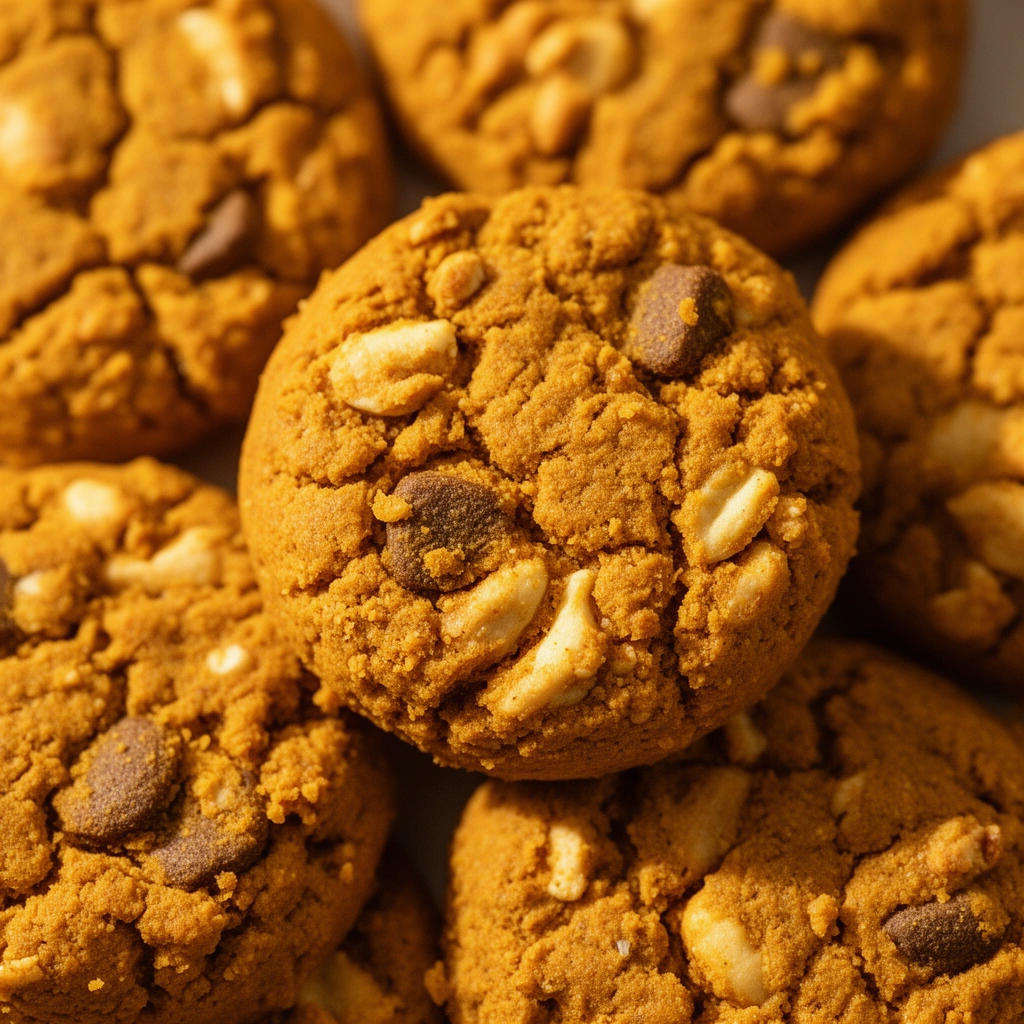
- Peanut Butter Pumpkin Cookies: Add an extra tablespoon of peanut butter for a richer flavor dogs adore.
- Grain-Free Version: Swap wheat flour for almond flour or coconut flour for dogs with grain sensitivities.
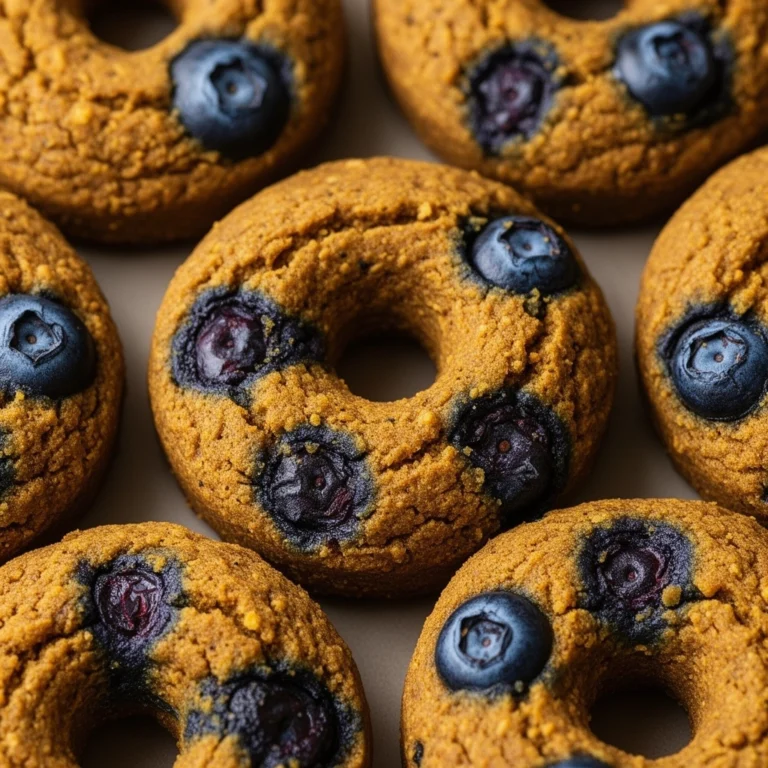
- Blueberry Pumpkin Treats: Mash a few blueberries into the dough for added antioxidants and a slightly sweet twist.
- Oatmeal Pumpkin Cookies: Replace half the flour with rolled oats for extra fiber and a chewier texture.
- Frozen Pumpkin Bites: Skip baking altogether and freeze small dollops of the mixture in silicone molds for a cooling summer treat.
Each variation keeps the pumpkin base while adding something new. It’s a great way to figure out what your dog prefers.
A Quick Word on Portion Control
Treats should never replace a balanced diet. Even healthy snacks like pumpkin cookies should make up no more than 10% of your dog’s daily calorie intake. For smaller breeds, one or two cookies a day is plenty. Larger dogs can handle a few more, but moderation always wins.
If your dog has any existing health conditions, particularly diabetes or pancreatitis, it’s smart to check with your vet before introducing new treats, even ones as simple as pumpkin cookies.
Wrapping It Up
Making pumpkin dog cookies at home isn’t complicated, and the payoff is huge. You control every ingredient, your dog gets a treat that’s actually good for them, and you save money compared to store-bought options packed with fillers.
I’ve made these more times than I can count, and my dog still acts like it’s the best day of his life every single time I pull a batch out of the oven. Give this recipe a shot, tweak it based on what your pup loves, and enjoy watching those happy tail wags. At the end of the day, homemade pumpkin dog cookies are simple proof that healthy and delicious can absolutely go together.