Homemade Peanut Butter Dog Cake: A Birthday Treat Your Pup Will Actually Love
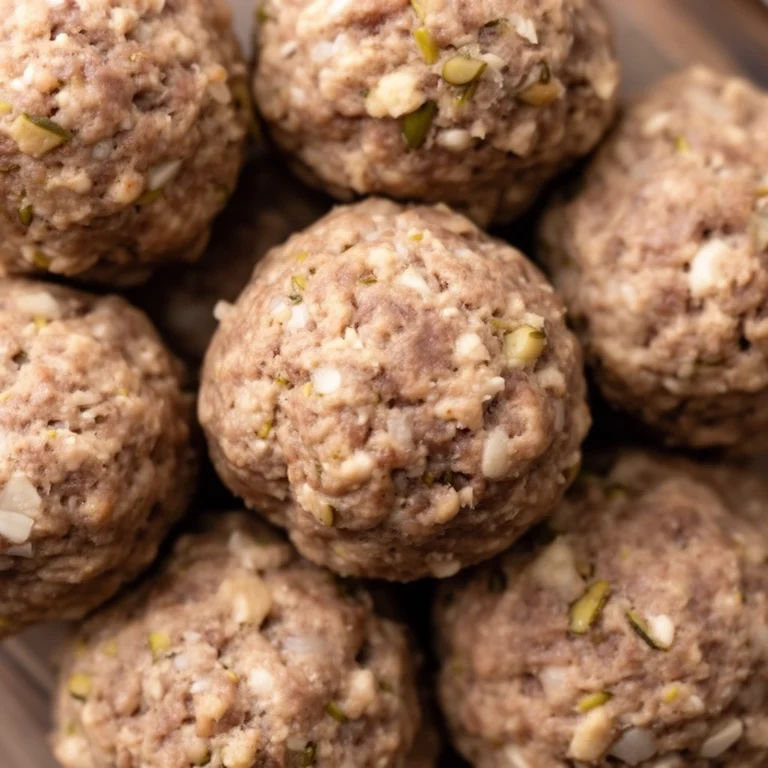
Ever wonder what to bake when your furry best friend turns one? I asked myself that same question last year, staring at my dog’s calendar reminder for his birthday. That’s when I discovered the joy of making a homemade peanut butter dog cake from scratch.
This isn’t just another recipe post. I’ve tested this cake more times than I can count, tweaked the ingredients, fixed the flops, and figured out exactly what makes dogs go crazy for it. By the end of this guide, you’ll know everything you need to bake a safe, tasty cake your dog will remember (well, dogs don’t remember dates, but you get the point).
What Exactly Is a Peanut Butter Dog Cake?
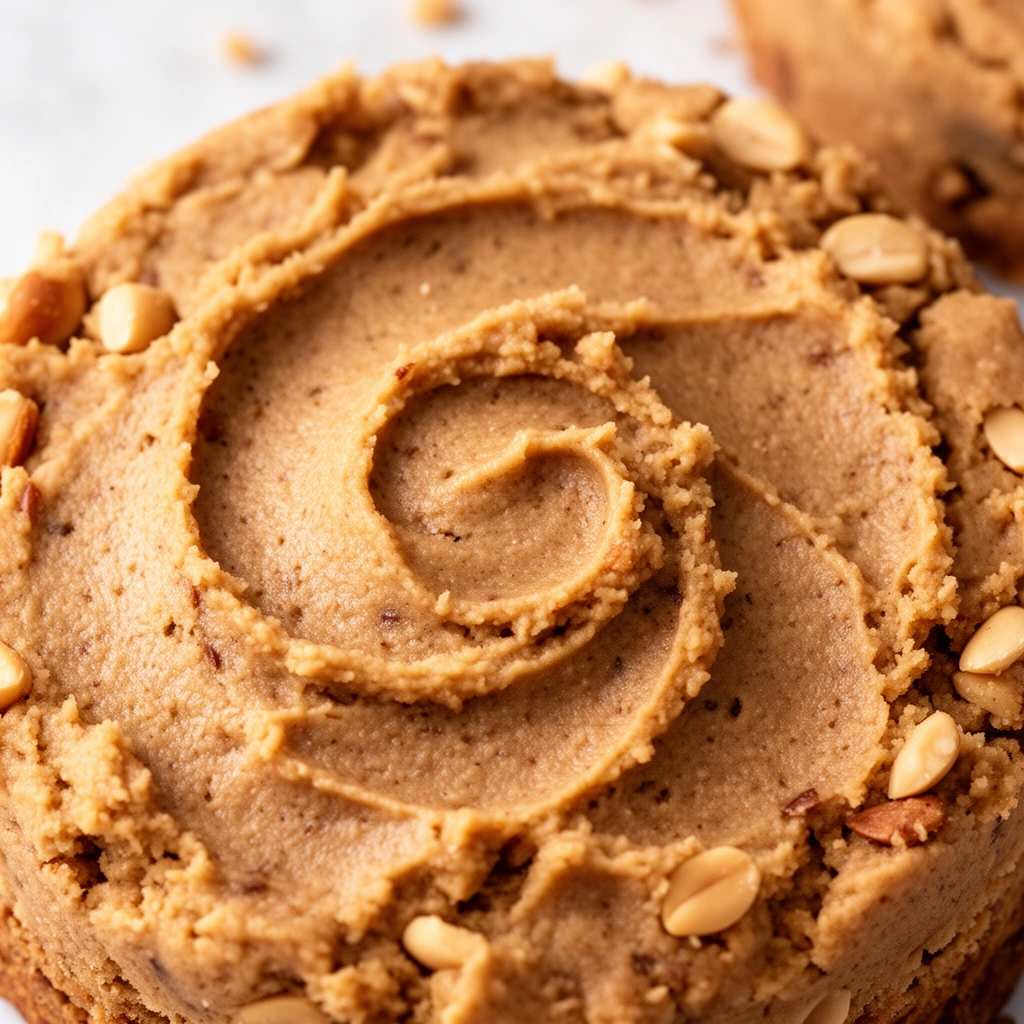
Let’s break this down simply. A peanut butter dog cake is basically a cake made without the stuff that hurts dogs—no sugar, no chocolate, no artificial sweeteners. Instead, it uses ingredients dogs can actually digest safely.
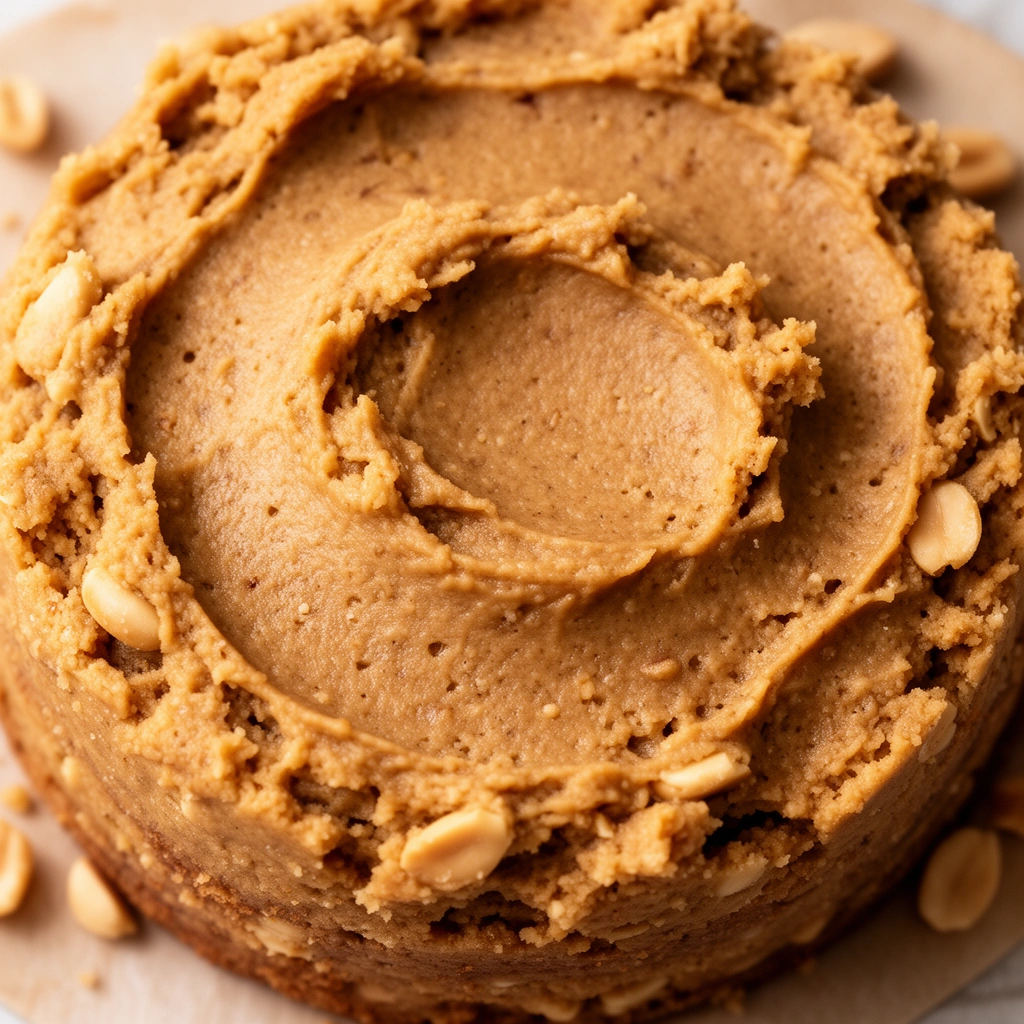
Think of it as a “human cake” translated into dog language. The base usually includes flour (regular or grain-free), eggs, peanut butter, and sometimes pumpkin or applesauce for moisture. The frosting? That’s often just plain yogurt or mashed banana mixed with more peanut butter.
Here’s what makes this cake special:
Dog-safe ingredients: Everything used is something a vet would approve of, unlike regular cake mixes loaded with sugar and preservatives.
Simple prep: You don’t need fancy baking skills. If you can mix a bowl and use an oven, you’re set.
Customizable: Depending on your dog’s allergies or preferences, you can swap ingredients without ruining the cake.
Key Terms You Should Know Before Baking
Before diving into the recipe, let’s clarify some terms that’ll pop up. This helps you shop smarter and avoid mistakes.
Xylitol
: A sugar substitute found in many “sugar-free” peanut butters. It’s extremely toxic to dogs, even in small amounts. Always check the label before buying peanut butter for this recipe.
Grain-Free Flour
: Flour made from something other than wheat, like almond flour, coconut flour, or oat flour. Useful for dogs with grain sensitivities.
Natural Peanut Butter
: Peanut butter with just peanuts (and maybe salt) as ingredients. No added sugar, no xylitol, no hydrogenated oils.
Carob
: A chocolate substitute that’s safe for dogs. Real chocolate is toxic to pups, so carob chips are often used for decoration instead.
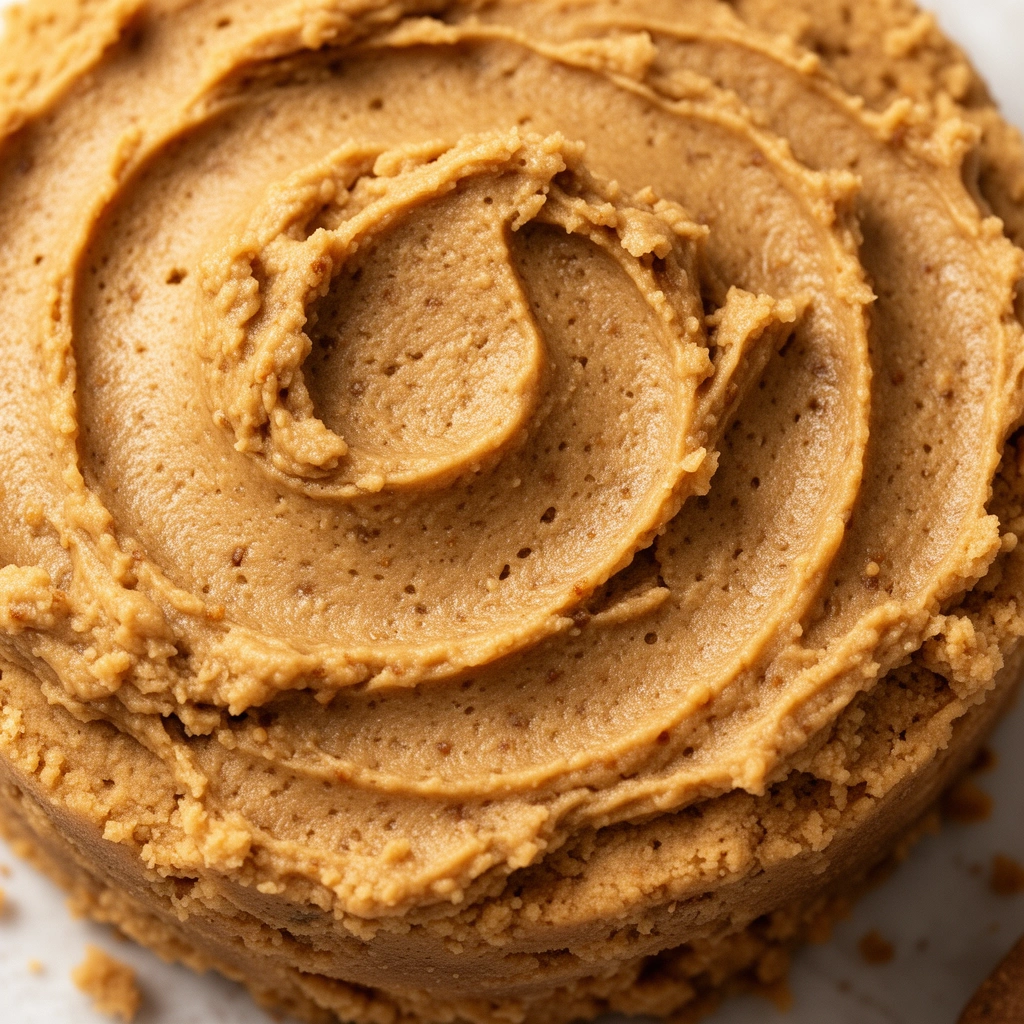
Dog-Safe Frosting
: Typically made from plain Greek yogurt, cream cheese, or mashed banana—never regular buttercream or cream cheese frosting loaded with sugar.
What You’ll Need Before You Start
Gathering everything beforehand saves you from mid-recipe panic. Here’s your shopping list:
Dry Ingredients:
- 2 cups whole wheat flour (or oat flour for grain-sensitive dogs)
- 1 teaspoon baking powder (make sure it’s aluminum-free)
Wet Ingredients:
- 1 cup natural peanut butter (xylitol-free, obviously)
- 2 large eggs
- 1/2 cup unsweetened applesauce
- 1/2 cup plain pumpkin puree (not pumpkin pie filling)
- 1/4 cup water or unsweetened chicken broth
For the Frosting:
- 1 cup plain Greek yogurt
- 2 tablespoons peanut butter
- Optional: mashed banana for extra sweetness
Tools:
- Mixing bowls
- Whisk or fork
- 6-inch or 8-inch cake pan
- Parchment paper
- Cooling rack
Step-by-Step Baking Process
Now for the fun part. Follow these steps closely, and you’ll have a cake ready in under an hour.
- Preheat your oven to 350°F (175°C). This ensures even baking from the start.
- Line your cake pan with parchment paper. This prevents sticking and makes cleanup easier.
- In a large bowl, whisk together the flour and baking powder. Set aside.
- In another bowl, combine peanut butter, eggs, applesauce, and pumpkin puree. Mix until smooth.
- Slowly add the dry ingredients into the wet mixture. Stir until just combined—don’t overmix, or the cake gets dense.
- Add water or broth a little at a time if the batter feels too thick. You want it pourable but not runny.
- Pour the batter into your prepared pan and smooth the top with a spatula.
- Bake for 25-30 minutes, or until a toothpick inserted in the center comes out clean.
- Remove from the oven and let it cool completely on a wire rack. This step matters—frosting a warm cake makes a mess.
- While the cake cools, mix your frosting ingredients in a small bowl until smooth.
- Once the cake is fully cooled, spread the frosting evenly across the top.
- Optional: decorate with dog-safe treats like small pieces of banana, blueberries, or carob chips.
That’s it. You’ve officially baked a cake your dog can safely enjoy.
Tips for Success
I’ve learned a few things the hard way, so let me save you the trouble.
- Always check your peanut butter label twice. Some brands sneak xylitol into “natural” peanut butter, and that’s a dangerous mistake.
- Use room temperature eggs. They mix more evenly into the batter, giving you a smoother texture.
- Don’t skip the cooling step. I once tried frosting a warm cake, and it turned into peanut butter soup. Lesson learned.
- Store leftovers properly. Keep the cake in an airtight container in the fridge for up to five days, or freeze individual slices for up to two months.
- Portion control matters. Even healthy treats should stay treats. A small slice is plenty for most dogs, especially smaller breeds.
- Test for allergies first. If your dog’s never had peanut butter or pumpkin before, offer a tiny taste a day before the big celebration.
Common Mistakes and How to Avoid Them
Even simple recipes go sideways sometimes. Here’s what usually trips people up.
Mistake: Using peanut butter with xylitol.
Fix: Read every label, every time. Brands change formulas without warning.
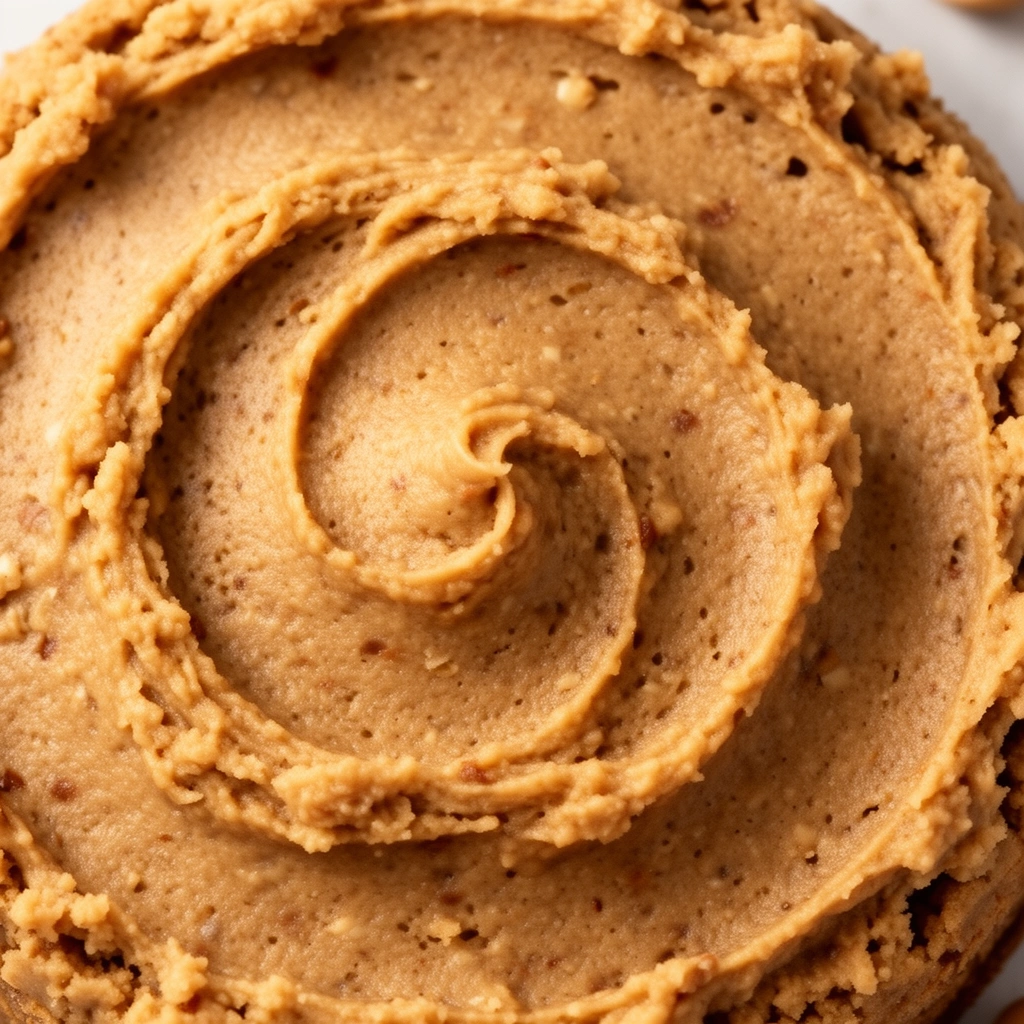
Mistake: Overbaking the cake until it’s dry and crumbly.
Fix: Check at the 25-minute mark. Ovens vary, so don’t blindly trust the timer.
Mistake: Skipping the parchment paper and ending up with a cake stuck to the pan.
Fix: Always line your pan, even if it’s labeled “non-stick.”
Mistake: Using cow’s milk-based yogurt for lactose-sensitive dogs.
Fix: Try lactose-free yogurt or coconut yogurt instead.
Mistake: Adding raisins or grapes as decoration, thinking they’re harmless.
Fix: These are toxic to dogs. Stick with blueberries, bananas, or carob chips instead.
Mistake: Serving the cake immediately without portioning it out.
Fix: Cut slices ahead of time so you don’t accidentally overfeed your dog during the excitement.
Fun Variations to Try
Once you’ve nailed the basic recipe, get creative. Here are some variations I’ve tried myself.
Carrot Peanut Butter Cake
: Add shredded carrots to the batter for extra fiber and natural sweetness.
Banana Peanut Butter Cake
: Replace applesauce with mashed banana for a fruitier flavor profile.
Grain-Free Version
: Swap wheat flour for almond flour or coconut flour if your dog has grain sensitivities.
Mini Cupcake Version
: Instead of one big cake, pour batter into a muffin tin for individual servings—perfect for parties with multiple dogs.
Bacon-Topped Cake
: Crumble cooked, unseasoned bacon on top for dogs who go wild over savory flavors.
Frozen Peanut Butter Cake
: Freeze the finished cake for a cool summer treat, especially great for hot days.
Wrapping It Up
Baking a homemade peanut butter dog cake isn’t complicated once you know the right ingredients and steps. I’ve walked you through everything—from picking safe peanut butter to avoiding common mistakes that ruin the cake or, worse, harm your dog.
The best part? You control exactly what goes into your dog’s treat. No mystery ingredients, no unpronounceable preservatives, just simple, wholesome food made with love. So next time your pup’s birthday rolls around, skip the store-bought stuff and whip up your own peanut butter dog cake instead. Your dog will thank you with the happiest tail wags you’ve ever seen.