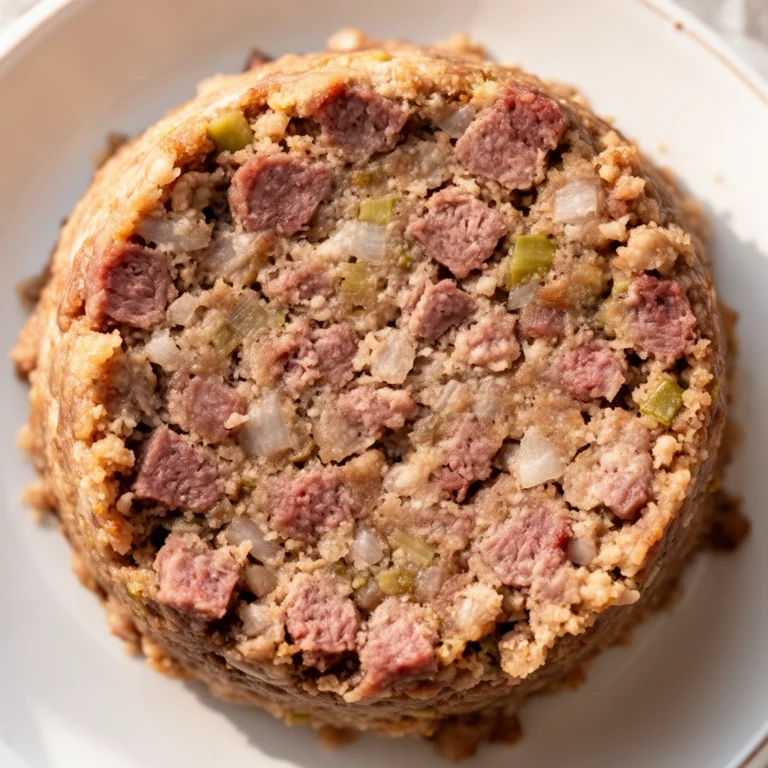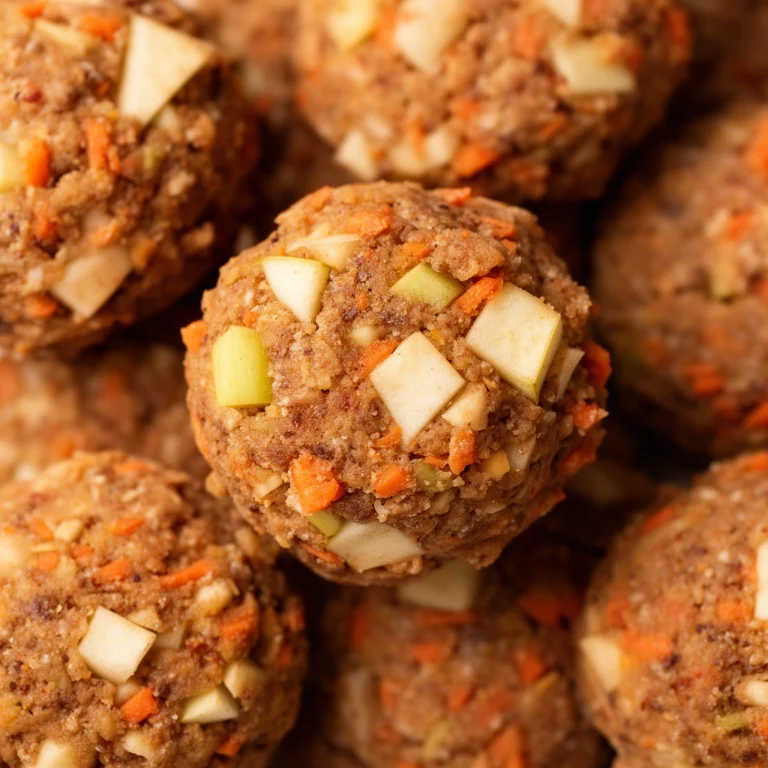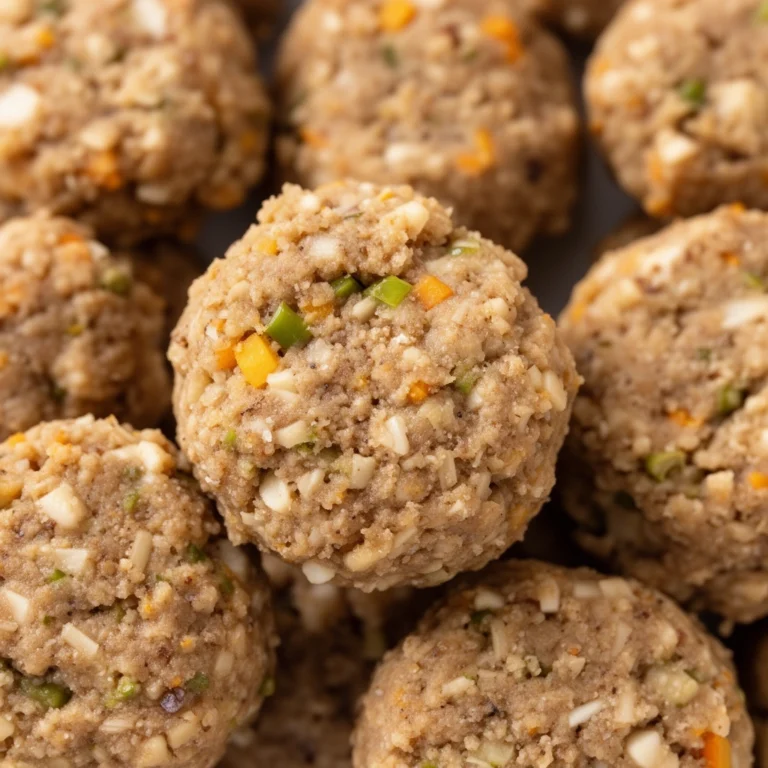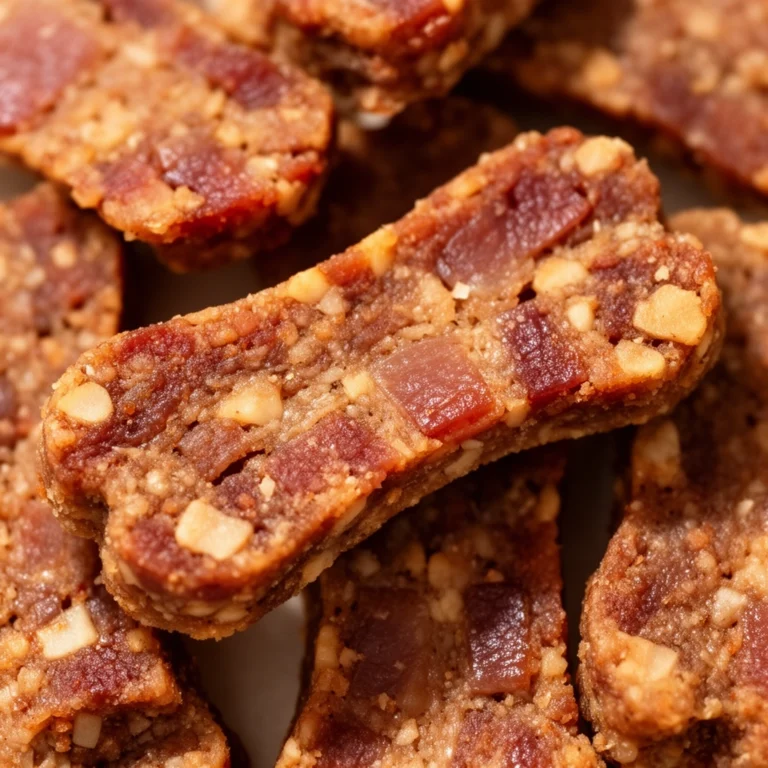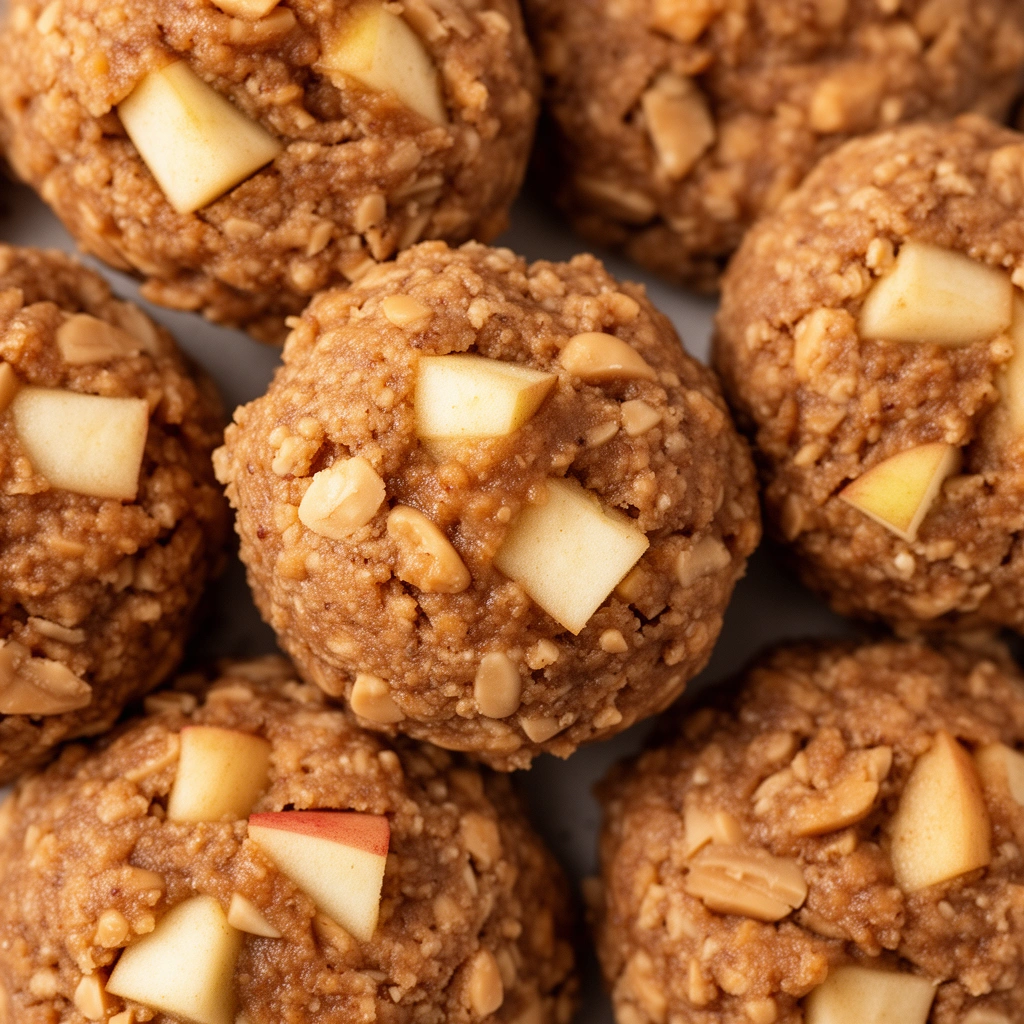
Homemade Apple Peanut Butter Dog Treats: A Recipe Your Pup Will Beg For
Ever caught your dog staring at you with those big, hopeful eyes while you’re peeling an apple? I have. That’s actually how I stumbled onto making homemade apple peanut butter dog treats in the first place. My dog wouldn’t stop sniffing around the kitchen counter, and I figured, why not turn this curiosity into something he could actually eat?
If you’ve been searching for a treat that’s healthy, affordable, and doesn’t require a chemistry degree to make, you’re in the right spot. I’ll walk you through everything—from picking the right ingredients to storing the finished treats so they last. And trust me, I’ll cover the stuff most recipe blogs skip, like why peanut butter brand matters (a lot) and how to avoid treats that turn into hockey pucks.
What Are Apple Peanut Butter Dog Treats, Exactly?
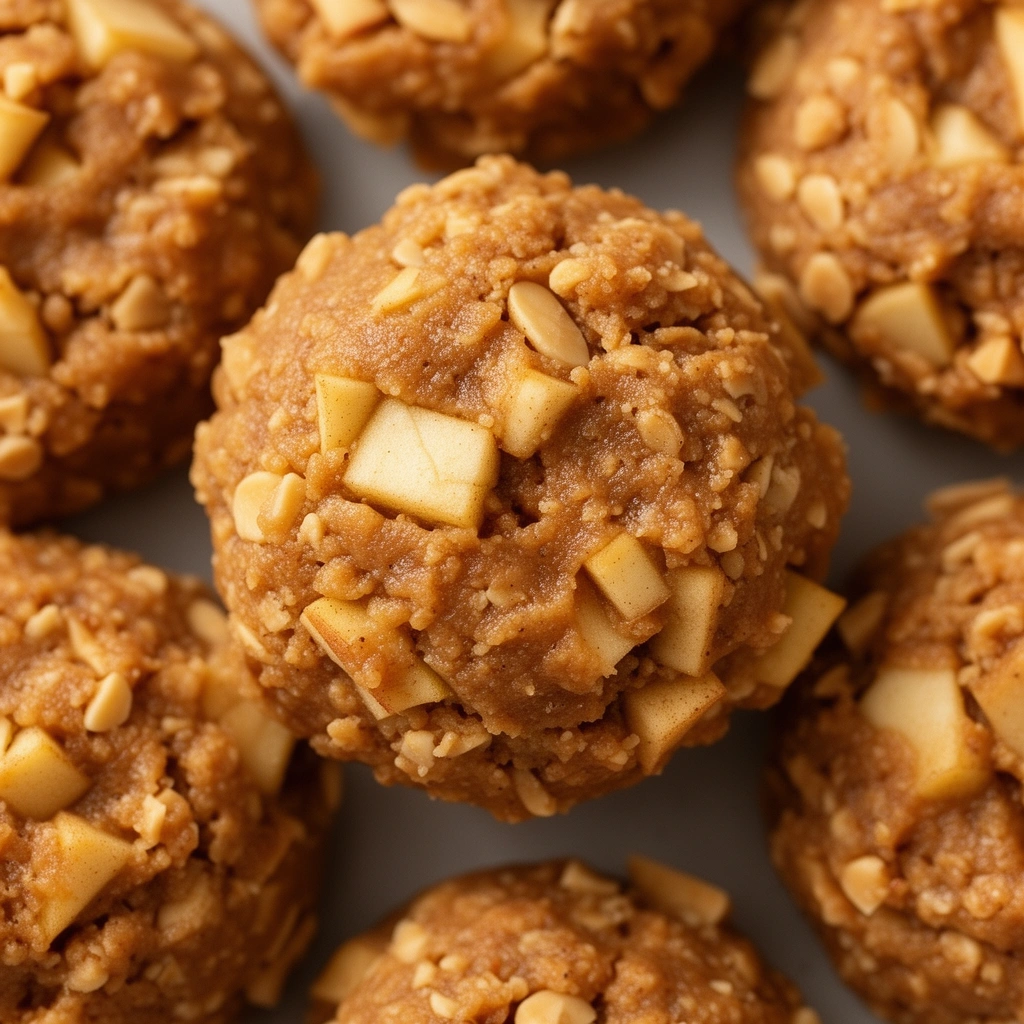
Let’s start simple. These treats are baked biscuits made from a handful of dog-safe ingredients—apples, peanut butter, oats or flour, and sometimes an egg to bind everything together. They’re crunchy on the outside, a little soft in the middle, and they smell so good you might be tempted to eat one yourself. (I have. No shame.)
What makes this combo special isn’t just the taste. Apples bring fiber and vitamin C. Peanut butter adds protein and healthy fats. Together, they create a treat that’s way better for your dog than most store-bought biscuits loaded with preservatives and mystery meat by-products.
The best part? You control every single ingredient. No hidden sugars. No weird additives. Just real food your dog can enjoy without you worrying about what’s actually in it.
Key Terms You Should Know Before Baking
Before we jump into the recipe, let’s clear up a few terms you’ll see throughout this guide.
Xylitol
: A sugar substitute found in some peanut butter brands. It’s extremely toxic to dogs, even in small amounts. Always check labels before buying.
Rolled Oats
: Whole oat grains that have been steamed and flattened. They add fiber and help bind the treats together.
Binder
: An ingredient (like egg or mashed banana) that holds the dough together so it doesn’t crumble apart during baking.
Dehydrating
: A slower baking method at low heat that removes moisture, creating a longer-lasting, crunchier treat.
Airtight Container
: A sealed storage container that keeps air and moisture out, extending the shelf life of your treats.
Knowing these terms isn’t just trivia. They’ll help you make smarter choices as you shop for ingredients and store your finished batch.
What You’ll Need
Here’s your shopping list. Nothing fancy, nothing hard to find.
- 1 medium apple, cored and grated (skip the seeds—they contain trace cyanide compounds)
- 1 cup natural peanut butter (xylitol-free, unsalted if possible)
- 1 large egg
- 1 ½ cups whole wheat flour or oat flour
- ½ cup rolled oats
- 1 teaspoon cinnamon (optional, but adds a nice warm flavor dogs seem to love)
- A splash of water, if the dough feels too dry
Tools you’ll want on hand:
- Mixing bowl
- Grater or food processor for the apple
- Rolling pin
- Cookie cutters (bone-shaped is classic, but any shape works)
- Baking sheet
- Parchment paper or a silicone baking mat
Step-by-Step: How to Make the Treats
Alright, let’s get into the actual baking. I’ll break this down so there’s zero guesswork.
- Preheat your oven to 350°F (175°C). Line your baking sheet with parchment paper.
- Grate the apple using a box grater or food processor. Squeeze out excess liquid with a paper towel—too much moisture makes soggy dough.
- In a large bowl, mix the peanut butter and egg until smooth and creamy.
- Add the grated apple and cinnamon. Stir until combined.
- Gradually add the flour and oats, mixing as you go. The dough should feel firm but slightly sticky, like playdough.
- If it’s too dry, add a tablespoon of water at a time. If it’s too wet, sprinkle in a bit more flour.
- Roll the dough out on a floured surface to about ¼ inch thickness.
- Cut into shapes using your cookie cutter. Re-roll scraps until you’ve used all the dough.
- Place treats on the baking sheet, leaving a little space between each one.
- Bake for 20 minutes, then flip each treat and bake another 15-20 minutes until golden and firm.
- Turn off the oven and let the treats sit inside for an extra hour. This step dries them out further, giving you that satisfying crunch.
- Cool completely on a wire rack before serving or storing.
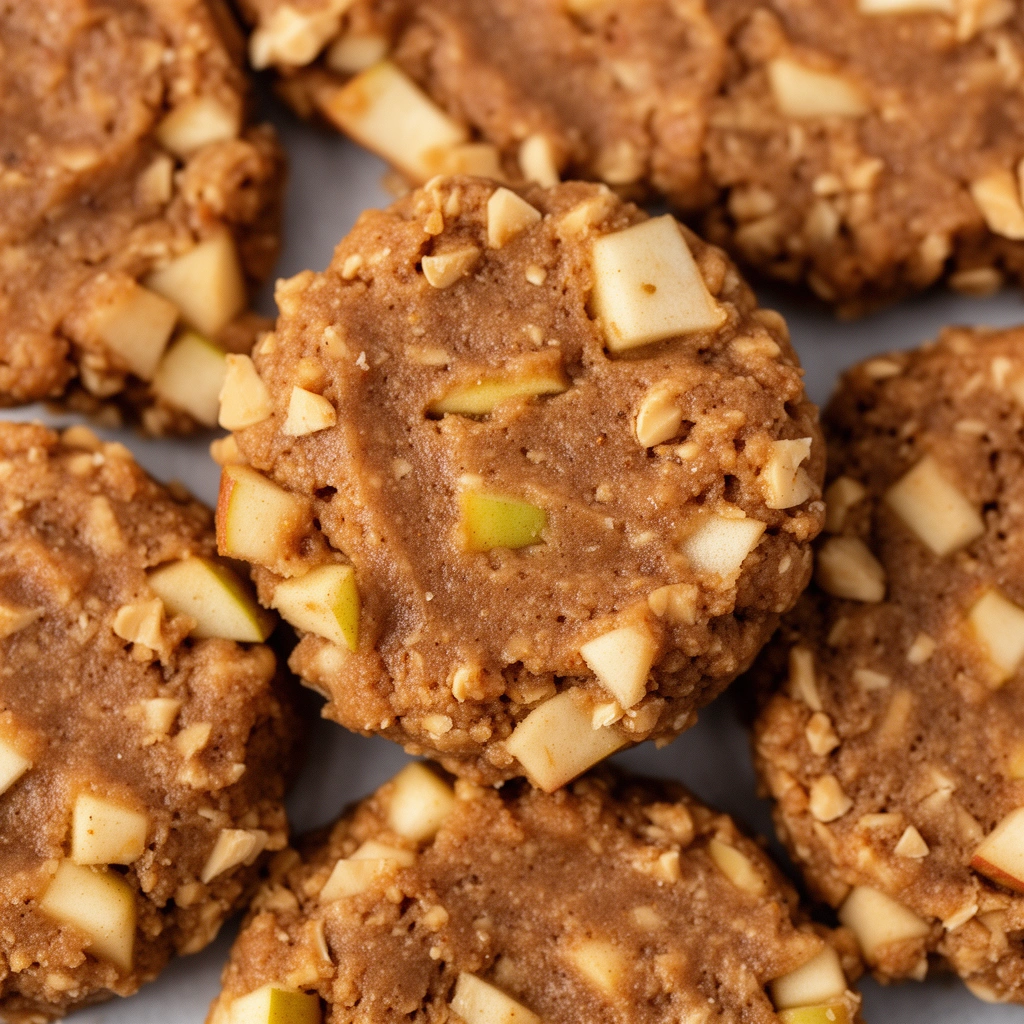
That extra hour in the cooling oven is something a lot of recipes skip, but it genuinely makes a difference in texture. Skip it, and you’ll end up with treats that go soft within a day or two.
Tips for Success
- Always double-check your peanut butter label for xylitol. This isn’t optional—it’s a safety must.
- Use unsalted, unsweetened peanut butter whenever you can find it. Less sodium is easier on your dog’s kidneys.
- Grate the apple finely so it blends smoothly into the dough instead of creating lumpy pockets.
- Keep treat size small, especially for smaller dog breeds. Big biscuits mean more calories per bite.
- Let treats cool fully before storing. Warm treats trapped in a container create condensation, which leads to mold.
- Store in an airtight container in the fridge for up to two weeks, or freeze for up to three months.
Common Mistakes and How to Avoid Them
Mistake: Using peanut butter with xylitol.
Fix: Read every label carefully. Brands change formulas without warning, so don’t assume last month’s safe peanut butter is still safe this month.
Mistake: Skipping the apple-squeezing step.
Fix: Excess moisture from grated apple makes dough sticky and treats soggy. A few paper towel squeezes go a long way.
Mistake: Overbaking or underbaking.
Fix: Watch color, not just time. Treats should look golden brown, not pale or burnt. Ovens vary, so check a few minutes early.
Mistake: Making treats too large.
Fix: Remember, these are treats, not meals. Smaller sizes let you reward your dog without overdoing calories.
Mistake: Storing treats while still warm.
Fix: Always cool completely on a wire rack first. Patience here prevents mold later.
Variations You Can Try
Once you’ve nailed the basic recipe, feel free to get creative. Here are a few twists I’ve tried myself.
- Swap the apple for mashed banana for a naturally sweet, different flavor profile.
- Add a tablespoon of pumpkin puree for extra fiber and a fall-inspired taste.
- Use oat flour instead of wheat flour if your dog has gluten sensitivities.
- Mix in a spoonful of plain yogurt for added probiotics.
- Try shredded carrot alongside the apple for a crunchier bite and extra vitamin A.
- For dogs with peanut allergies, substitute sunflower seed butter (again, checking for xylitol).
Each variation keeps the same basic method, so don’t be afraid to experiment once you’re comfortable with the process.
Wrapping It Up
Making homemade apple peanut butter dog treats isn’t complicated, and honestly, it’s kind of fun once you get the hang of it. You end up with a treat that’s healthier, cheaper, and way more personal than anything from a store shelf. Plus, watching your dog’s face light up when you hand over a fresh, homemade biscuit? That’s a reward in itself.
So grab an apple, check that peanut butter label twice, and get baking. Your dog’s already waiting by the kitchen counter—might as well give them something worth the wait.