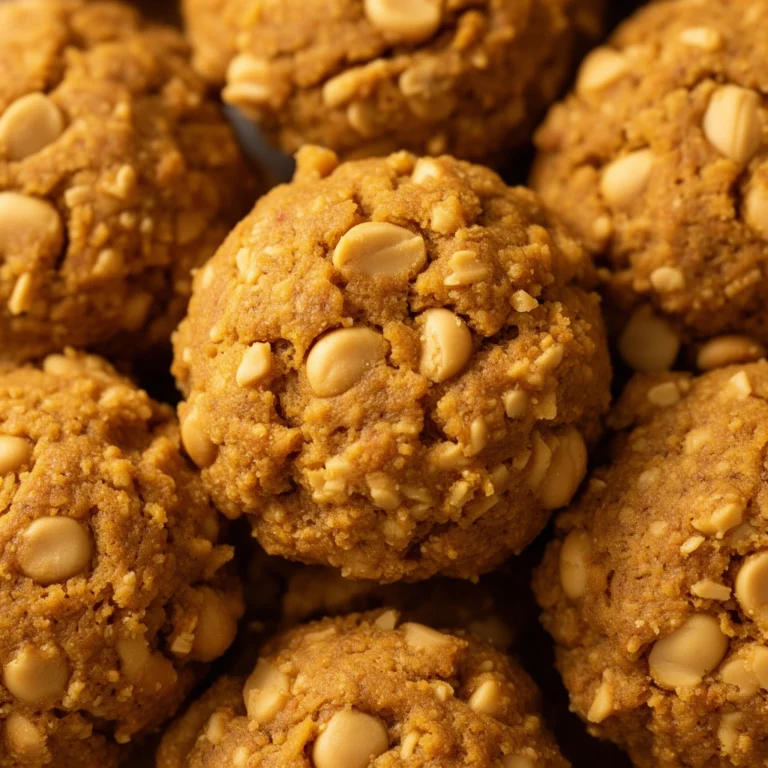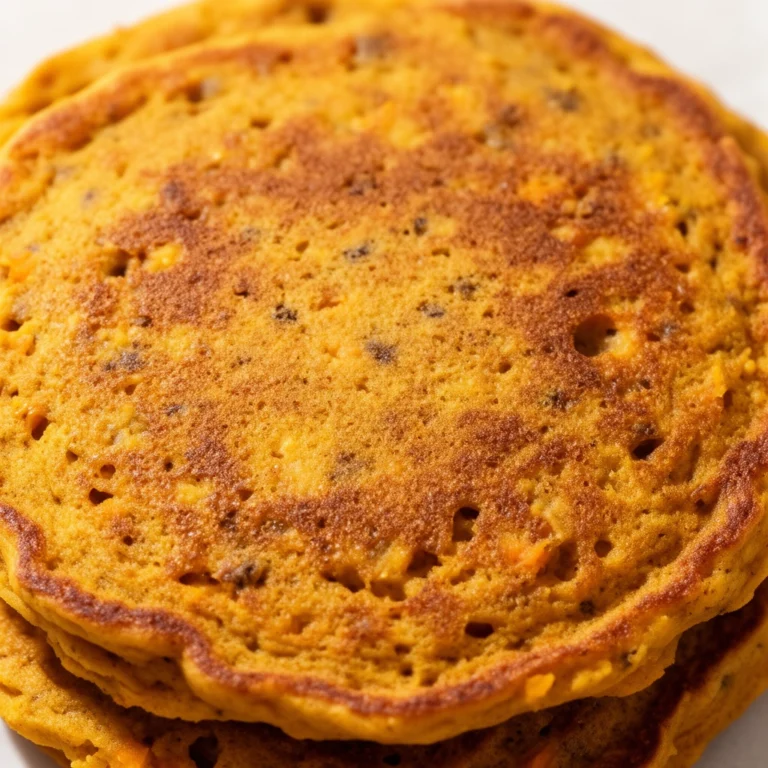
Peanut Butter Pumpkin Dog Treats: The Ultimate Homemade Recipe Your Pup Will Beg For
Ever caught your dog staring at you with those big, hopeful eyes while you’re baking in the kitchen? I have. Every single time. That’s exactly why I started making peanut butter pumpkin dog treats at home—my Golden Retriever, Max, practically does a happy dance whenever he smells pumpkin baking in the oven. If you’re looking for a treat that’s healthy, budget-friendly, and ridiculously easy to make, you’ve landed in the right spot.
I’ve tested dozens of recipes over the years, tweaked ingredient ratios, and learned a few hard lessons along the way (burnt batches, anyone?). This guide covers everything you need—not just the recipe, but the “why” behind each step, common pitfalls, and creative twists you can try once you’ve mastered the basics.
What Are Peanut Butter Pumpkin Dog Treats?
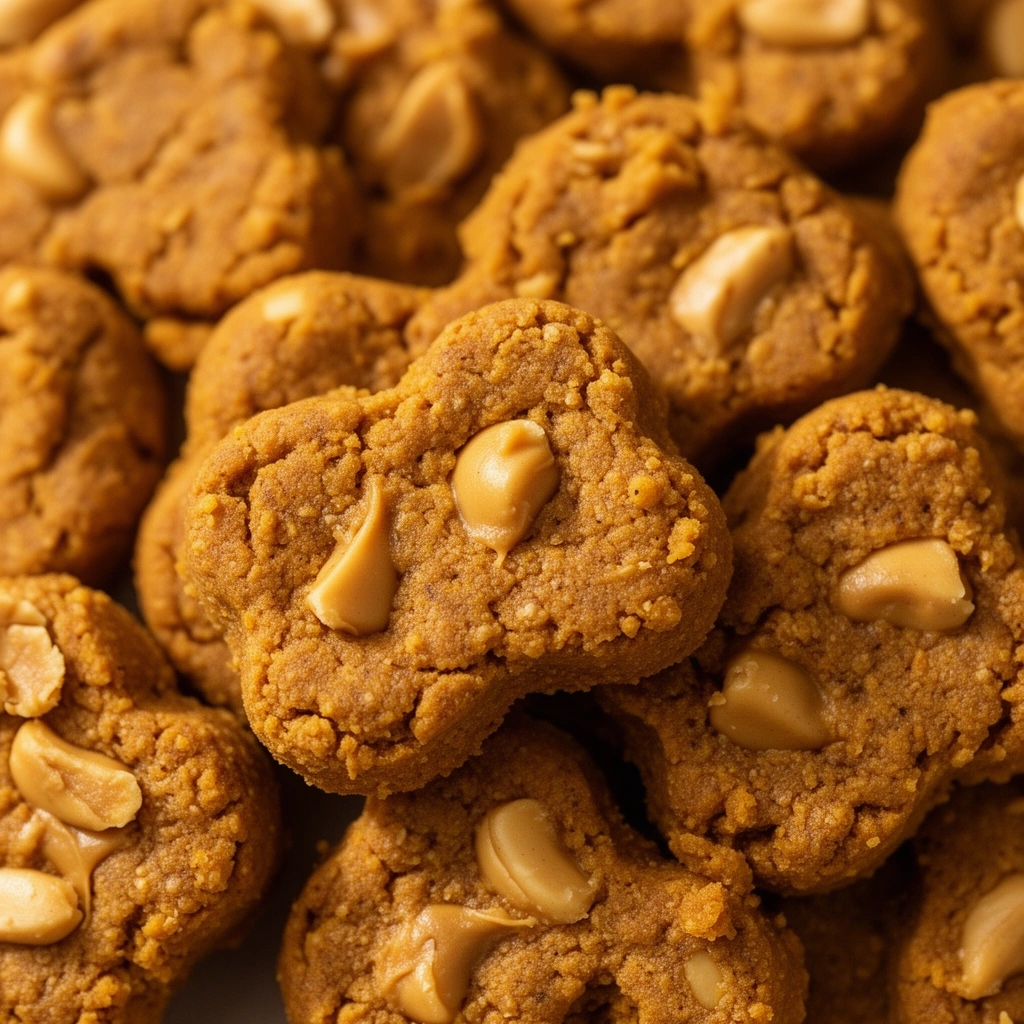
Let’s break this down simply. These treats combine two dog-approved superfoods—peanut butter and pumpkin—into a crunchy, bite-sized snack your pup can enjoy guilt-free.
Peanut butter brings protein, healthy fats, and a flavor dogs go crazy for. Pumpkin, on the other hand, is a fiber powerhouse that supports digestion and adds natural sweetness without the sugar crash. Together, they create a treat that’s not just tasty but genuinely good for your dog’s body.
Unlike store-bought biscuits loaded with preservatives, fillers, and mystery ingredients, homemade versions let you control exactly what goes into your dog’s belly. That matters more than people realize, especially for pups with sensitive stomachs or food allergies.
Key Terms You Should Know
Before we get into the mixing bowl, let’s clarify some terms that’ll come up throughout this recipe.
Xylitol
: A sugar substitute found in many peanut butter brands that is extremely toxic to dogs, even in small amounts. Always check labels before buying.
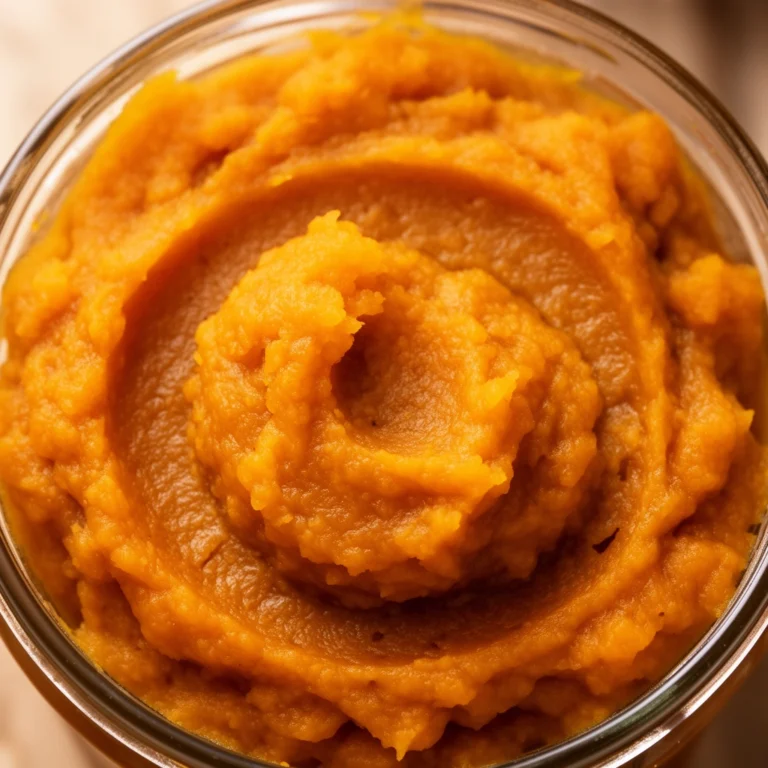
Pumpkin Puree
: The pure, cooked flesh of pumpkin with no added sugar, spices, or seasoning. Different from pumpkin pie filling, which contains sugar and spices unsafe for dogs.
Rolled Oat Flour
: Oats ground into a fine powder, often used as a grain alternative to wheat flour for dogs with sensitivities.
Dough Consistency
: Refers to how firm or sticky the mixture is before baking. Too wet, and treats won’t hold shape; too dry, and they’ll crumble.
Rawhide-Free Chew
: Simply means the treat doesn’t contain rawhide, making it a safer, digestible option compared to traditional rawhide chews.
Ingredients You’ll Need
Here’s what to gather before you start:
- 1 cup pure pumpkin puree (not pumpkin pie mix)
- 1/2 cup natural peanut butter (xylitol-free)
- 2 cups whole wheat flour (or oat flour for grain-sensitive dogs)
- 2 large eggs
- 1 teaspoon cinnamon (optional, but adds a nice aroma)
- A splash of water, if needed for consistency
That’s it. No weird additives, no complicated shopping list. Just simple, wholesome ingredients you probably already have in your pantry.
Step-by-Step Instructions
I promise this recipe is easier than assembling IKEA furniture. Follow these steps, and you’ll have a batch of treats ready in under an hour.
-
Preheat your oven to 350°F (175°C). Line a baking sheet with parchment paper so nothing sticks.
-
Mix the wet ingredients. In a large bowl, combine the pumpkin puree, peanut butter, and eggs. Stir until smooth and well blended.
-
Add the dry ingredients gradually. Slowly mix in the flour, a little at a time, along with cinnamon if you’re using it. Stir until a thick dough forms.
-
Check the consistency. The dough should feel like Play-Dough—firm enough to roll but not crumbly. If it’s too sticky, add a tablespoon of flour. Too dry? Add a splash of water.
-
Roll out the dough. Use a rolling pin on a floured surface until it’s about 1/4 inch thick.
-
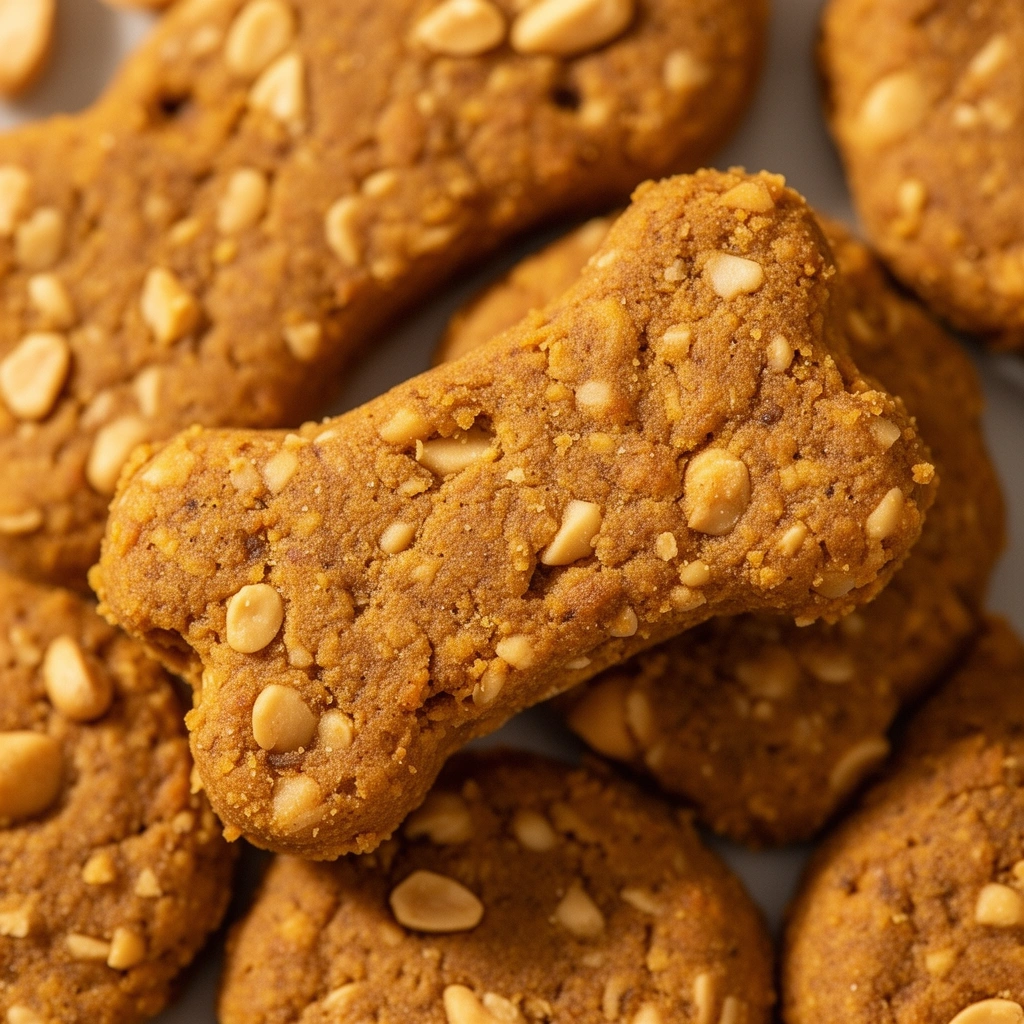
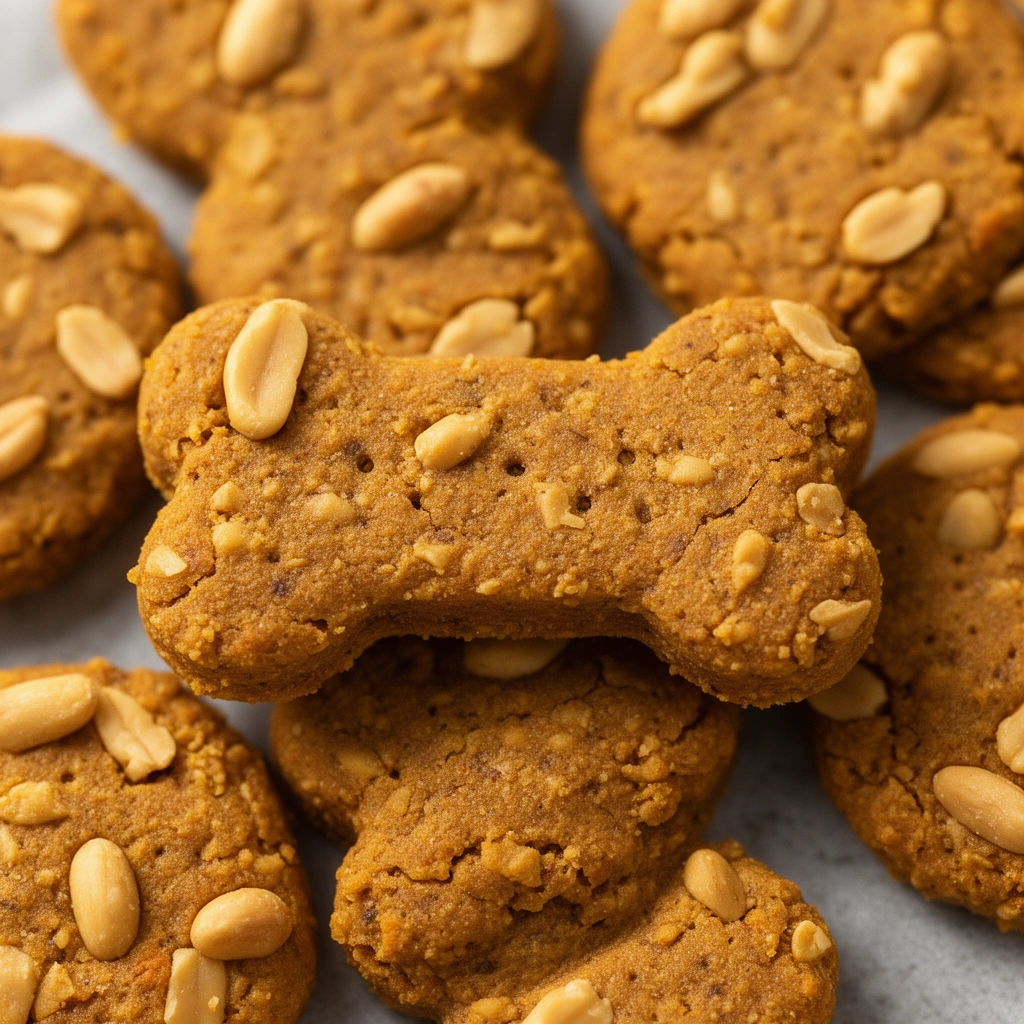
Cut into shapes. Grab a cookie cutter (bone shapes are fun, but honestly, any shape works) and cut out your treats.
-
Arrange on the baking sheet. Leave a little space between each piece so they bake evenly.
-
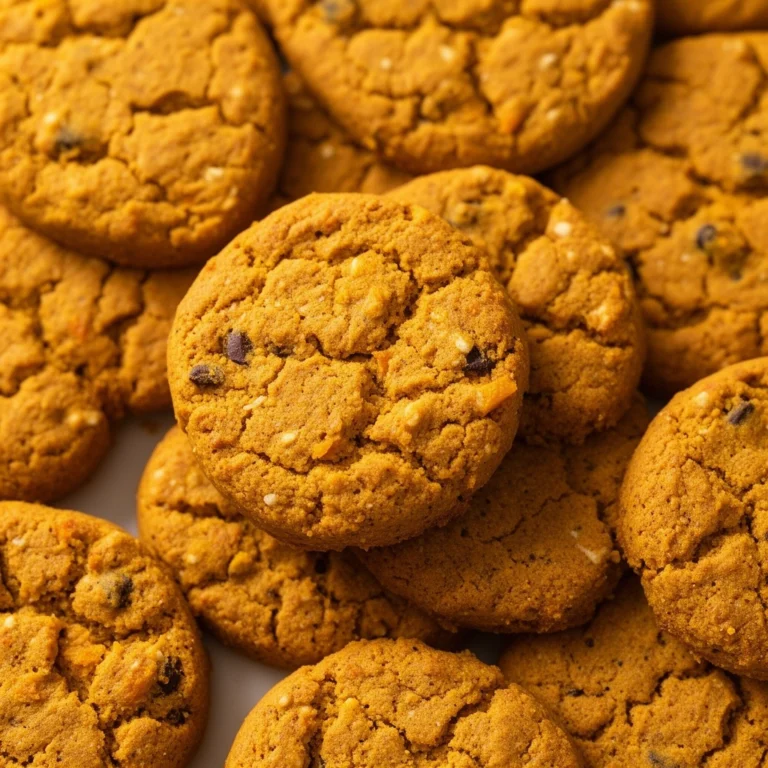
Bake for 20–25 minutes, or until the edges turn golden brown.
-
Cool completely. This step matters more than people think—cooling helps the treats firm up and reach that satisfying crunch.
-
Store properly. Keep treats in an airtight container. More on storage below.
Tips for Success
Getting the recipe right the first time isn’t guesswork. Here’s what I’ve learned from my own kitchen trials:
- Always double-check your peanut butter label. Xylitol hides in “natural” and “sugar-free” brands more often than you’d expect. This single mistake can turn a healthy treat into a dangerous one.
- Use room-temperature eggs. They blend more smoothly into the pumpkin and peanut butter mixture.
- Don’t skip the cooling step. Treats fresh out of the oven are soft; they firm up as they cool, giving you that satisfying crunch dogs love.
- Test dough thickness with your fingers. If it sticks heavily to your hands, it needs more flour.
- Bake a test batch first if you’re trying a new flour type. Oat flour, for instance, absorbs moisture differently than wheat flour.
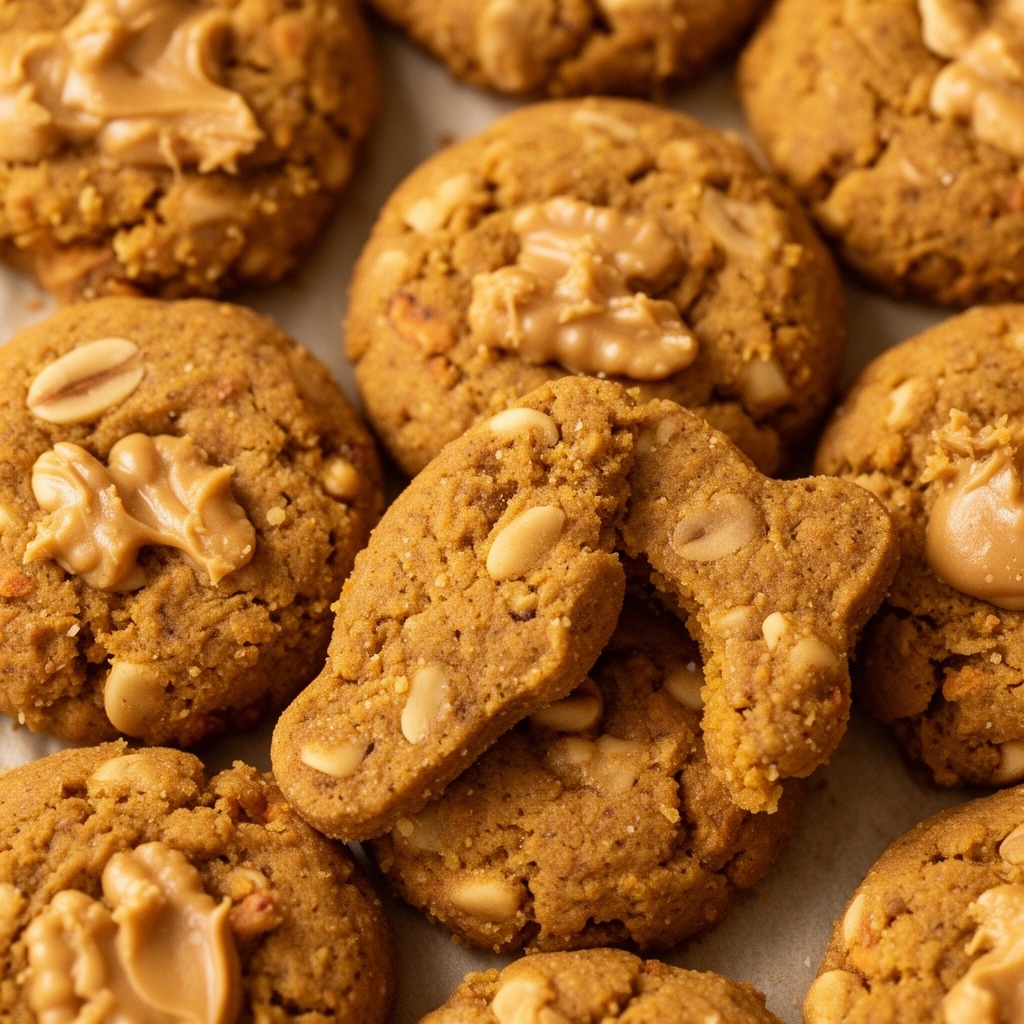
- Store in the fridge for freshness. Homemade treats lack preservatives, so refrigeration extends their shelf life to about 1–2 weeks. Freezing extends it to 3 months.
Common Mistakes and How to Avoid Them
Even simple recipes have room for error. Here are the slip-ups I see most often—and how to dodge them.
Mistake: Using pumpkin pie filling instead of puree.
Pumpkin pie filling contains added sugar and spices like nutmeg, which can be toxic to dogs in larger amounts. Always grab plain pumpkin puree, and double-check the can label.
Mistake: Ignoring peanut butter ingredients.
Not all peanut butter is dog-safe. Xylitol poisoning can cause seizures, liver failure, and even death in severe cases. When in doubt, make your own peanut butter with just peanuts and a pinch of salt.
Mistake: Overbaking the treats.
Baking too long dries out the treats completely, making them rock-hard rather than pleasantly crunchy. Keep an eye on the oven after the 20-minute mark.
Mistake: Skipping portion control.
These treats are healthy, but they’re still calorie-dense. Overfeeding, even with homemade snacks, can lead to weight gain over time. Stick to one or two small treats daily, especially for smaller breeds.
Mistake: Not adjusting for allergies.
Some dogs react poorly to wheat or eggs. Watch for signs like itching, digestive upset, or lethargy after introducing a new treat, and switch ingredients if needed.
Variations You Can Try
Once you’ve nailed the basic recipe, feel free to get creative. Here are some variations I’ve experimented with:
- Banana Peanut Butter Pumpkin Treats: Add half a mashed banana for extra natural sweetness and potassium.
- Grain-Free Version: Swap wheat flour for oat flour or chickpea flour if your dog has grain sensitivities.
- Frozen Pumpkin Bites: Skip baking altogether and freeze the mixture in silicone molds for a cooling summer treat.
- Cheesy Pumpkin Biscuits: Mix in a tablespoon of shredded cheddar for dogs who love a savory kick.
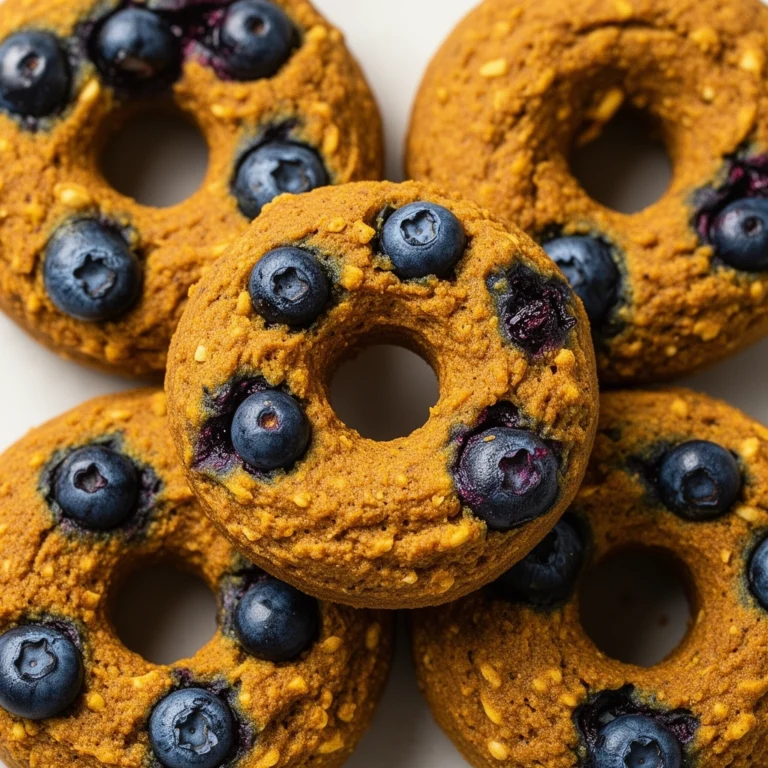
- Blueberry Pumpkin Treats: Toss in a handful of mashed blueberries for added antioxidants.
- Coconut Pumpkin Crunch: Sprinkle unsweetened shredded coconut on top before baking for extra texture.
Each variation keeps the core benefits of pumpkin and peanut butter while giving your dog a bit of variety. Rotating flavors also helps prevent picky eating habits down the road.
Why This Recipe Works for Most Dogs
Pumpkin is often recommended by veterinarians for dogs dealing with mild digestive issues, thanks to its high fiber and moisture content. Peanut butter, meanwhile, offers protein and healthy fats that support energy levels, though it should always be given in moderation due to its calorie density.
This combination makes these treats a smart choice not just for special occasions, but as an everyday reward during training sessions or simply as a way to show your dog some love.
That said, always introduce new treats gradually. Start with half a treat to see how your dog’s stomach handles it before making it a regular snack.
Wrapping It Up
Making peanut butter pumpkin dog treats at home isn’t just about saving money—it’s about knowing exactly what you’re feeding your best friend. With simple ingredients, straightforward steps, and a few tricks up your sleeve, you can whip up a batch that’s healthier and tastier than anything off the store shelf.
So next time your dog gives you that pleading look while you’re in the kitchen, you’ll have the perfect answer ready. Grab your mixing bowl, preheat that oven, and get ready to watch your pup enjoy every last crumb of these homemade peanut butter pumpkin dog treats.