Pumpkin Apple Dog Treats: The Ultimate Guide to Baking Happiness for Your Pup
Ever catch your dog staring at you while you’re baking, like they know something delicious is about to happen? That’s exactly how I felt the first time I made pumpkin apple dog treats in my kitchen. My golden retriever practically glued herself to the oven door. If you’re looking for a treat that’s healthy, easy to make, and smells like fall in a jar, you’re in the right place.
I’ve tested dozens of recipes over the years, and pumpkin apple dog treats always come out on top. They’re simple. They’re safe. And most importantly, dogs go nuts for them.
What Are Pumpkin Apple Dog Treats?
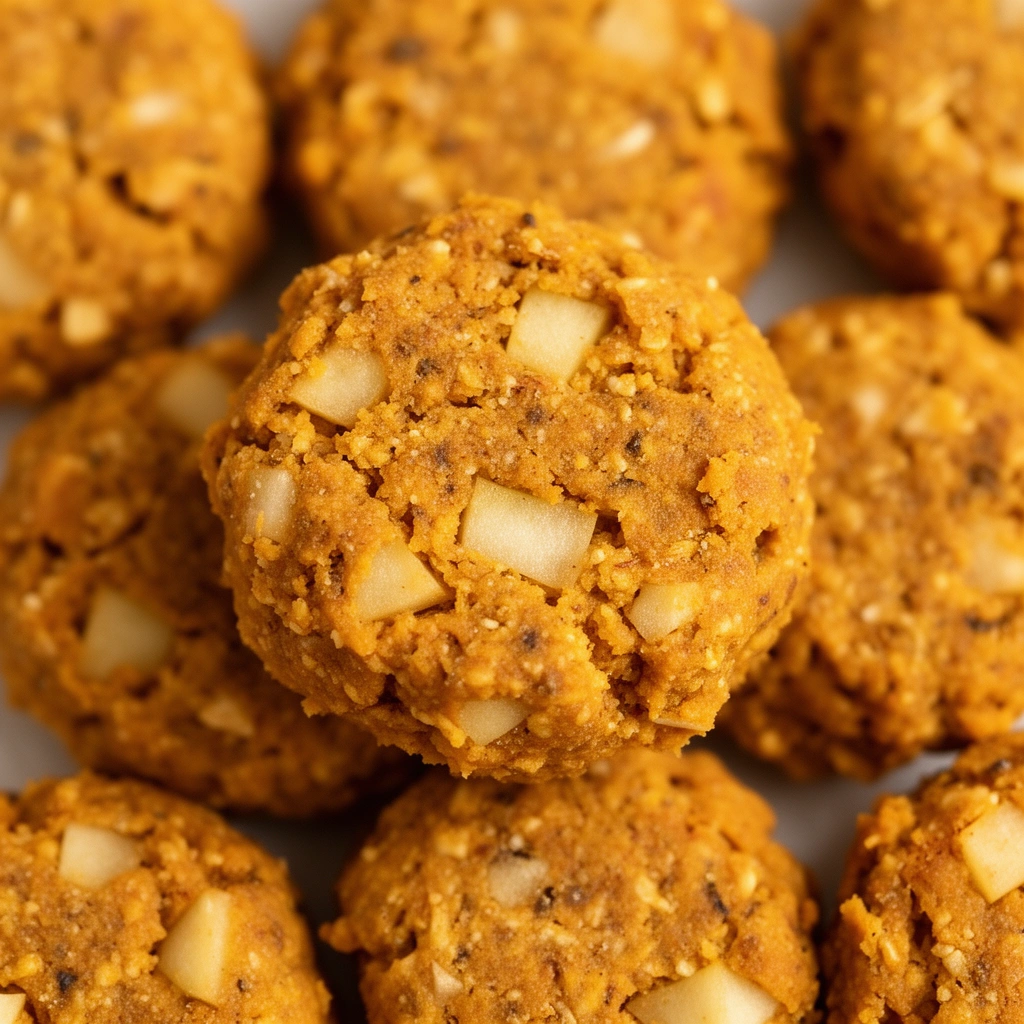
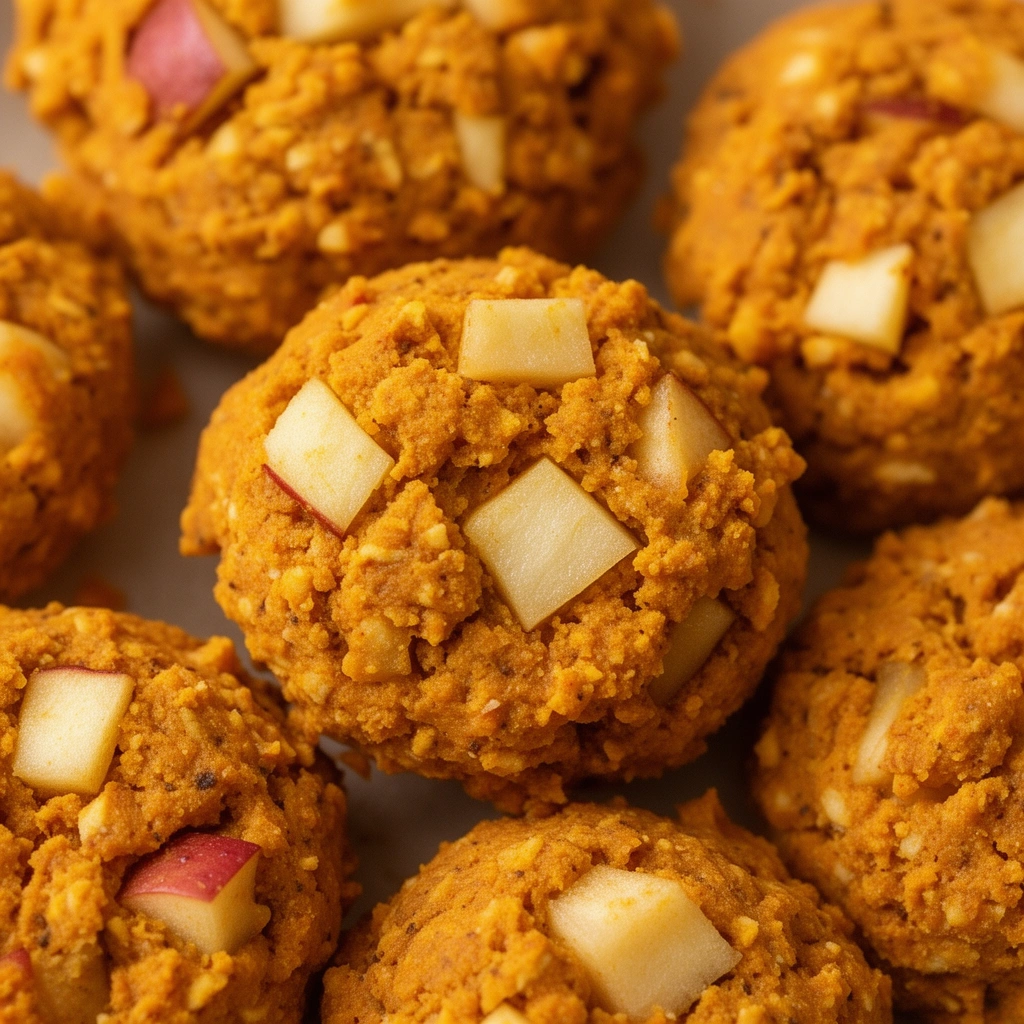
So what exactly makes these treats special? Pumpkin apple dog treats are baked biscuits made from pure pumpkin puree, fresh apples, and a few pantry staples like whole wheat flour and eggs. No sugar. No preservatives. Just real food your dog can actually digest.
Pumpkin isn’t just a trendy ingredient. It’s loaded with fiber, which helps with digestion. Apples bring natural sweetness and a dose of vitamin C. Together, they create a treat that tastes amazing and actually does something good for your dog’s body.
I like to think of these treats as edible love letters. You’re not just feeding your pup. You’re telling them, “Hey, I care about what goes into your body.”
Here’s a quick breakdown of the star ingredients and why they matter:
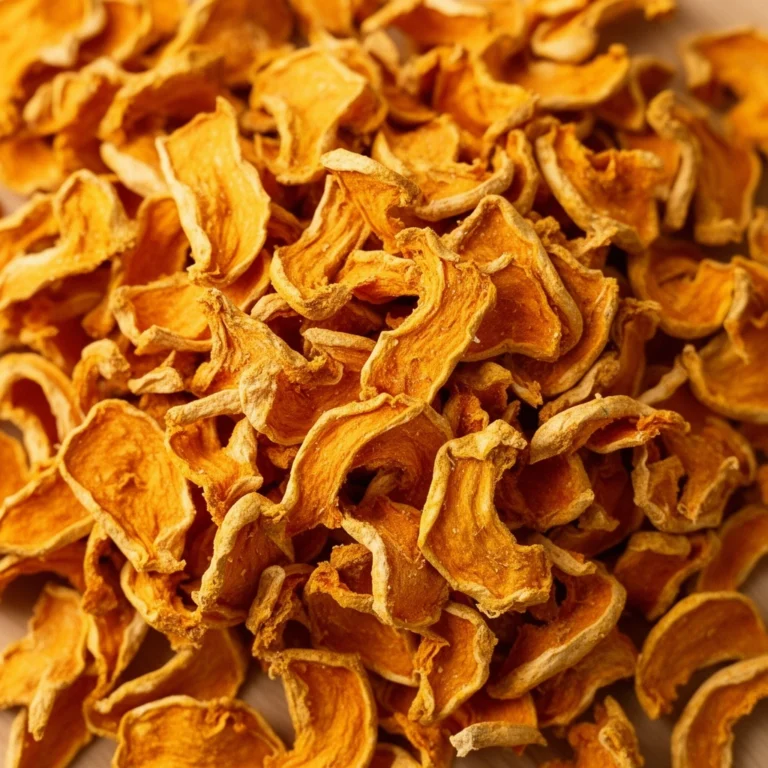
Pumpkin — A fiber-rich squash that supports healthy digestion and can help firm up loose stools.
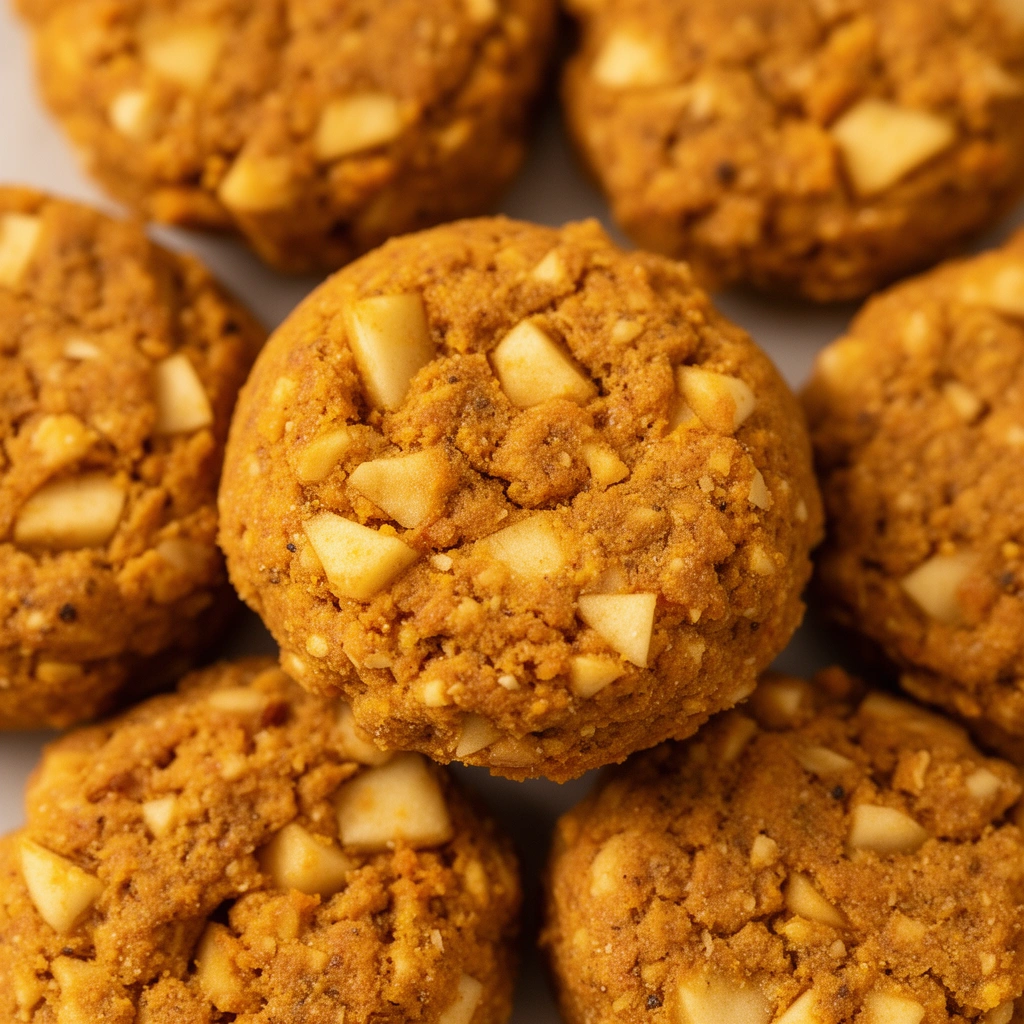
Apples — A crunchy fruit packed with vitamin C, antioxidants, and natural sweetness (just remove the seeds and core first).
Whole Wheat Flour — A grain-based flour that gives the treats structure without added sugar or empty calories.
Cinnamon — A warming spice that adds flavor and has mild anti-inflammatory properties for dogs.
Eggs — A protein-packed binder that holds the dough together while adding shine to the finished treat.
Ingredients You’ll Need
Before you start, gather everything up. Nothing’s worse than getting halfway through a recipe and realizing you’re out of flour.
- 1 cup pumpkin puree (unsweetened, not pumpkin pie filling)
- 1 medium apple, peeled, cored, and grated
- 2 cups whole wheat flour
- 1 large egg
- 1 teaspoon cinnamon (optional but recommended)
- 1 tablespoon coconut oil or olive oil
- A splash of water, if needed to bring the dough together
That’s it. Seven ingredients, most of which are probably sitting in your kitchen right now.
Step-by-Step Instructions
Let’s get into the actual baking process. I’ll walk you through it like I’m standing right next to you in the kitchen.
- Preheat your oven to 350°F (175°C) and line a baking sheet with parchment paper.
- In a large mixing bowl, combine the pumpkin puree, grated apple, and egg. Stir until smooth.
- Add the cinnamon and coconut oil, mixing well.
- Slowly add the whole wheat flour, about half a cup at a time, stirring after each addition.
- Once the dough starts to form, use your hands to knead it gently. It should feel firm but not dry or crumbly.
- If the dough feels too sticky, sprinkle in a little more flour. If it feels too dry, add a small splash of water.
- Roll the dough out on a floured surface until it’s about a quarter inch thick.
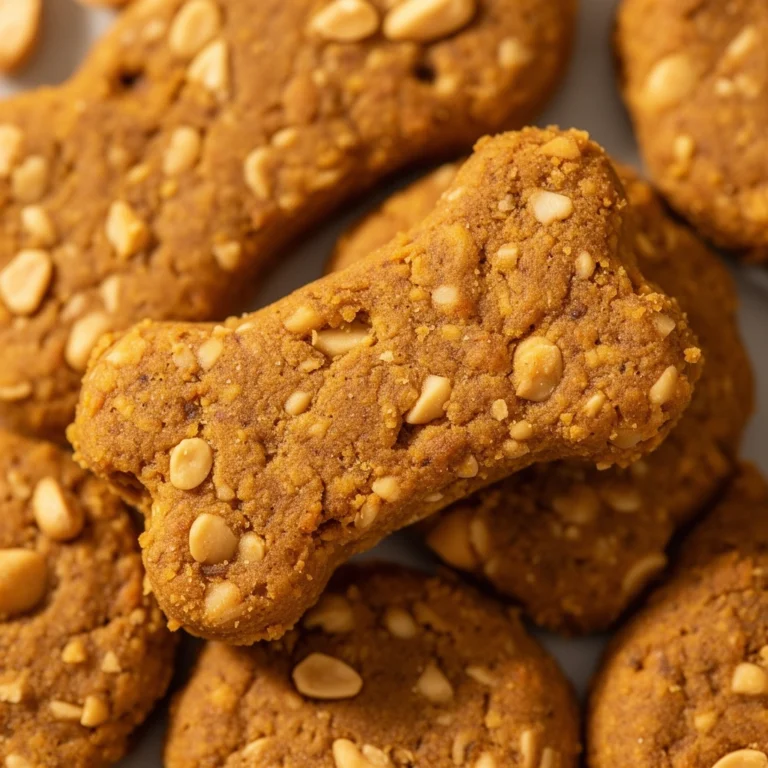
- Use a cookie cutter (bone-shaped ones are fun) to cut out treats, or just slice into squares with a knife.
- Place the cut treats onto your prepared baking sheet, leaving a little space between each one.
- Bake for 20 to 25 minutes, or until the edges turn golden brown.
- Turn off the oven and leave the treats inside for another hour. This helps them dry out and get that satisfying crunch.
- Remove from the oven and let cool completely before serving or storing.
That’s really all there is to it. No fancy equipment. No complicated techniques. Just simple, honest baking.
Tips for Success
Want your treats to come out perfect every single time? Here’s what I’ve learned after making these more times than I can count.
- Always use plain pumpkin puree, never the pie filling version, since that one has added sugar and spices that aren’t dog-friendly.
- Grate your apple finely so it blends smoothly into the dough instead of leaving big chunks.
- Don’t skip the “oven rest” step after baking. That’s what gives the treats their crunchy texture, which dogs love for chewing.
- Store treats in an airtight container to keep them fresh longer.
- If you’re baking for a small dog, make the treats smaller and reduce the baking time slightly.
- Test one treat before storing the whole batch, just to make sure the texture is right for your dog’s chewing style.
- Label your container with the date. Homemade treats don’t have preservatives, so they won’t last as long as store-bought ones.
Common Mistakes and How to Avoid Them
I’ve made my fair share of kitchen blunders with this recipe. Let me save you the trouble.
Mistake: Using canned pumpkin pie mix instead of plain puree.
This one’s sneaky because the cans look almost identical on the shelf. Pie mix contains added sugar, salt, and spices like nutmeg, which isn’t safe for dogs. Always double-check the label before buying.
Mistake: Leaving apple seeds or core in the mix.
Apple seeds contain trace amounts of cyanide compounds. It’s a small amount, but why take the risk? Always core and seed your apple before grating.
Mistake: Skipping the flour measurements and eyeballing it.
Too much flour makes the treats dry and crumbly. Too little makes them fall apart. Stick to the measurements, then adjust slightly if the dough feels off.
Mistake: Not letting the treats cool before storing.
If you toss warm treats into a container, trapped steam creates moisture. That moisture leads to mold faster than you’d think. Patience pays off here.
Mistake: Overbaking or underbaking.
Every oven runs a little different. Start checking your treats around the 18-minute mark so you don’t end up with rock-hard biscuits or soggy centers.
Storage Guide
Once your treats are baked and cooled, here’s how to keep them fresh:
- Countertop storage — Keep treats in an airtight container for up to one week.
- Refrigerator storage — Extends freshness up to two weeks, which is ideal if you live somewhere humid.
- Freezer storage — Pop treats into a freezer bag and they’ll stay good for up to three months. Just thaw a few at a time as needed.
Similar Variations You Can Try
Once you’ve nailed the basic recipe, it’s fun to switch things up. Here are a few variations I’ve tried and loved.
Peanut Butter Pumpkin Treats — Swap the apple for a few tablespoons of natural peanut butter (make sure it’s xylitol-free).
Banana Pumpkin Treats — Replace the apple with a mashed ripe banana for a slightly sweeter, softer treat.
Oat Flour Version — For dogs with grain sensitivities, substitute whole wheat flour with oat flour for a gentler option.
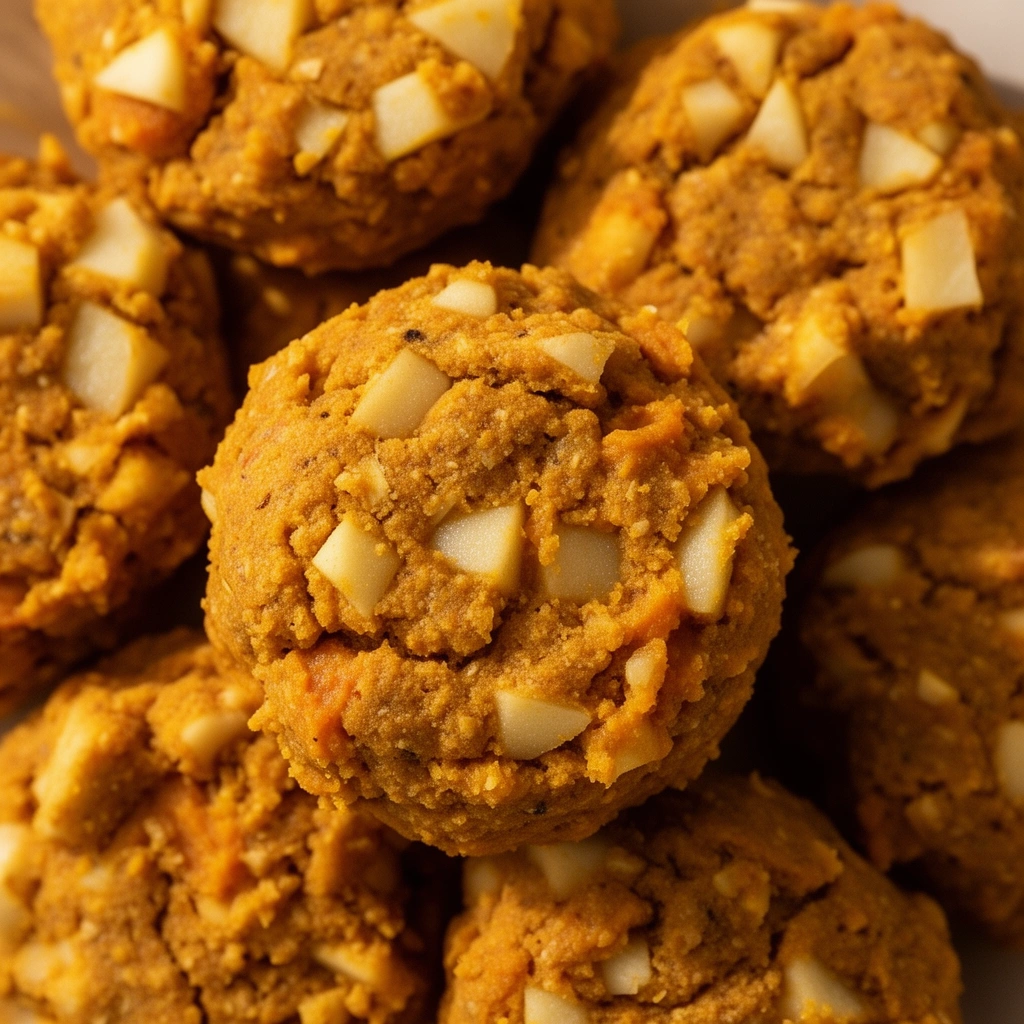
Carrot Pumpkin Crunch — Add half a cup of finely shredded carrot for extra fiber and a pop of color.
Frozen Pumpkin Bites — Skip the baking altogether. Mix pumpkin puree with plain yogurt, pour into ice cube trays, and freeze for a cooling summer treat.
Each variation keeps the same base but gives your dog a little variety, which honestly makes treat time more exciting for both of you.
Wrapping It Up
Making pumpkin apple dog treats at home isn’t just about saving money, though that’s a nice bonus. It’s about knowing exactly what goes into your dog’s body and watching their tail wag like crazy when that oven timer finally goes off.
I’ve made this recipe more times than I can count, and it never fails to bring a little joy to my kitchen. Give it a try this weekend. Your dog will thank you with every crunchy, tail-wagging bite of these pumpkin apple dog treats.