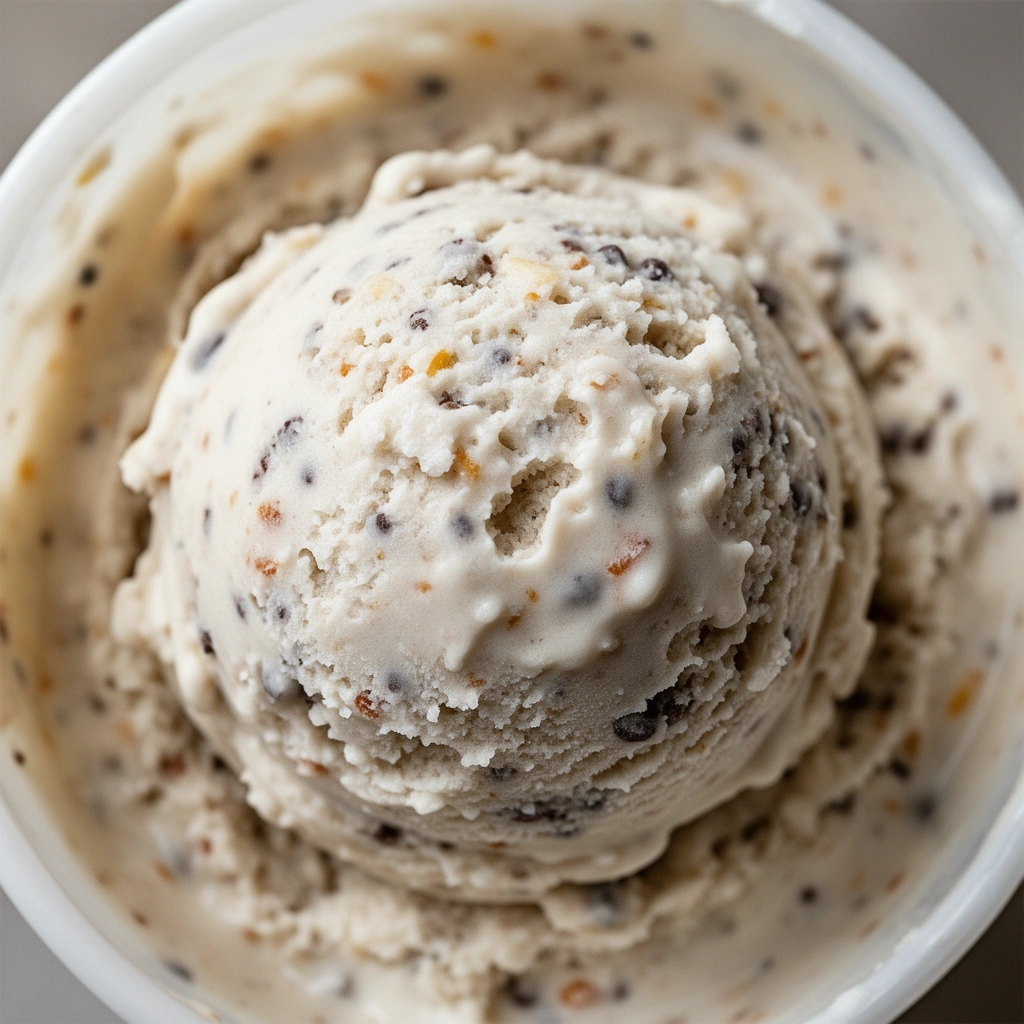
3-Ingredient Homemade Dog Ice Cream: The Cool Treat Your Pup Will Beg For
Ever caught your dog staring at your ice cream cone with those big, sad eyes? I have. Every single summer. That’s exactly why I started making 3-ingredient homemade dog ice cream in my own kitchen. It’s simple, safe, and honestly? My golden retriever goes absolutely wild for it.
If you’re a dog parent who wants to treat your furry friend without the guesswork, you’re in the right place. This isn’t just another recipe post. I’m going to walk you through everything—the good, the tricky parts, and the mistakes I made so you don’t have to.
What Exactly Is This Frozen Treat?
Let’s clear something up first. Dog ice cream isn’t the same as the stuff in your freezer. Regular ice cream is loaded with sugar, dairy that dogs can’t process well, and sometimes chocolate or xylitol—both of which are toxic to dogs.
Homemade dog ice cream, on the other hand, uses safe, wholesome ingredients your pup’s body can actually handle. Think plain yogurt, ripe bananas, and maybe a spoonful of peanut butter (the xylitol-free kind, always).
This treat works great for:
- Hot summer days when your dog needs cooling down
- Rewarding good behavior without extra calories from processed treats
- Dogs recovering from dehydration or heat exhaustion
- Special occasions like your pup’s “gotcha day” or birthday
The best part? You control every single ingredient. No mystery additives. No preservatives you can’t pronounce.
Key Terms You Should Know
Before we dive into the recipe, let’s break down some terms you’ll see throughout this guide.
Xylitol
: A sugar substitute found in many peanut butter brands and sugar-free products. It’s extremely toxic to dogs, even in tiny amounts.
Lactose Intolerance
: A common condition in dogs where their bodies struggle to digest dairy products, often causing upset stomachs or diarrhea.
Plain Greek Yogurt
: Yogurt without added sugars or flavors, containing probiotics that support your dog’s gut health.
Frozen Base
: The main mixture (usually fruit and yogurt) that gets blended and frozen to create the ice cream’s structure.
Mix-Ins
: Extra ingredients added for texture or flavor, like dog-safe berries or a swirl of peanut butter.
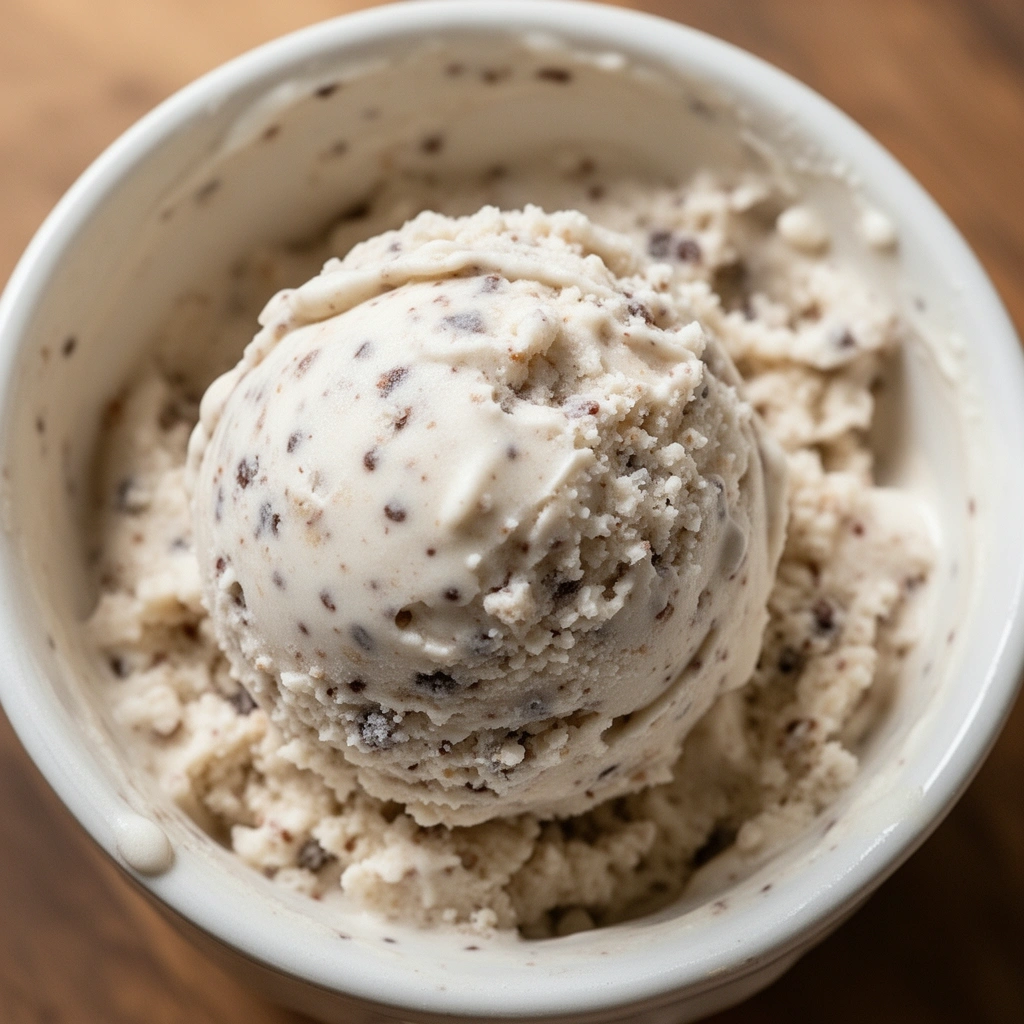
Knowing these terms helps you shop smarter and avoid accidental harm to your pup.
The Ingredients You’ll Need
Here’s where things get refreshingly simple. You only need three core ingredients:
- Plain Greek yogurt (unsweetened, full-fat or low-fat)
- Ripe banana (mashed, the riper the sweeter)
- Natural peanut butter (100% xylitol-free—check the label twice)
That’s it. Three ingredients. No fillers, no complicated shopping list.
Optional add-ins if you want to switch things up later:
- Blueberries (great antioxidant boost)
- Pumpkin puree (helps with digestion)
- A drizzle of honey (only for dogs without diabetes)
Step-by-Step: Making the Ice Cream
Alright, let’s get into the kitchen. This process takes about 10 minutes of active work, plus freezing time.
Step 1: Gather Your Tools
You’ll need a mixing bowl, a fork or blender, ice cube trays or small silicone molds, and a spoon for mixing.
Step 2: Mash the Banana
Peel one ripe banana and mash it thoroughly with a fork until smooth. Lumps are fine, but smaller lumps blend better later.
Step 3: Combine the Base
In your mixing bowl, add one cup of plain Greek yogurt to the mashed banana. Stir until fully combined.
Step 4: Add the Peanut Butter
Mix in two tablespoons of natural peanut butter. Stir well until the mixture looks creamy and uniform, with no streaks left.
Step 5: Taste-Test the Consistency
The mixture should be thick but pourable, similar to a smoothie. If it’s too thick, add a splash of water or unsweetened almond milk.
Step 6: Pour Into Molds
Spoon the mixture into ice cube trays, silicone molds, or small paper cups. Smaller portions freeze faster and make perfect single servings.
Step 7: Freeze
Place the trays in your freezer for at least 4 hours, though overnight works best for a firmer texture.
Step 8: Serve and Watch the Magic
Pop out a frozen piece and hand it to your dog. Watch their face light up—it’s honestly one of the best parts of dog parenting.
Tips for Success
I’ve made this treat more times than I can count. Here’s what actually makes a difference.
- Use overripe bananas—they’re sweeter and mash easier, meaning less added sugar needed
- Always double-check peanut butter labels for xylitol before buying
- Freeze in small portions to avoid overfeeding in one sitting
- Store frozen treats in an airtight container to prevent freezer burn
- Let treats sit for 2-3 minutes before serving so they’re not rock-hard on tiny teeth
- Introduce new ingredients slowly if your dog has never tried banana or peanut butter before
Following these tips saved me from a few soggy, overly sweet, or rock-solid failures.
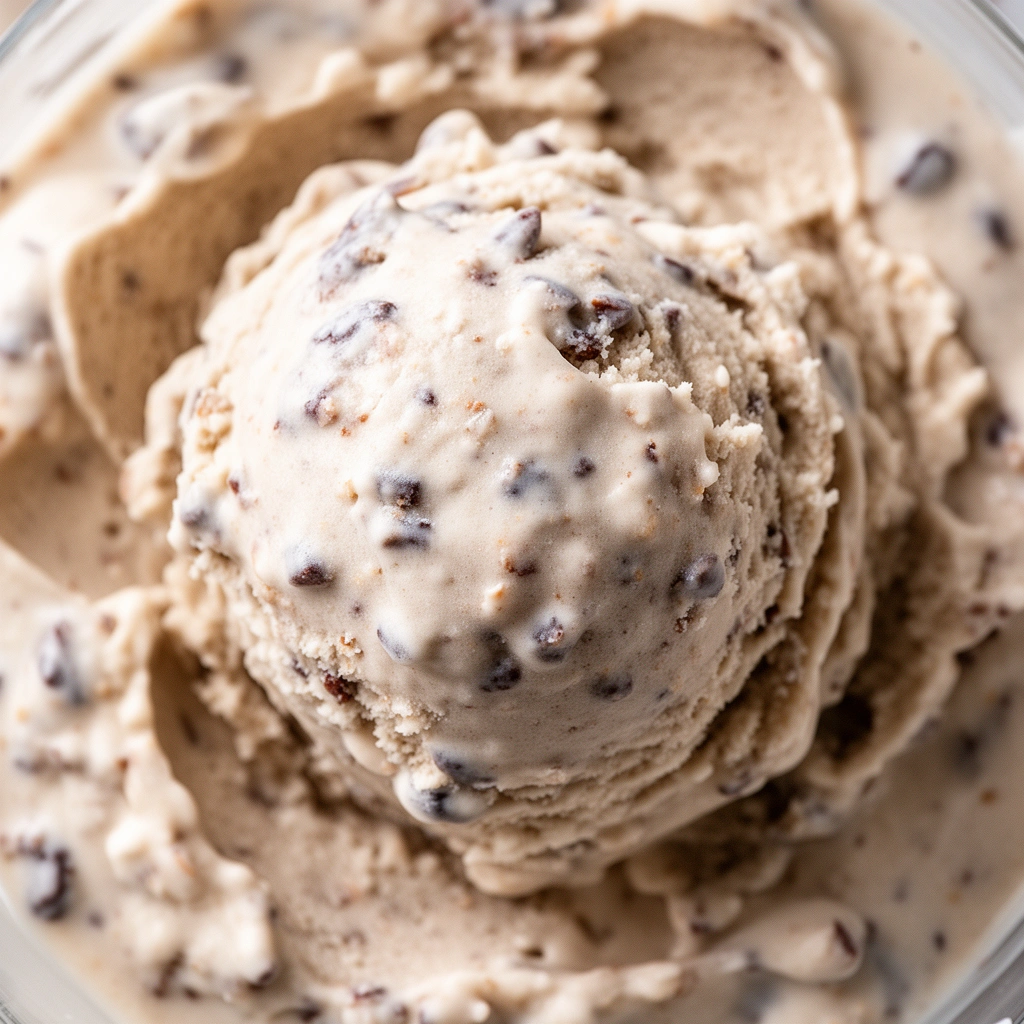
Common Mistakes and How to Avoid Them
Even simple recipes have pitfalls. Here’s what trips people up most often.
Mistake: Using flavored yogurt
Flavored yogurts often contain added sugars or artificial sweeteners that harm dogs. Always stick to plain, unsweetened varieties.
Mistake: Grabbing any peanut butter off the shelf
Not all peanut butter is created equal. Some brands sneak in xylitol for “healthier” marketing. Read every label, every time.
Mistake: Overfeeding
This treat is healthier than store-bought options, but it’s still a treat. Stick to small portions, especially for smaller breeds.
Mistake: Skipping the freeze time
Rushing the freezing process leads to a mushy, melty mess. Patience pays off here.
Mistake: Ignoring allergies
Some dogs react poorly to peanuts or bananas. Watch for signs like itching, vomiting, or diarrhea after first-time servings.
Avoiding these mistakes means fewer wasted ingredients and a happier, healthier pup.
Fun Variations to Try
Once you’ve nailed the basic recipe, feel free to experiment. Here are variations I’ve personally tested with my dog.
Pumpkin Swap
Replace banana with half a cup of pumpkin puree. This works wonders for dogs with sensitive stomachs.
Berry Blast
Add a handful of mashed blueberries or strawberries to the base mixture for a fruity twist and extra antioxidants.
Coconut Cream
Swap Greek yogurt for plain coconut yogurt if your dog is lactose intolerant. It’s creamy and just as delicious.
Carob Chip Crunch
Sprinkle dog-safe carob chips (never chocolate) on top before freezing for a fun textural surprise.
Frozen Bone Pops
Pour the mixture into bone-shaped silicone molds instead of cubes for an extra adorable presentation.
Each variation keeps the same safe base while giving your dog something new to enjoy.
How Much Should You Feed Your Dog?
Portion size really matters here. This isn’t a meal replacement—it’s a treat.
- Small dogs (under 20 lbs): One small cube or half a mold, once or twice weekly
- Medium dogs (20-50 lbs): One to two cubes, two to three times weekly
- Large dogs (over 50 lbs): Two to three cubes, up to three times weekly
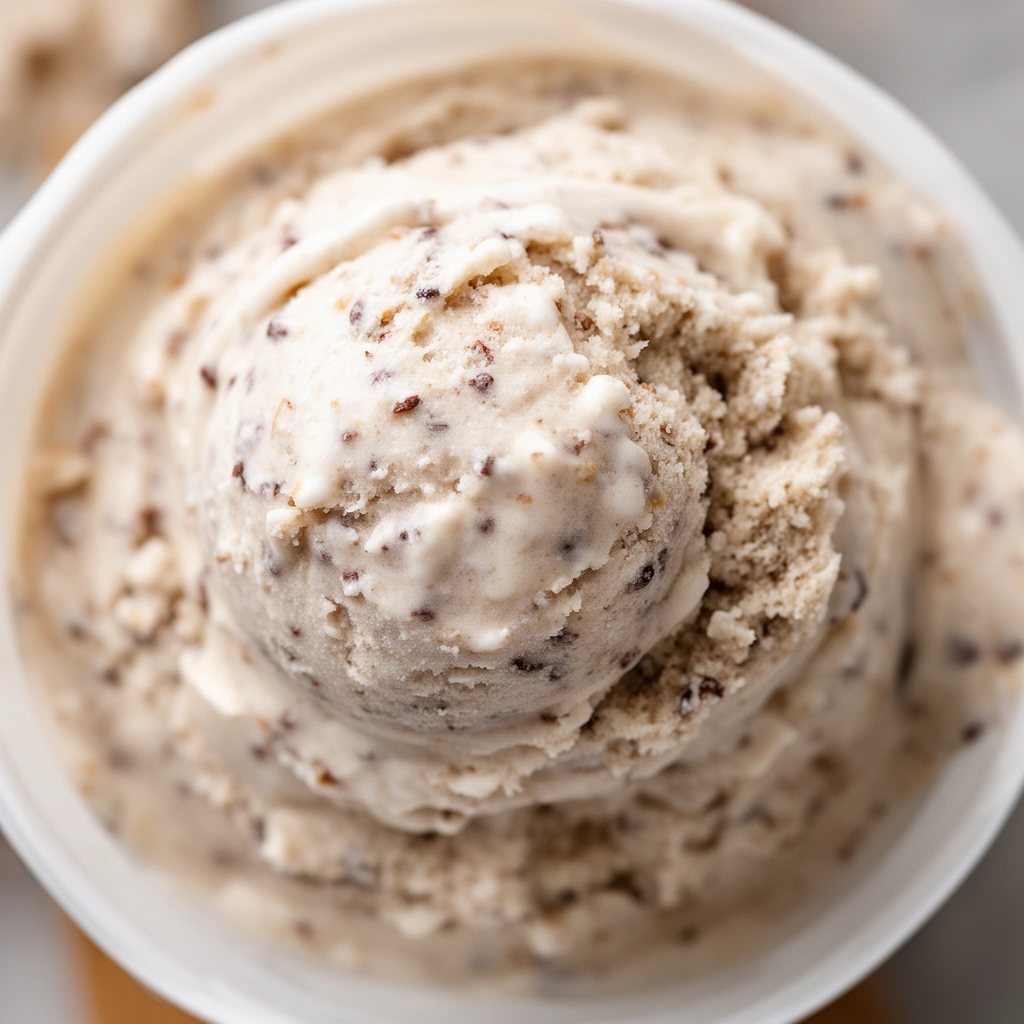
Always factor treats into your dog’s daily calorie intake. Too much of even a healthy treat can lead to weight gain over time.
Storage and Shelf Life
Once frozen, these treats last up to two weeks in an airtight container in your freezer. I recommend labeling the container with the date you made them, just so you don’t lose track.
Avoid refreezing thawed portions. If your dog doesn’t finish a piece right away, toss the leftover rather than refreezing it, since bacteria can grow once it starts melting.
Wrapping It Up
Making 3-ingredient homemade dog ice cream isn’t just easy—it’s one of the most rewarding things you can do for your pup’s summer happiness. You know exactly what’s going into every bite, and your dog gets a cool, tasty treat without any of the risks that come with store-bought or human ice cream.
Give this recipe a try this weekend. Grab a banana, some plain yogurt, and safe peanut butter, then watch your dog’s tail wag like crazy. That joy? It’s worth every minute spent in the kitchen making homemade dog ice cream.