Bacon Dog Treats: The Ultimate Homemade Recipe Your Pup Will Beg For
Ever caught your dog sniffing the air the moment bacon hits the pan? Yeah, me too. That’s exactly why I started making bacon dog treats at home, and honestly, I wish I’d done it sooner. Store-bought treats are convenient, sure, but they’re often loaded with preservatives, fillers, and mystery ingredients I can’t even pronounce. So I decided to take matters into my own hands.
In this guide, I’m walking you through everything I’ve learned about making bacon dog treats from scratch. We’re talking real steps, real tips, and real mistakes I’ve made along the way (so you don’t have to repeat them).
What Are Bacon Dog Treats, Exactly?
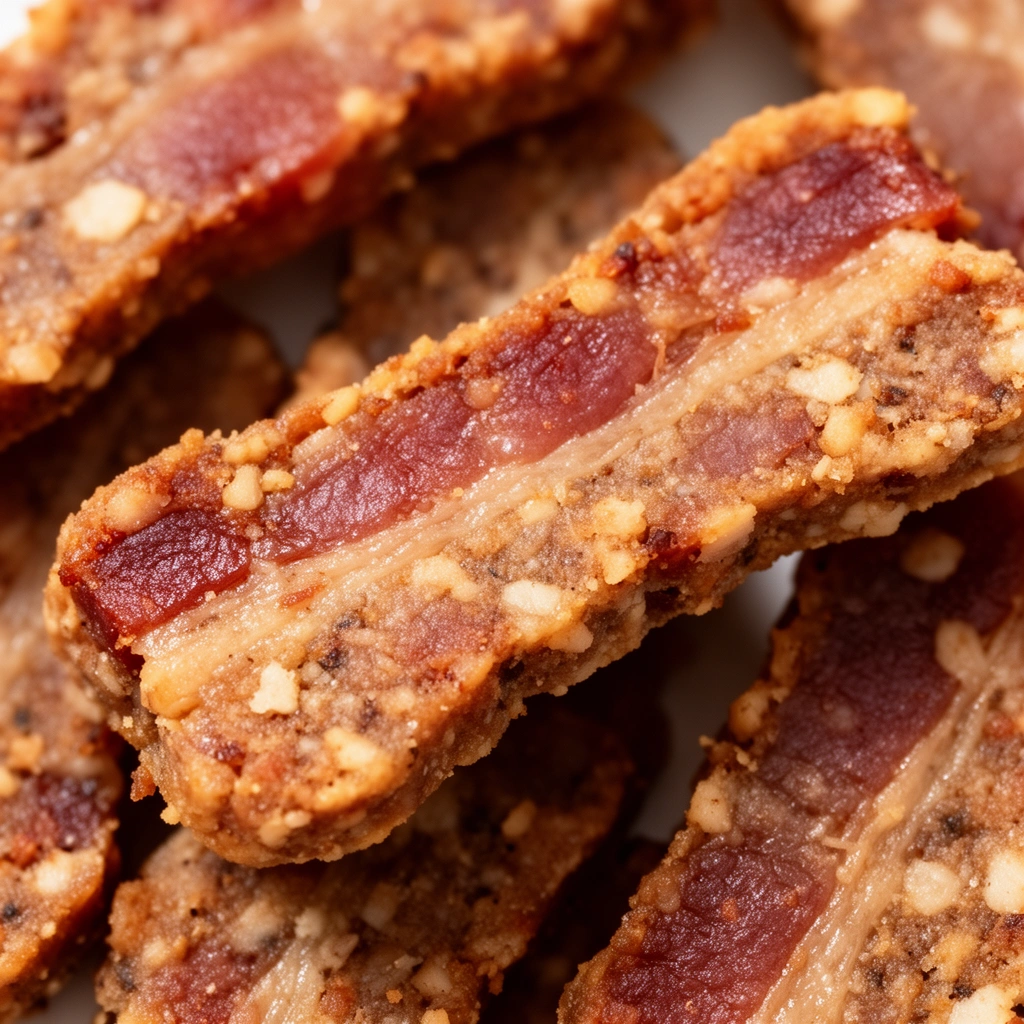
Bacon dog treats are simple homemade snacks that combine the smoky, savory flavor dogs go crazy for with wholesome ingredients you control. Unlike store-bought bacon strips for dogs, which sometimes contain artificial smoke flavoring or excess sodium, homemade versions let you decide exactly what goes into your pup’s bowl.
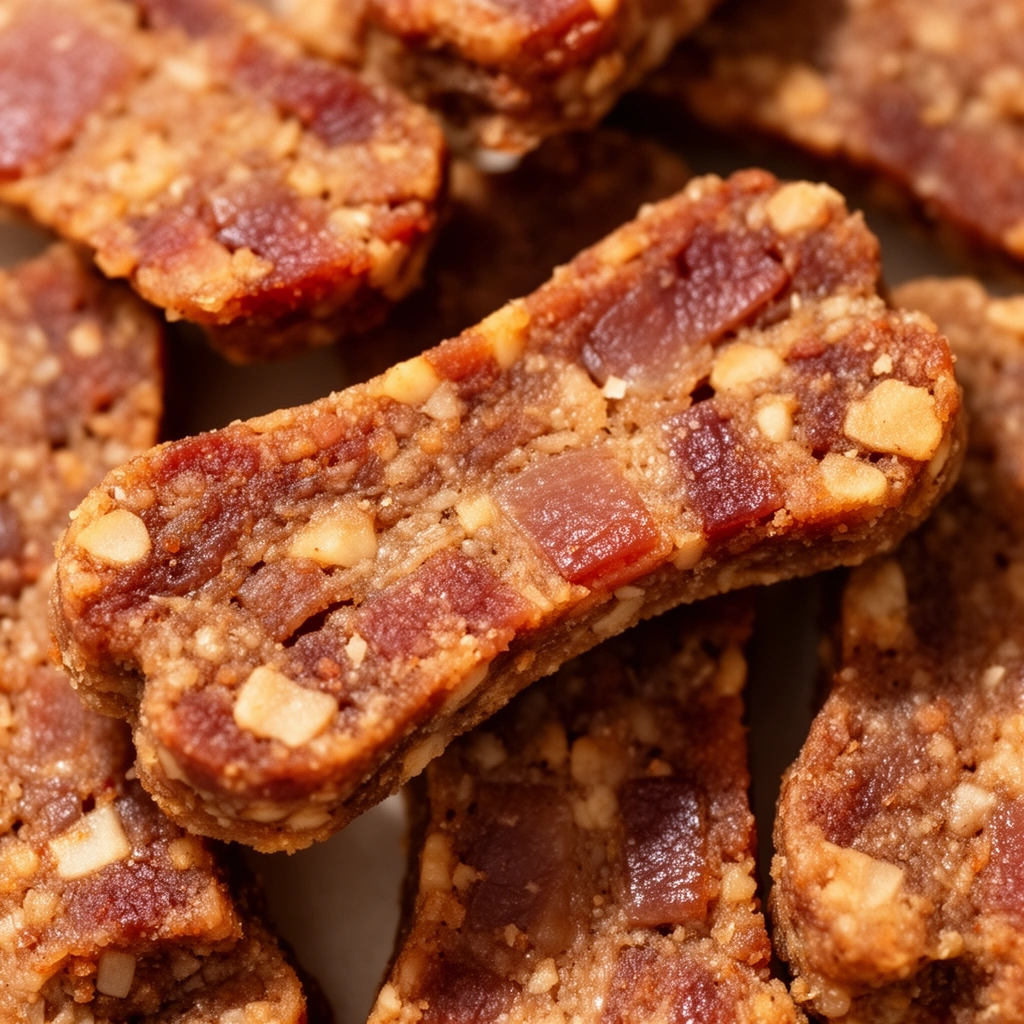
Most recipes use a base of flour (or a grain-free alternative), real bacon or bacon-flavored broth, and a binding agent like eggs or peanut butter. The result? Crunchy, chewy, or soft treats that smell like heaven and taste like a reward worth working for.
I like to think of these treats as a bridge between “junk food” and “healthy snack.” They’re not meant to be a meal replacement, but they’re a solid step up from processed store options.
Key Terms You Should Know
Before we dive into the recipe, let’s clear up some terminology. I noticed a lot of articles skip this part, but understanding these terms helps you tweak recipes with confidence.
Rendered fat
: The liquid fat released from bacon as it cooks. This adds flavor but should be used sparingly since it’s high in calories.
Binder
: An ingredient like egg, pumpkin puree, or peanut butter that holds the dough together.
Grain-free flour
: Alternatives like oat flour, coconut flour, or chickpea flour used for dogs with grain sensitivities.
Dehydrating
: A slow-cooking method using low oven heat (or a dehydrator) to create chewy, shelf-stable treats.
Nitrate-free bacon
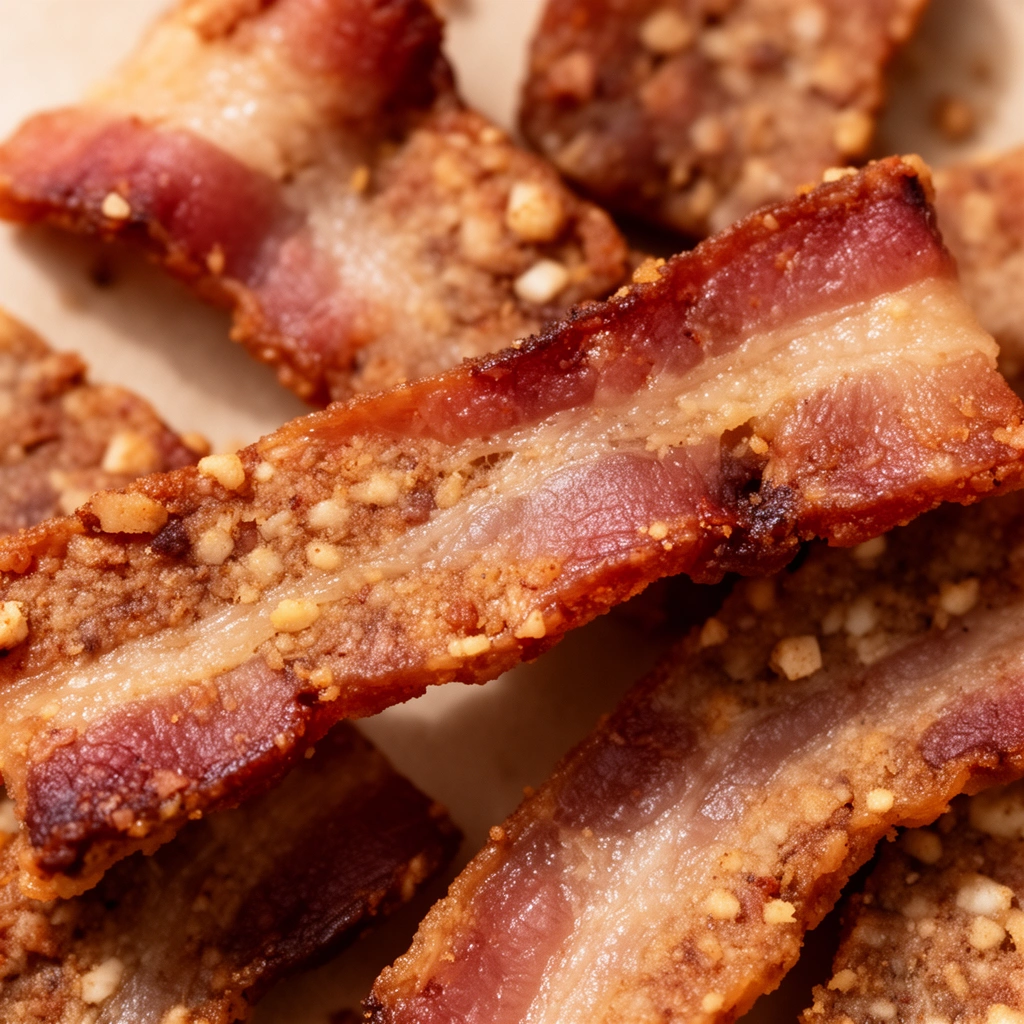
: Bacon cured without sodium nitrate or nitrite, considered a safer choice for pets.
Ingredients You’ll Need
Here’s what I typically gather before starting a batch:
- 4-6 slices of nitrate-free bacon, cooked and crumbled
- 2 cups whole wheat flour (or oat flour for a grain-free version)
- 1 large egg
- 1/4 cup unsweetened applesauce or plain pumpkin puree
- 2 tablespoons bacon grease (reserved from cooking)
- 1/4 cup water (adjust as needed for dough consistency)
That’s it. No weird additives, no fillers, nothing your dog can’t easily digest.
Step-by-Step: How to Make Bacon Dog Treats
I know recipes can feel overwhelming when they’re not broken down clearly. So here’s exactly how I make these, step by step.
Step 1: Cook the bacon
Fry your bacon in a skillet until crispy. Save the grease in a small bowl—you’ll need it later. Let the bacon cool, then crumble or finely chop it.
Step 2: Preheat your oven
Set your oven to 350°F (175°C). Line a baking sheet with parchment paper.
Step 3: Mix dry ingredients
In a large bowl, combine the flour with the crumbled bacon. Stir well so the bacon bits are evenly distributed.
Step 4: Add wet ingredients
Crack the egg into the bowl. Add applesauce (or pumpkin) and the reserved bacon grease. Mix until it starts forming a dough.
Step 5: Adjust consistency
If the dough feels dry and crumbly, add water one tablespoon at a time. You want a dough that’s firm but pliable, similar to cookie dough.
Step 6: Roll it out
On a lightly floured surface, roll the dough to about 1/4-inch thickness. Thicker dough means chewier treats; thinner dough gives you a crunchier bite.
Step 7: Cut into shapes
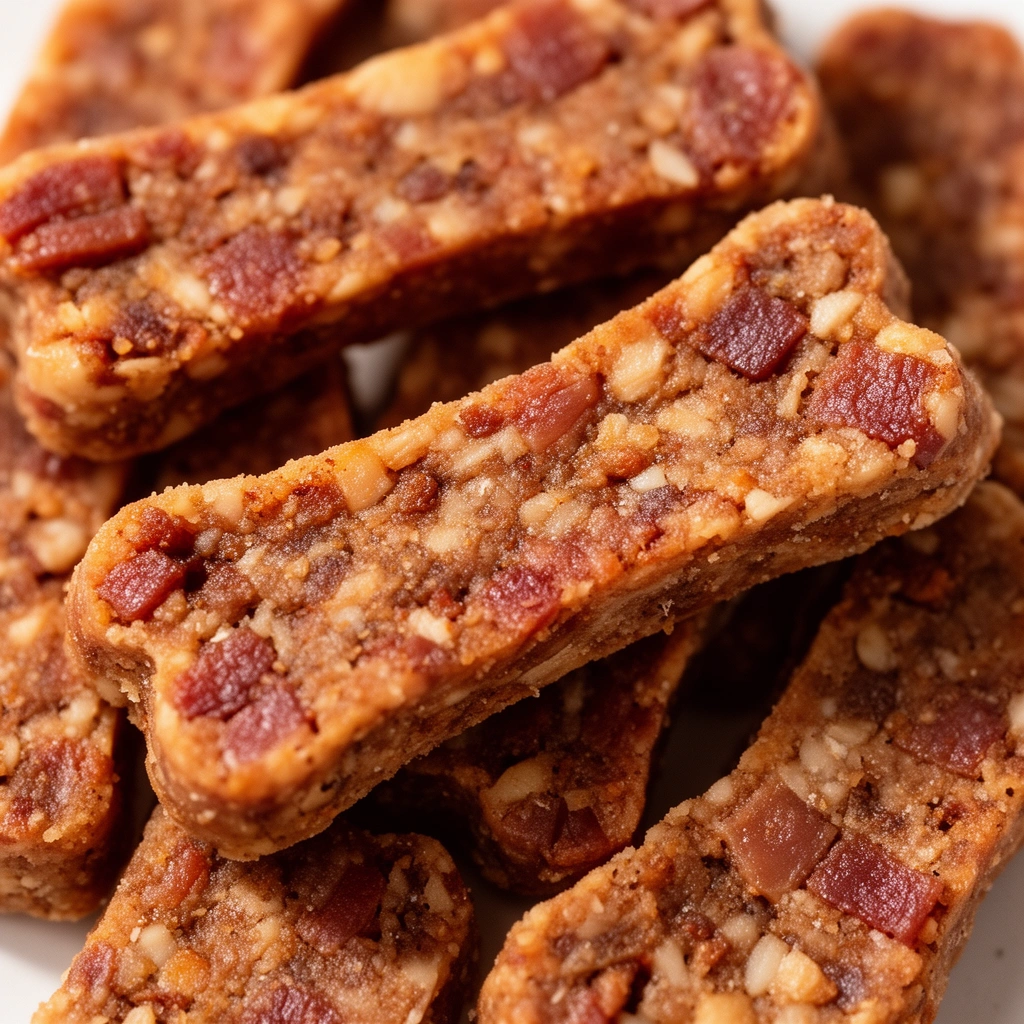
Use a cookie cutter (bone shapes are classic, but honestly, any shape works) to cut out your treats. Place them on the prepared baking sheet.
Step 8: Bake
Bake for 20-25 minutes, or until the edges turn golden brown. For extra crunch, turn off the oven and let the treats sit inside for another hour to dry out further.
Step 9: Cool completely
Let the treats cool on a wire rack before serving. This step matters more than people think—warm treats can be too soft and might fall apart.
Step 10: Store properly
Keep treats in an airtight container. They’ll last about a week at room temperature, or up to three months in the freezer.
Tips for Success
I’ve made these treats more times than I can count, and here’s what actually makes a difference:
- Use turkey bacon if your dog has sensitivities to pork or higher fat content
- Don’t skip draining excess grease from cooked bacon—too much fat can upset your dog’s stomach
- Test dough consistency by pinching it; it shouldn’t stick to your fingers excessively
- Bake a test batch first if you’re trying a new flour type, since absorption rates vary
- Always let treats cool fully before storing to avoid moisture buildup (this causes mold)
- Cut treats small if you have a smaller breed dog, since portion size matters for calorie control
Common Mistakes and How to Avoid Them
Here’s where I see (and have made) the most slip-ups.
Mistake: Using seasoned or flavored bacon
Many bacon varieties contain garlic powder, onion powder, or excessive salt—all things dogs should avoid. Stick to plain, nitrate-free bacon.
Mistake: Overloading on bacon grease
It’s tempting to add extra grease for flavor, but too much fat can lead to digestive upset or even pancreatitis in sensitive dogs. A little goes a long way.
Mistake: Skipping the cooling step
I get it, you’re excited to give your dog a treat. But warm treats haven’t fully set and can crumble apart, creating a choking risk for small breeds.
Mistake: Not adjusting for allergies
If your dog has never had bacon before, introduce it slowly. Watch for signs of an upset stomach or allergic reaction before making it a regular treat.
Mistake: Improper storage
Leaving treats out in humid environments speeds up spoilage. Always use airtight containers and check for any signs of mold before serving.
Similar Variations You Can Try
Once you’ve nailed the basic recipe, it’s fun to experiment. Here are variations I’ve tried and loved:
- Bacon and cheese treats: Add 1/4 cup shredded cheddar to the dough for extra flavor dogs adore
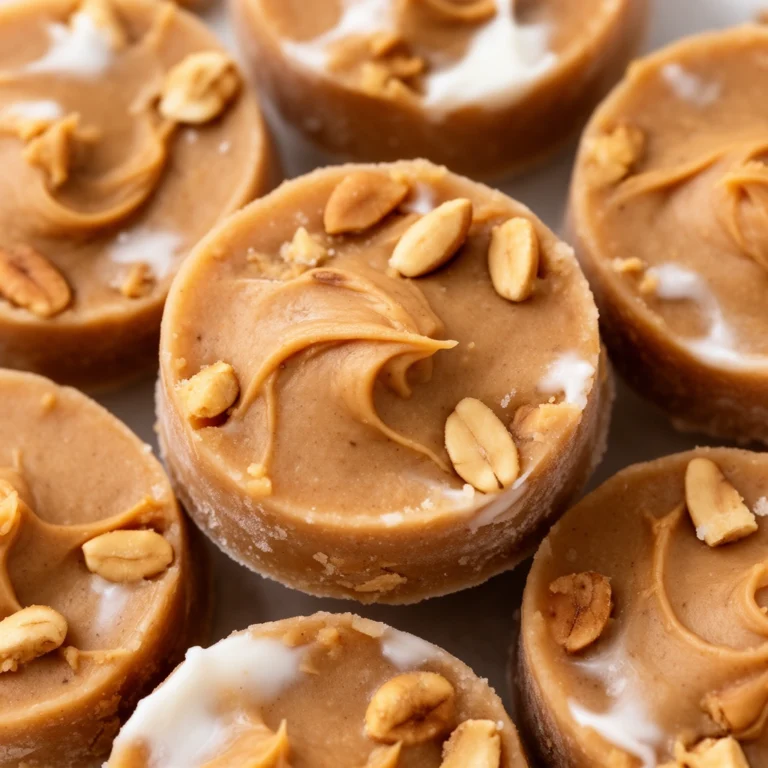
- Bacon peanut butter bites: Swap applesauce for peanut butter (make sure it’s xylitol-free)
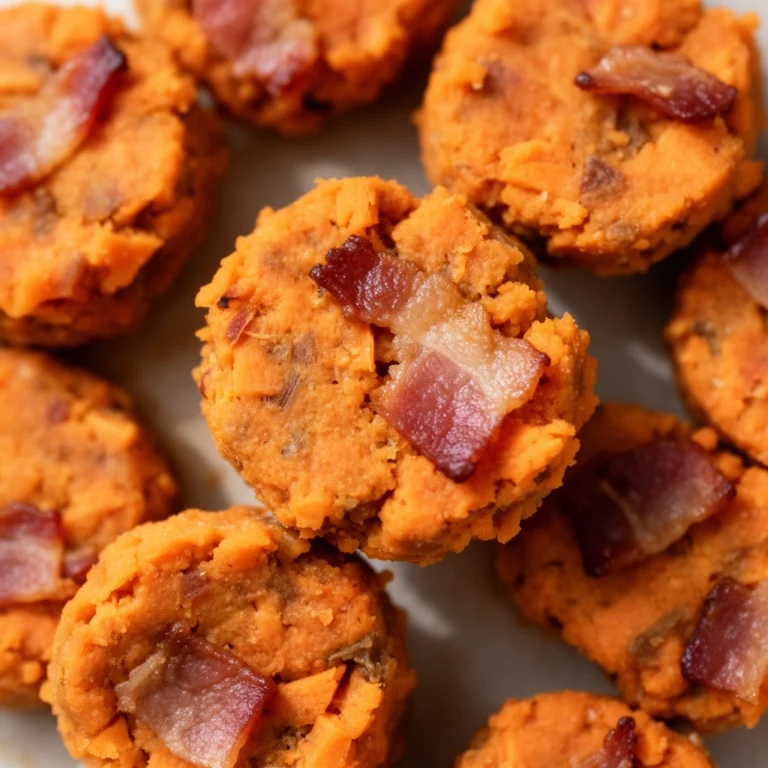
- Bacon sweet potato chews: Replace pumpkin with mashed sweet potato for added fiber and natural sweetness
- Grain-free bacon treats: Use almond flour or coconut flour instead of wheat flour for dogs with grain sensitivities
- Soft bacon training treats: Skip the extended baking time for softer, more pliable treats perfect for training sessions
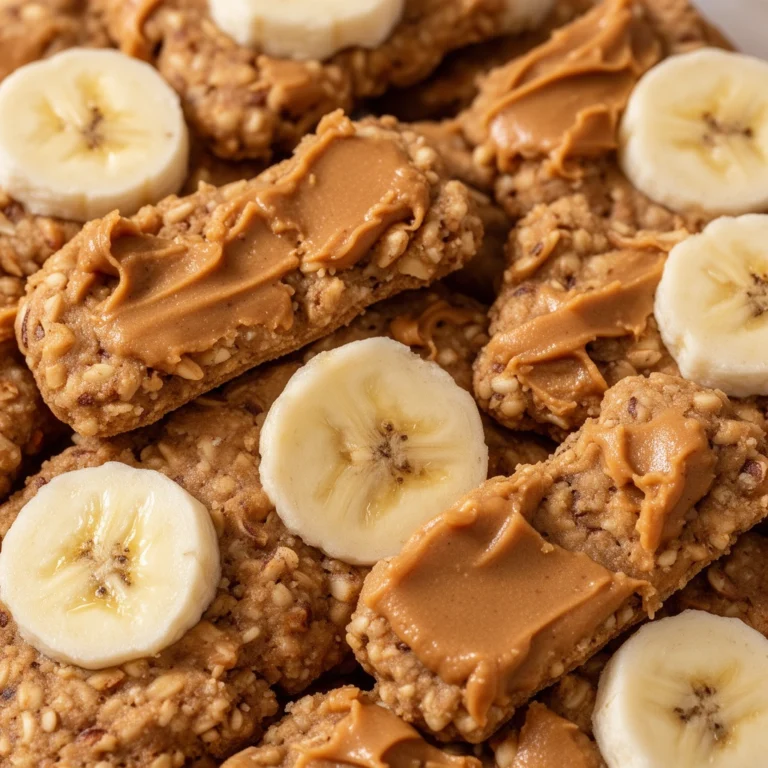
- Bacon and oat bars: Mix in rolled oats for added texture and fiber
Each variation keeps that irresistible bacon flavor while giving you flexibility based on your dog’s dietary needs or your own pantry staples.
A Quick Word on Moderation
Even though these treats are healthier than many store-bought options, bacon is still fatty and salty compared to a dog’s regular diet. I recommend treating these as an occasional reward rather than a daily snack. A good rule of thumb is following the 10% rule: treats should make up no more than 10% of your dog’s daily caloric intake.
If your dog has a history of pancreatitis, kidney issues, or heart problems, it’s worth chatting with your vet before introducing bacon treats altogether. Better safe than sorry, right?
Wrapping It Up
Making bacon dog treats at home isn’t complicated, and honestly, it’s one of those small things that makes pet parenting feel a little more rewarding. You control the ingredients, you know exactly what your dog is eating, and the whole process only takes about 40 minutes from start to finish.
So next time your dog gives you those pleading eyes during breakfast, skip the table scraps and whip up a batch of homemade bacon dog treats instead. Your pup gets a delicious reward, and you get the satisfaction of knowing it’s made with love (and quality ingredients).