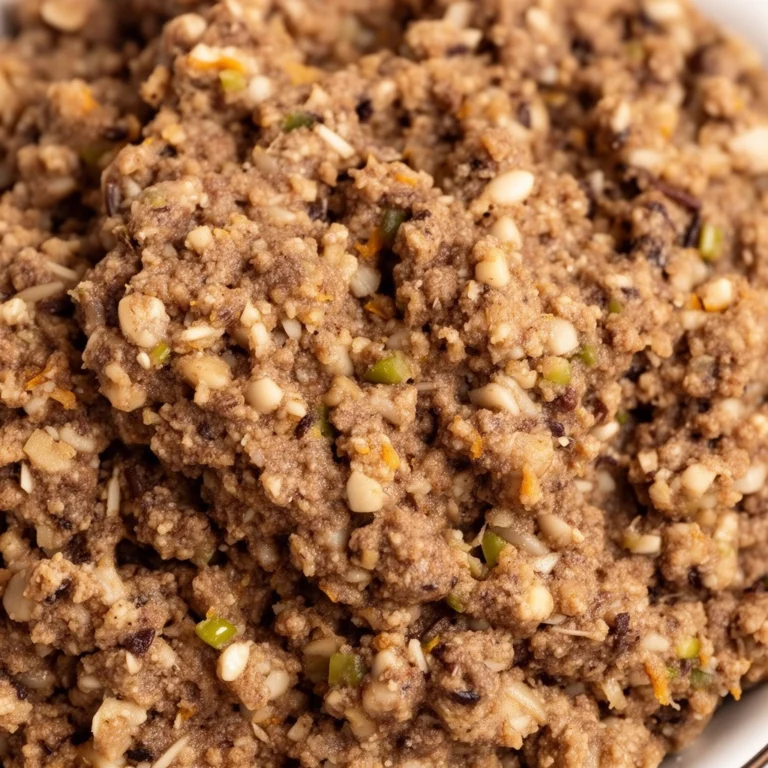
Homemade Dog Treats Without Flour: A Simple Guide for Happy, Healthy Pups
Ever caught your dog staring at you with those big, hopeful eyes while you’re baking? I have. That’s exactly why I started making homemade dog treats without flour for my own pup a few years back. My dog has a sensitive tummy, and regular wheat flour just didn’t sit right with her. If you’re in the same boat, or if you simply want a healthier snack option for your furry friend, you’re in the right place.
Grain-free dog treats have become a big deal lately. More owners are noticing that flour-based snacks can cause bloating, itchy skin, and digestive upset in some dogs. The good news? You don’t need flour to make treats that are crunchy, tasty, and good for your dog’s health. All you need are a few smart ingredient swaps and a little patience.
Why Skip Flour in Dog Treats?
Flour, especially wheat flour, isn’t toxic to dogs. But it’s also not doing them any favors. Many dogs have mild grain sensitivities they never get properly diagnosed. Skipping flour altogether removes the guesswork.
Here’s why pet parents are moving away from flour-based recipes:
- Digestive comfort: Grain-free treats are often easier on a dog’s stomach, especially for breeds prone to allergies.
- Weight management: Flour adds empty calories without much nutritional payoff.
- Allergy prevention: Some dogs develop gluten sensitivities over time, similar to humans.
- Better ingredient control: Flour-free recipes usually rely on whole foods like pumpkin, oats (if tolerated), or meat, which pack more nutrients per bite.
That said, flour-free doesn’t mean flavor-free. Trust me, my dog can’t tell the difference between a flour treat and a flourless one. She just knows it’s delicious.
The Star of the Show: Flourless Pumpkin and Peanut Butter Bites
Let’s talk about the treat we’re making today. I’m going with a pumpkin and peanut butter recipe because it’s a crowd-pleaser, it’s cheap, and it uses ingredients most of us already have in the pantry. Pumpkin is great for digestion, and peanut butter (the unsalted, xylitol-free kind) adds a flavor dogs go crazy for.
This recipe skips flour entirely and instead uses oat flour or almond flour as a binder — but I’ll also show you a truly grain-free version using coconut flour, in case your dog needs to avoid oats too.
Key Terms You Should Know
Before we jump into the steps, let’s clear up some terms that pop up a lot in flourless dog treat recipes.
Binder
: An ingredient that holds the dough together, replacing the role flour usually plays. Examples include mashed banana, eggs, and pumpkin puree.
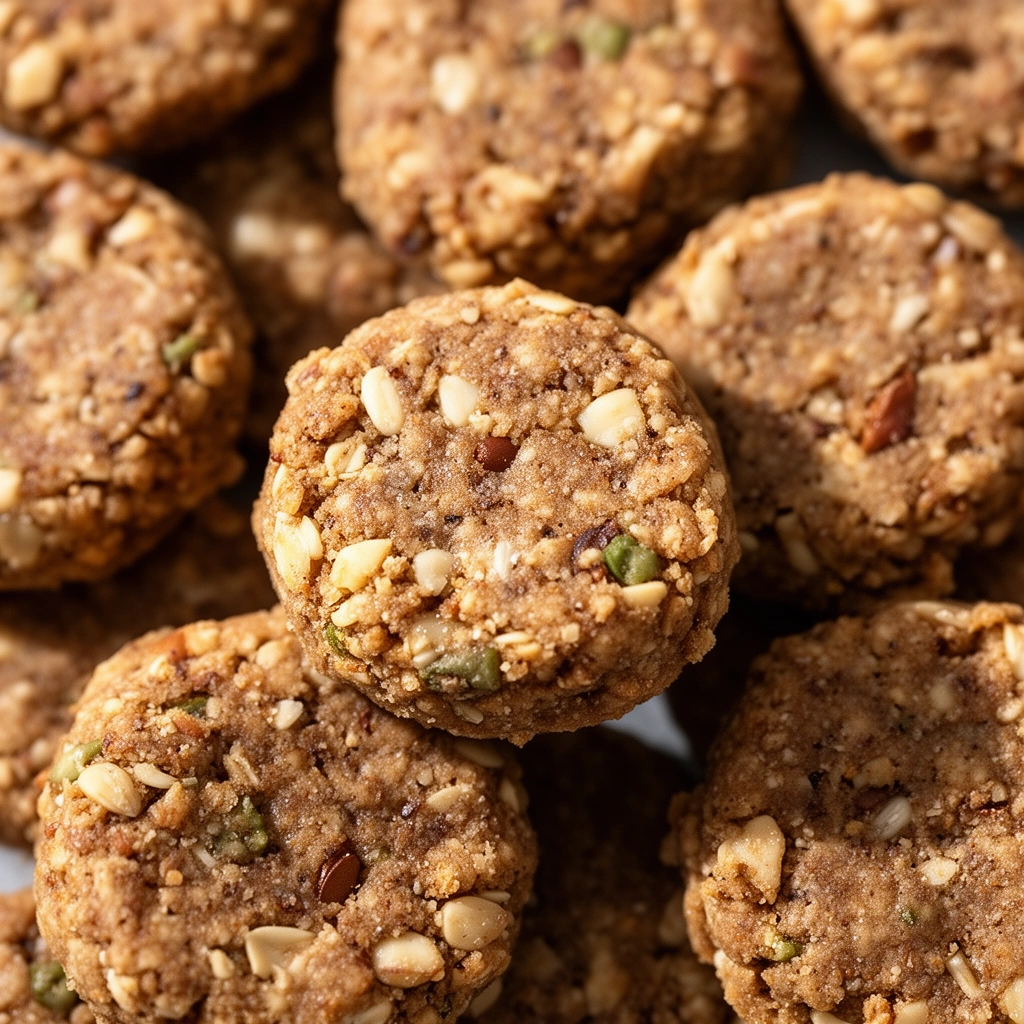
Coconut flour
: A grain-free flour alternative made from dried, ground coconut meat. It’s low in carbs and high in fiber.
Xylitol
: A sugar substitute that is highly toxic to dogs. Always check peanut butter labels for this ingredient before using it.
Rolled oats (ground)
: Sometimes used as a flour substitute, though not truly grain-free. Fine for dogs without grain sensitivities.
Dehydrating
: A slow-baking method that removes moisture from treats, making them last longer without refrigeration.
What You’ll Need
Here’s the ingredient list for the pumpkin peanut butter bites:
- 1 cup canned pumpkin puree (unsweetened, no spices)
- 1/2 cup natural peanut butter (no xylitol, no added sugar)
- 2 large eggs
- 1 cup coconut flour (or ground oats if your dog tolerates grains)
- 1 teaspoon cinnamon (optional, but dogs seem to love the smell)
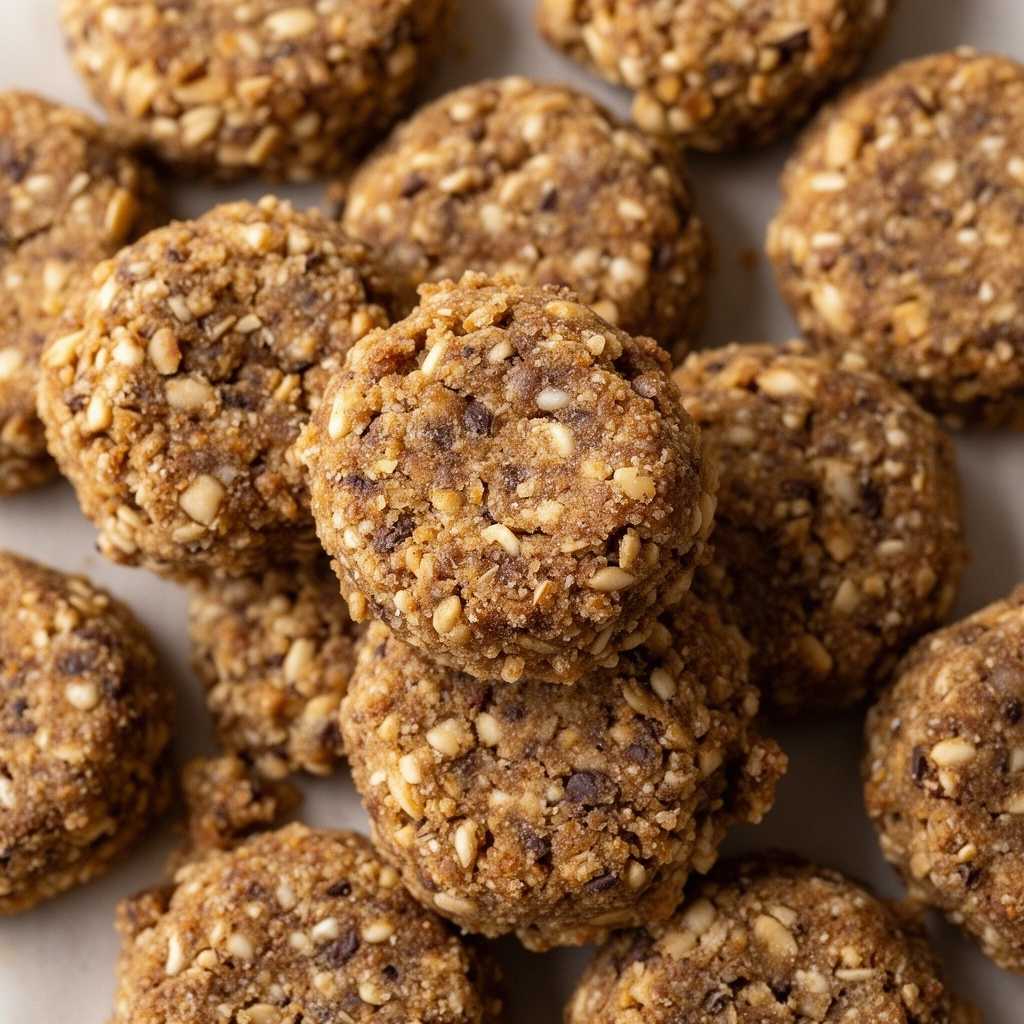
That’s it. Five ingredients, and most of them are probably already in your kitchen.
Step-by-Step: How to Make Flourless Dog Treats
Making these treats isn’t complicated. I promise. Here’s exactly how I do it.
- Preheat your oven to 350°F (175°C). Line a baking sheet with parchment paper.
- Mix the wet ingredients. In a large bowl, combine the pumpkin puree, peanut butter, and eggs. Stir until smooth and well blended.
- Add the dry ingredients. Slowly mix in the coconut flour (or ground oats) and cinnamon. Stir until a thick dough forms. If it feels too sticky, add a little more flour substitute, a tablespoon at a time.
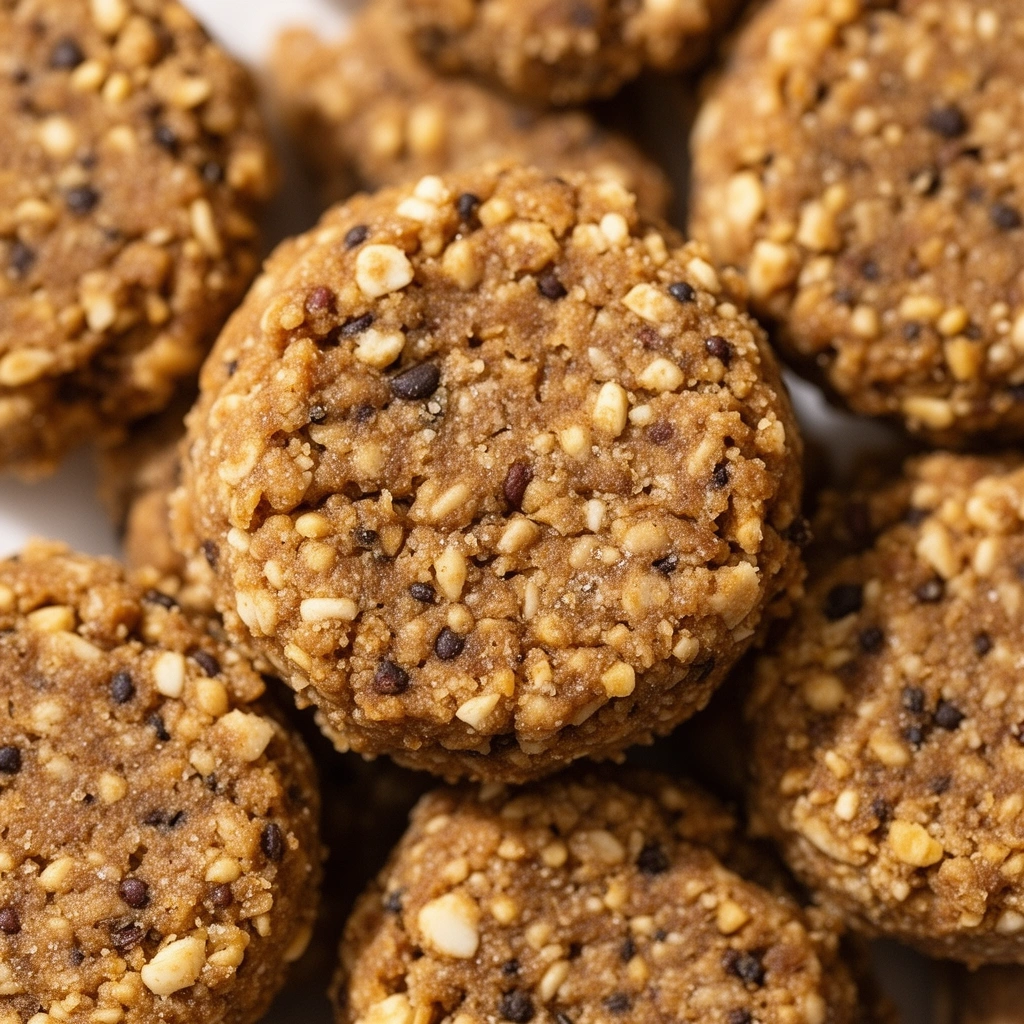
- Shape the dough. Roll the dough into small balls, about the size of a walnut, then flatten slightly with your palm. You can also use a cookie cutter shaped like a bone if you’re feeling fancy.
- Place on the baking sheet. Leave about an inch of space between each treat so they bake evenly.
- Bake for 20-25 minutes. The treats should look firm and slightly golden around the edges.
- Cool completely. This step matters more than people think. Treats that cool fully become firmer and crunchier.
- Store properly. Keep them in an airtight container in the fridge for up to two weeks, or freeze for up to three months.
That’s really all there is to it. No fancy equipment, no complicated techniques.
Tips for Success
I’ve made plenty of batches that didn’t turn out great before I got the hang of this. Here’s what I’ve learned along the way.
- Always check your peanut butter label. Xylitol hides in a lot of “natural” peanut butters now. Double-check every single time, even if you’ve bought the same jar before.
- Don’t overmix the dough. Overworking coconut flour dough can make treats dense and dry.
- Use a cookie scoop for consistency. This keeps treat sizes even, which matters for portion control, especially with small breeds.
- Let treats dry out longer for extra crunch. If your dog prefers a harder biscuit, leave the treats in the oven with the heat off for an extra 10-15 minutes after baking.
- Test a small piece first. Even with dog-safe ingredients, every dog reacts differently. Give a small piece before offering a full treat.
Common Mistakes and How to Avoid Them
I’ve made a few blunders in my flourless treat journey, and I don’t want you to repeat them.
- Using sweetened pumpkin pie filling instead of plain puree. This is loaded with sugar and spices that aren’t great for dogs. Always grab the plain, canned pumpkin.
- Skipping the xylitol check. This mistake can be fatal. Never assume a peanut butter brand is safe just because it’s “natural” or “organic.”
- Not adjusting flour substitutes properly. Coconut flour absorbs way more liquid than regular flour. If a recipe calls for wheat flour and you’re substituting, don’t do a 1-to-1 swap. Use about a quarter of the amount instead.
- Underbaking the treats. Flourless treats often need slightly longer bake times because they lack the drying effect of gluten. Give them the full time, and check for firmness before pulling them out.
- Storing treats before they’ve cooled. This traps moisture and speeds up mold growth. Always let treats cool on a wire rack.
Variations You Can Try
Once you’ve got the basic method down, it’s fun to switch things up. Here are a few variations I’ve tried with good results.
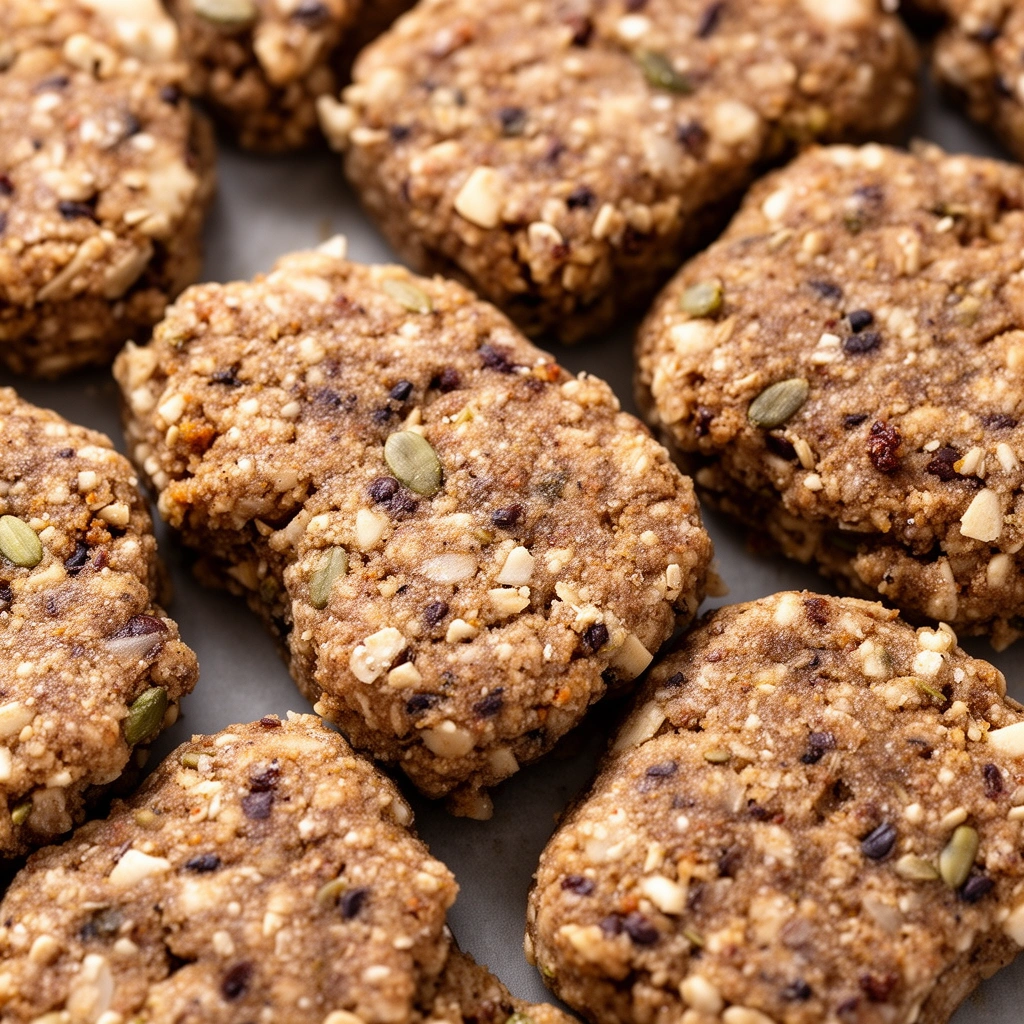
- Sweet potato and turkey bites: Swap pumpkin for mashed sweet potato and add finely shredded cooked turkey for a protein boost.
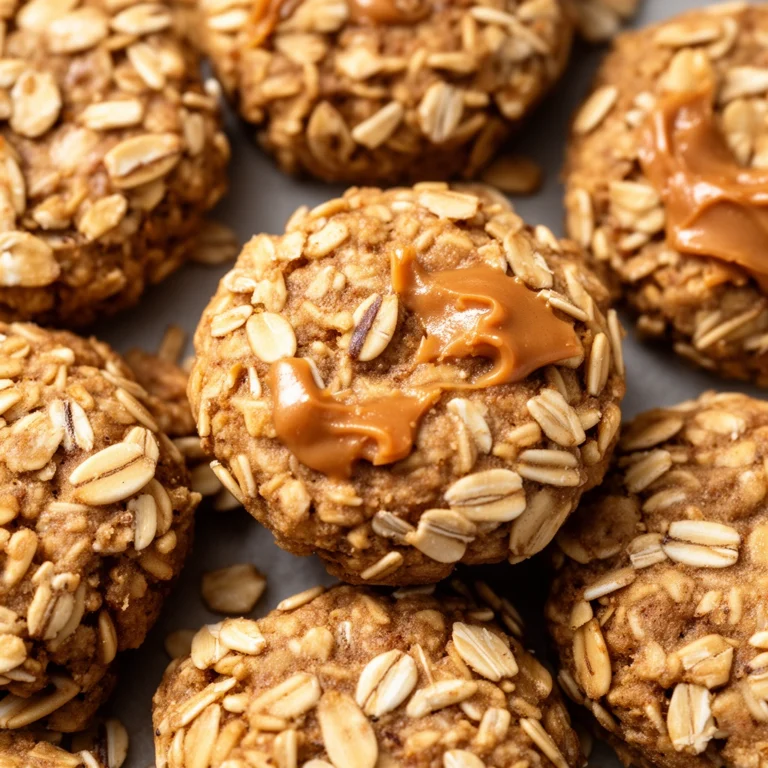
- Banana and oat treats: Use mashed banana as the binder instead of pumpkin, paired with ground oats for dogs without grain sensitivities.
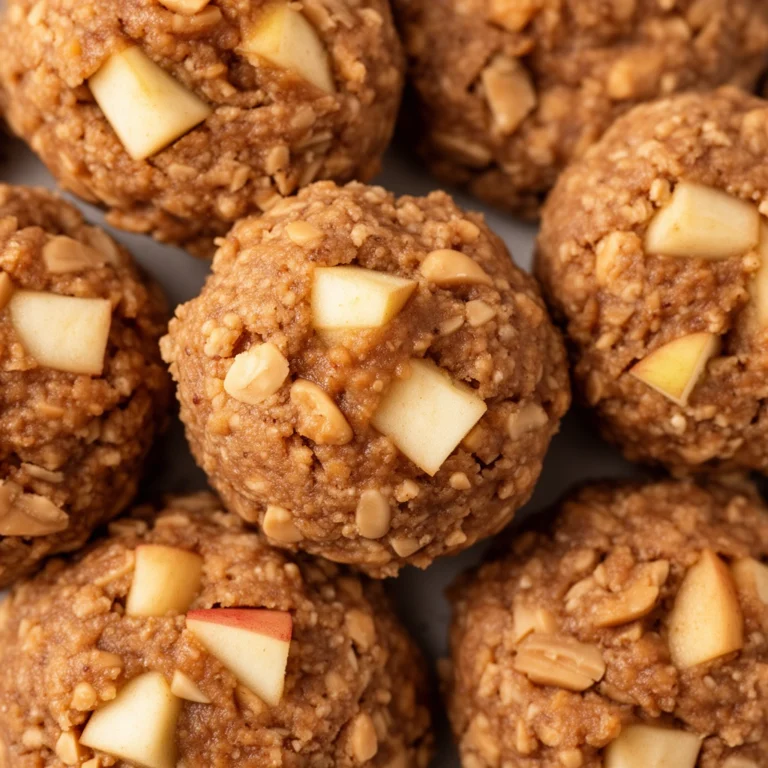
- Apple and cinnamon crisps: Thinly slice apples (no seeds), sprinkle with cinnamon, and dehydrate for a low-calorie, crunchy snack.
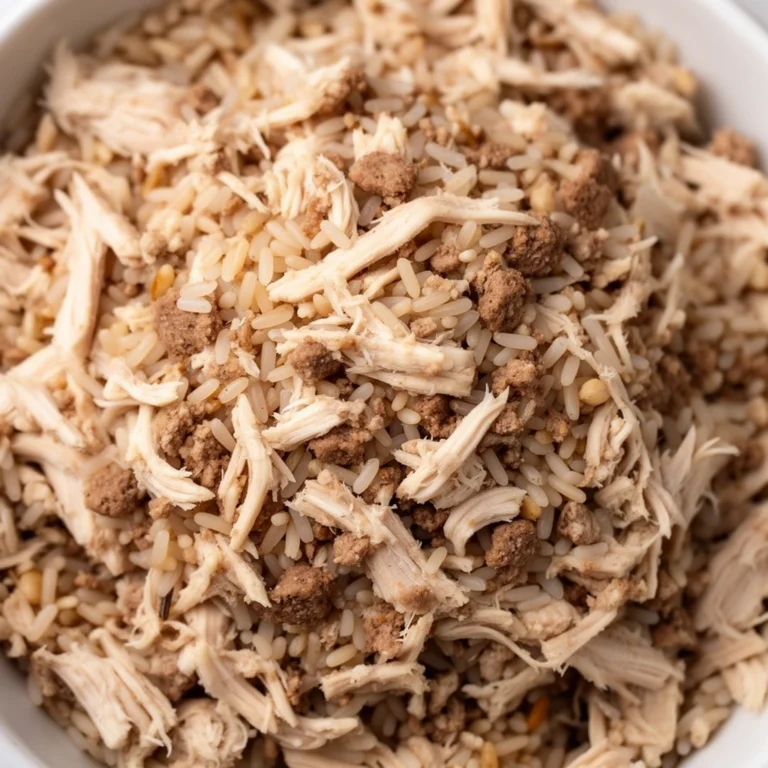
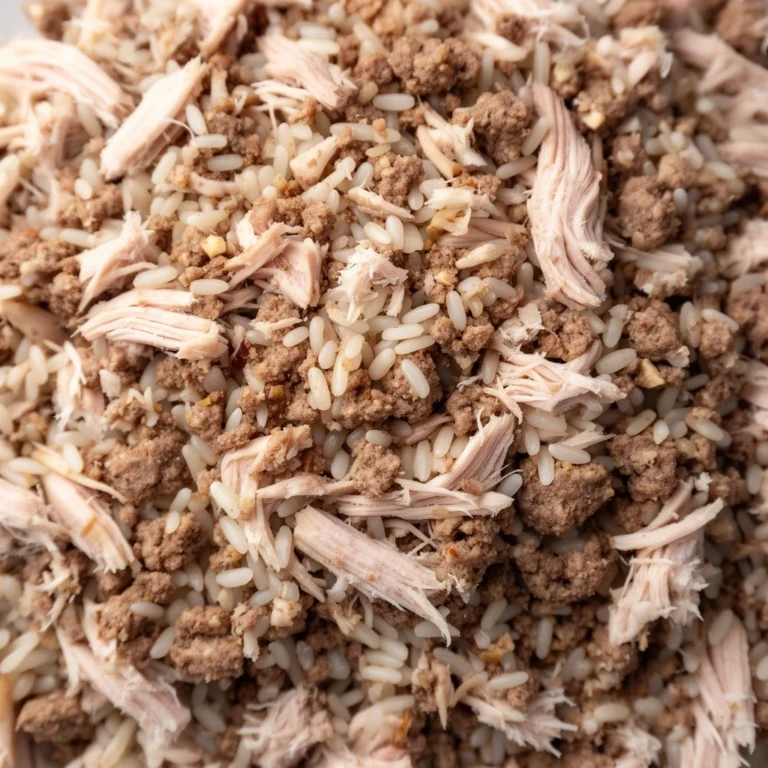
- Chicken and pumpkin jerky: Blend cooked chicken breast with pumpkin puree, spread thin on a baking sheet, and bake low and slow for a jerky-style treat.
- Blueberry coconut bites: Add fresh or frozen blueberries to the base dough for a fun antioxidant boost.
Each variation keeps the same flourless approach while giving your dog a bit of variety. Dogs get bored with the same treat, just like we do.
A Quick Note on Ingredient Safety
Not every “healthy” ingredient is dog-safe. Here’s a short list of foods to avoid completely when experimenting with your own flourless recipes:
- Grapes and raisins
- Onions and garlic
- Chocolate
- Macadamia nuts
- Xylitol (again, worth repeating)
- Avocado (in large amounts)
Always research new ingredients before tossing them into your dough. A quick search or a call to your vet can save you a stressful trip to the emergency clinic.
Wrapping It Up
Making homemade dog treats without flour is simpler than most people expect. You don’t need special baking skills or rare ingredients. Just a few pantry staples, a little bit of time, and a willingness to experiment. My dog now gets her pumpkin peanut butter bites every week, and honestly, I feel better knowing exactly what’s going into her snacks.
Give this recipe a try, and don’t be afraid to play around with the variations. Your dog will thank you with a wagging tail and maybe a few extra kisses. And really, that’s what homemade dog treats without flour are all about.