Homemade Pumpkin Carrot Dog Treats: A Simple Recipe Your Pup Will Beg For
Ever caught your dog staring at you with those big, hopeful eyes while you’re snacking? I get it every single day. That’s exactly why I started making homemade pumpkin carrot dog treats in my own kitchen. No weird preservatives. No mystery ingredients. Just real food that my dog actually loves and I actually trust.
If you’ve been searching for a treat recipe that’s healthy, easy, and doesn’t require a culinary degree, you’re in the right spot. I’m going to walk you through everything—the good, the tricky parts, and the stuff most recipe blogs never mention.
What Are Pumpkin Carrot Dog Treats, Anyway?
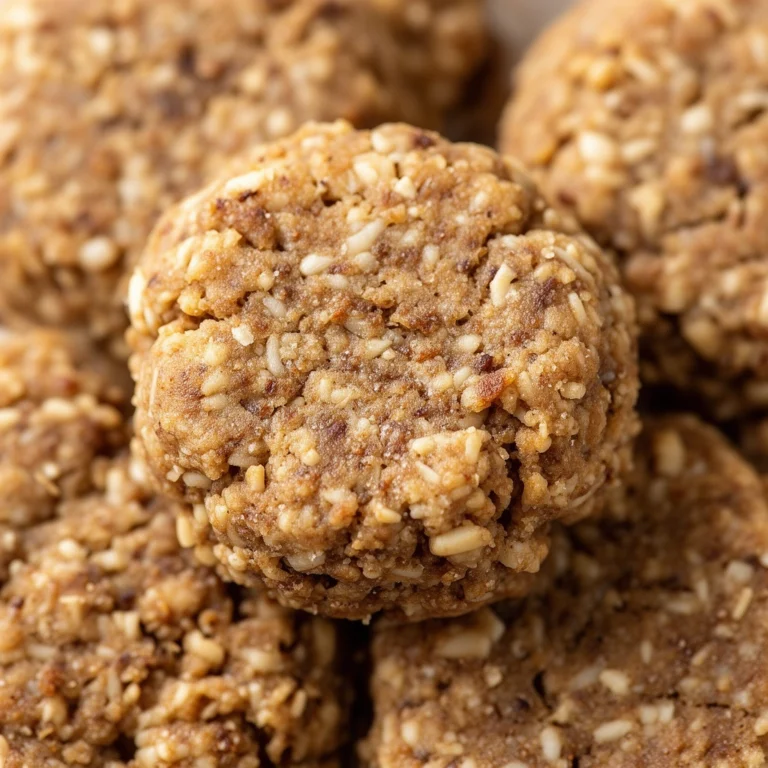
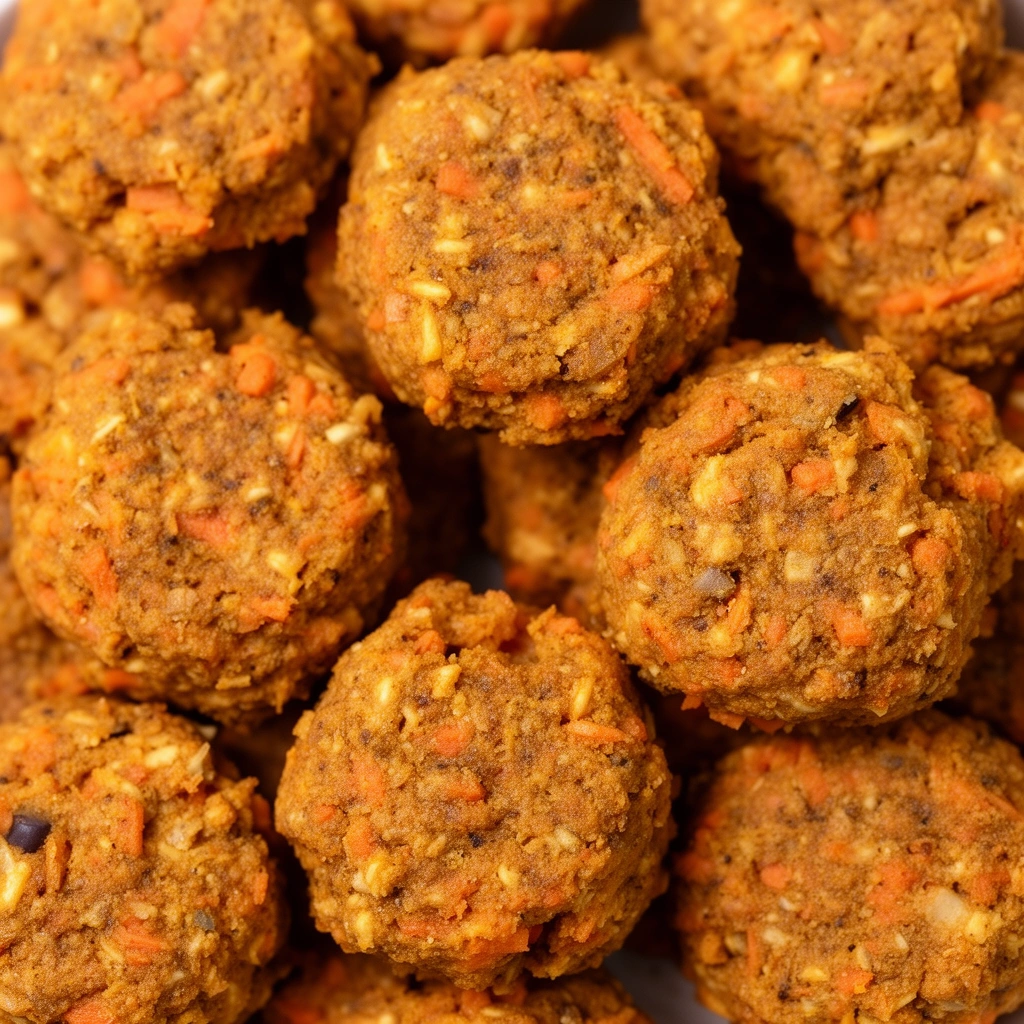
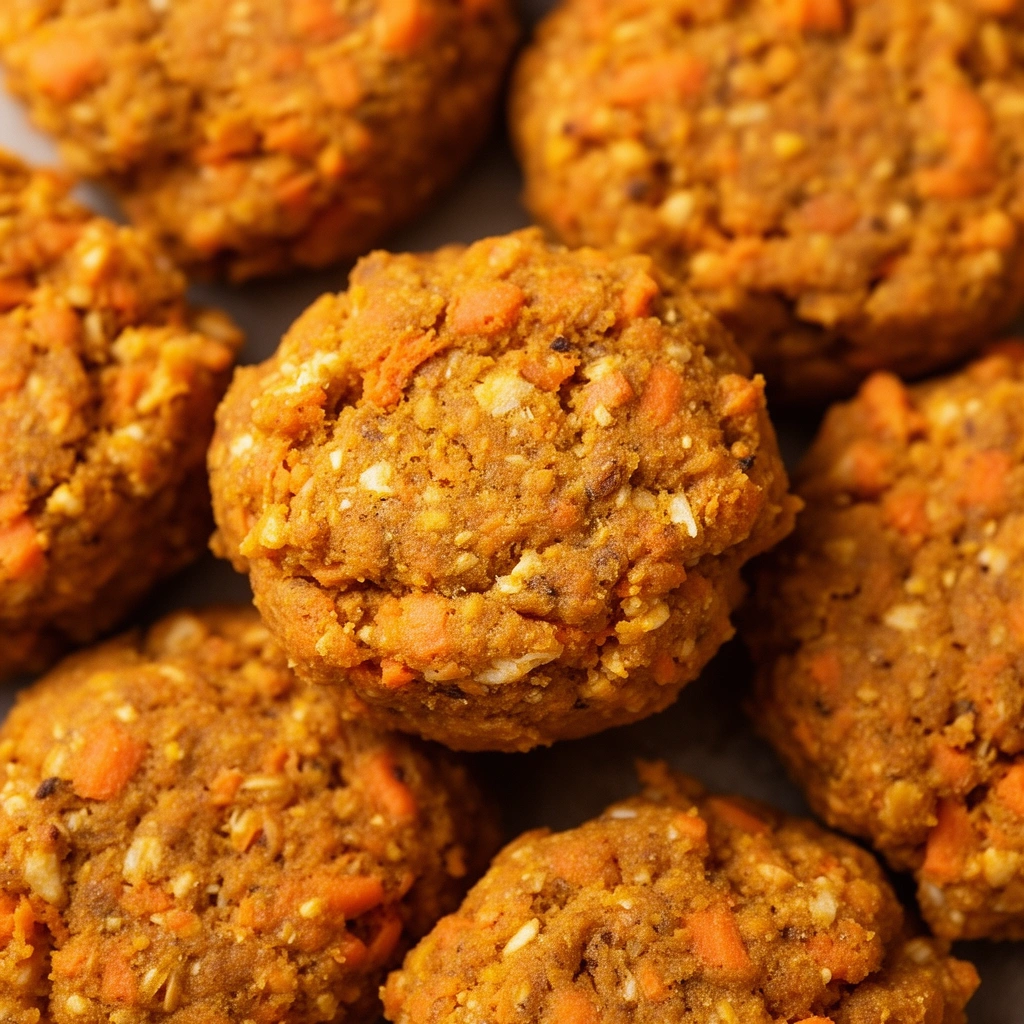
Let’s break this down simply. These treats are baked biscuits made mostly from pumpkin puree, shredded carrots, whole wheat flour (or a grain-free alternative), and a couple of pantry staples. They’re crunchy on the outside, slightly chewy inside, and packed with fiber and beta-carotene.
Pumpkin isn’t just a fall trend for dogs. Vets often recommend it for digestive issues because it’s gentle on the stomach and loaded with fiber. Carrots bring natural sweetness plus vitamin A, which supports eye health and skin. Combine the two, and you’ve got a treat that’s both tasty and functional.
Unlike store-bought biscuits that sit on shelves for months, these treats are fresh. You control what goes in. That matters a lot if your dog has allergies or a sensitive tummy.
Key Terms You Should Know
Before we start baking, let’s clarify a few terms you’ll see throughout this recipe.
Pumpkin Puree
: Plain, cooked, and mashed pumpkin with no added sugar or spices. Not the same as pumpkin pie filling, which contains sugar and spices that aren’t safe for dogs.
Beta-Carotene
: A natural pigment found in orange vegetables like carrots and pumpkin. It converts into vitamin A in your dog’s body and supports vision and immune function.
Binder
: An ingredient like egg or flour that holds the dough together so it doesn’t crumble apart.
Grain-Free Flour
: Alternatives like oat flour or chickpea flour, used for dogs with wheat sensitivities.
Dehydrated vs. Baked
: Baking cooks the treat through heat in an oven, while dehydrating slowly removes moisture at a low temperature for a longer shelf life.
Knowing these terms helps you tweak the recipe later without guessing.
What You’ll Need
Here’s the full list of ingredients and tools before you start.
Ingredients:
- 1 cup pumpkin puree (plain, unsweetened)
- 1 cup shredded carrots (fresh, not canned)
- 2 cups whole wheat flour (or oat flour for grain-free)
- 1 large egg
- 2 tablespoons coconut oil (melted)
- 1 teaspoon cinnamon (optional, dog-safe in small amounts)
Tools:
- Mixing bowl
- Baking sheet
- Parchment paper
- Rolling pin
- Cookie cutter (bone-shaped is fun, but any shape works)
- Fork for pricking dough (helps even baking)
That’s it. No fancy gadgets required.
Step-by-Step Process
I’ll walk you through this exactly how I make it at home.
- Preheat your oven to 350°F (175°C). This ensures even baking from the start.
- Mix the wet ingredients. In a large bowl, combine the pumpkin puree, shredded carrots, egg, and melted coconut oil. Stir until smooth.
- Add the dry ingredients. Slowly mix in the flour and cinnamon, if using. Stir until a thick dough forms. If it feels too sticky, add flour a tablespoon at a time.
- Knead the dough. Turn it onto a floured surface and knead for about two minutes. This helps develop structure so the treats hold their shape.
- Roll it out. Use a rolling pin to flatten the dough to about a quarter-inch thickness. Thinner dough means crunchier treats; thicker dough means chewier ones.
- Cut your shapes. Use your cookie cutter to cut out treats. Place them on a parchment-lined baking sheet, leaving a little space between each one.
- Prick with a fork. This small step prevents puffing and helps treats bake evenly.
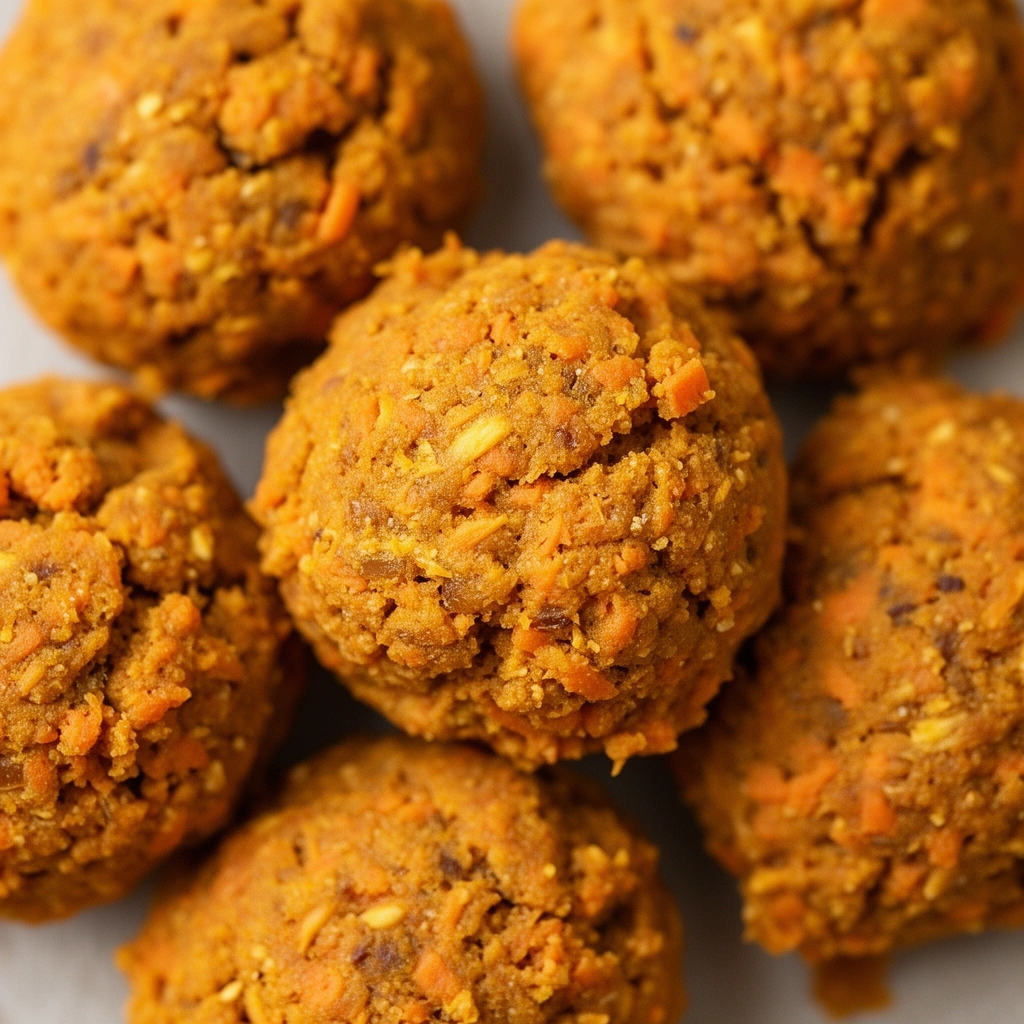
- Bake for 20-25 minutes. Keep an eye on them after the 20-minute mark. You want a light golden color, not dark brown.
- Cool completely. Let them sit on a wire rack for at least 30 minutes. This step matters more than people think—warm treats are softer and won’t have that satisfying crunch yet.
- Store properly. Once fully cooled, transfer to an airtight container.
That’s the whole process. Not complicated, right?
Tips for Success
A few things I learned the hard way, so you don’t have to.
- Always use plain pumpkin puree, never pumpkin pie mix. The spices and sugar in pie mix can upset your dog’s stomach.
- Shred carrots finely. Big chunks won’t cook through properly and can create weird texture in the dough.
- Don’t skip the fork-pricking step. It really does prevent cracking and uneven puffing.
- If your dough feels too wet, add flour slowly. Too much liquid makes treats mushy instead of crisp.
- Bake a test batch first if you’re trying a new flour type. Oat flour behaves differently than wheat flour and may need extra baking time.
- Let treats fully cool before storing. Trapped steam creates sogginess and shortens shelf life.
Common Mistakes and How to Avoid Them
I’ve messed up more batches than I’d like to admit. Here’s what usually goes wrong and how you can dodge these mistakes.
Mistake: Using flavored or spiced pumpkin
: This is the number one issue. Always double-check the can label. Pure pumpkin puree only.
Mistake: Overbaking
: Ovens vary. Start checking at the 18-minute mark if your oven runs hot. Overbaked treats turn rock hard and can be tough on smaller dogs’ teeth.
Mistake: Skipping the kneading step
: Dough that isn’t kneaded properly falls apart when cut, leading to messy, crumbly treats.
Mistake: Storing treats while warm
: This traps moisture inside the container, leading to mold within a few days. Always wait until treats reach room temperature.
Mistake: Ignoring portion size for small dogs
: A treat sized for a Labrador might be way too much for a Chihuahua. Cut smaller shapes for tiny breeds.
Avoiding these small errors makes a huge difference in the final product.
How Long Do These Treats Last?
This is something a lot of recipes skip over, and it matters. Homemade treats don’t have preservatives, so they won’t last as long as store-bought ones.
- Room temperature: Up to 5 days in an airtight container.
- Refrigerated: Up to 2 weeks, which extends freshness nicely.
- Frozen: Up to 3 months. Just thaw a few at a time as needed.
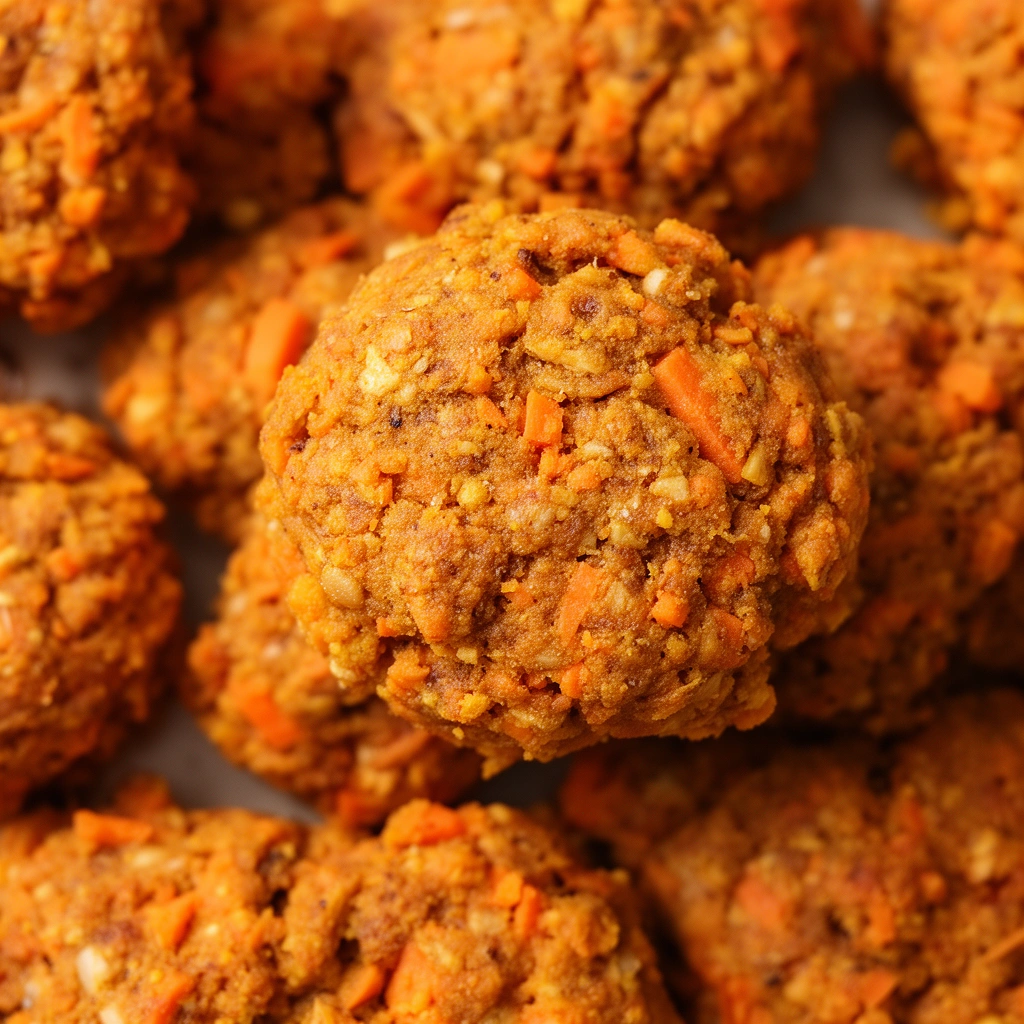
I usually make a big batch and freeze half. That way I always have treats ready without baking every week.
Similar Variations You Can Try
Once you’ve mastered the base recipe, it’s fun to switch things up. Here are a few variations I’ve tried myself.
- Peanut Butter Pumpkin Carrot Treats: Add two tablespoons of unsweetened, xylitol-free peanut butter to the wet mixture for extra flavor dogs go crazy for.
- Apple Pumpkin Carrot Treats: Swap half the carrots for finely grated apple (no seeds) for a slightly sweeter version.
- Grain-Free Version: Replace wheat flour with a mix of oat flour and coconut flour for dogs with grain sensitivities.
- Frozen Pumpkin Carrot Bites: Skip baking altogether. Freeze small dollops of the raw mixture in silicone molds for a cool summer treat.
- Turmeric Boosted Treats: Add a pinch of turmeric for its anti-inflammatory properties, especially helpful for senior dogs with joint issues.
These variations let you customize based on your dog’s taste preferences or dietary needs.
A Quick Note on Nutrition
I think this part often gets skipped in other recipes, but it’s worth mentioning. Pumpkin and carrots aren’t just filler ingredients—they genuinely support digestive health, skin, and coat quality. However, treats should never replace balanced meals. Think of these as an occasional snack, not a dietary staple. A good rule many vets suggest is that treats shouldn’t make up more than 10% of your dog’s daily caloric intake.
If your dog has diabetes, kidney issues, or any chronic condition, it’s smart to check with your vet before introducing new treats, even natural ones like this.
Wrapping It Up
Making homemade pumpkin carrot dog treats isn’t just about saving money or avoiding preservatives. It’s about knowing exactly what’s going into your dog’s body and sharing something you made with your own hands. I love watching my dog’s tail wag the second these come out of the oven.
Give this recipe a try this weekend. Keep it simple, follow the steps, and don’t stress about perfection. Your dog won’t care if the shapes are a little wonky—they’ll just be thrilled you made pumpkin carrot dog treats just for them.