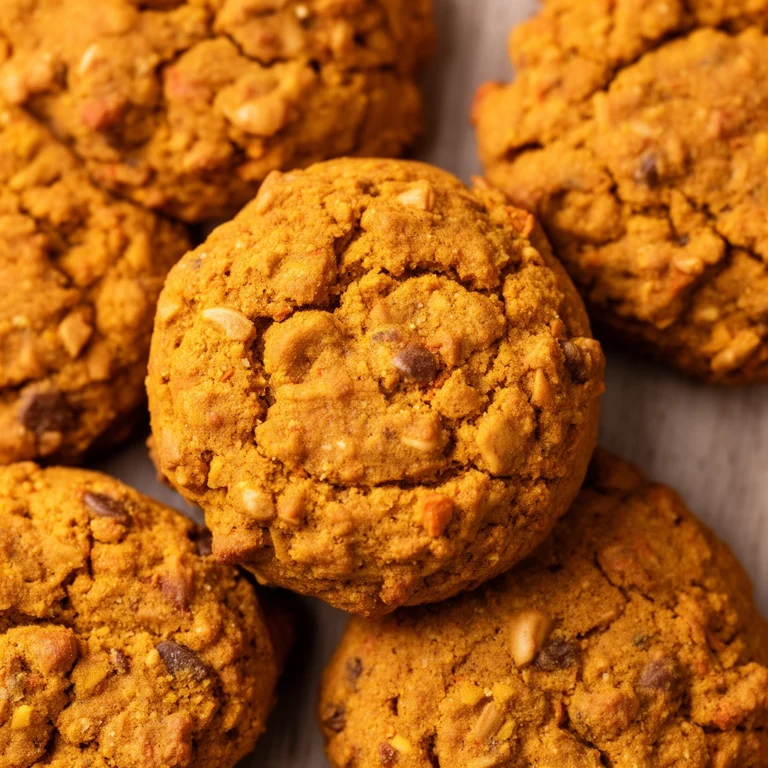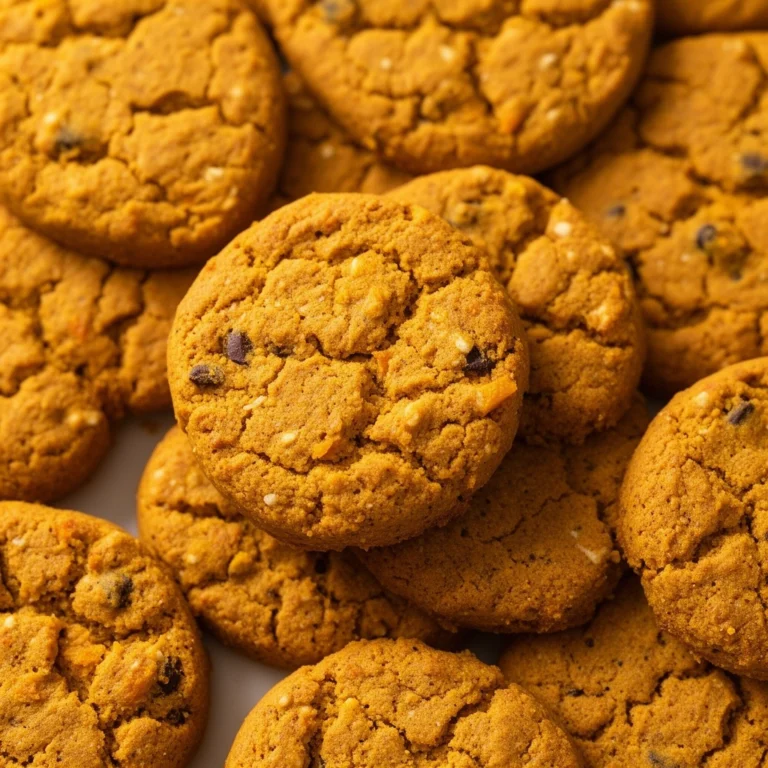
Pumpkin Seed Dog Treats: A Crunchy, Nutrient-Packed Snack Your Dog Will Beg For
Ever caught your pup staring at you while you carve a pumpkin, wondering if those seeds are fair game? I get it. Pumpkin seed dog treats have become one of my go-to homemade snacks, and honestly, they’re way easier to make than most people think. If you’ve been tossing those seeds in the trash after making pumpkin puree or carving a jack-o-lantern, you’re throwing away a genuinely healthy treat option for your furry friend.
I started making these treats a couple years back when my dog developed some digestive sensitivity, and my vet suggested pumpkin-based snacks. What I didn’t expect was how much my dog would love the seeds themselves, not just the flesh. Turns out, pumpkin seeds pack a nutritional punch that most dog owners don’t know about.
What Exactly Are Pumpkin Seed Dog Treats?
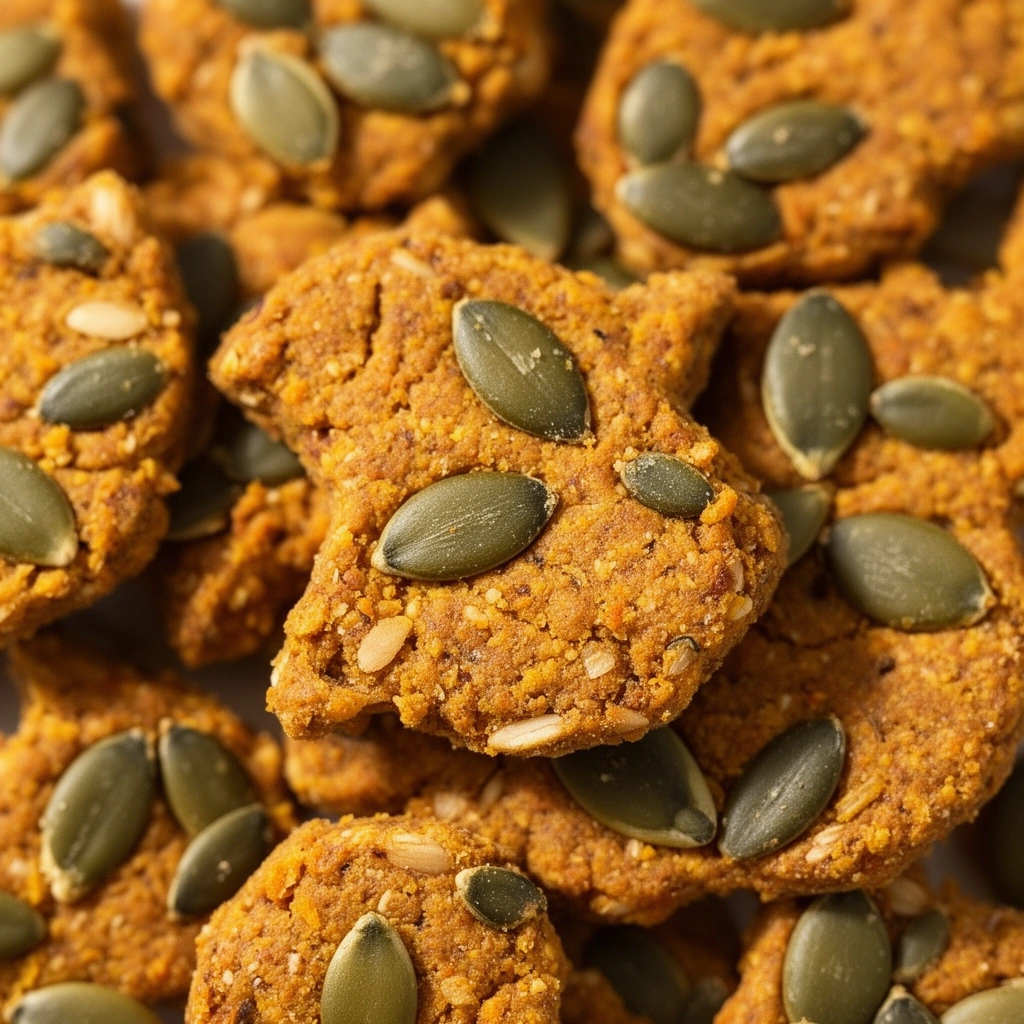
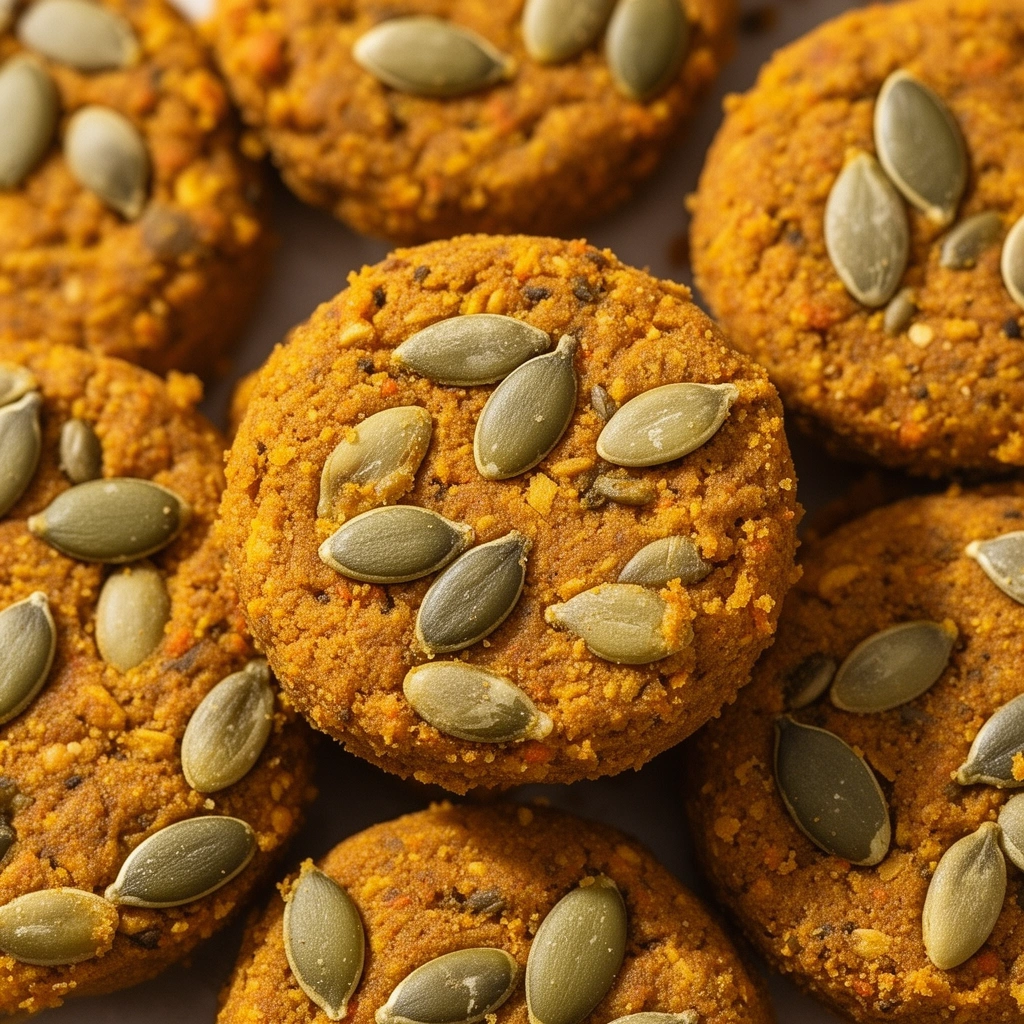
Pumpkin seed dog treats are exactly what they sound like: baked or dehydrated snacks made primarily from pumpkin seeds, often combined with other dog-safe ingredients like oats, peanut butter, or pumpkin puree itself. These treats aren’t just a way to use up kitchen scraps. They’re a legitimate source of nutrients that support your dog’s health in several ways.
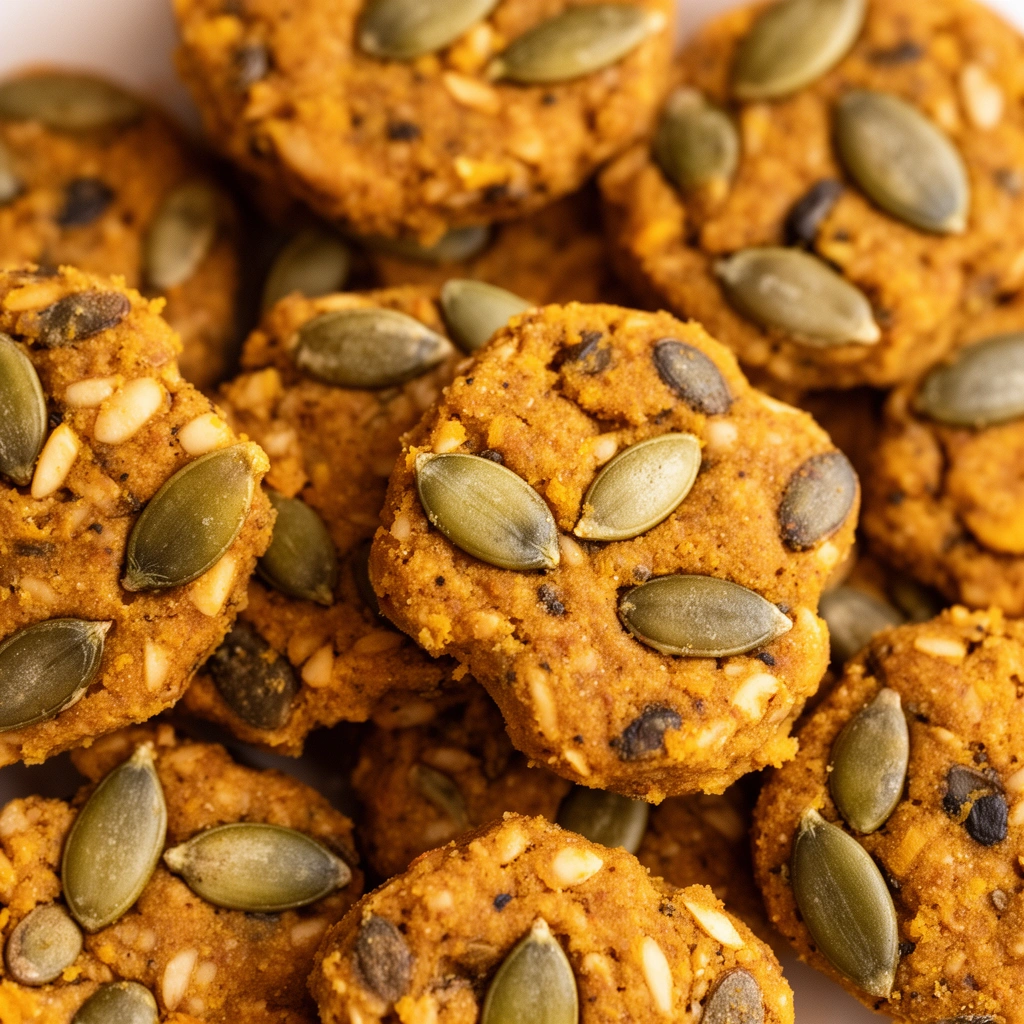
The magic happens because pumpkin seeds contain zinc, magnesium, and healthy fats that most commercial treats lack. Dogs with joint issues, skin problems, or digestive troubles often see real improvement when pumpkin seeds become part of their regular diet. I’ve noticed my own dog’s coat looking shinier within a few weeks of adding these treats to her routine.
Here’s a breakdown of the key terms you’ll want to understand before diving in:
Raw pumpkin seeds
: Unroasted seeds straight from the pumpkin, still covered in pulp and moisture. These need cleaning and drying before use.
Roasted pumpkin seeds
: Seeds that have been baked to remove moisture and enhance flavor, making them crunchier and easier to grind or chop.
Pumpkin seed powder
: Ground, dried pumpkin seeds used as a nutrient-dense flour substitute in treat recipes.
Dehydrating
: A low-heat cooking method that removes moisture slowly, preserving nutrients better than high-heat baking.
Binding agent
: An ingredient like egg, pumpkin puree, or peanut butter that holds treat dough together.
Why Pumpkin Seeds Matter for Your Dog’s Health
Before jumping into the recipe, let’s talk about why these seeds deserve a spot in your dog’s diet. Most articles skip this part, but I think it’s crucial for making informed decisions about what you feed your pet.
- Natural dewormer properties: Pumpkin seeds contain an amino acid called cucurbitacin, which some studies suggest helps paralyze intestinal parasites, making them easier to pass.
- Rich in omega-3 and omega-6 fatty acids: These support skin health and reduce inflammation, particularly helpful for dogs with allergies or dry skin.
- High zinc content: Zinc supports immune function and helps maintain healthy skin and coat.
- Good source of protein: Pumpkin seeds contain roughly 30% protein by weight, making them a solid addition for active dogs.
- Fiber for digestion: Combined with pumpkin flesh, the seeds contribute to better gut health and can help with both constipation and diarrhea.
- Magnesium and phosphorus: These minerals support bone health and muscle function, especially important for senior dogs or active breeds.
Ingredients You’ll Need
Before you start, gather these basics. I’ve tested this recipe dozens of times, and this combination works best for texture and nutrition:
- 1 cup raw pumpkin seeds (from a fresh pumpkin, not store-bought roasted ones with salt)
- 1 cup pumpkin puree (unsweetened, no spices added)
- 1 ½ cups whole wheat flour or oat flour for grain-sensitive dogs
- 1 egg
- 2 tablespoons coconut oil
- Water as needed for consistency
Step-by-Step Process for Making Pumpkin Seed Dog Treats
Making these treats isn’t complicated, but there are a few steps people often skip that make a huge difference in the final product.
Step 1: Clean and Prepare the Seeds
Scoop the seeds from your pumpkin and rinse them thoroughly under cold water to remove all pulp and stringy bits. Pat them dry with a clean towel.
Step 2: Dry the Seeds
Spread seeds on a baking sheet lined with parchment paper. Bake at 300°F for 15-20 minutes, stirring occasionally, until they’re crispy and lightly golden. This step matters because moist seeds will make your dough too wet.
Step 3: Grind the Seeds
Once cooled, pulse the seeds in a food processor until you get a coarse, flour-like texture. Don’t over-process into a paste; you want some texture remaining for that satisfying crunch.
Step 4: Mix the Dough
In a large bowl, combine the ground pumpkin seeds, flour, pumpkin puree, egg, and coconut oil. Mix until it forms a workable dough. Add water a tablespoon at a time if the mixture feels too dry.
Step 5: Roll and Cut
Roll the dough out on a floured surface to about ¼ inch thickness. Use a cookie cutter or knife to cut into shapes. Bone shapes are cute, but honestly, squares work just as well and waste less dough.
Step 6: Bake
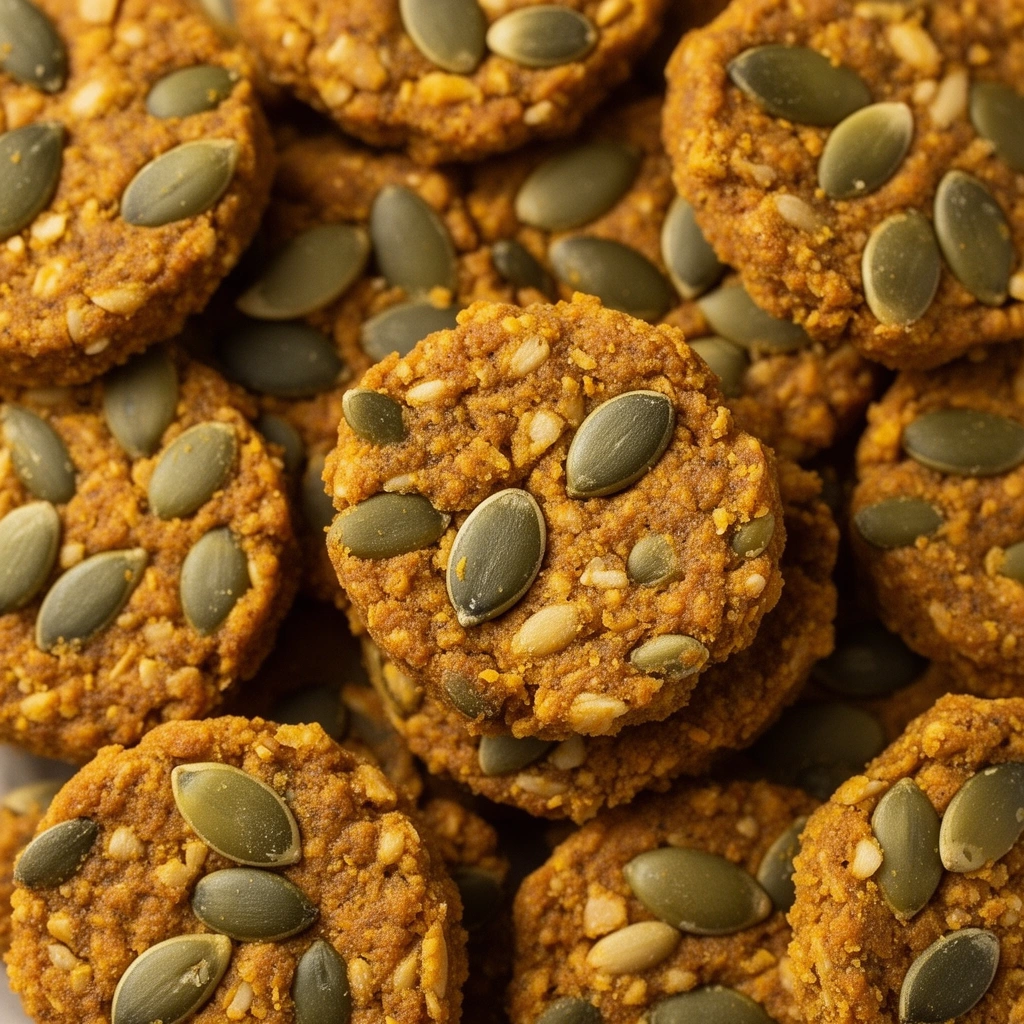
Place shapes on a parchment-lined baking sheet. Bake at 350°F for 20-25 minutes, flipping halfway through, until treats are firm and golden brown.
Step 7: Cool Completely
Let treats cool fully on a wire rack before storing. This step prevents moisture buildup that can lead to mold.
Tips for Success
I’ve made plenty of mistakes over the years, so here’s what actually helps:
- Always use raw, unsalted seeds. Store-bought roasted seeds often contain sodium levels unsafe for dogs.
- Toast your seeds until they’re truly crispy. Half-dried seeds create a gummy texture in the final dough.
- Don’t skip the parchment paper. These treats can stick badly to bare baking sheets.
- Test dough consistency by rolling a small ball in your palm. It should hold shape without cracking or feeling sticky.
- Cut treats uniformly so they bake at the same rate. Uneven sizes mean some burn while others stay soft.
- Store finished treats in an airtight container in the fridge for up to two weeks, or freeze for longer storage.
Common Mistakes and How to Avoid Them
Mistake: Using seasoned or salted pumpkin seeds
Many people grab seeds from store shelves without checking labels. Salt and seasoning blends can be toxic to dogs in larger amounts. Stick with plain, raw seeds you’ve prepared yourself.
Mistake: Skipping the seed-drying step
Rushing straight from raw seeds to dough creates excess moisture, resulting in treats that never fully crisp up and mold quickly in storage.
Mistake: Overbaking
Leaving treats in too long makes them rock hard, which isn’t great for smaller dogs or senior pups with dental issues. Check treats a few minutes before your timer goes off.
Mistake: Using canned pumpkin pie filling instead of plain puree
This is probably the most common error I see. Pumpkin pie filling contains sugar and spices like nutmeg, which is toxic to dogs. Always double-check you’re grabbing 100% pumpkin puree.
Mistake: Ignoring portion control
Even healthy treats add up in calories. Pumpkin seed treats should make up no more than 10% of your dog’s daily caloric intake.
Variations Worth Trying
Once you’ve nailed the basic recipe, experimenting becomes half the fun. Here are some variations I’ve tried with good results:
- Peanut butter swap: Replace coconut oil with natural, unsalted peanut butter for extra flavor dogs go crazy for.
- Sweet potato addition: Mix in ½ cup mashed sweet potato alongside the pumpkin puree for added beta-carotene and natural sweetness.
- Grain-free version: Substitute flour with almond flour or coconut flour for dogs with grain sensitivities.
- Frozen treats: Skip baking entirely and freeze the raw dough in silicone molds for a cooling summer treat.
- Herb-infused: Add a teaspoon of dried parsley for fresh breath benefits alongside the digestive support.
- Cinnamon boost: A pinch of cinnamon (not nutmeg) adds flavor and offers anti-inflammatory benefits without any toxicity concerns.
Wrapping It Up
Making pumpkin seed dog treats at home gives you complete control over what goes into your dog’s snacks, something store-bought options rarely offer. I’ve found that once you get the technique down, whipping up a batch takes less than an hour, and the seeds you’d otherwise throw away become something genuinely beneficial for your dog’s health.
Give this recipe a try next time you’re carving pumpkins or cooking with pumpkin puree. Your dog will thank you, and you’ll feel good knowing exactly what’s in every crunchy bite of those pumpkin seed dog treats.