Homemade Pumpkin Oat Dog Treats: The Ultimate Guide Your Pup Will Beg For
Ever caught your dog staring at you with those big, hopeful eyes while you’re baking in the kitchen? I have. That’s exactly why I started making homemade pumpkin oat dog treats. They’re simple, healthy, and honestly, way cheaper than store-bought biscuits.
If you’ve been searching for a treat recipe that’s both nutritious and easy to whip up, you’re in the right place. I’m going to walk you through everything—ingredients, steps, mistakes to dodge, and even fun variations. No fluff, just real, useful info.
What Are Pumpkin Oat Dog Treats?
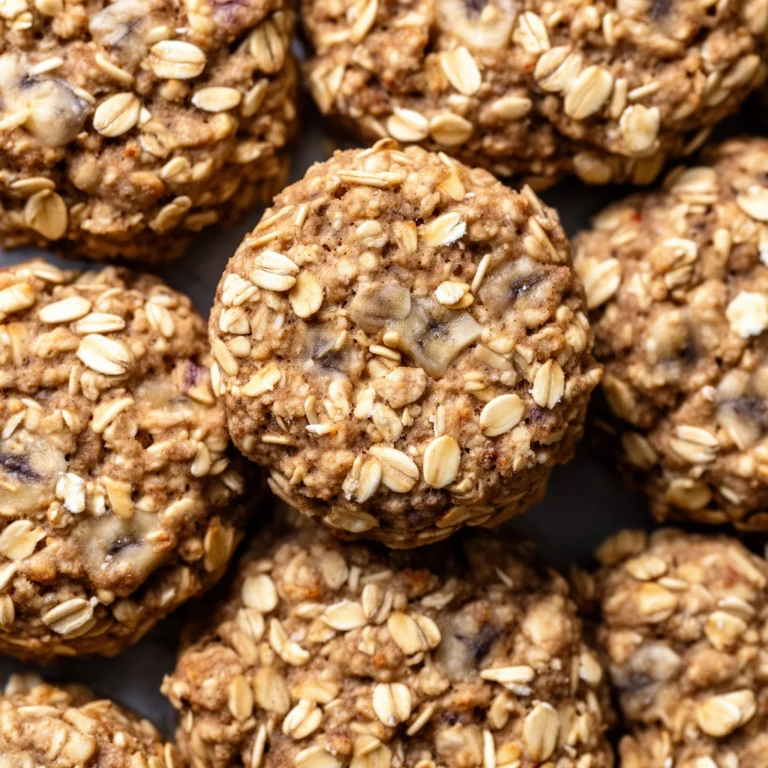
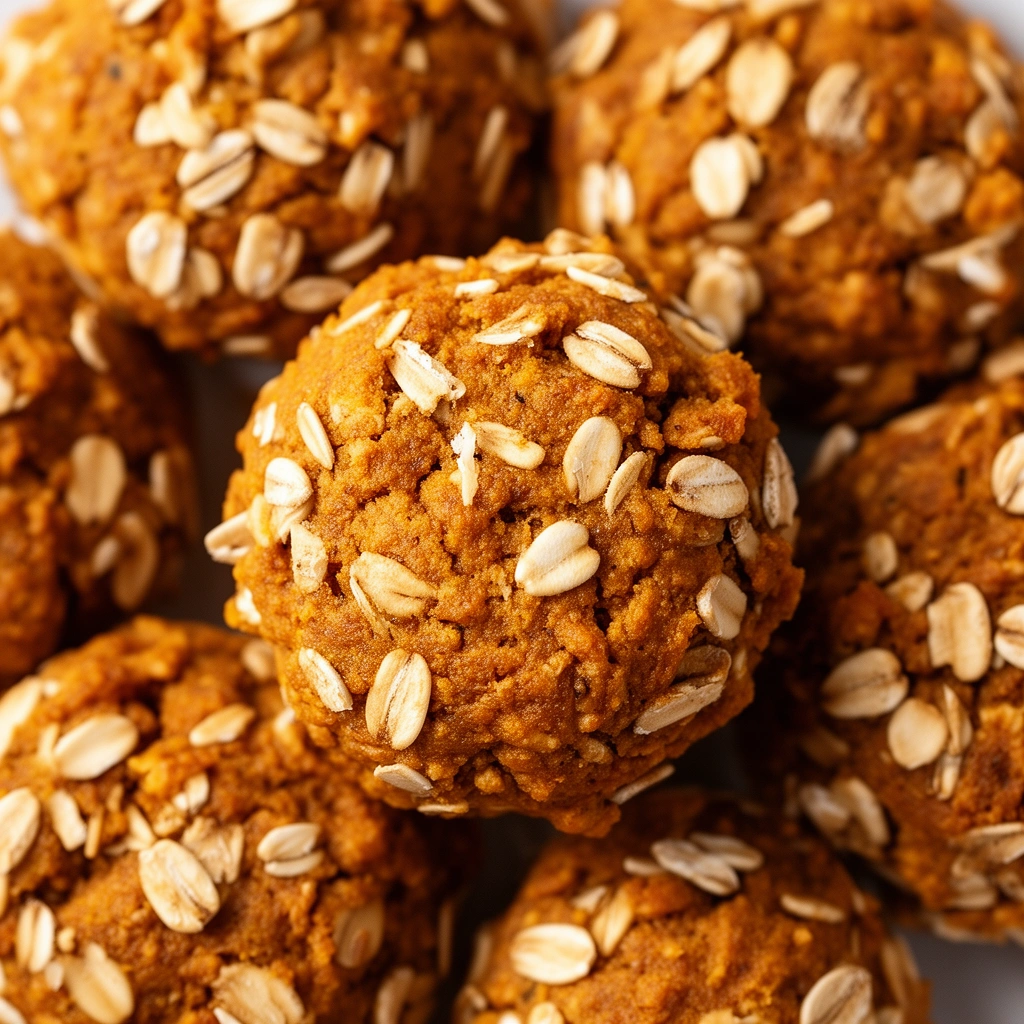
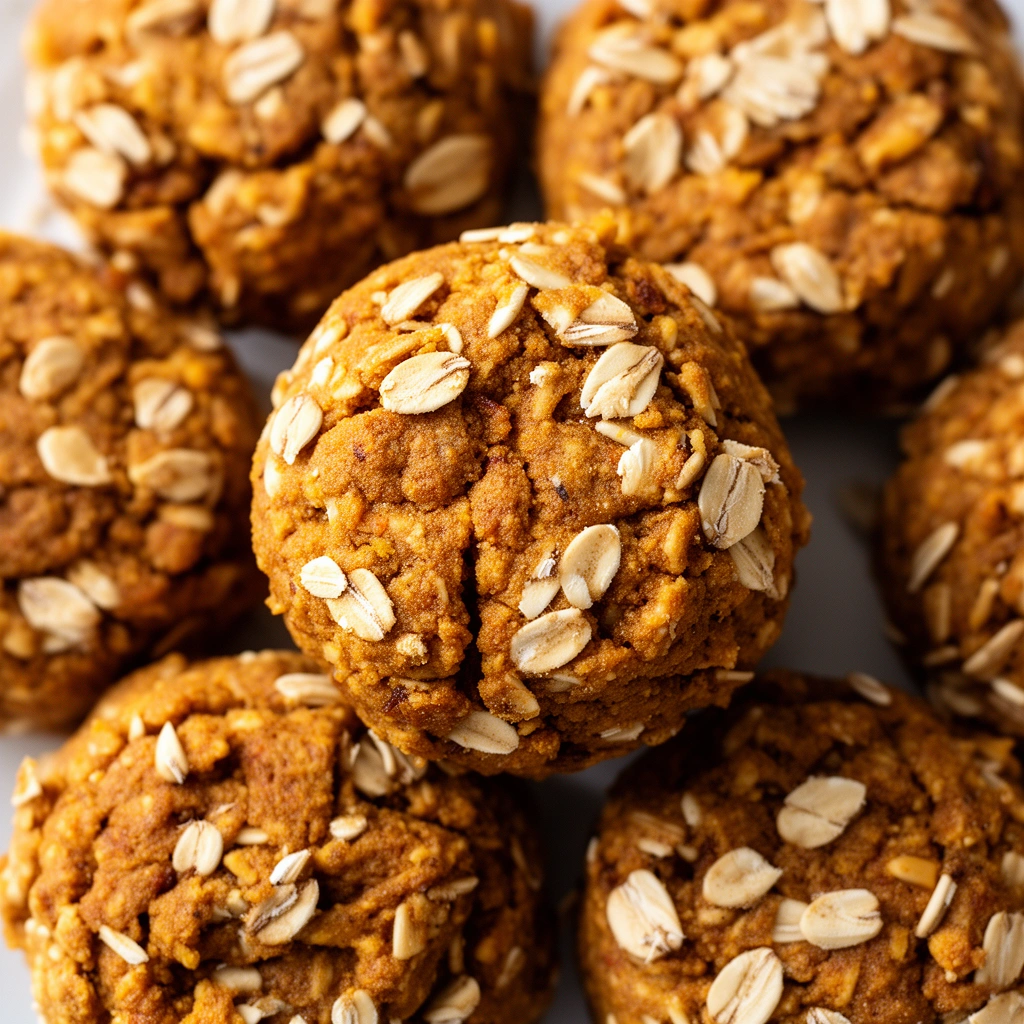
Let’s start simple. Pumpkin oat dog treats are baked biscuits made from pureed pumpkin, oats, and a few pantry staples. They’re crunchy on the outside, slightly chewy inside, and packed with fiber.
Dogs love the taste. Pumpkin has a natural sweetness that most pups can’t resist. Oats add texture and a hearty, wholesome feel to every bite. Together, they create a treat that’s not just tasty but also good for your dog’s digestion.
I like to think of these treats as a “better-for-you” snack. They skip the preservatives, artificial flavors, and mystery ingredients you sometimes find in commercial dog treats. You control exactly what goes into your dog’s bowl.
Why Pumpkin and Oats Work So Well Together
Before jumping into the recipe, let’s talk about why these two ingredients pair so nicely.
Pumpkin
: A low-calorie veggie loaded with fiber, vitamin A, and potassium. It helps with digestion and can ease both constipation and diarrhea in dogs.
Oats
: A whole grain full of soluble fiber. Oats support healthy cholesterol levels and give dogs with grain sensitivities (who aren’t allergic to oats specifically) a gentler alternative to wheat.
Fiber
: The dietary component that keeps your dog’s gut moving smoothly and supports steady digestion.
Binding agent
: Ingredients like egg or peanut butter that hold the dough together so it doesn’t crumble apart.
When you combine pumpkin’s moisture with oats’ heartiness, you get a dough that’s easy to work with and gentle on sensitive tummies. That’s a win for picky eaters and dogs with food sensitivities.
Ingredients You’ll Need
Here’s what I use for a basic batch. Nothing fancy, just wholesome stuff you probably already have.
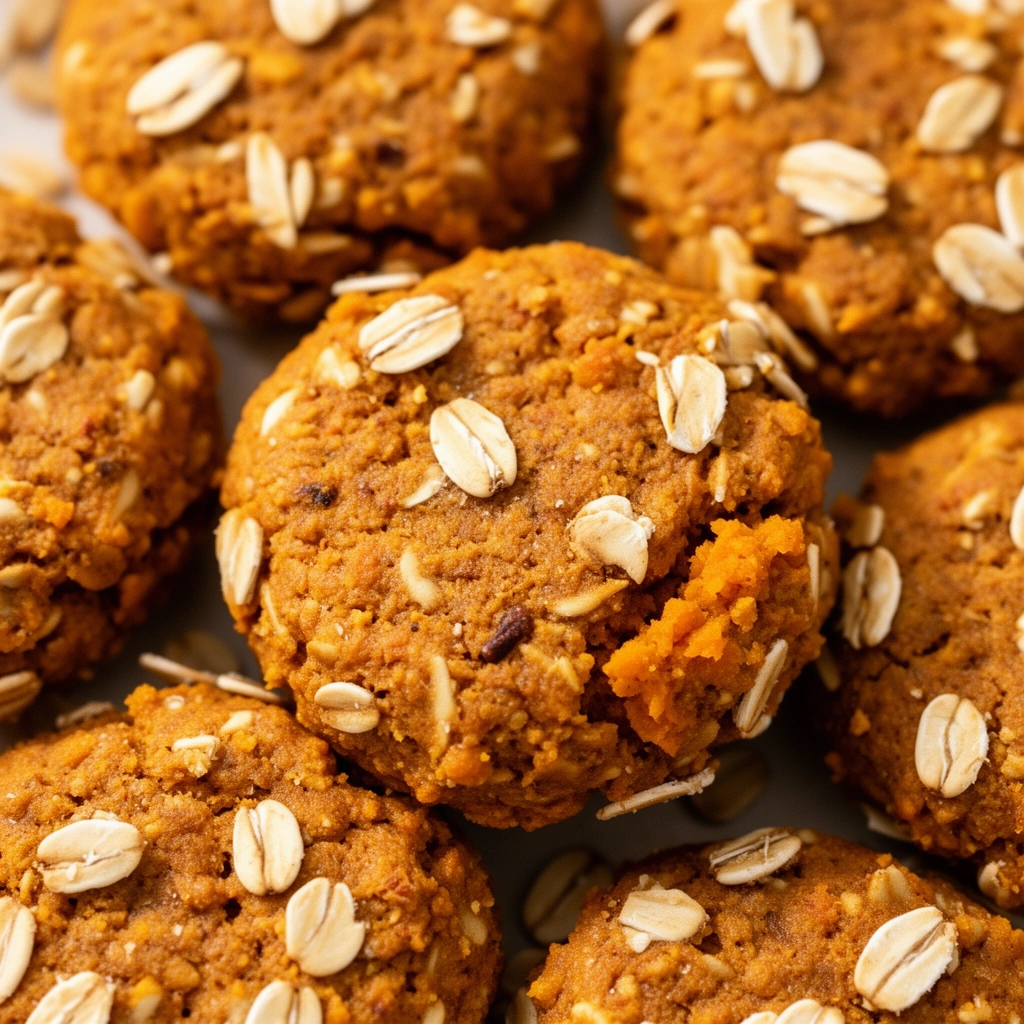
- 1 cup canned pumpkin puree (make sure it’s plain, not pumpkin pie filling)
- 2 cups rolled oats (ground into flour, or oat flour if you have it)
- 1 egg
- 1 tablespoon peanut butter (unsalted, xylitol-free)
- 1/4 teaspoon cinnamon (optional, but dogs seem to love it)
- Water, as needed to adjust dough consistency
That’s it. Five to six ingredients, and most are already sitting in your pantry.
Step-by-Step: How to Make Pumpkin Oat Dog Treats
I’ll break this down so it’s foolproof, even if you’re not a regular baker.
- Preheat your oven to 350°F (175°C). Line a baking sheet with parchment paper.
- Grind your oats into a flour-like consistency using a blender or food processor. Skip this step if you already have oat flour.
- Mix wet ingredients. In a large bowl, combine the pumpkin puree, egg, and peanut butter until smooth.
- Add dry ingredients. Slowly stir in the oat flour and cinnamon. Mix until a thick dough forms.
- Adjust texture. If the dough feels too dry, add a splash of water. If it’s too sticky, sprinkle in a bit more oat flour.
- Roll out the dough on a floured surface to about 1/4-inch thickness.
- Cut into shapes. Use a cookie cutter, or just slice into small squares with a knife.
- Bake for 20-25 minutes, flipping halfway through for even crisping.
- Cool completely on a wire rack before serving or storing.
That’s the whole process. Takes about 40 minutes total, most of which is just baking time.
Tips for Success
I’ve made these treats more times than I can count, and I’ve picked up a few tricks along the way.
- Use plain canned pumpkin, never pumpkin pie mix. The mix contains sugar and spices that aren’t dog-friendly.
- Grind your oats fresh for the best texture. Pre-ground oat flour works too, but fresh-ground has a nicer bite.
- Keep treats small. Dogs don’t need giant biscuits—smaller pieces mean better portion control.
- Bake a test batch first if you’re trying a new pan or oven. Every oven runs a little different.
- Let treats cool fully before storing. Warm treats trapped in a container create moisture, which leads to mold.
- Store in an airtight container in the fridge for up to a week, or freeze for up to three months.
These small details make a big difference in texture, shelf life, and how much your dog enjoys the final product.
Common Mistakes and How to Avoid Them
I’ve made my fair share of kitchen blunders with this recipe. Here’s what to watch for.
Mistake: Using pumpkin pie filling instead of plain puree.
This one’s sneaky because the cans look almost identical. Pie filling has added sugar and spices like nutmeg, which isn’t safe for dogs in large amounts. Always double-check the label.
Mistake: Skipping the flattening step.
If your dough is too thick, the center won’t bake through properly. You’ll end up with a treat that’s crunchy outside and raw inside. Roll it thin and even.
Mistake: Overbaking.
Leaving treats in too long dries them out completely and can create a rock-hard biscuit that’s tough on smaller dogs’ teeth. Check at the 20-minute mark and adjust from there.
Mistake: Adding too much peanut butter.
A little goes a long way. Too much peanut butter can upset your dog’s stomach, especially in dogs with sensitive digestion or weight concerns.
Mistake: Not cooling treats fully.
Storing warm treats traps steam inside the container, which speeds up spoilage. Patience pays off here.
Avoiding these missteps saves you time, ingredients, and a disappointed pup staring at a crumbled biscuit.
Variations You Can Try
Once you’ve nailed the basic recipe, it’s fun to switch things up. Here are a few variations I’ve experimented with.
Banana Pumpkin Treats
: Swap half the pumpkin puree for mashed ripe banana. Adds natural sweetness and extra potassium.
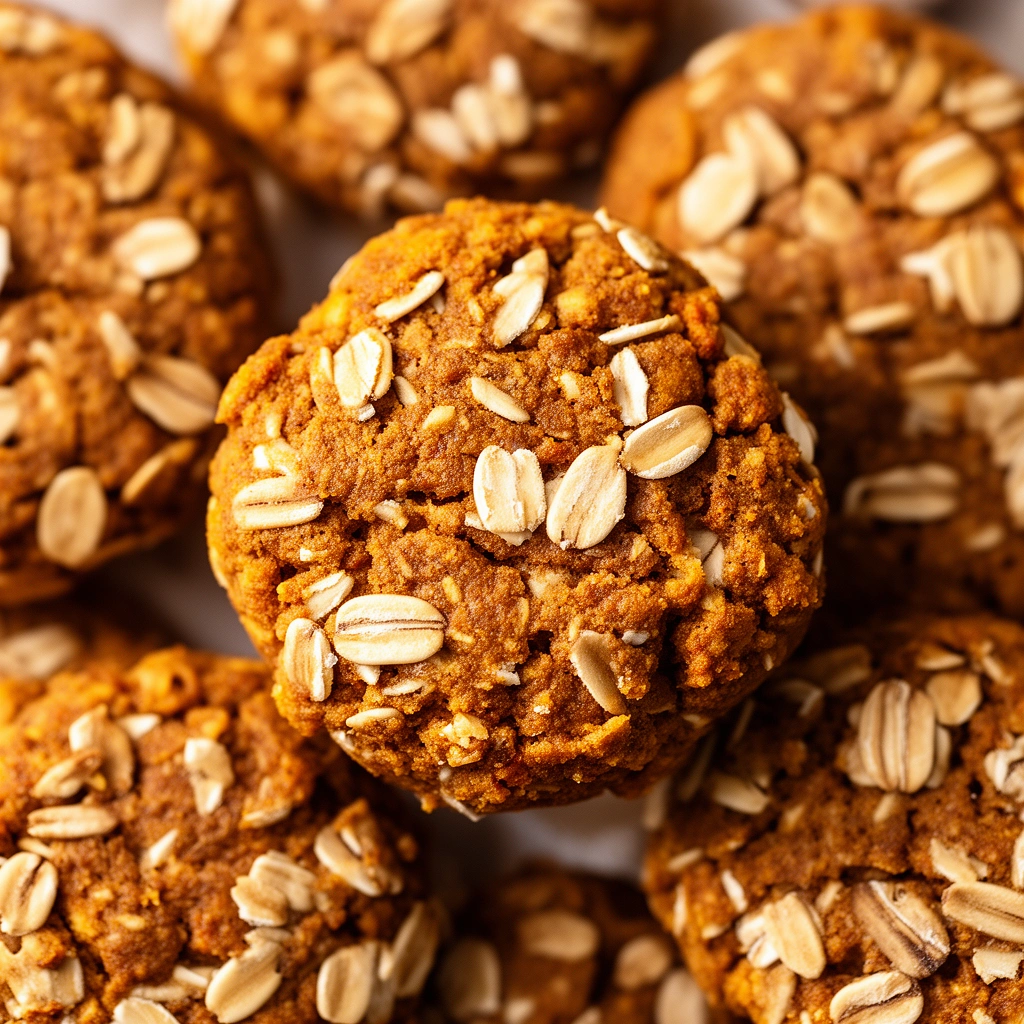
Apple Cinnamon Oat Treats
: Mix in finely grated apple (no seeds) along with a touch more cinnamon for a fall-inspired flavor.
Peanut Butter Pumpkin Bites
: Increase peanut butter slightly and roll the dough into small balls instead of flattening and cutting shapes.
Grain-Free Version
: Replace oat flour with a mix of almond flour and coconut flour for dogs with oat sensitivities.
Blueberry Pumpkin Crunch
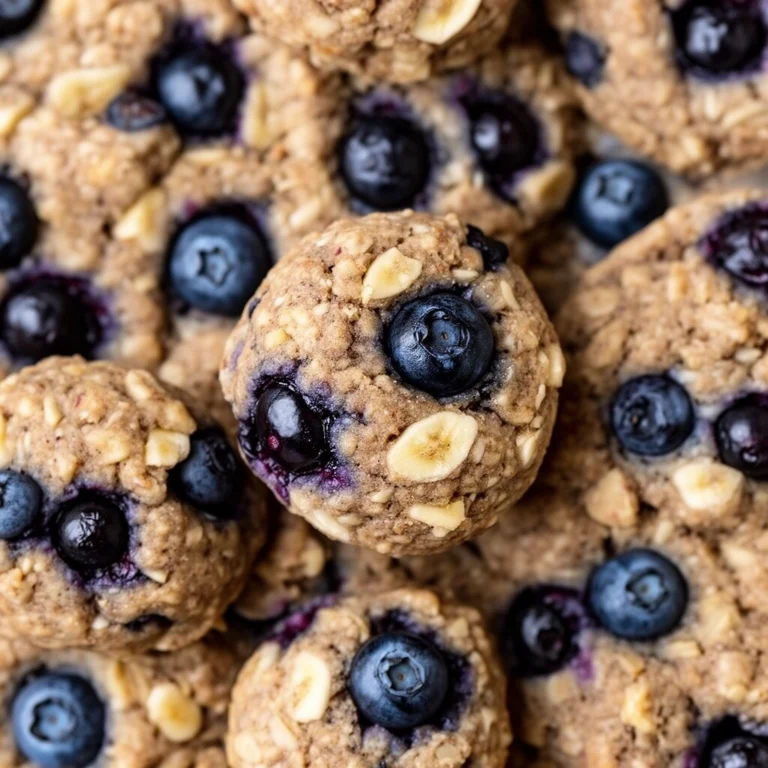
: Fold in a handful of mashed blueberries for added antioxidants and a slightly tart flavor twist.
Each variation keeps the pumpkin-oat base intact while giving you room to experiment based on your dog’s taste preferences or dietary needs.
Storage and Shelf Life
I get asked about this a lot, so let’s cover it properly.
Homemade treats don’t have preservatives, which means they don’t last as long as store-bought versions. Here’s what I recommend:
- Countertop: Up to 2 days in an airtight container (only if your kitchen isn’t too warm or humid).
- Refrigerator: Up to 7-10 days in a sealed container.
- Freezer: Up to 3 months. Just thaw a few treats at a time as needed.
Labeling your container with the date you baked them helps you keep track and avoid feeding your dog anything past its prime.
A Quick Note on Portion Control
Treats should never replace a balanced diet. I always follow the general rule that treats shouldn’t make up more than 10% of your dog’s daily caloric intake. Even healthy treats like these pumpkin oat biscuits are still extra calories on top of regular meals.
For smaller dogs, break treats into halves or quarters. For larger breeds, a full biscuit is usually fine. Always watch for any signs of digestive upset when introducing a new treat, especially if your dog has never had pumpkin or oats before.
Wrapping It Up
Making homemade pumpkin oat dog treats isn’t complicated, and the payoff is huge. You get full control over ingredients, a happy dog, and treats that actually support digestion instead of causing problems.
I’ve walked you through the ingredients, the steps, the mistakes to avoid, and even some fun variations to keep things interesting. Whether you stick with the classic recipe or branch out into banana or apple versions, your dog is going to love the results.
So grab that can of pumpkin sitting in your pantry, roll up your sleeves, and give these pumpkin oat dog treats a try. Your pup will thank you with a whole lot of tail wags.