Pumpkin Dog Biscuits: A Complete Guide to Baking Treats Your Dog Will Beg For
Ever caught your dog staring at you with those big, hopeful eyes while you’re baking in the kitchen? That’s exactly why I started making pumpkin dog biscuits at home. My pup would sit by the oven like it owed him money. If you’ve ever wondered how to make a treat that’s healthy, tasty, and easy to whip up on a lazy Sunday, pumpkin dog biscuits are your answer.
I’ve tested dozens of batches over the years, tweaked recipes, and learned a few things the hard way (burnt biscuits, anyone?). In this guide, I’ll walk you through everything you need to know—from picking the right pumpkin to storing your biscuits so they stay fresh for weeks.
What Exactly Are Pumpkin Dog Biscuits?
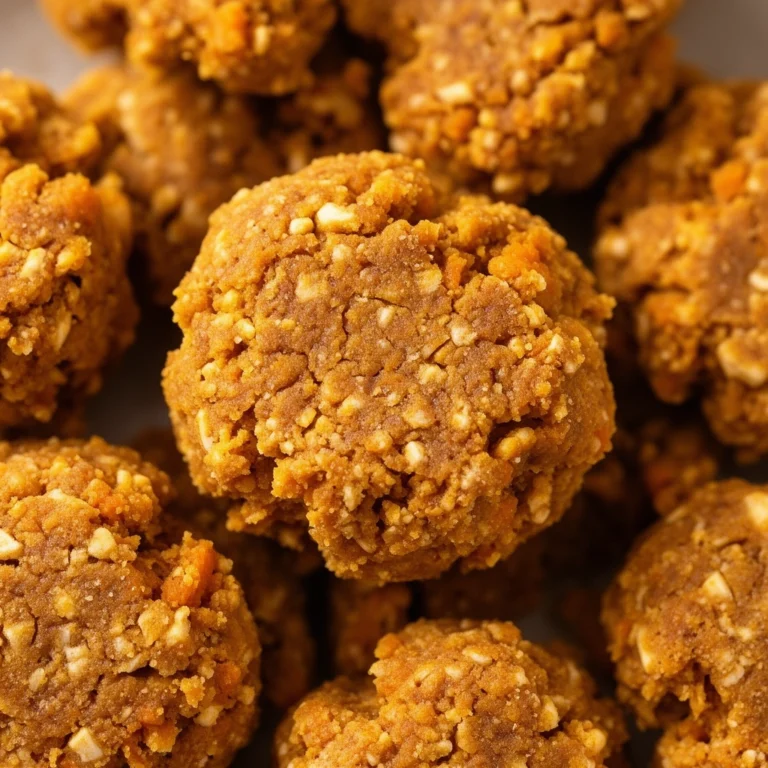
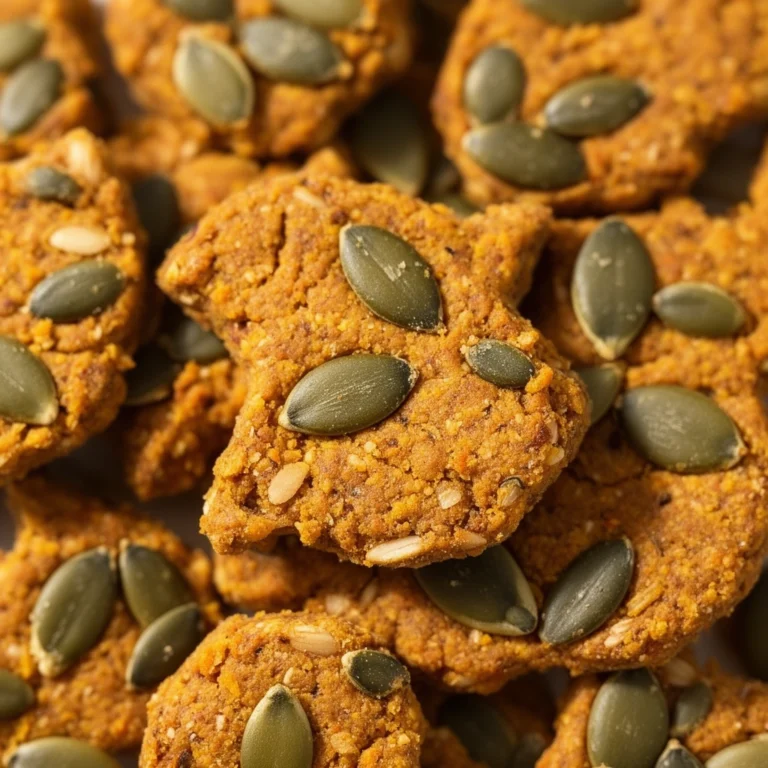
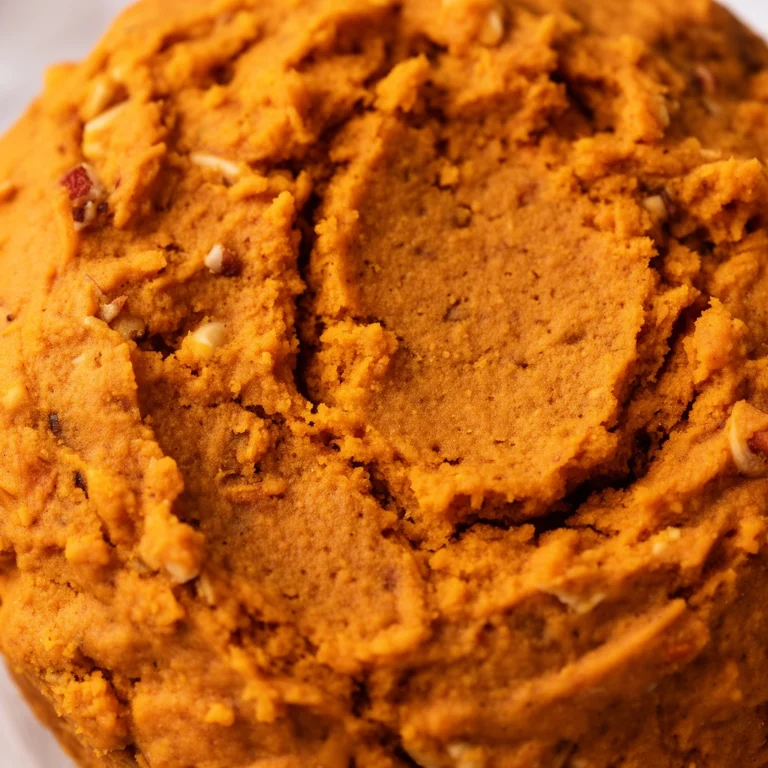
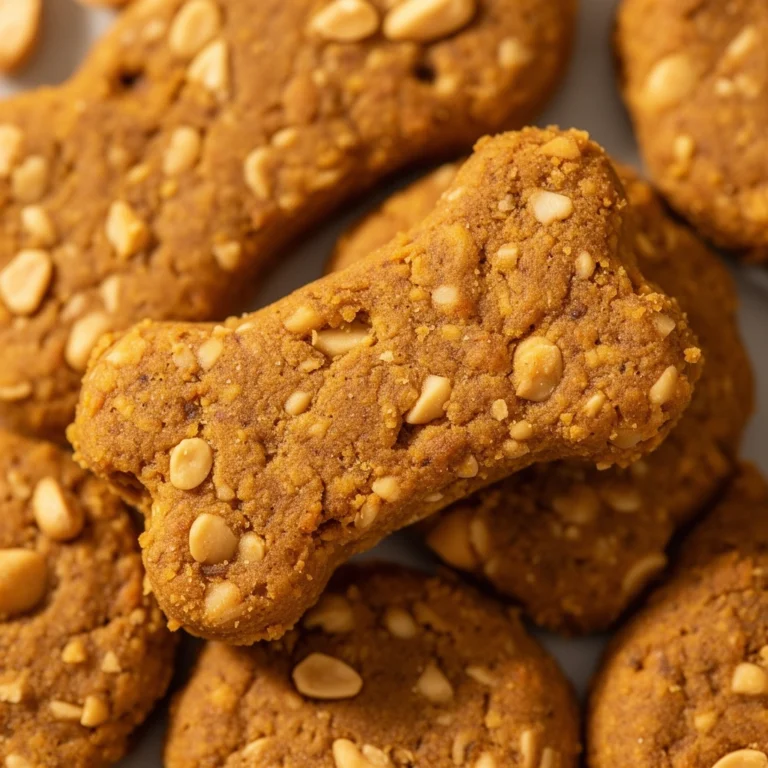
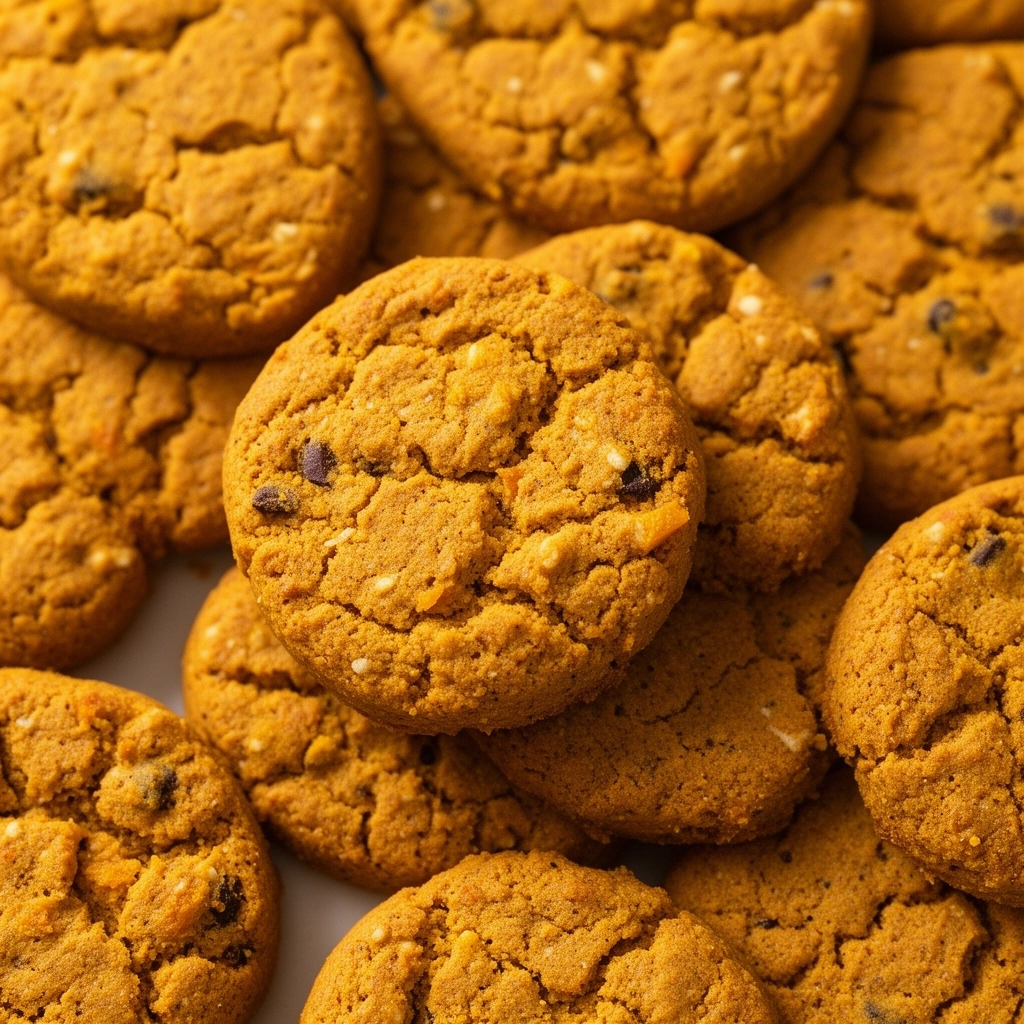
Pumpkin dog biscuits are simple, oven-baked treats made primarily from pumpkin puree, flour, and a few dog-safe extras like peanut butter or eggs. They’re crunchy on the outside, slightly chewy inside, and packed with fiber that’s genuinely good for your dog’s digestion.
Unlike store-bought treats loaded with preservatives and mystery ingredients, homemade pumpkin biscuits let you control exactly what goes into your dog’s belly. That’s a big deal if your pup has a sensitive stomach or food allergies.
Pumpkin itself isn’t just filler. It’s low in calories, rich in vitamin A, and loaded with soluble fiber. Vets often recommend a spoonful of plain pumpkin for dogs dealing with mild diarrhea or constipation. So baking it into biscuits isn’t just a treat—it’s practically a wellness snack.
Key Terms You Should Know
Puree
: Pumpkin that’s been cooked down and blended until smooth. Always use plain canned pumpkin, never pumpkin pie filling, which contains added sugar and spices that can upset a dog’s stomach.
Binder
: An ingredient (like egg or peanut butter) that holds the dough together so it doesn’t crumble apart when baked.
Rolling pin dough
: A firm, non-sticky dough that can be flattened and cut into shapes without falling apart.
Cooling rack
: A wire rack that lets air circulate around baked biscuits, helping them crisp up evenly instead of getting soggy on the bottom.
Xylitol
: A sugar substitute found in some peanut butter brands. It’s extremely toxic to dogs, so always check labels before using peanut butter in any dog treat recipe.
Ingredients You’ll Need
Here’s what goes into a basic batch of pumpkin dog biscuits:
- 1 cup canned pumpkin puree (100% pure, no additives)
- 2 ½ cups whole wheat flour (or oat flour for a grain-sensitive pup)
- 1 large egg
- 2 tablespoons peanut butter (xylitol-free)
- ½ teaspoon ground cinnamon (optional, but dogs seem to love the smell)
- Water, as needed to adjust dough consistency
That’s it. No sugar, no salt, no butter. Simple ingredients that dogs actually need.
Step-by-Step Instructions
Making pumpkin dog biscuits isn’t complicated, but a few small steps make a big difference in texture and flavor.
- Preheat your oven to 350°F (175°C). Line a baking sheet with parchment paper.
- Mix the wet ingredients. In a large bowl, combine the pumpkin puree, egg, and peanut butter until smooth.
- Add the flour gradually. Stir in the flour a half-cup at a time. The dough should turn thick and slightly sticky at first.
- Knead the dough. Once it’s mostly combined, use your hands to knead it into a ball. If it’s too sticky, sprinkle in a little extra flour. If it’s too dry, add a splash of water.
- Roll it out. On a lightly floured surface, roll the dough to about ¼-inch thickness. Thinner dough makes crunchier biscuits; thicker dough makes chewier ones.
- Cut into shapes. Use a cookie cutter (bone shapes are classic, but I’ve used paw prints too) to cut the dough. Re-roll scraps and cut again until the dough’s used up.
- Place on the baking sheet. Leave a little space between each biscuit so they bake evenly.
- Bake for 25–30 minutes. Flip them halfway through for even crisping. They should turn light golden brown.
- Cool completely. Let biscuits sit on a wire rack for at least an hour. This step matters more than people think—it’s what makes them crunchy instead of soft and doughy.
Tips for Success
A few small tricks can take your biscuits from “okay” to “my dog now loves me more than anyone else in the house.”
- Use room-temperature pumpkin puree so it blends smoothly into the dough.
- Don’t overmix the dough. Overworking it makes biscuits tough instead of tender.
- For extra crunch, turn off the oven after baking and leave the biscuits inside for another 30 minutes with the door slightly open.
- Brush the tops with a beaten egg before baking for a nice golden shine.
- Always size the biscuits based on your dog. Small dogs need smaller treats to avoid choking hazards.
Common Mistakes and How to Avoid Them
I’ve made plenty of these mistakes myself, so let me save you the trouble.
Using pumpkin pie filling instead of plain puree
: This is probably the most common mix-up. Pie filling has added sugar, nutmeg, and spices that can be harmful to dogs. Always double-check the can label.
Skipping the cooling step
: Biscuits taste soft and undercooked if you skip cooling. Patience pays off here—let them sit out fully before storing.
Rolling the dough too thick
: Thick dough leads to biscuits that stay chewy in the middle and never crisp up properly. Stick to a ¼-inch thickness for the best texture.
Using peanut butter with xylitol
: This one’s serious. Xylitol is toxic to dogs even in small amounts. Read every peanut butter label carefully before baking.
Not adjusting portion sizes
: A biscuit sized for a Labrador is way too big for a Chihuahua. Cut smaller treats for smaller breeds to avoid overfeeding or choking risks.
Variations You Can Try
Once you’ve nailed the basic recipe, it’s fun to experiment. Here are a few variations I’ve tried and loved:
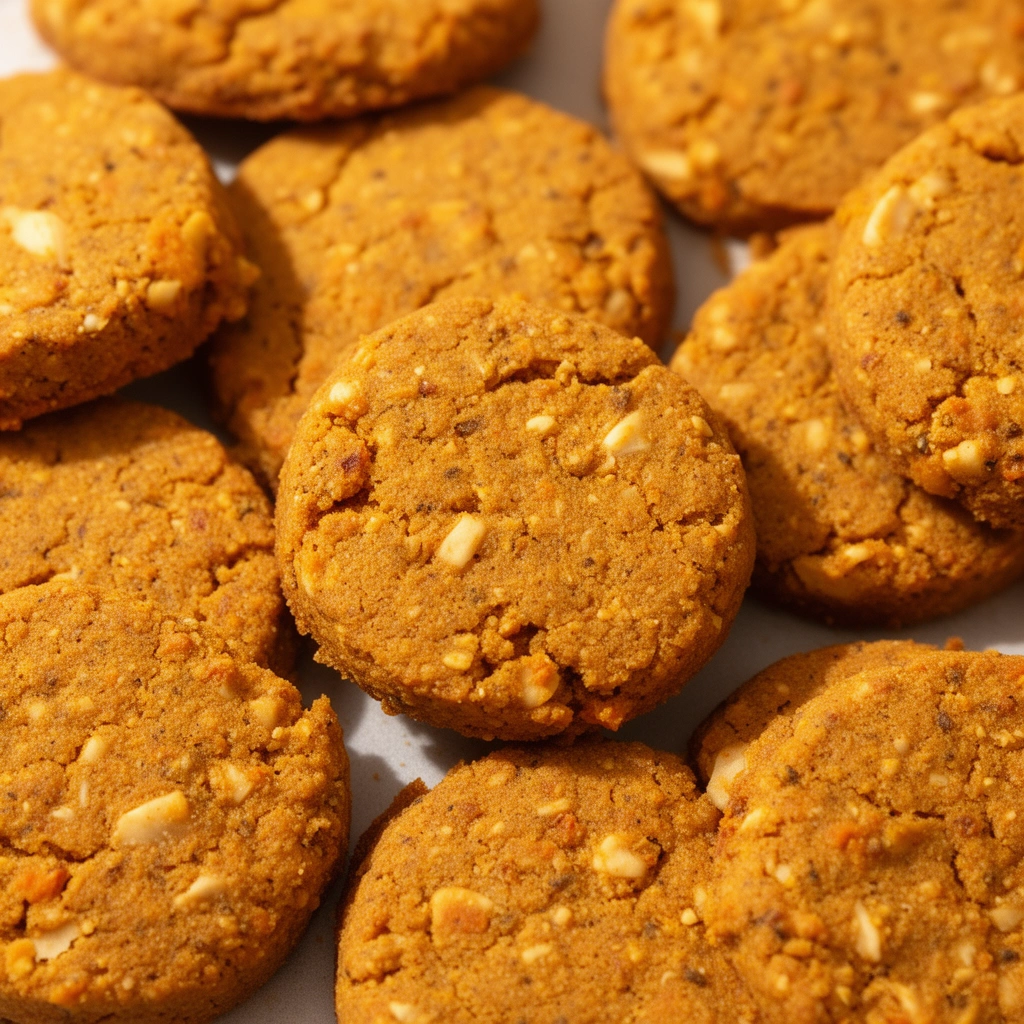
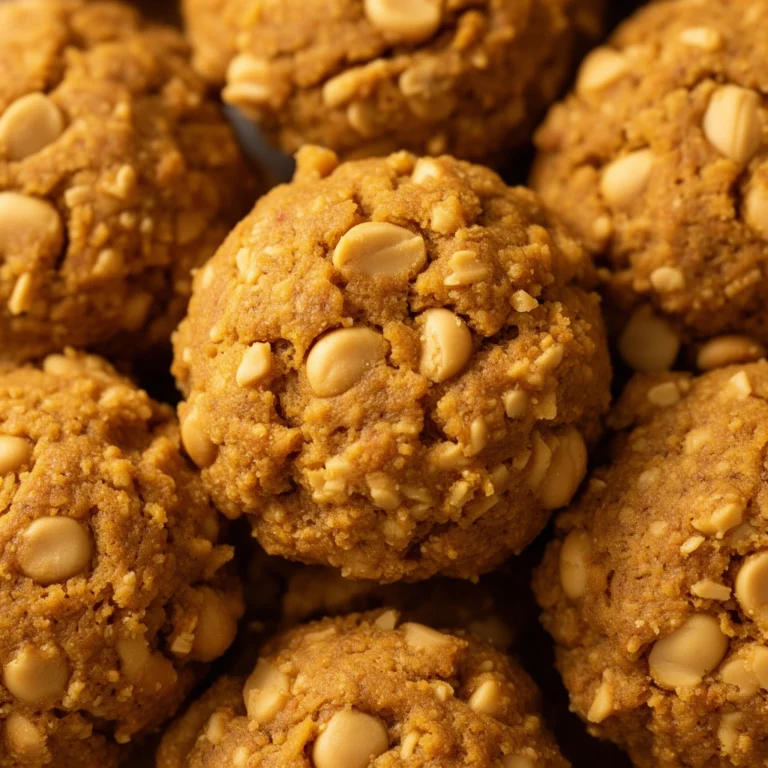
- Peanut butter pumpkin biscuits — double the peanut butter for a richer flavor dogs go crazy for.
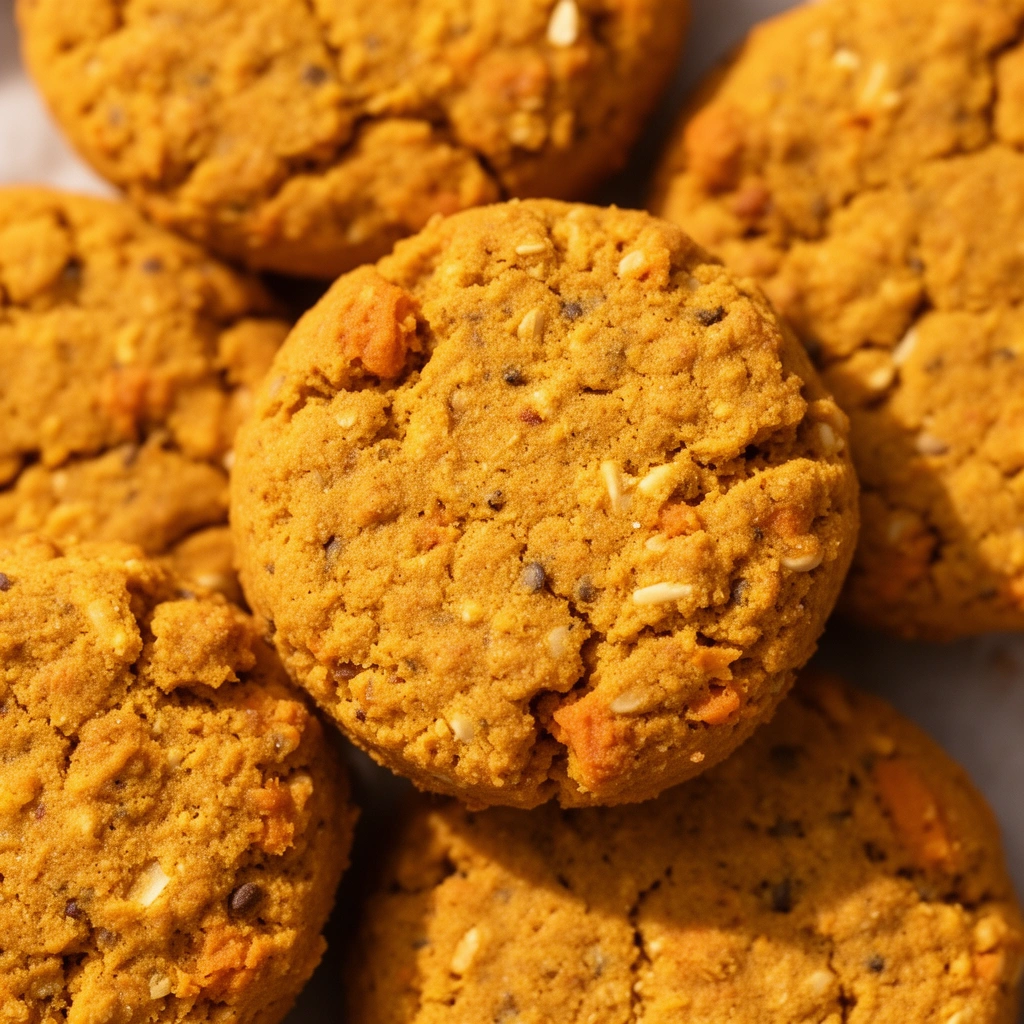
- Oatmeal pumpkin biscuits — swap half the flour for rolled oats to add extra fiber and a chewier bite.
- Cheesy pumpkin biscuits — mix in a tablespoon of shredded cheddar for a savory twist.
- Grain-free pumpkin biscuits — use almond flour or coconut flour instead of wheat flour for dogs with grain sensitivities.
- Frozen pumpkin bites — skip baking altogether and freeze small dollops of the dough mixture in silicone molds for a cool summer treat.
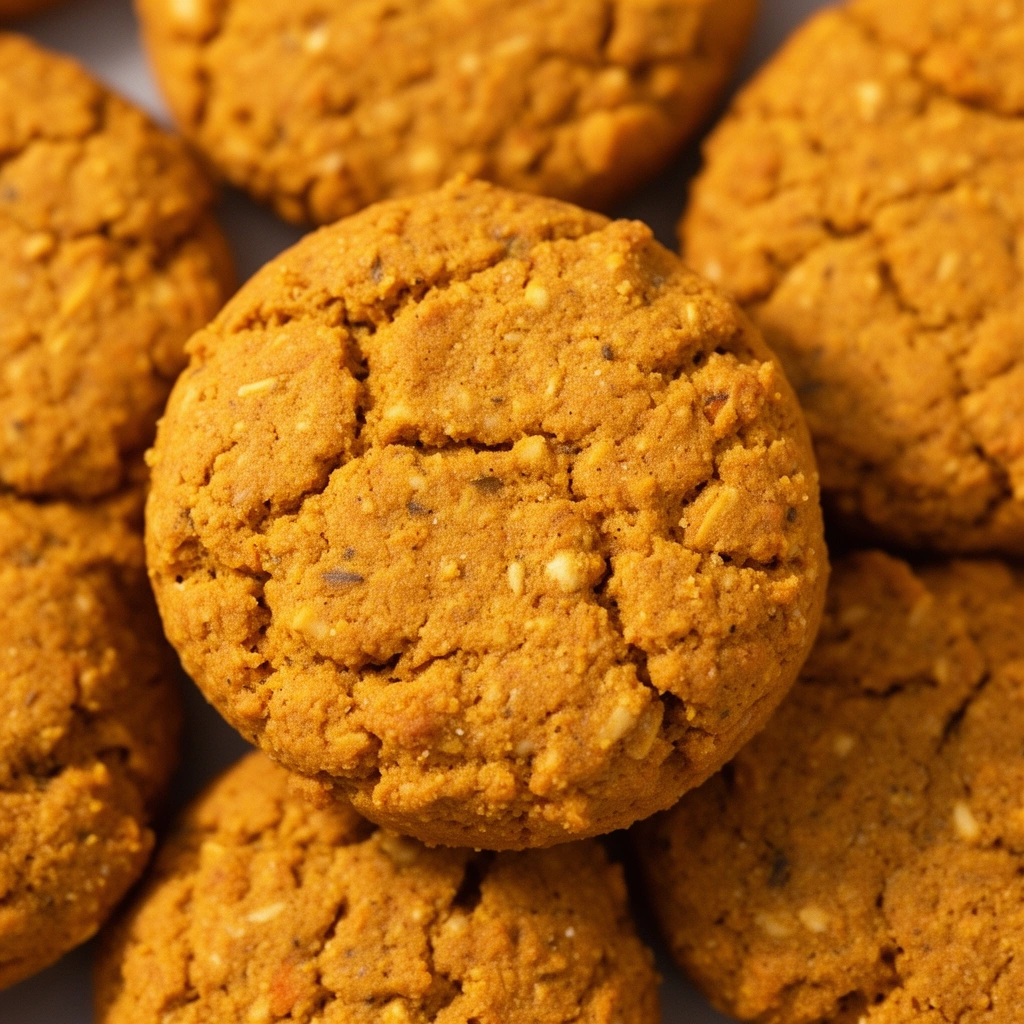
Each variation keeps the pumpkin base but changes up texture and flavor, so you can rotate treats and keep your dog interested.
Storing Your Biscuits
Homemade treats don’t have preservatives, so storage matters. Keep biscuits in an airtight container at room temperature for up to a week. For longer storage, pop them in the fridge for up to three weeks, or freeze them for up to three months. I usually make a double batch and freeze half—it saves time and keeps a steady supply on hand for training rewards or lazy afternoon snacks.
Wrapping It All Up
Baking pumpkin dog biscuits at home is one of those small projects that pays off big time. You get full control over the ingredients, your kitchen smells amazing, and your dog gets a treat that’s actually good for them. Whether you stick to the classic recipe or try one of the variations, you’re giving your pup something better than anything off a store shelf.
So next time your dog gives you that pleading look, skip the store-bought bag and bake a fresh batch of pumpkin dog biscuits instead. Trust me, the tail wags alone make it worth the effort.