Homemade Pumpkin Applesauce Dog Treats: A Recipe Your Pup Will Beg For
Ever caught your dog staring at you with those “please share your snack” eyes while you’re eating something pumpkin-flavored in the fall? I have. Every single year. That’s exactly why I started making homemade pumpkin applesauce dog treats in my own kitchen. They’re simple, healthy, and my dog goes absolutely bananas for them.
If you’ve been searching for a treat that’s both nutritious and easy to whip up, you’re in the right place. No fancy equipment. No weird ingredients you can’t pronounce. Just real food that your furry friend will love.
What Exactly Are Pumpkin Applesauce Dog Treats?
Let me break this down for you. These treats combine two ingredients dogs naturally love: pumpkin and applesauce. Both are packed with fiber, vitamins, and that natural sweetness dogs go crazy for.
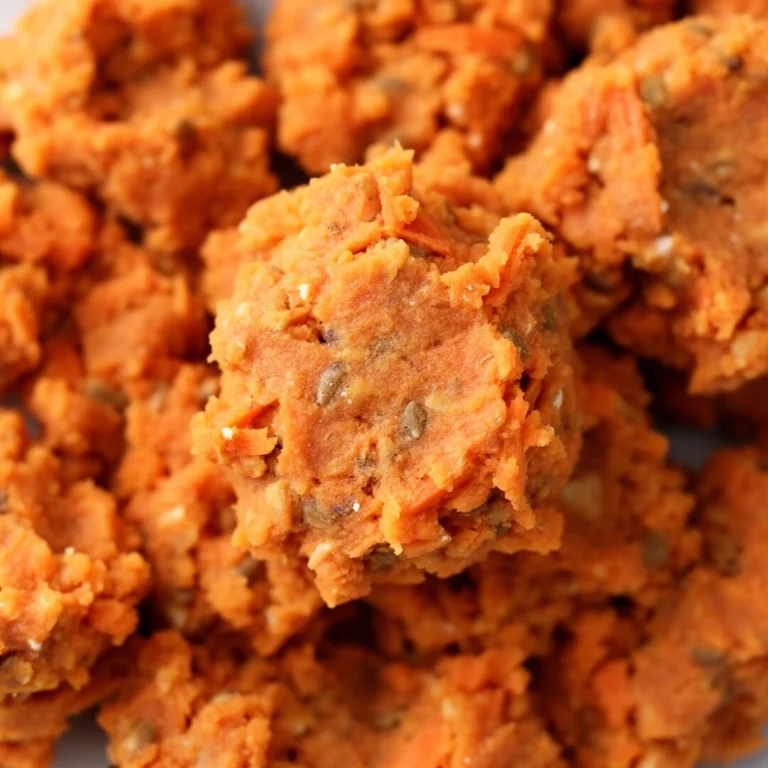
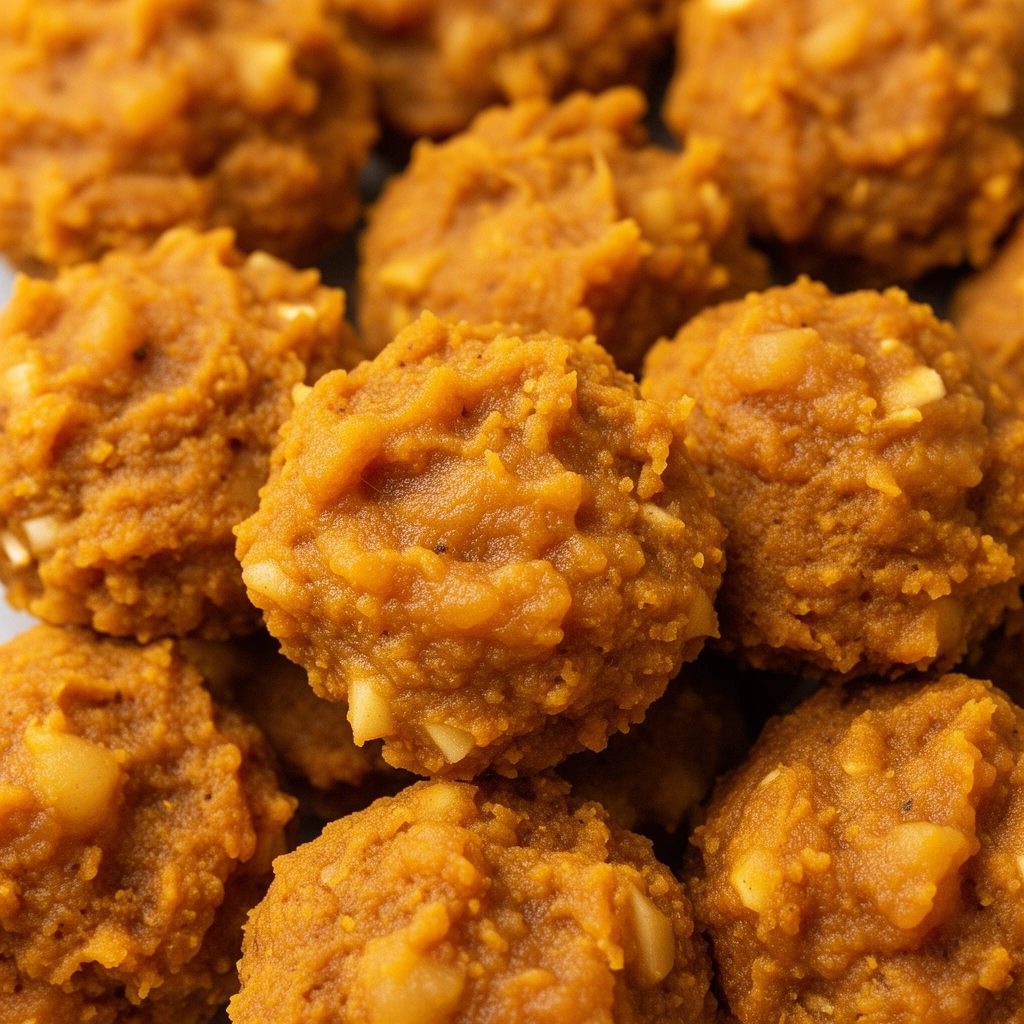
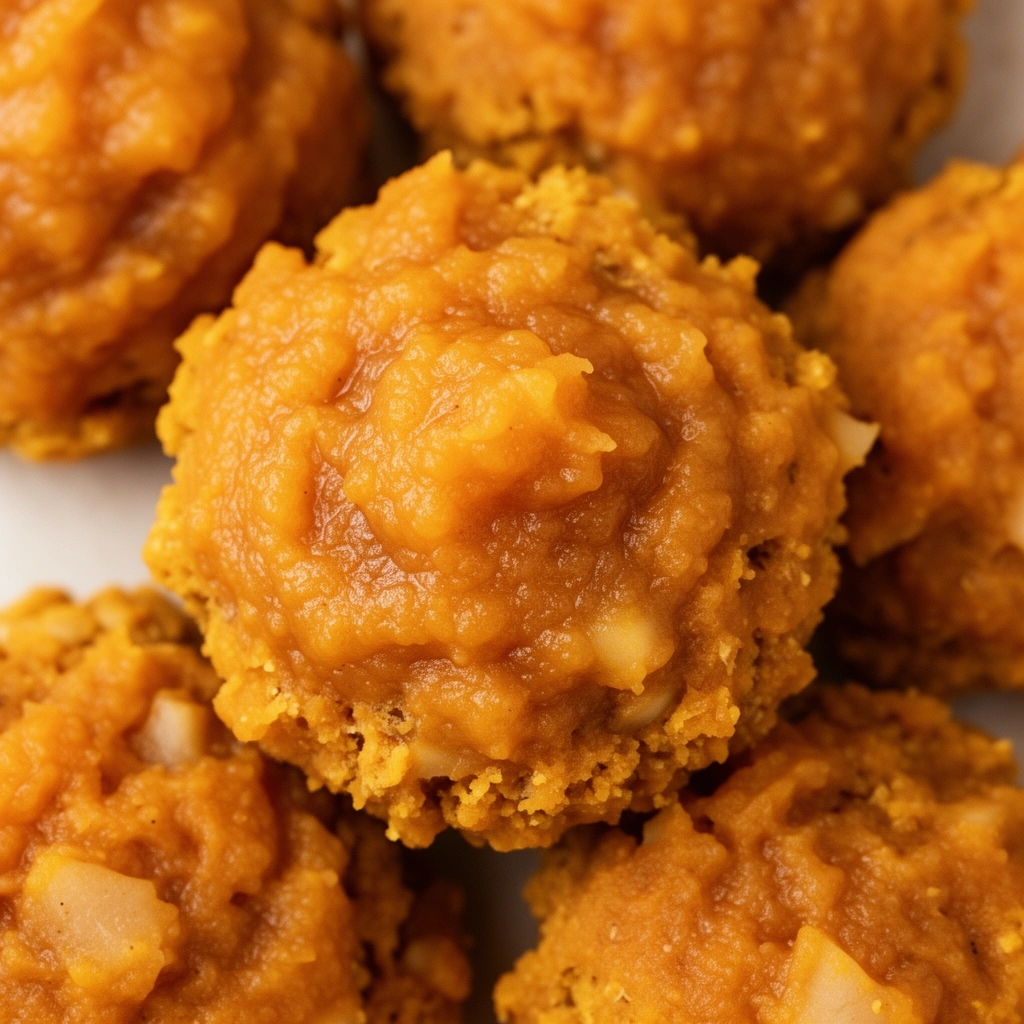
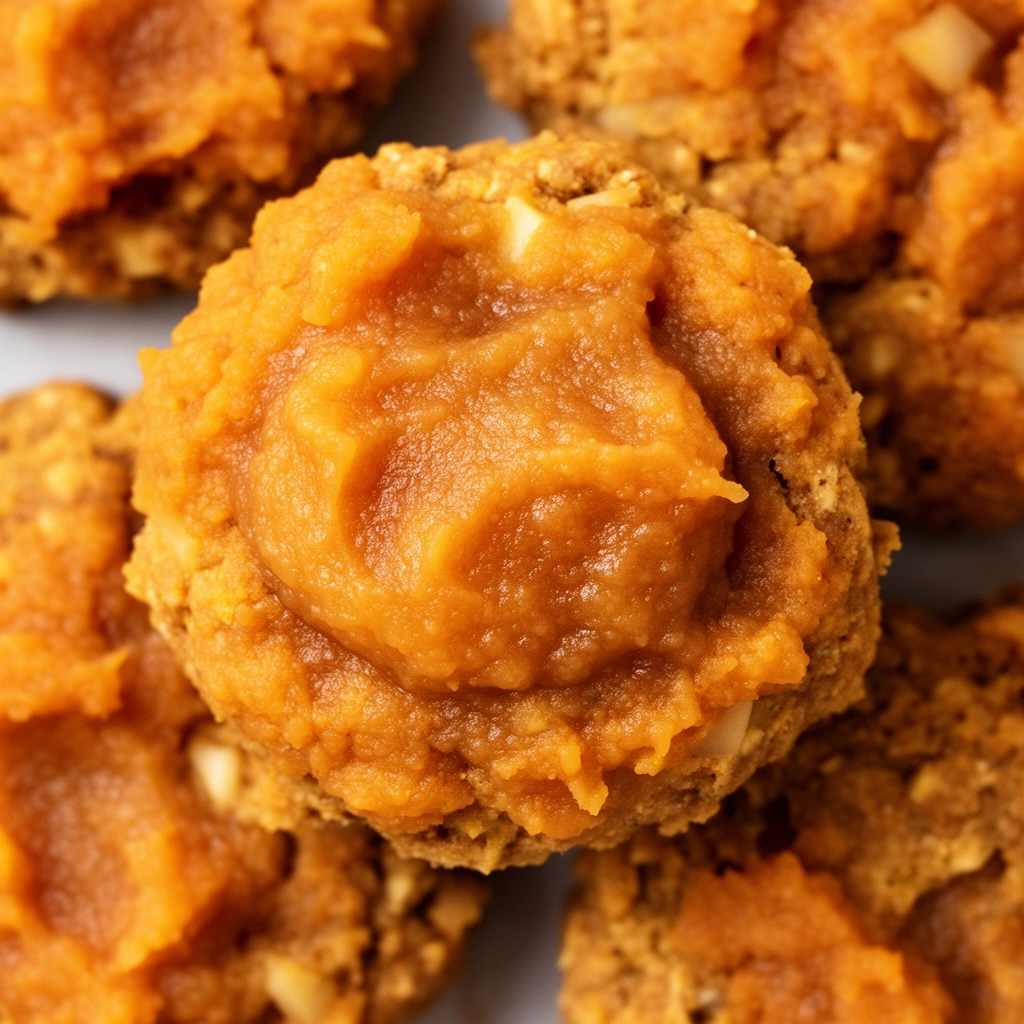
Think of them as a healthier version of the biscuits you’d buy at the store. Except you know exactly what’s going into them. No preservatives. No mystery meat fillers. Just pumpkin, applesauce, and a few pantry staples that turn into crunchy, chewy goodness.
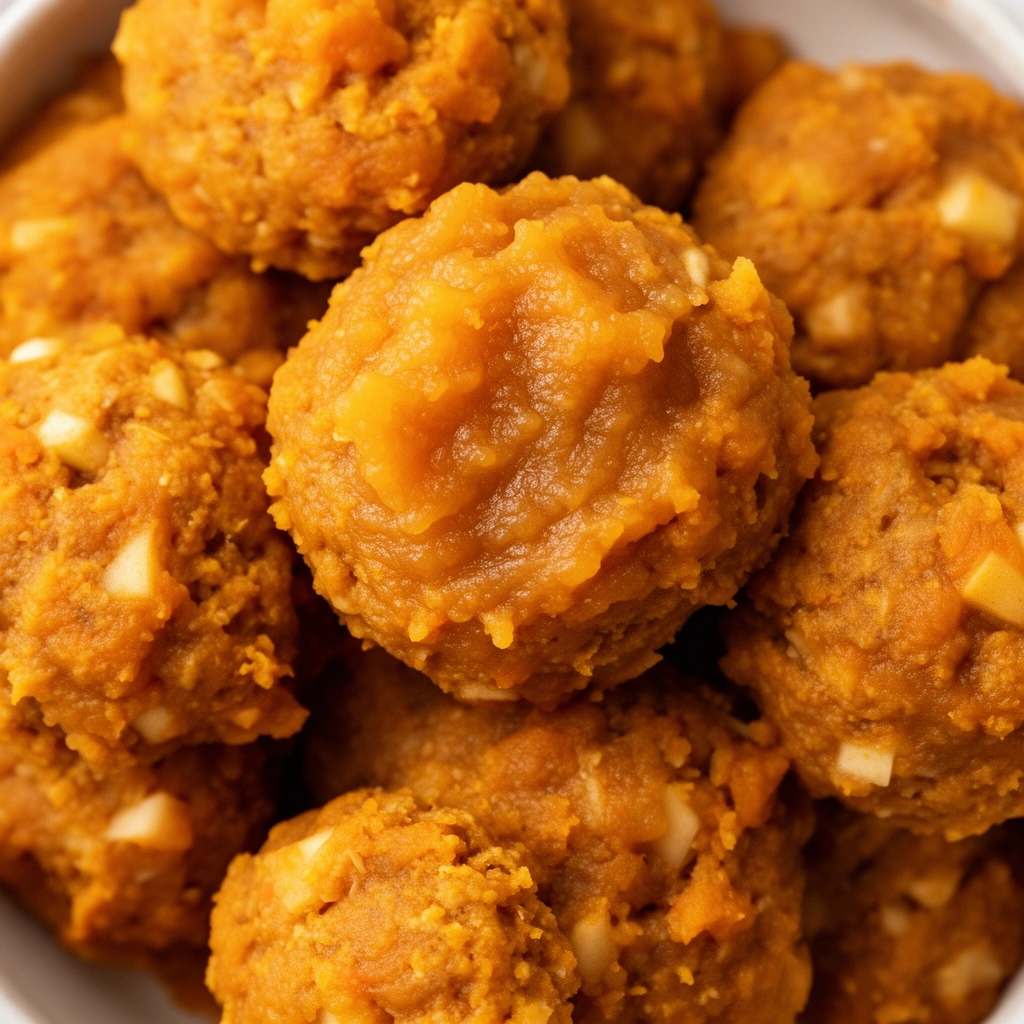
I started making these after my vet mentioned that pumpkin can help with digestive issues in dogs. My dog Max had a sensitive stomach, and these treats became a game changer for us. Now I make a batch every couple weeks because he genuinely can’t get enough.
Key Terms You Should Know Before Baking
Before we jump into the recipe, let’s clear up some terms that’ll come up throughout this guide.
Pure Pumpkin Puree
: Plain, cooked pumpkin with nothing added. This is different from pumpkin pie filling, which contains sugar and spices that aren’t safe for dogs.
Unsweetened Applesauce
: Applesauce made from just apples, no added sugar or preservatives. Sugar-loaded versions can upset your dog’s stomach and add unnecessary calories.
Binding Agent
: An ingredient that holds the dough together. In this recipe, eggs and flour work as our binders.
Dehydrating
: A slow-baking process at low temperatures that removes moisture, creating a crunchier, longer-lasting treat.
Rolled Oats
: Whole oat grains that have been steamed and flattened. They add fiber and a nice texture to homemade dog treats.
Ingredients You’ll Need
Here’s what to gather before you start. Most of these items are probably already sitting in your pantry right now.
- 1 cup pure pumpkin puree (not pumpkin pie mix)
- 1/2 cup unsweetened applesauce
- 1 large egg
- 2 cups whole wheat flour (or oat flour for grain-sensitive dogs)
- 1/2 cup rolled oats
- 1 tablespoon coconut oil (optional, but adds a nice shine)
- 1/2 teaspoon cinnamon (skip this if your dog has any spice sensitivities)
That’s it. Seven ingredients, and most dogs will lose their minds over the smell alone once these hit the oven.
Step-by-Step Instructions for Making These Treats
Alright, let’s get into the actual baking process. I promise this is easier than it sounds.
- Preheat your oven to 350°F (175°C) and line a baking sheet with parchment paper.
- Mix the wet ingredients first. In a large bowl, combine the pumpkin puree, applesauce, egg, and coconut oil if using. Whisk until smooth.
- Add the dry ingredients slowly. Pour in the flour, oats, and cinnamon a little at a time, stirring as you go. The dough should feel firm but slightly sticky, not runny.
- Knead the dough for about two minutes on a lightly floured surface. If it’s too sticky, add a tablespoon of flour at a time until manageable.
- Roll out the dough to about 1/4-inch thickness. Thinner treats crisp up faster, while thicker ones stay chewier.
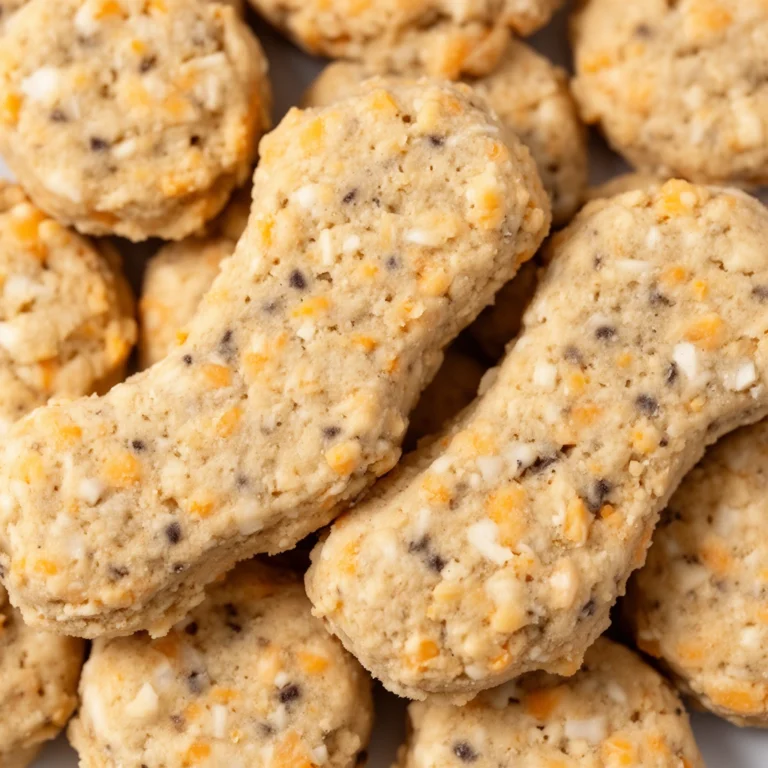
- Cut into shapes using a cookie cutter or just a knife for simple squares. Bones and paw prints are fun if you have the cutters lying around.
- Place treats on the baking sheet, leaving a little space between each one so they bake evenly.
- Bake for 20-25 minutes, then flip them over and bake for another 15-20 minutes for extra crunch. This double-bake trick really helps with shelf life.
- Cool completely on a wire rack before serving or storing. Warm treats can be too soft and may fall apart.
That’s the whole process. Start to finish, you’re looking at about an hour, most of which is just waiting for the oven to do its thing.
Tips for Success
I’ve made these treats more times than I can count, and here’s what I’ve learned along the way.
- Always check that your pumpkin puree label says “100% pumpkin.” Some brands sneak in sugar or spices that don’t belong in dog treats.
- If your dough feels too wet, don’t panic. Just add flour gradually until it firms up.
- Store finished treats in an airtight container in the fridge for up to two weeks, or freeze them for longer storage.
- Cut treats smaller if you have a small breed dog. Portion size matters more than you’d think.
- Let treats cool fully before storing. Trapped steam creates moisture, which leads to mold faster than you’d expect.
- Test a small piece with your dog first, especially if this is their first time trying a homemade treat. Every dog’s tummy reacts differently.
Common Mistakes and How to Avoid Them
I’ve made my fair share of kitchen blunders with this recipe. Here’s what to watch out for.
Using pumpkin pie filling instead of pure pumpkin puree
: This is probably the biggest mistake people make. Pie filling contains added sugars and spices like nutmeg, which is toxic to dogs. Always double-check the label before tossing it in your cart.
Skipping the cooling step
: I know it’s tempting to give your dog a treat right out of the oven. But warm treats crumble easily and can even burn your dog’s mouth. Patience pays off here.
Overbaking the treats
: Every oven runs a little different. Keep an eye on your treats during the last five minutes of baking. Overbaked treats turn rock hard and can be tough on smaller dogs’ teeth.
Adding sugar or honey for extra sweetness
: Dogs don’t need added sugar. The natural sweetness from pumpkin and applesauce is already plenty. Extra sugar just adds empty calories and potential health issues down the road.
Not measuring ingredients accurately
: Baking is a science, even for dog treats. Eyeballing measurements can lead to dough that’s too wet or too dry, throwing off your whole batch.
Variations to Try
Once you’ve nailed the basic recipe, feel free to get creative. Here are some variations I’ve tried with great success.
- Peanut Butter Pumpkin Treats: Add two tablespoons of natural, unsalted peanut butter to the wet ingredients for extra flavor and protein.
- Grain-Free Version: Swap whole wheat flour for oat flour or almond flour if your dog has grain sensitivities.
- Banana Pumpkin Treats: Replace the applesauce with mashed ripe banana for a different flavor profile that dogs seem to love just as much.
- Blueberry Pumpkin Bites: Fold in a handful of fresh or frozen blueberries for added antioxidants and a fun pop of color.
- Frozen Pumpkin Treats: Skip the baking altogether and freeze the mixture in silicone molds for a cool summer treat instead.
Each variation keeps that pumpkin base while switching things up just enough to keep your dog guessing what’s coming next.
Wrapping It All Up
Making homemade pumpkin applesauce dog treats doesn’t require culinary school training or a pantry full of exotic ingredients. It just takes a little time, a few basic staples, and love for your four-legged friend. I’ve found that once you make these treats a regular part of your routine, store-bought biscuits start feeling a little less appealing, both to you and your dog.
Give this recipe a shot the next time you’re looking for a way to spoil your pup without the guilt. Trust me, once you see that tail wagging over a fresh batch of pumpkin applesauce dog treats, you’ll wonder why you didn’t start baking sooner.