Homemade Peanut Butter Sweet Potato Dog Treats: A Complete Guide to Baking Joy for Your Pup
Ever caught your dog staring at you with those big, hopeful eyes while you’re eating a snack? I know that look well. That’s exactly why I started making homemade peanut butter sweet potato dog treats for my own furry friend. These treats are simple, healthy, and honestly smell so good that I’ve been tempted to taste one myself (don’t judge me).
If you’re tired of store-bought treats loaded with mystery ingredients, you’re in the right place. I’m going to walk you through everything you need to know to make these treats at home, safely and successfully.
What Are Peanut Butter Sweet Potato Dog Treats, Anyway?
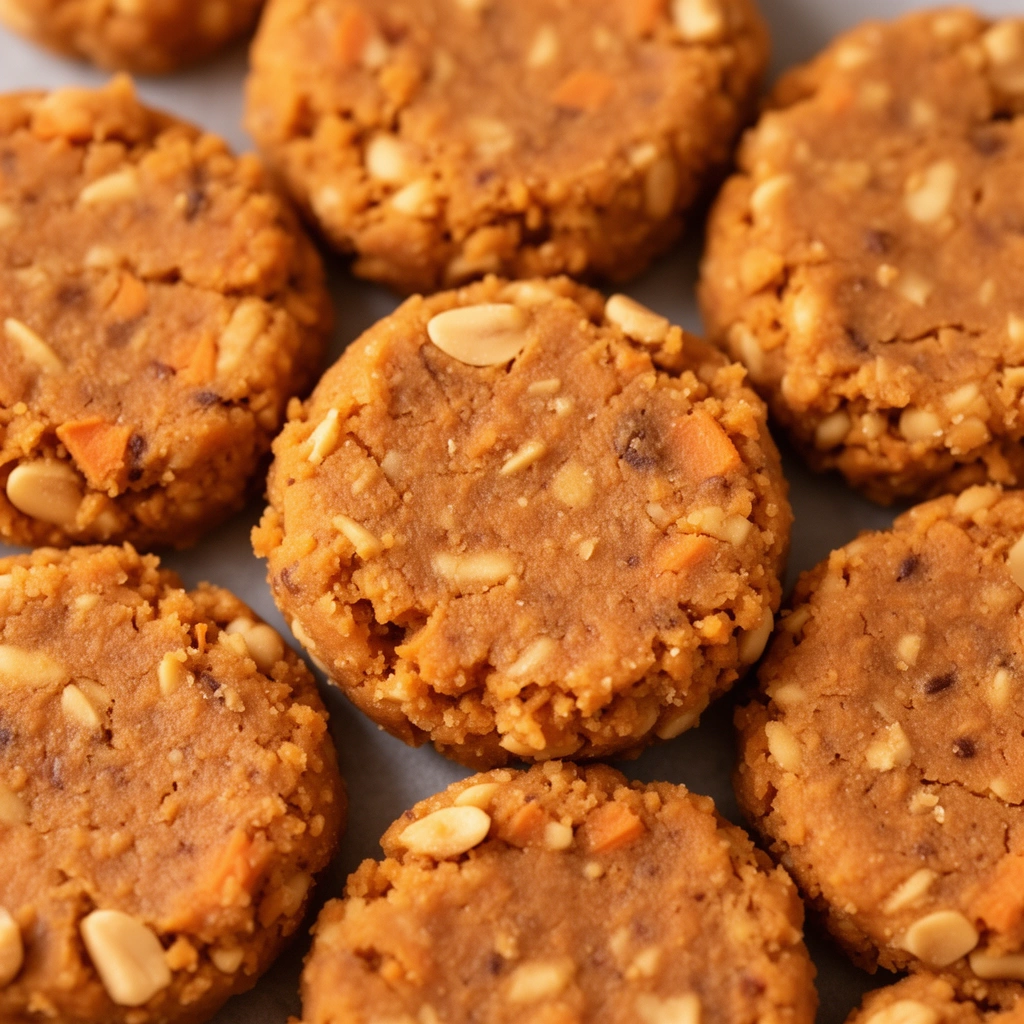
Let’s talk about what we’re actually making here. These treats combine two dog-approved superfoods: peanut butter and sweet potato. Peanut butter brings that irresistible smell and taste dogs go crazy for. Sweet potato adds natural sweetness along with fiber and vitamins.
Think of these as the canine version of a healthy granola bar. They’re not stuffed with preservatives or weird fillers. Just real food, baked into a crunchy little biscuit your dog will beg for.
I love this recipe because it’s forgiving. You don’t need to be a professional baker. You just need a few ingredients, an oven, and maybe thirty minutes of your time.
Key Terms You Should Know
Before we dive into the recipe, let’s clear up some terms you’ll see throughout this guide.
Xylitol
: A sugar substitute found in some peanut butter brands that is extremely toxic to dogs. Always check labels.
Natural Peanut Butter
: Peanut butter made without added sugar, salt, or artificial sweeteners. This is the safest choice for dogs.
Puree
: A smooth, blended form of a food (in this case, sweet potato) with no lumps or chunks.

Dough Consistency
: The texture of your treat mixture before baking. It should be firm enough to roll but not crumbly.
Cooling Rack
: A wire rack that allows air to circulate around baked treats, helping them crisp up and cool evenly.
Knowing these terms will help you avoid mistakes later on, especially the xylitol warning. That one is non-negotiable.
Ingredients You’ll Need
Here’s what to gather before you start baking:

- 1 cup natural peanut butter (xylitol-free, unsalted preferred)
- 1 cup sweet potato puree (cooked and mashed, no seasoning)
- 2 cups whole wheat flour (or oat flour for grain-sensitive dogs)
- 2 large eggs
- 1/4 cup water (adjust as needed)
- A pinch of cinnamon (optional, for extra flavor)
Tools You’ll Need
- Large mixing bowl
- Baking sheet
- Parchment paper
- Rolling pin
- Cookie cutter (bone-shaped is fun, but any shape works)
- Fork (for pricking the dough)
- Cooling rack
Step-by-Step Instructions
Now let’s get into the actual process. I’ll break this down so it’s easy to follow, even if this is your first time baking dog treats.
Step 1: Preheat Your Oven
Set your oven to 350°F (175°C). This temperature works best for slow, even baking without burning the edges.
Step 2: Prepare the Sweet Potato
Peel and chop a sweet potato into chunks. Boil or steam until soft, about 15 minutes. Mash it into a smooth puree. Let it cool before mixing.
Step 3: Mix the Wet Ingredients
In a large bowl, combine the peanut butter, sweet potato puree, and eggs. Stir until smooth and creamy.
Step 4: Add the Flour
Slowly add the flour, one cup at a time. Mix well after each addition. The dough should start to thicken.
Step 5: Adjust the Consistency
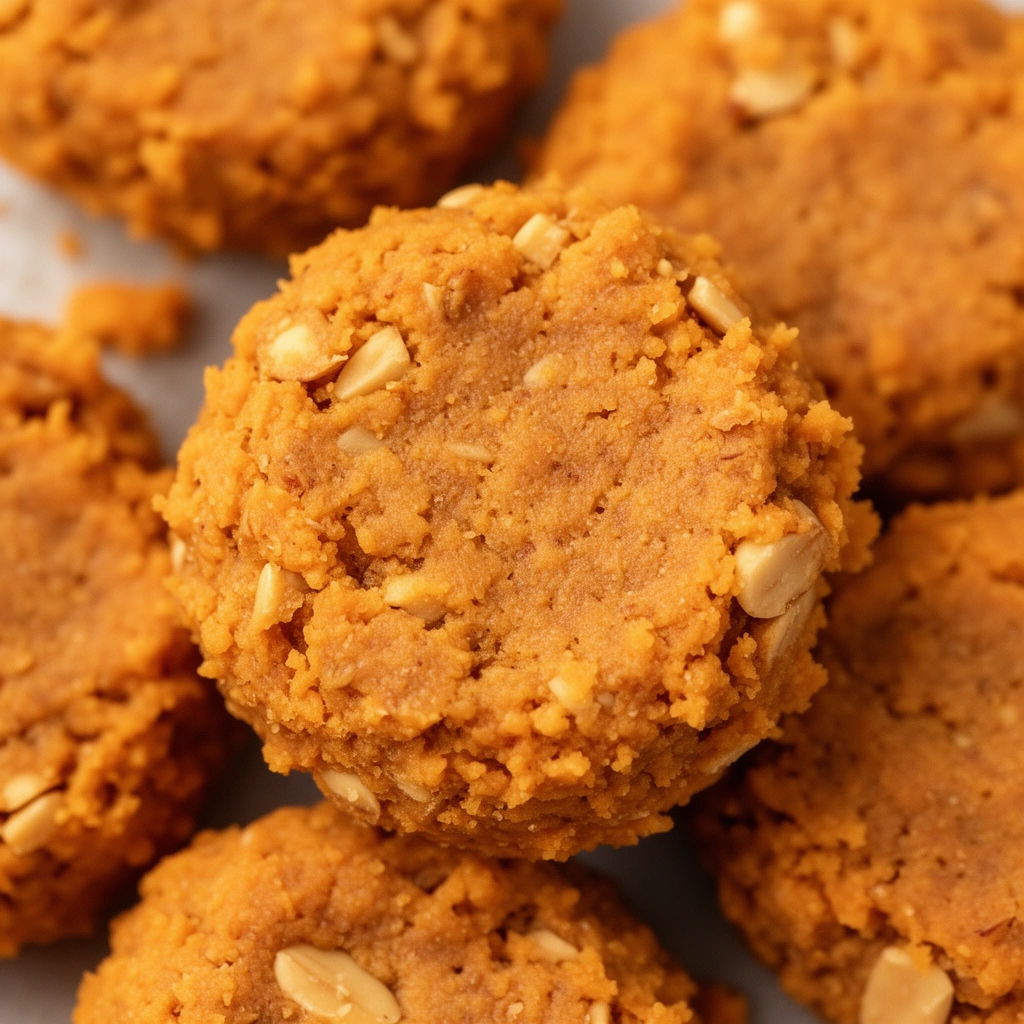
If the dough feels too dry, add water a tablespoon at a time. If it’s too sticky, sprinkle in a bit more flour. You’re aiming for a texture similar to cookie dough.
Step 6: Roll Out the Dough
Place the dough on a lightly floured surface. Roll it out to about 1/4 inch thickness.
Step 7: Cut Your Shapes
Use your cookie cutter to cut out treats. Place them on a parchment-lined baking sheet, leaving space between each one.
Step 8: Prick the Dough
Use a fork to poke a few holes in each treat. This helps them bake evenly and prevents puffing.
Step 9: Bake
Bake for 20-25 minutes, or until the edges turn golden brown. Smaller treats may need less time.
Step 10: Cool Completely
Transfer treats to a cooling rack. Let them cool fully before serving. This also helps them firm up and become crunchier.
Tips for Success
- Always double-check your peanut butter label for xylitol before buying.
- Use room-temperature eggs for smoother mixing.
- Don’t overwork the dough. Overmixing can make treats tough.
- Keep treat size small, especially for smaller dog breeds.
- Bake a test batch first if you’re trying a new flour type.
- Store treats in an airtight container to keep them fresh longer.
Common Mistakes and How to Avoid Them
Using the Wrong Peanut Butter
Some brands sneak in xylitol, which is toxic to dogs. Solution: Always read the ingredient list, not just the front label.
Skipping the Cooling Step
Treats fresh from the oven are soft. Skipping cooling means treats won’t reach their crunchy texture. Solution: Be patient and let them cool completely.
Overbaking
Leaving treats in too long can make them rock hard or even burn. Solution: Set a timer and check at the 20-minute mark.
Not Adjusting for Dog Size
Giving large treats to small dogs can be a choking hazard. Solution: Use smaller cookie cutters for smaller breeds.
Ignoring Allergies
Some dogs are sensitive to wheat or peanuts. Solution: Watch for signs like itching or digestive upset after the first treat, and switch ingredients if needed.
Storage and Shelf Life
This is something a lot of recipes skip, but it matters a lot. Here’s how to keep your treats fresh:
- Room Temperature: Store in an airtight container for up to 1 week.
- Refrigerator: Keeps treats fresh for up to 2 weeks.
- Freezer: Treats can be frozen for up to 3 months. Just thaw before serving.
I like to make a big batch and freeze half. That way, I always have treats ready without baking every week.
A Quick Note on Nutrition
Peanut butter sweet potato treats aren’t just tasty, they offer real nutritional value too.
- Sweet potatoes are rich in fiber, vitamin A, and antioxidants.
- Peanut butter provides healthy fats and protein.
- Whole wheat flour adds additional fiber for digestion.
That said, treats should only make up about 10% of your dog’s daily calorie intake. Even healthy snacks shouldn’t replace balanced meals.
Variations You Can Try
Once you’ve mastered the basic recipe, feel free to get creative.
- Grain-Free Version: Swap whole wheat flour for oat flour or coconut flour.
- Pumpkin Twist: Replace sweet potato with pumpkin puree for a fall-inspired treat.
- Extra Protein Boost: Add a scoop of unflavored dog-safe protein powder.
- Soft-Baked Style: Reduce baking time by 5-7 minutes for a chewier treat, great for senior dogs with weaker teeth.
- Herb-Infused: Add a small pinch of parsley for fresh breath benefits.
Wrapping It Up
Making homemade peanut butter sweet potato dog treats is one of the easiest ways to show your dog some love while keeping their diet clean and simple. You control the ingredients, you know exactly what’s going into each bite, and honestly, the whole process is pretty fun.
So next time your pup gives you that begging stare, you’ll have a healthy answer ready. Bake a batch, watch those tails wag, and enjoy knowing you made something truly good for your best friend with your own two hands.