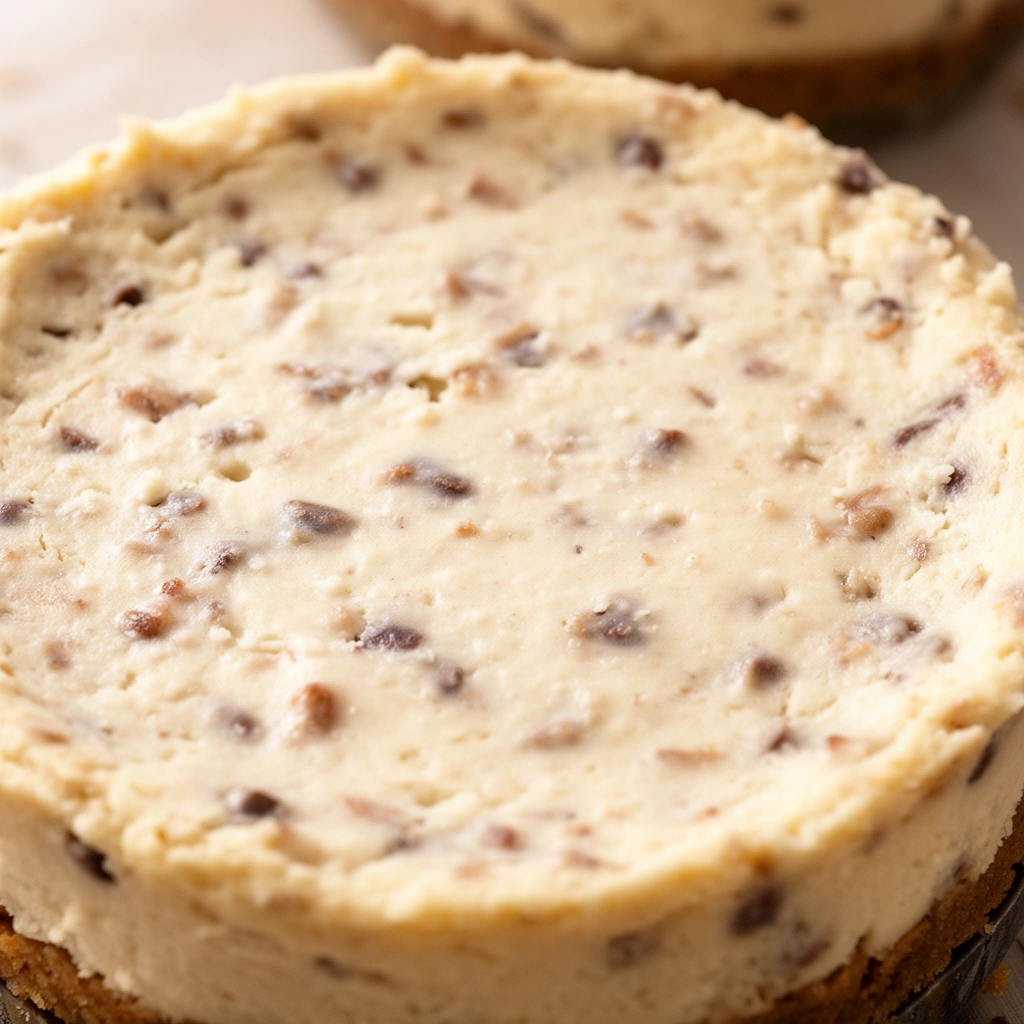
Homemade Cheesecake for Dogs: A Sweet Treat Your Pup Will Actually Beg For
Ever caught your dog staring at your dessert plate like you owe them a slice? I know that look. It’s the “please, just one bite” face that melts every dog parent’s heart. That’s exactly why homemade cheesecake for dogs has become such a popular treat in kitchens across the country. It looks fancy, tastes amazing (to them, anyway), and doesn’t come with the sugar crash that regular cheesecake brings.
I’ve made this treat more times than I can count, and I want to walk you through everything I’ve learned. Not just the recipe, but the little details that make the difference between a soggy mess and a treat your dog will remember for weeks.
What Exactly Is Dog Cheesecake?
Let’s clear something up first. Dog cheesecake isn’t the same as the cheesecake sitting in your fridge right now. Regular cheesecake is loaded with sugar, sometimes chocolate, and often has ingredients that mess with a dog’s stomach. Dog cheesecake swaps all that out for dog-safe ingredients that still create that creamy, rich texture dogs go crazy for.
Think of it as a “cheesecake” in shape and style, but built entirely from things a vet would actually approve of. Cream cheese, plain yogurt, pumpkin, maybe a touch of peanut butter (the xylitol-free kind, always). No sugar. No chocolate. No artificial sweeteners. Just simple, wholesome stuff that happens to taste like a treat.
This matters because dogs have different digestive systems than we do. Lactose sensitivity is common, sugar causes weight issues and dental problems, and some “human” ingredients are downright toxic to dogs. A good dog cheesecake recipe respects all of that while still giving your pup something special.
Key Terms You Should Know
Xylitol
: A sugar substitute found in many human foods and baked goods. Extremely toxic to dogs, even in small amounts. Always check labels before using peanut butter or any sweetener.

Lactose intolerance
: A condition where dogs struggle to digest dairy properly. Not every dog has this, but many do, which is why portion control matters even with dog-safe cheesecake.
Base/Crust
: The bottom layer of the cheesecake, usually made from crushed dog biscuits, oats, or a mix of flour and butter substitute.
Filling
: The creamy middle layer, typically cream cheese, yogurt, and a natural flavoring like pumpkin or banana.
Topping
: The finishing layer, often a drizzle of peanut butter, fruit puree, or plain yogurt frosting.
What You’ll Need
Before jumping into the steps, gather these ingredients. I like keeping things simple so this doesn’t turn into an all-day kitchen project.
- 8 oz plain cream cheese (softened to room temperature)
- 1/2 cup plain Greek yogurt (unsweetened, no additives)
- 1/4 cup pure pumpkin puree (not pumpkin pie filling)
- 1 egg
- 1 tablespoon honey (optional, and only a small amount)
- 1 cup crushed dog biscuits or plain oats for the crust
- 2 tablespoons unsalted butter, melted
- A few dog-safe berries for topping (blueberries or strawberries work great)
That’s it. No fancy equipment needed either. A mixing bowl, a small springform pan or muffin tin, and an oven will get the job done.
Step-by-Step Making Process
Here’s exactly how I put this together every time. Follow these steps in order and you’ll avoid most of the common hiccups.
- Preheat your oven to 325°F (163°C). This lower temperature helps the cheesecake set without cracking.
- Make the crust by mixing crushed dog biscuits or oats with melted butter until it feels like wet sand. Press this mixture firmly into the bottom of your pan.
- Bake the crust alone for about 8 minutes, then set aside to cool slightly.
- Mix the filling by beating the cream cheese until smooth. Add the yogurt, pumpkin puree, egg, and honey (if using). Blend until completely creamy with no lumps.
- Pour the filling over the cooled crust, spreading it evenly with a spatula.
- Bake for 25-30 minutes, or until the center looks set but slightly jiggly. It’ll firm up more as it cools.
- Cool completely at room temperature, then refrigerate for at least 2 hours before serving.
- Top with fresh berries right before giving it to your dog.
That’s the whole process. Nothing complicated, but each step matters more than you’d think.
Tips for Success
I’ve picked up a few tricks over the years that make this recipe turn out perfect every single time.
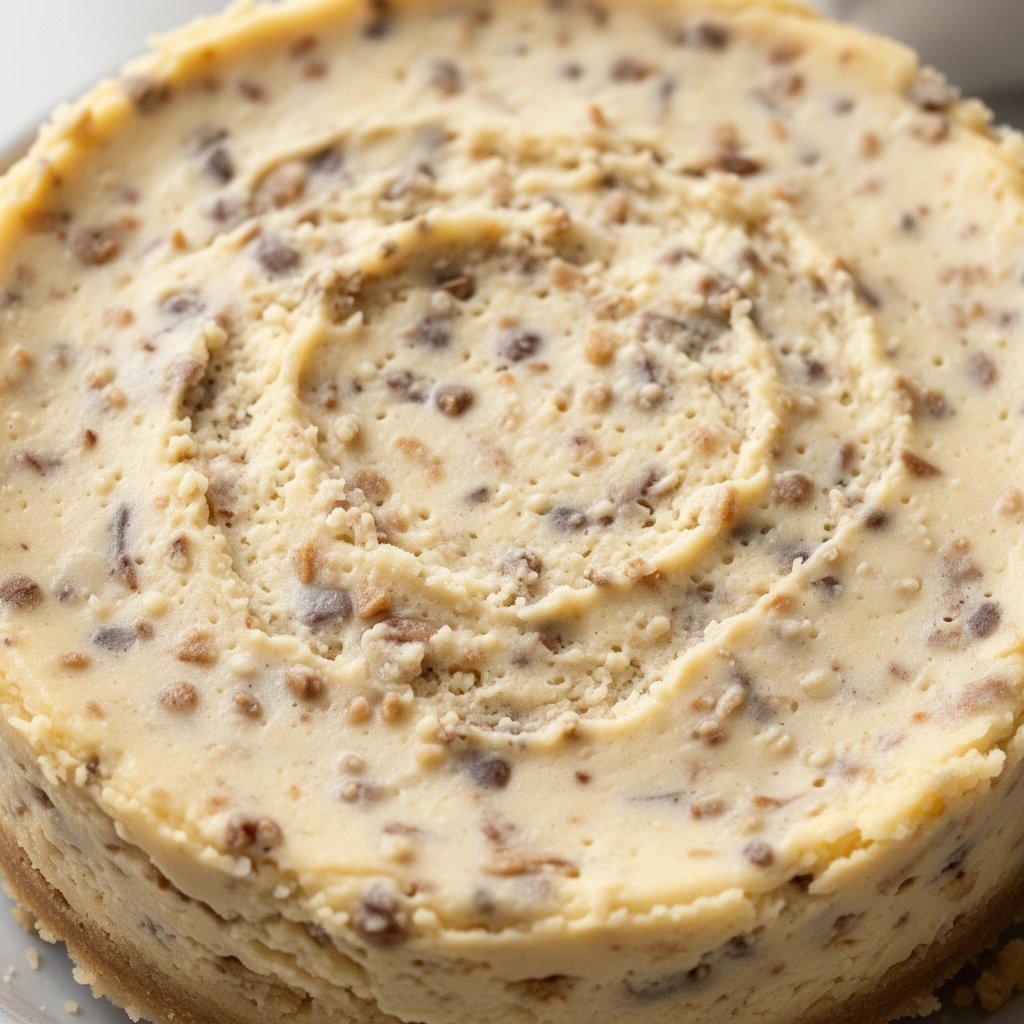
- Always use room temperature cream cheese. Cold cream cheese creates lumps that never fully smooth out.
- Don’t skip the cooling step. Cutting into a warm dog cheesecake makes it fall apart instantly.
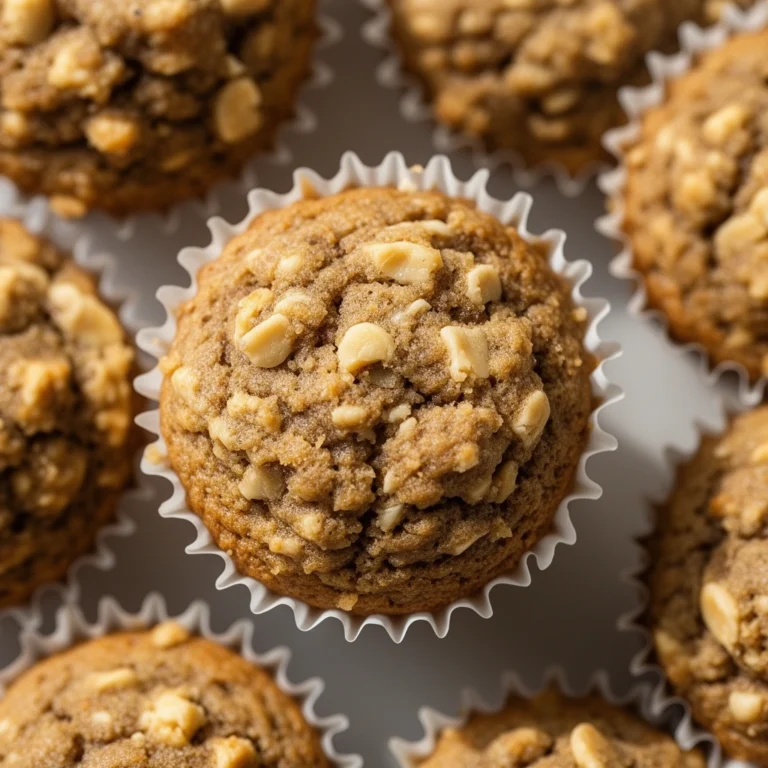
- Use a mini muffin tin instead of a full cake pan if you want individual portions. This also makes portion control way easier.
- Check every ingredient label for xylitol, especially peanut butter. It hides in unexpected products.
- Keep portions small. This is a treat, not a meal. Even healthy ingredients add up in calories.
- Store leftovers in the fridge for up to 5 days, or freeze individual portions for up to 2 months.
Common Mistakes and How to Avoid Them
I’ve made plenty of mistakes with this recipe before figuring out what actually works. Here’s what to watch for.
Using sweetened yogurt or cream cheese
: This adds unnecessary sugar and sometimes artificial flavors that upset a dog’s stomach. Always choose plain, unsweetened versions.
Skipping the crust pre-bake
: If you pour filling straight onto an unbaked crust, you’ll end up with a soggy bottom that falls apart when you try to slice it.
Overbaking
: Dog cheesecake dries out fast if left in the oven too long. Pull it out once the center looks slightly wobbly, not fully firm.
Ignoring portion size
: Just because it’s “dog-safe” doesn’t mean unlimited amounts are fine. Rich, creamy foods can cause loose stools if a dog eats too much at once.
Forgetting allergy checks
: Some dogs react to dairy or eggs even in small quantities. Introduce this treat slowly the first time, watching for any signs of upset stomach.
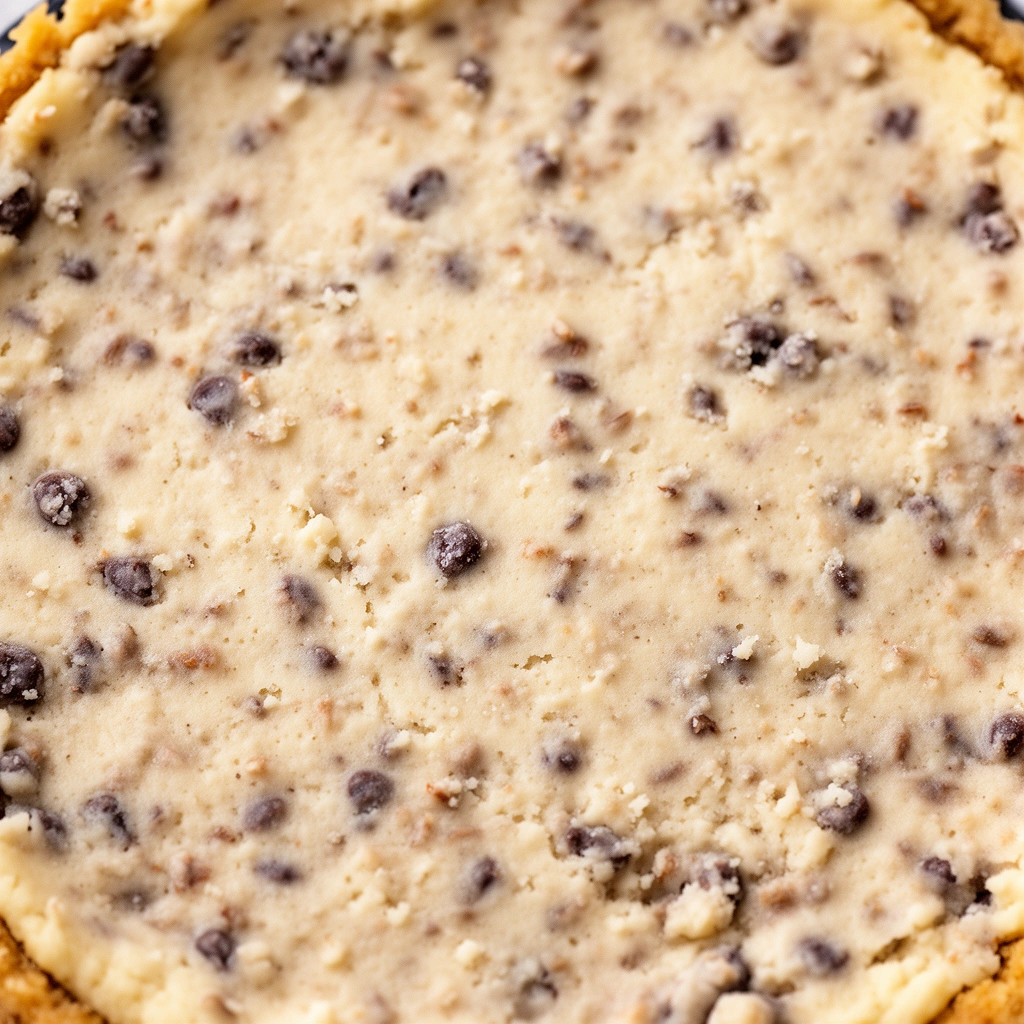
Similar Variations Worth Trying
Once you’ve nailed the basic recipe, it’s fun to switch things up. Here are a few variations I’ve tried and loved.
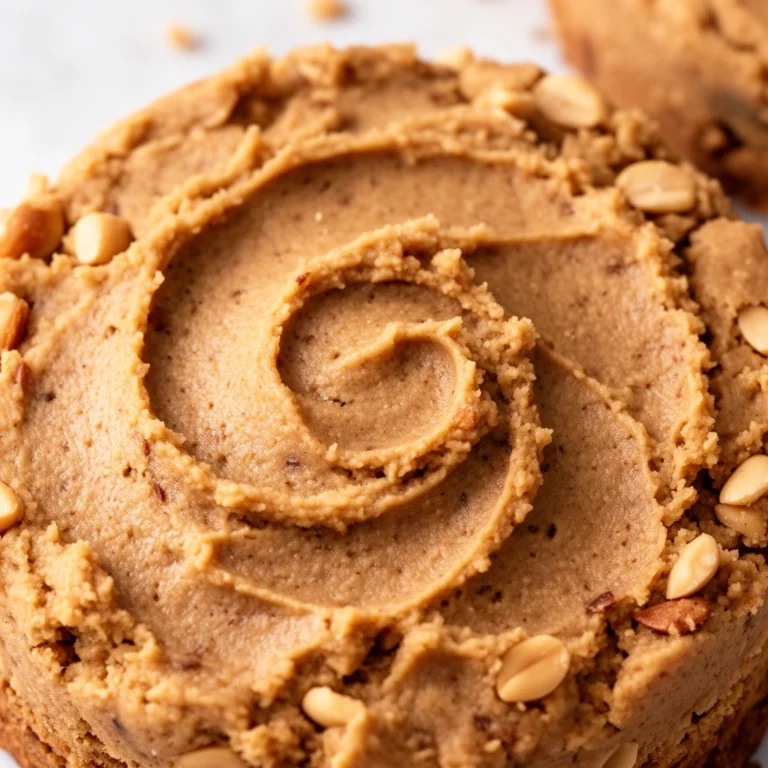
- Peanut butter swirl cheesecake: Add a swirl of xylitol-free peanut butter into the filling before baking for extra flavor dogs adore.
- Banana cheesecake bites: Replace pumpkin with mashed banana for a naturally sweet twist.
- No-bake version: Skip the oven entirely by using gelatin to set the filling, then chill for a few hours. Great for hot summer days.
- Carob-topped cheesecake: Melted carob (never chocolate) makes a safe drizzle that mimics a chocolate look without the danger.
- Frozen cheesecake pupsicles: Pour the filling into silicone molds and freeze instead of baking for a cool summer treat.
Each variation keeps the same dog-safe foundation while giving you room to get creative based on what your pup likes best.
Wrapping It Up
Making homemade cheesecake for dogs isn’t just about spoiling your pup, though let’s be honest, that’s part of the fun. It’s about knowing exactly what’s going into their treats and keeping things safe, simple, and something to look forward to. Once you try this recipe, I bet it becomes a regular thing in your house too, whether it’s for a birthday, a holiday, or just a random Tuesday when your dog gives you those puppy eyes. Go ahead, whip up a batch of homemade cheesecake for dogs this weekend. Your best friend will thank you with the happiest tail wag you’ve seen in a while.