Homemade Dehydrated Chicken Jerky for Dogs: The Complete Guide Your Pup Deserves
Ever wonder what’s actually hiding inside those store-bought dog treats you grab off the shelf? I used to wonder that too, until I started making homemade dehydrated chicken jerky for my own dog. Honestly, it changed everything about how I treat my furry best friend.
If you’ve ever flipped over a bag of commercial jerky treats and squinted at ingredients you can’t even pronounce, you’re not alone. Many dog owners feel the same frustration. The good news? Making chicken jerky at home is simpler than most people think, and it gives you total control over what goes into your dog’s mouth.
What Exactly Is Dehydrated Chicken Jerky for Dogs?
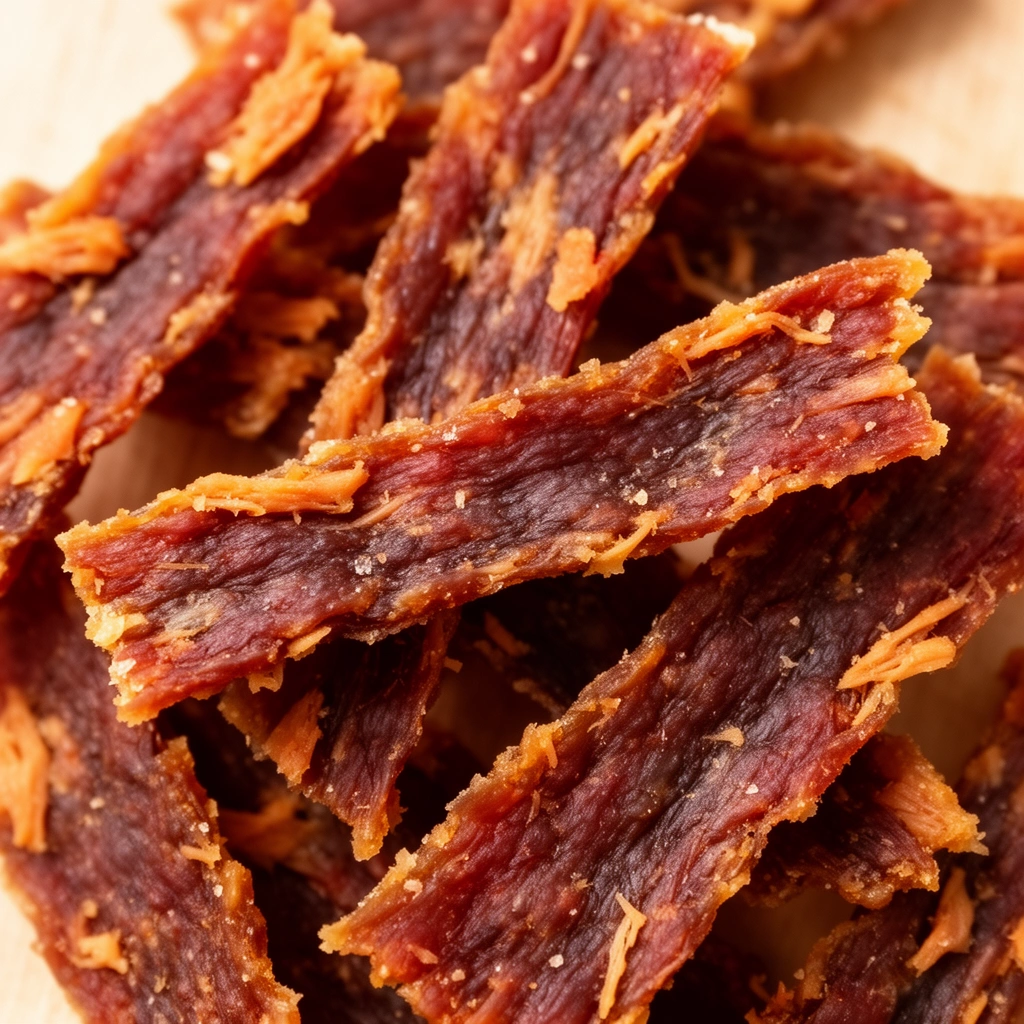
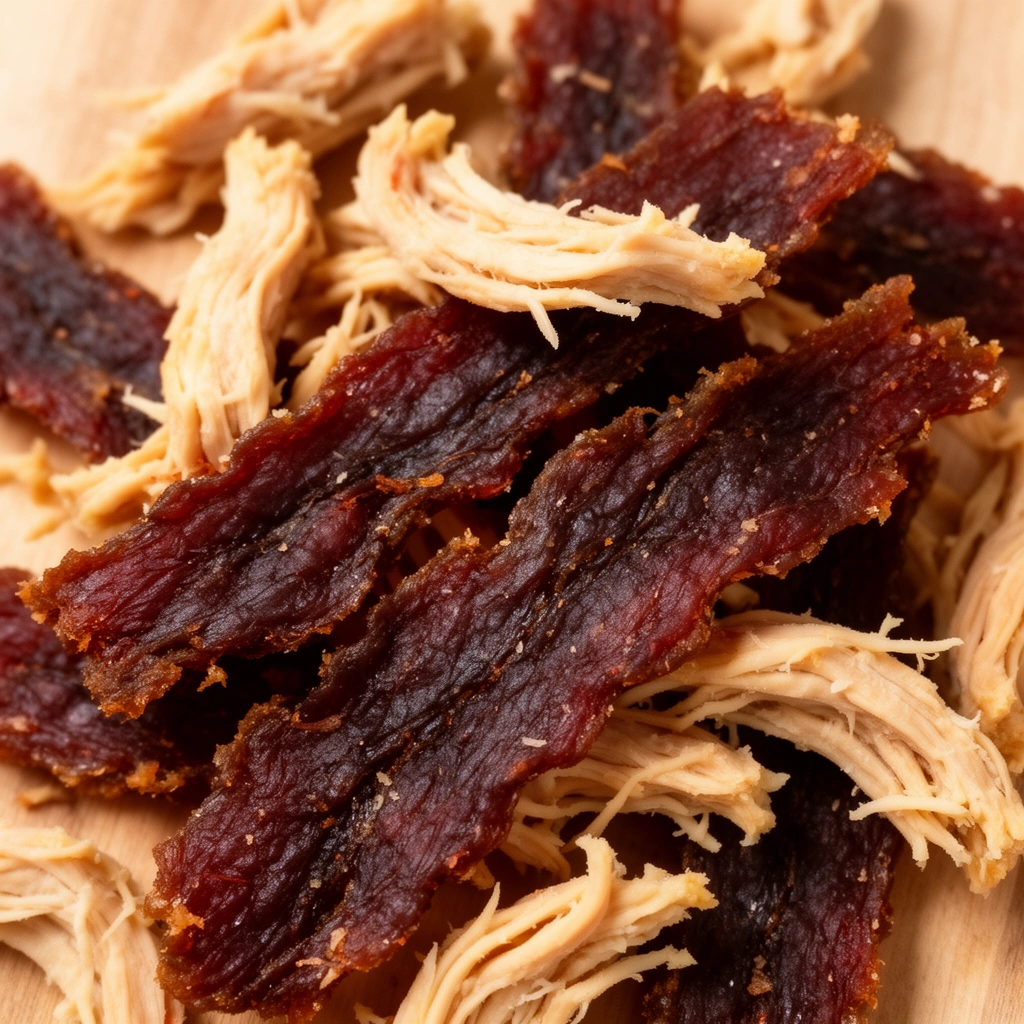
Let’s break this down before diving into the how-to part. Dehydrated chicken jerky is basically thinly sliced chicken breast that’s had all its moisture slowly removed through low, steady heat. No preservatives. No mystery additives. Just pure chicken, transformed into a chewy, protein-packed snack your dog will practically beg for.
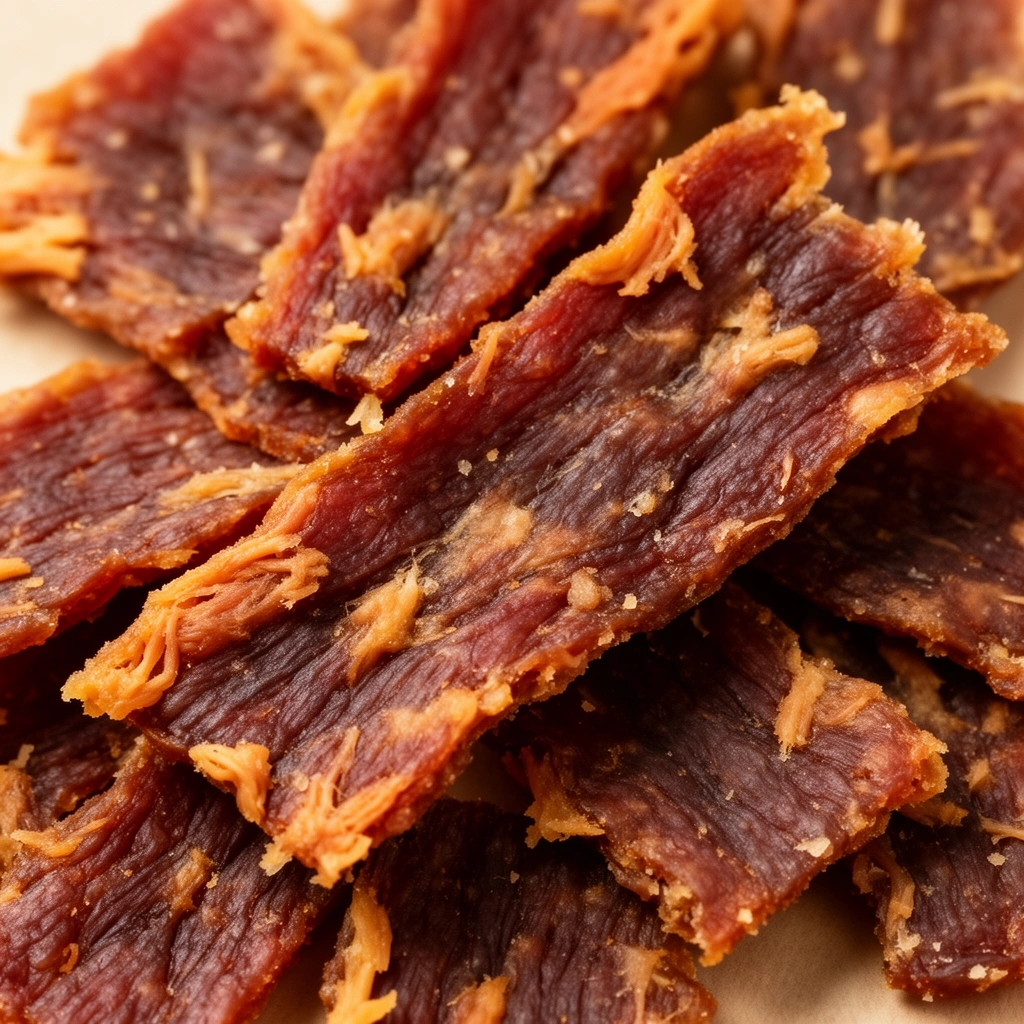
Think of it this way: dehydration doesn’t cook the meat in the traditional sense. It draws out water content over several hours, which naturally preserves the meat while locking in flavor and nutrients. That’s why jerky lasts so long without refrigeration once it’s properly dried.
Here are some key terms you’ll want to understand before starting:
Dehydration
: The process of removing moisture from food using low, consistent heat over an extended period, typically between 4 to 8 hours.
Food Dehydrator
: A kitchen appliance specifically designed to circulate warm air evenly, drying food without cooking it at high temperatures.
Case Hardening
: A common dehydrating mistake where the outside of the meat dries too quickly, trapping moisture inside and creating a false sense that the jerky is done.
Internal Temperature
: The heat level inside the meat itself, which needs to reach a safe threshold to kill harmful bacteria during preparation.
Rehydration
: What happens if jerky isn’t stored properly and absorbs moisture back from the air, potentially leading to mold growth.
Why Make Your Own Chicken Jerky?
I’ll be straight with you. Store-bought treats often contain preservatives, artificial flavors, and sometimes ingredients sourced from countries with looser safety regulations. Remember the jerky treat recalls a few years back? Salmonella contamination and unexplained illnesses sent thousands of pet owners scrambling.
Making your own jerky eliminates that guesswork entirely. You know exactly what’s in it because you put it there yourself.
Beyond safety, there’s also the cost factor. Buying premium jerky treats regularly adds up fast. A few pounds of chicken breast costs a fraction of what you’d spend on equivalent store-bought portions.
What You’ll Need Before Starting
Before jumping into the process, gather these essentials:
- Boneless, skinless chicken breast (fresh, not previously frozen if possible)
- A sharp knife or meat slicer
- A food dehydrator (or a conventional oven set to its lowest temperature)
- Parchment paper or dehydrator trays
- A meat thermometer
- Airtight storage containers or vacuum-seal bags
- Paper towels for patting meat dry
Step-by-Step: Making Homemade Chicken Jerky
Now for the part you’ve been waiting for. Here’s exactly how I do it, step by step.
Step 1: Choose Quality Chicken
Start with boneless, skinless chicken breasts. Avoid chicken thighs or drumsticks since they contain more fat, which doesn’t dehydrate well and can turn rancid faster.
Step 2: Trim the Fat
Cut away any visible fat or connective tissue. Fat doesn’t dry properly during dehydration, and leftover fat shortens the shelf life of your finished jerky significantly.
Step 3: Slice the Meat Thin
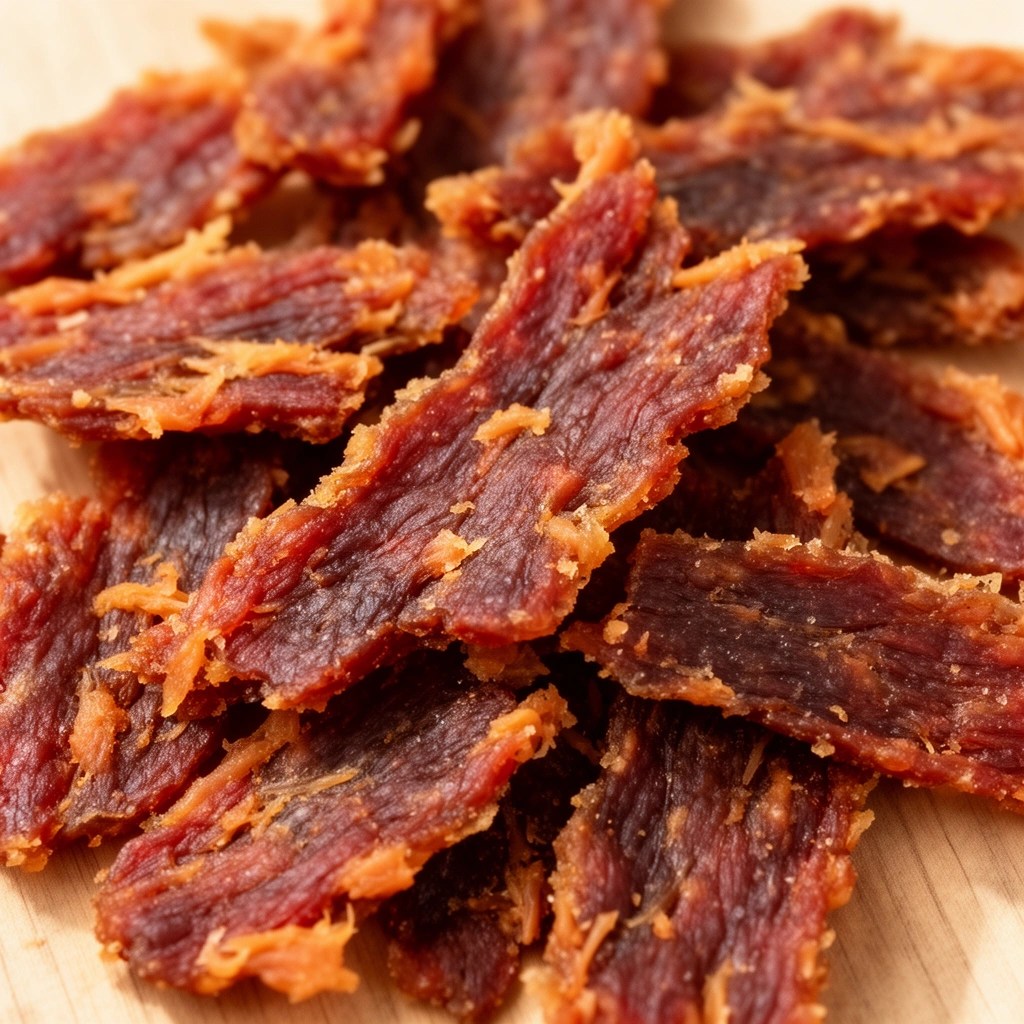
Cut chicken breasts into strips roughly 1/8 to 1/4 inch thick. Uniform thickness matters here because uneven slices dry at different rates, leaving some pieces underdone while others turn brittle.
- Slicing with the grain creates chewier jerky
- Slicing against the grain results in jerky that’s easier to break apart
- Partially freezing the chicken for 20-30 minutes beforehand makes slicing much easier
Step 4: Pat the Strips Dry
Use paper towels to remove excess surface moisture. This small step helps the dehydration process move along more efficiently.
Step 5: Arrange on Dehydrator Trays
Lay strips flat on trays without letting pieces touch or overlap. Proper airflow around each strip ensures even drying throughout.
Step 6: Set Temperature and Time
Set your dehydrator to 160°F (71°C). This temperature is high enough to kill bacteria while still being low enough to dehydrate rather than cook the meat. Drying typically takes 4 to 7 hours depending on strip thickness and your specific dehydrator model.
Step 7: Check for Doneness
Jerky is ready when it’s dry, firm, and slightly bendable without snapping completely. It shouldn’t feel moist or squishy anywhere.
- Use a meat thermometer to confirm internal temperature reaches at least 165°F (74°C) at some point during preparation
- Bend a piece to test texture; it should crack slightly but not break in half
- Check a few pieces from different trays since drying can vary by tray position
Step 8: Cool Completely
Let the jerky cool at room temperature for at least an hour before storing. Packing warm jerky traps steam inside containers, which invites mold growth.
Step 9: Store Properly
Place cooled jerky in airtight containers or vacuum-sealed bags. Refrigerated jerky lasts about 2-3 weeks, while properly stored jerky in the freezer can last several months.
Tips for Success
Making jerky sounds straightforward, but small details separate mediocre results from truly great ones.
- Always use fresh, high-quality chicken rather than meat that’s been previously frozen and thawed multiple times
- Rotate dehydrator trays halfway through the drying process for more even results
- Never rush the process by increasing temperature; low and slow is the whole point
- Test a small batch first before committing to large quantities
- Label storage containers with the date so you know exactly how fresh your jerky is
- Consider your dog’s size when cutting strips; smaller dogs need smaller pieces to prevent choking hazards
Common Mistakes and How to Avoid Them
Even experienced home cooks stumble here sometimes. Let’s talk about what typically goes wrong.
Mistake: Cutting strips unevenly
This causes some pieces to dry faster than others, leaving thicker sections potentially unsafe. Always aim for consistent thickness across your batch.
Mistake: Skipping the temperature check
Relying solely on appearance can be misleading. Jerky might look done on the outside while remaining undercooked inside, a problem called case hardening. Always verify with a meat thermometer.
Mistake: Overcrowding the dehydrator trays
Packing too many strips together blocks proper airflow, resulting in uneven drying and potentially unsafe jerky. Give each piece breathing room.
Mistake: Storing jerky while still warm
This traps residual moisture inside storage containers, creating a breeding ground for mold. Patience during the cooling stage prevents this issue entirely.
Mistake: Adding seasonings meant for human consumption
Garlic, onion powder, and excessive salt are toxic to dogs. Keep your jerky plain, or use dog-safe flavor additions only.
Mistake: Ignoring shelf life guidelines
Homemade jerky lacks the preservatives found in commercial products, meaning it spoils faster. Don’t assume it lasts as long as store-bought versions.
Similar Variations Worth Trying
Once you’ve mastered basic chicken jerky, why stop there? Here are some variations that keep things interesting for your pup.
- Turkey Jerky: Follow the same process using turkey breast instead of chicken for dogs with poultry preferences or slight protein rotation needs
- Sweet Potato and Chicken Jerky: Layer thin sweet potato slices with chicken strips for added fiber and natural sweetness
- Fish Jerky: Salmon or whitefish can be dehydrated similarly, offering omega-3 fatty acids beneficial for skin and coat health
- Chicken and Pumpkin Jerky: Blend pureed pumpkin into ground chicken before dehydrating for a softer, digestive-friendly treat
- Beef Jerky: Lean cuts like flank steak work well using identical temperature and timing guidelines
- Herb-Infused Jerky: Add dog-safe herbs like parsley or a tiny pinch of turmeric for extra nutritional benefits
Wrapping It Up
Making homemade dehydrated chicken jerky for dogs isn’t complicated once you understand the basics. It just takes patience, the right temperature control, and attention to detail throughout the process. You’re rewarded with a treat that’s healthier, safer, and honestly, probably more appreciated by your dog than anything from a store shelf.
Give this recipe a try, and I promise you’ll never look at store-bought jerky treats the same way again. Your dog gets a delicious, protein-rich snack, and you get peace of mind knowing exactly what went into every single piece of that homemade dehydrated chicken jerky.