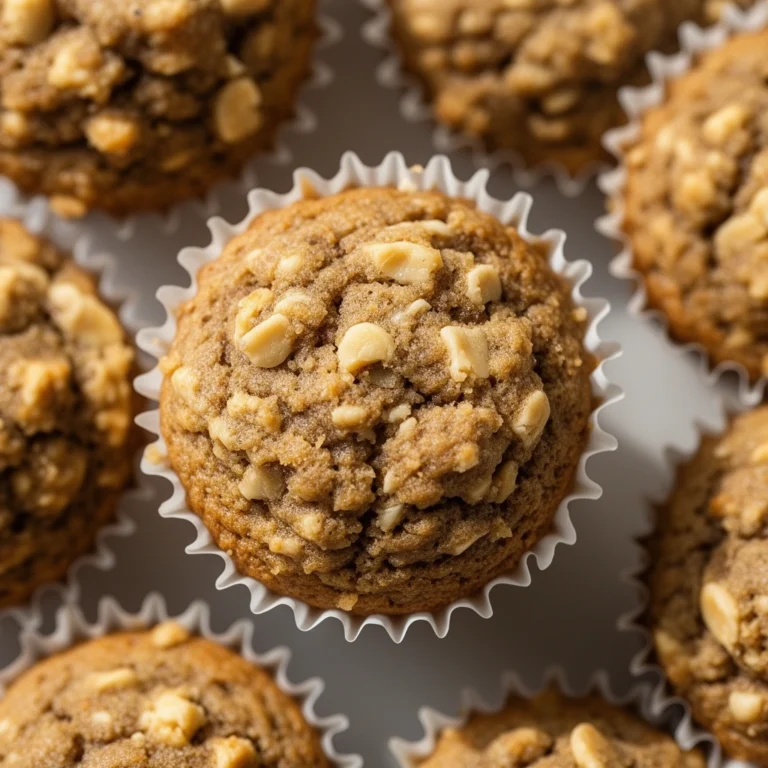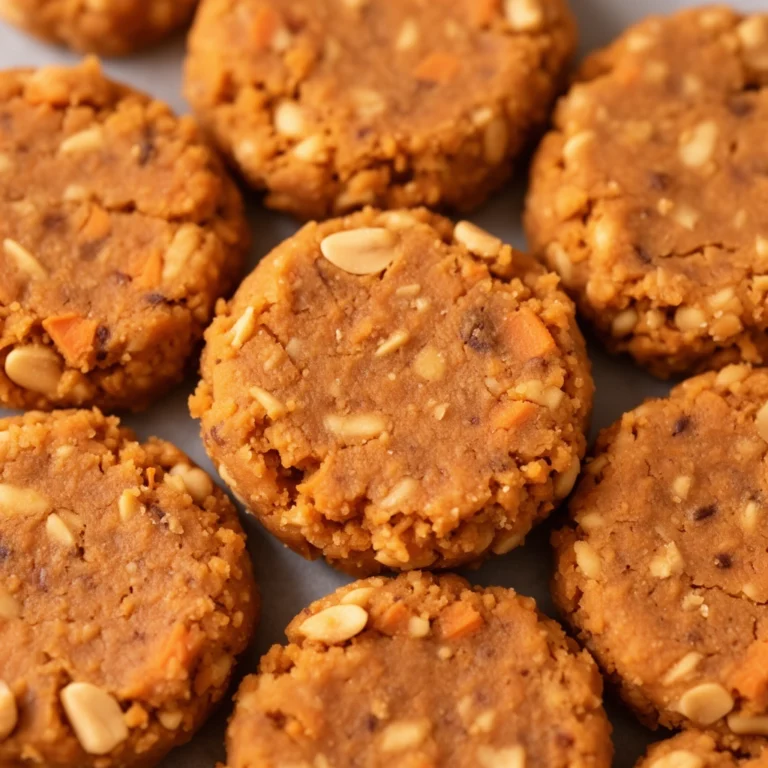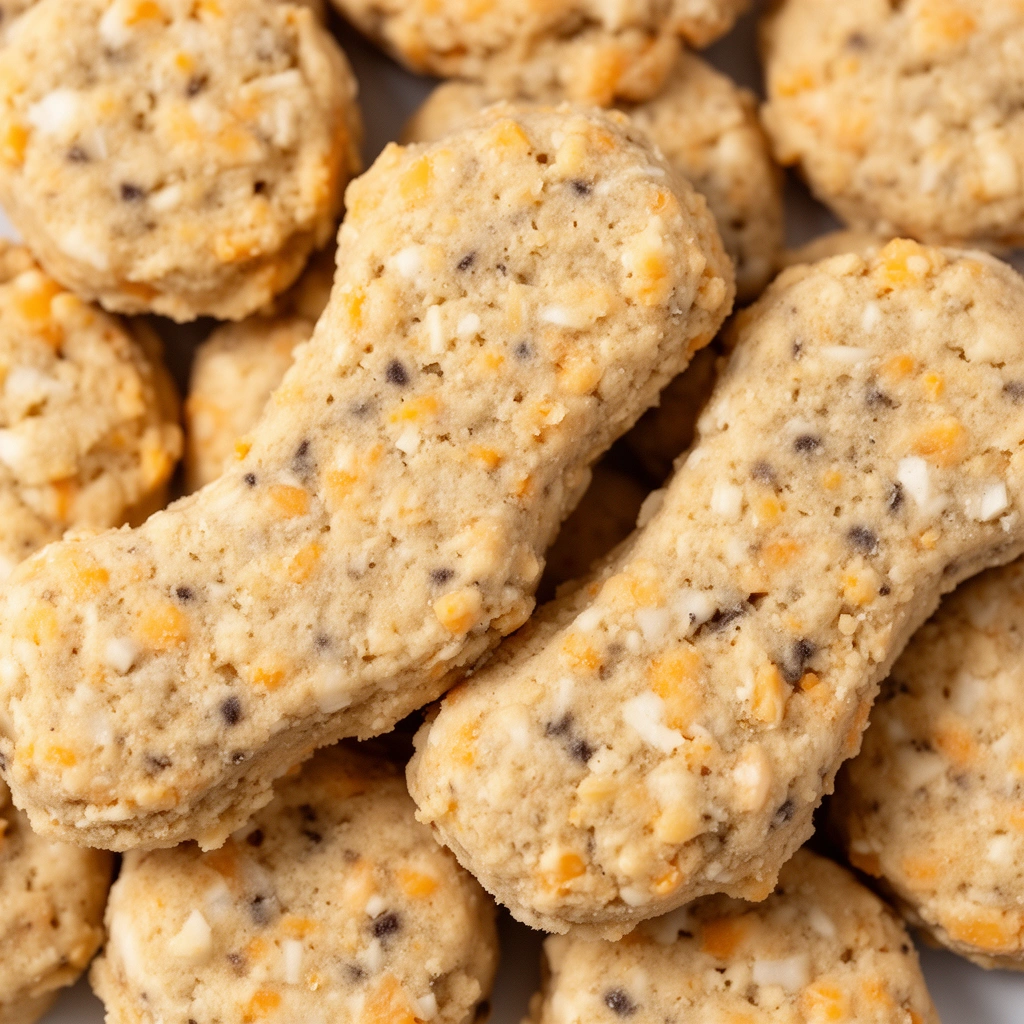
Homemade Cheese Dog Treats: A Complete Guide to Baking Happiness for Your Pup
Ever caught your dog staring at you with those big, hopeful eyes while you snack on cheese? I have. That look is exactly why I started making homemade cheese dog treats. They’re cheap, easy, and honestly, they smell amazing while baking. If you want a treat that makes your dog’s tail spin like a helicopter blade, this guide has you covered from start to finish.
Why Homemade Cheese Dog Treats Are Worth Making
I get it. Store-bought treats are convenient. But once you try baking your own cheese dog treats, you won’t go back. You control every ingredient. No mystery preservatives, no weird fillers, no guessing what’s actually inside that bag.
Cheese is also a fantastic training treat because dogs go nuts for the smell. It’s strong, it’s savory, and it holds shape well when baked into small biscuits. Plus, cheese offers protein and calcium, which is a nice bonus compared to sugary or starchy snacks.
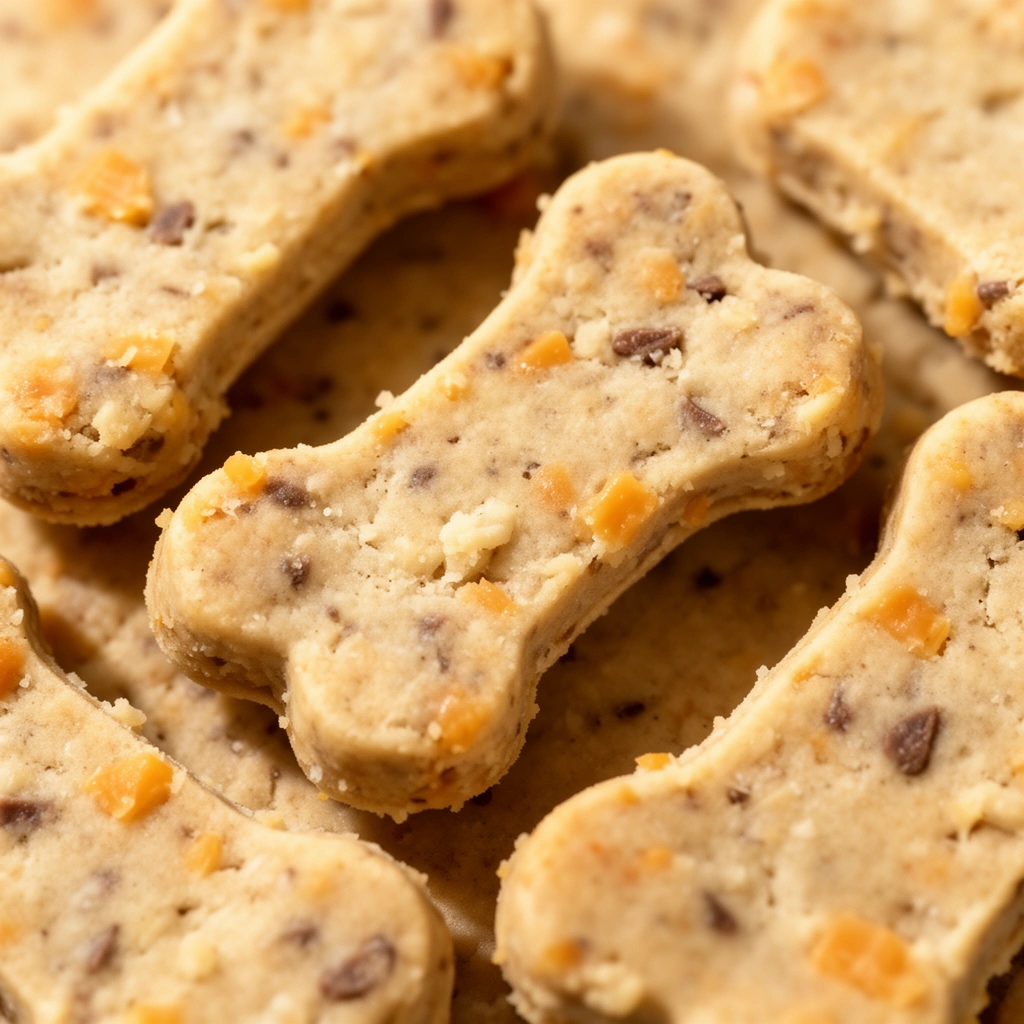
The best part? You probably already have most of the ingredients sitting in your kitchen right now.
Key Terms You Should Know Before Baking
Hard cheese: Cheese with low moisture content, like cheddar or parmesan. It grates easily and holds its shape when baked.
Soft cheese: Cheese with higher moisture, like cream cheese or cottage cheese. It adds moisture to dough but doesn’t crisp up the same way.
Binder: An ingredient like egg or flour that holds the dough together so it doesn’t fall apart.
Rolling consistency: The point where dough is firm enough to roll flat without sticking to your hands or the rolling pin.
Lactose intolerance: A digestive issue some dogs have where dairy causes gas, bloating, or loose stool.
Understanding these terms matters because cheese treats aren’t a one-size-fits-all recipe. The type of cheese you pick changes texture, smell, and even how your dog’s stomach reacts.
Choosing the Right Cheese
This is where a lot of recipes fall short. Not every cheese is dog-friendly, and not every cheese bakes the same way.
- Cheddar: Strong smell, great flavor, bakes well. A solid go-to choice.
- Cottage cheese: Low fat, mild, and gentle on tummies. Good for sensitive dogs.
- Parmesan: Sharp and salty, use in small amounts only.
- Mozzarella: Mild but very moist, best mixed with a firmer cheese.
- Avoid blue cheese, flavored cheeses with onion or garlic bits, and heavily processed cheese slices. These can upset your dog’s stomach or contain harmful additives.
If your dog struggles with dairy, swap a portion of the cheese for pumpkin puree or plain yogurt. It keeps the treat tasty without loading up on lactose.
Ingredients You’ll Need
- 1 cup shredded cheddar cheese
- 1 cup whole wheat flour (or oat flour for grain-sensitive dogs)
- 1 egg
- 2 tablespoons plain Greek yogurt
- 1 tablespoon olive oil
- A splash of water, if needed
That’s it. No complicated shopping list, no rare ingredients you’ve never heard of.
Step-by-Step: How to Make Homemade Cheese Dog Treats
I’ve tested this recipe more times than I can count, tweaking it until the texture came out just right. Here’s exactly how to do it.
Step 1: Preheat your oven
Set it to 350°F (175°C). This temperature is gentle enough to avoid burning the cheese but hot enough to crisp the dough.
Step 2: Mix the wet ingredients
In a bowl, whisk the egg, yogurt, and olive oil until smooth.
Step 3: Add the cheese
Stir the shredded cheddar into the wet mixture. Make sure it’s evenly coated.
Step 4: Slowly add flour
Add the flour a little at a time. Mix until a dough starts forming. If it’s too dry, add a splash of water. If it’s too sticky, sprinkle in a bit more flour.
Step 5: Knead briefly
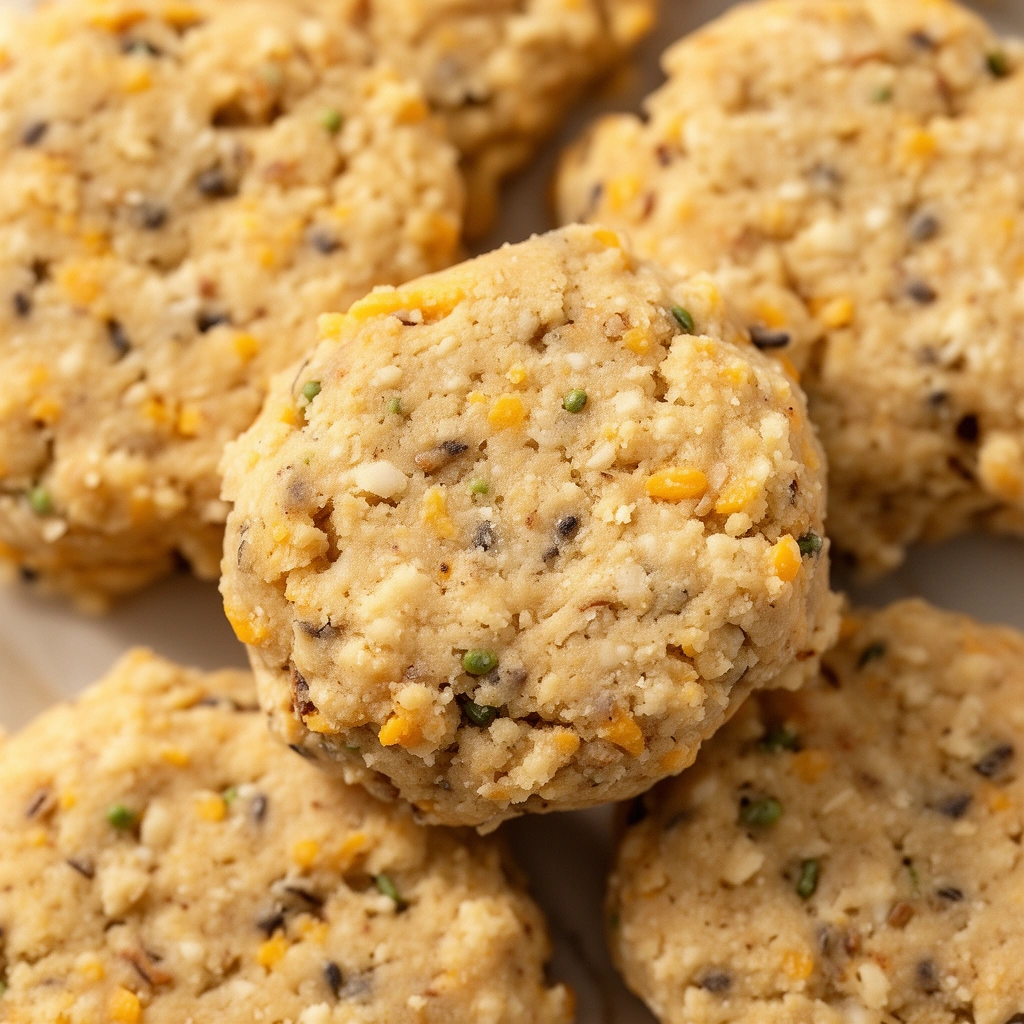
Knead the dough for about a minute. You’re aiming for that rolling consistency I mentioned earlier — firm, not sticky.
Step 6: Roll it out
Place the dough between two sheets of parchment paper. Roll to about ¼ inch thickness. Thinner dough means crunchier treats, so adjust based on your dog’s chewing preference.
Step 7: Cut into shapes
Use a cookie cutter, or just a knife if you want simple squares. Bone shapes are fun, but honestly, your dog won’t care about the shape at all.
Step 8: Bake
Place treats on a lined baking sheet. Bake for 20 to 25 minutes, flipping halfway through for even crisping.
Step 9: Cool completely
Let them sit on a wire rack for at least 30 minutes. This step matters more than people think. Treats continue to firm up as they cool.
Step 10: Store properly
Keep treats in an airtight container. More on storage below.
Tips for Success
- Shred cheese yourself instead of buying pre-shredded bags. Pre-shredded cheese often has anti-clumping powder that changes texture.
- Use parchment paper to prevent sticking and make cleanup painless.
- Bake a test batch first if you’re trying a new cheese. Some cheeses melt more than others and can spread thin.
- Cut treats small if you’re using them for training. Big treats mean fewer repetitions and a full dog in ten minutes.
- Let dough rest for five minutes before rolling. It firms up and becomes easier to handle.
Common Mistakes and How to Avoid Them
Mistake: Using too much cheese
More cheese doesn’t always mean better treats. Too much fat content can upset a dog’s stomach and cause greasy, crumbly dough.
Fix: Stick close to the recipe ratio, especially with fattier cheeses like cheddar.
Mistake: Skipping the cooling step
Treats seem done right out of the oven but are actually still soft in the middle.
Fix: Always cool completely before storing or serving.
Mistake: Rolling dough too thick
Thick treats stay chewy in the center and can be harder for small dogs to bite through.
Fix: Aim for ¼ inch or thinner, especially for small breed dogs.
Mistake: Using flavored or seasoned cheese
Garlic and onion powder are toxic to dogs, even in small amounts, and they hide in a lot of cheese blends.
Fix: Always check the ingredient label, even on plain-looking cheese.
Mistake: Storing treats while warm
This traps moisture and leads to mold within a few days.
Fix: Wait until treats are fully cool, then store.
Storage and Shelf Life
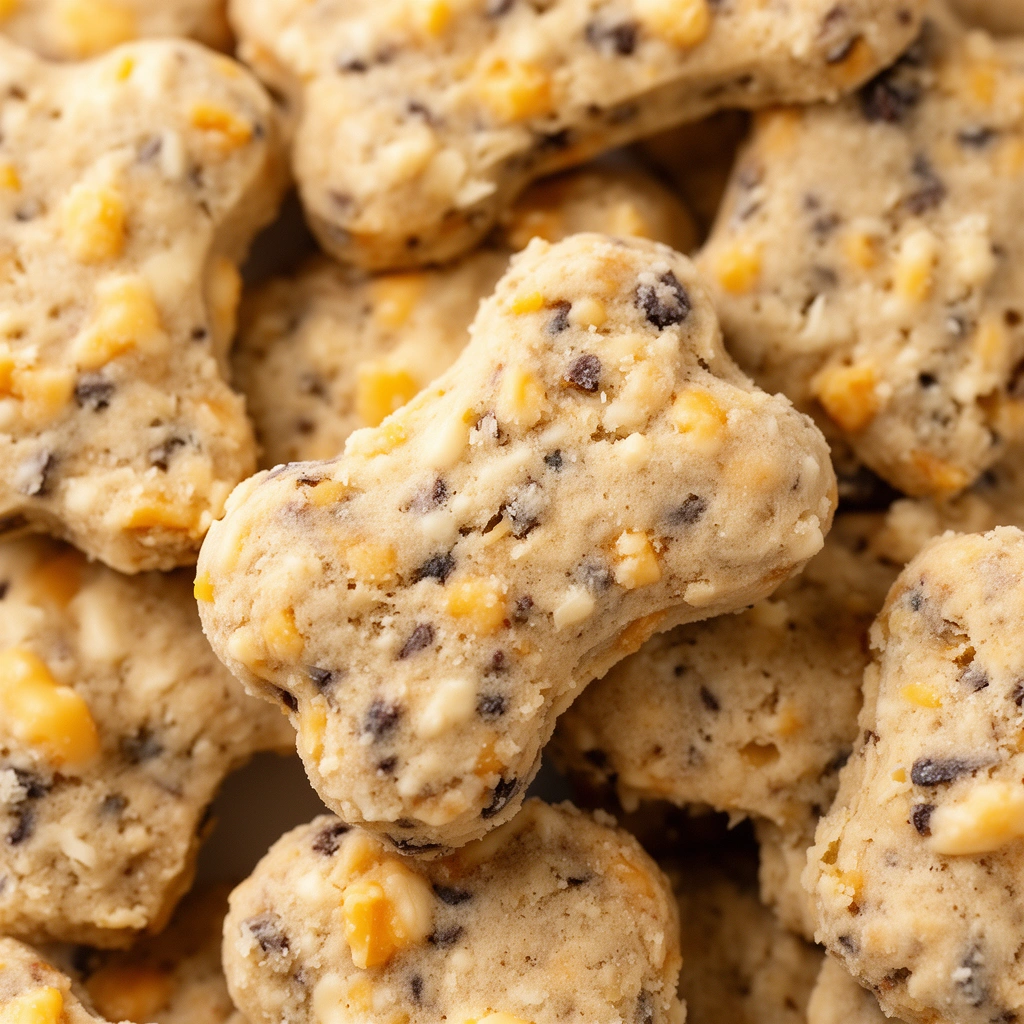
Homemade treats don’t have preservatives, so they don’t last forever like store-bought bags.
- Room temperature: Up to 5 days in an airtight container.
- Refrigerator: Up to 2 weeks, especially helpful in humid climates.
- Freezer: Up to 3 months. Freeze in a sealed bag and thaw small batches as needed.
I usually freeze half the batch right away. It keeps things fresh and stops me from overfeeding my dog just because the treats are sitting on the counter.
Similar Variations You Can Try
- Peanut butter and cheese treats: Swap half the cheese for natural peanut butter (no xylitol).
- Pumpkin cheese treats: Add ¼ cup pumpkin puree for a fall-flavored twist and extra fiber.
- Bacon cheddar treats: Add finely crumbled cooked bacon for extra aroma, but watch sodium levels.
- Grain-free version: Replace wheat flour with almond flour or oat flour for dogs with grain sensitivities.
- Soft training treats: Skip the second bake step and keep treats slightly underbaked for a chewier bite, perfect for quick training rewards.
Portion Guidance by Dog Size
- Small dogs (under 20 lbs): 1 small treat per day, roughly the size of a coin.
- Medium dogs (20-50 lbs): 1-2 small treats per day.
- Large dogs (50+ lbs): 2-3 treats per day, depending on activity level.
Treats should never replace a balanced meal. Think of them as a bonus, not a daily food group.
Wrapping It All Up
Making homemade cheese dog treats isn’t complicated, but it does require a little attention to detail. Pick the right cheese, follow the steps closely, and don’t rush the cooling process. Store treats properly, and you’ll have a stash that lasts for weeks without any weird preservatives.
At the end of the day, watching your dog enjoy something you made with your own hands feels pretty great. Homemade cheese dog treats aren’t just snacks. They’re a small way to show your dog some love, one bite at a time.