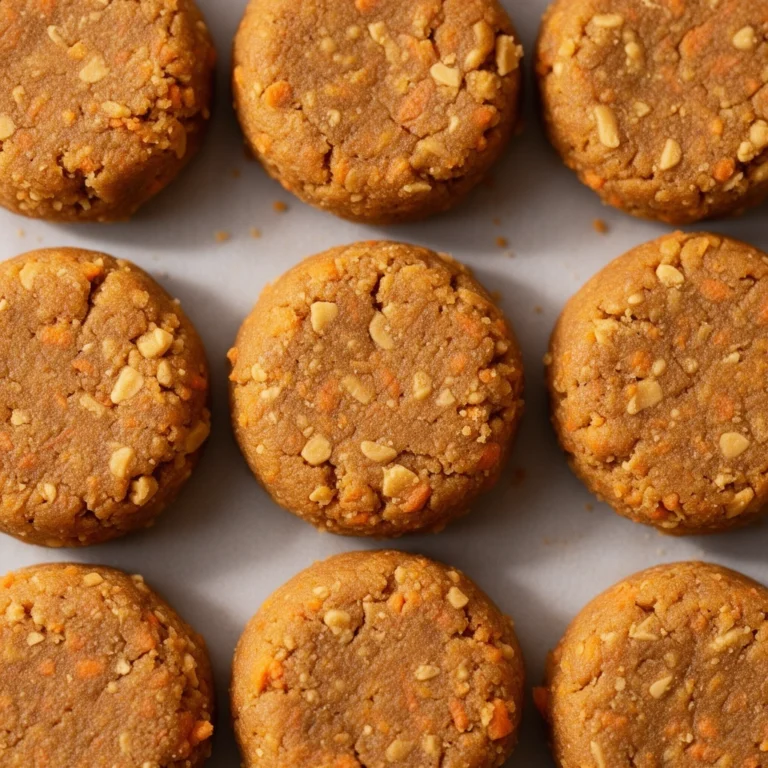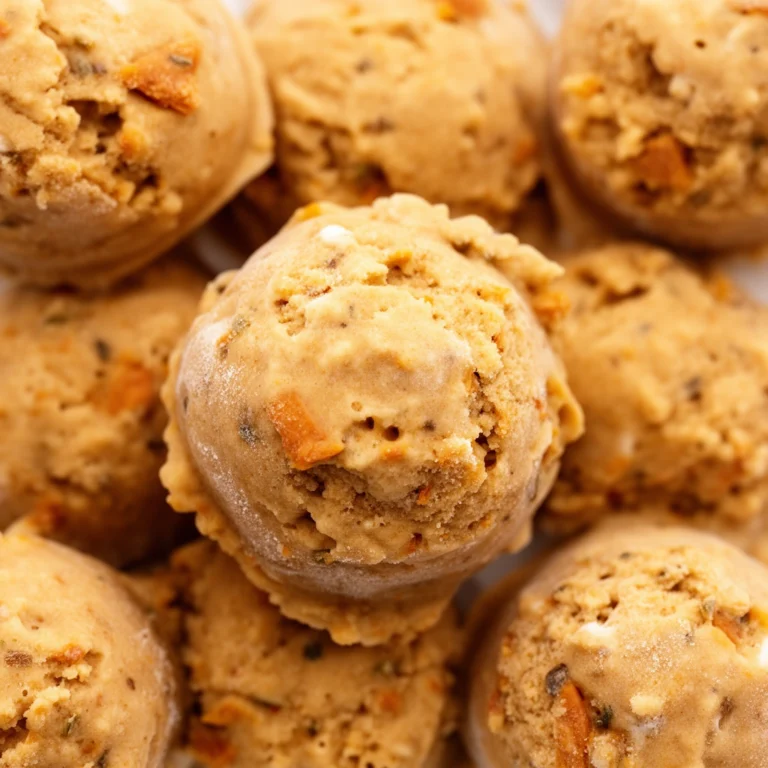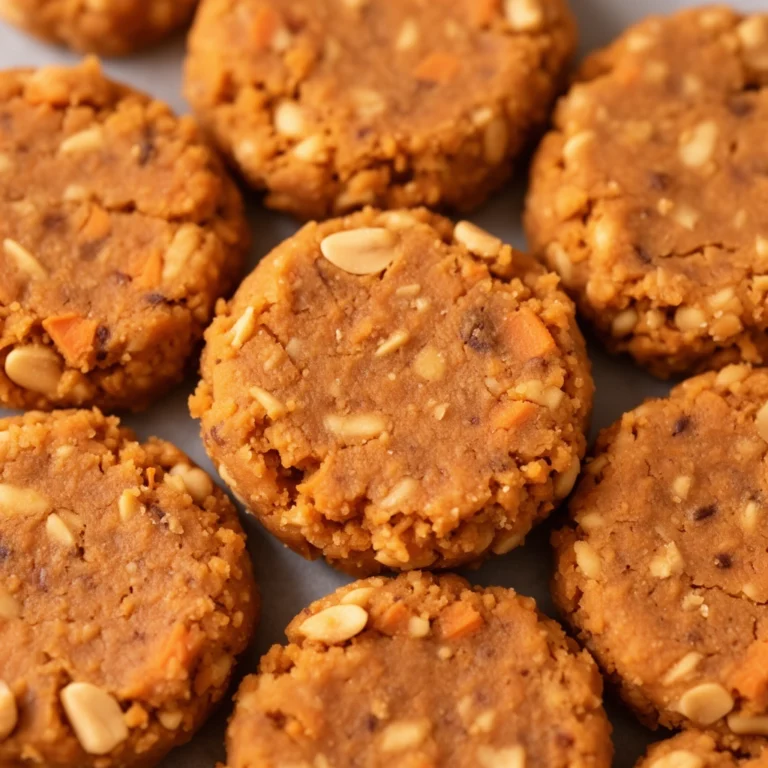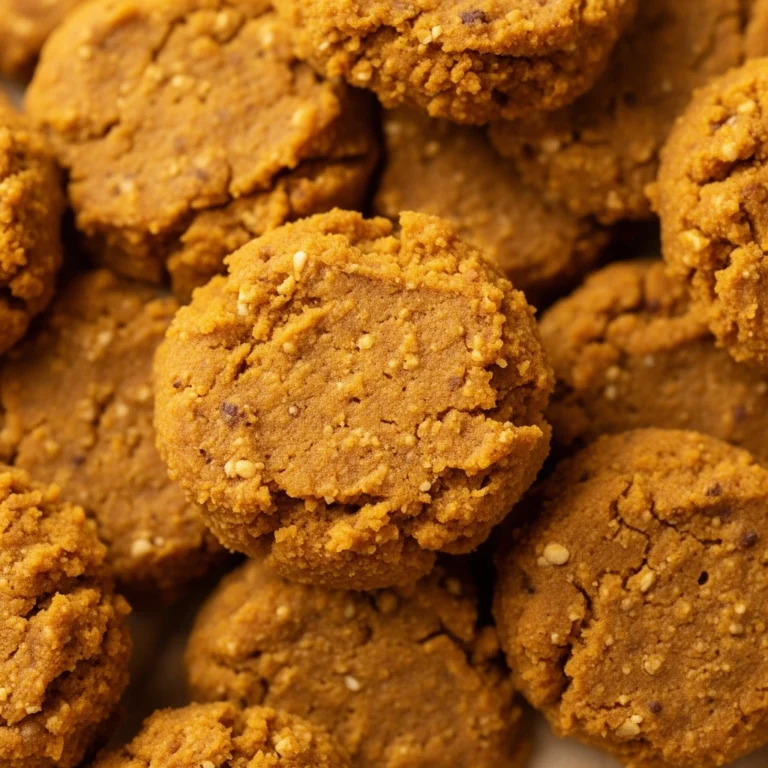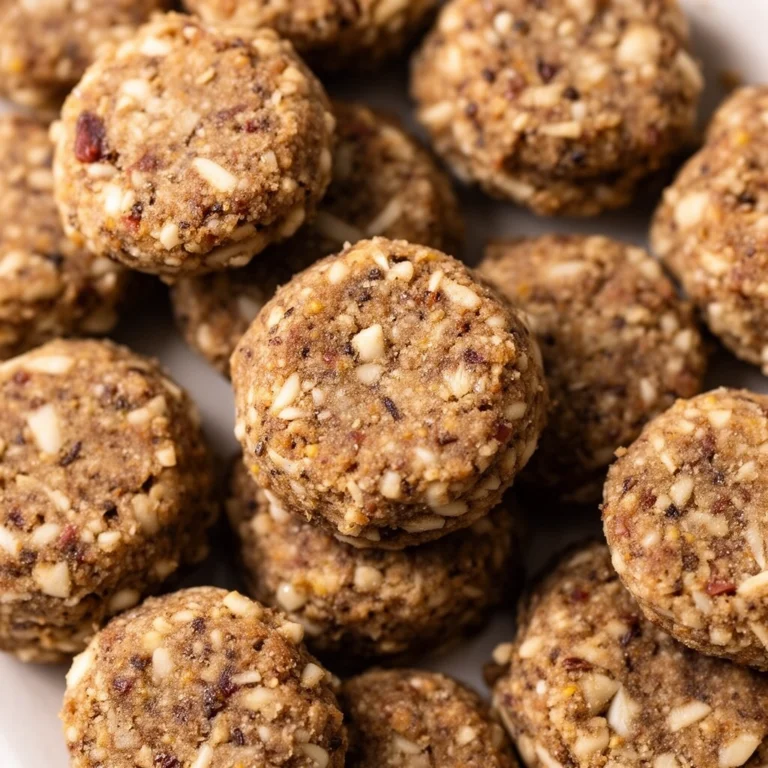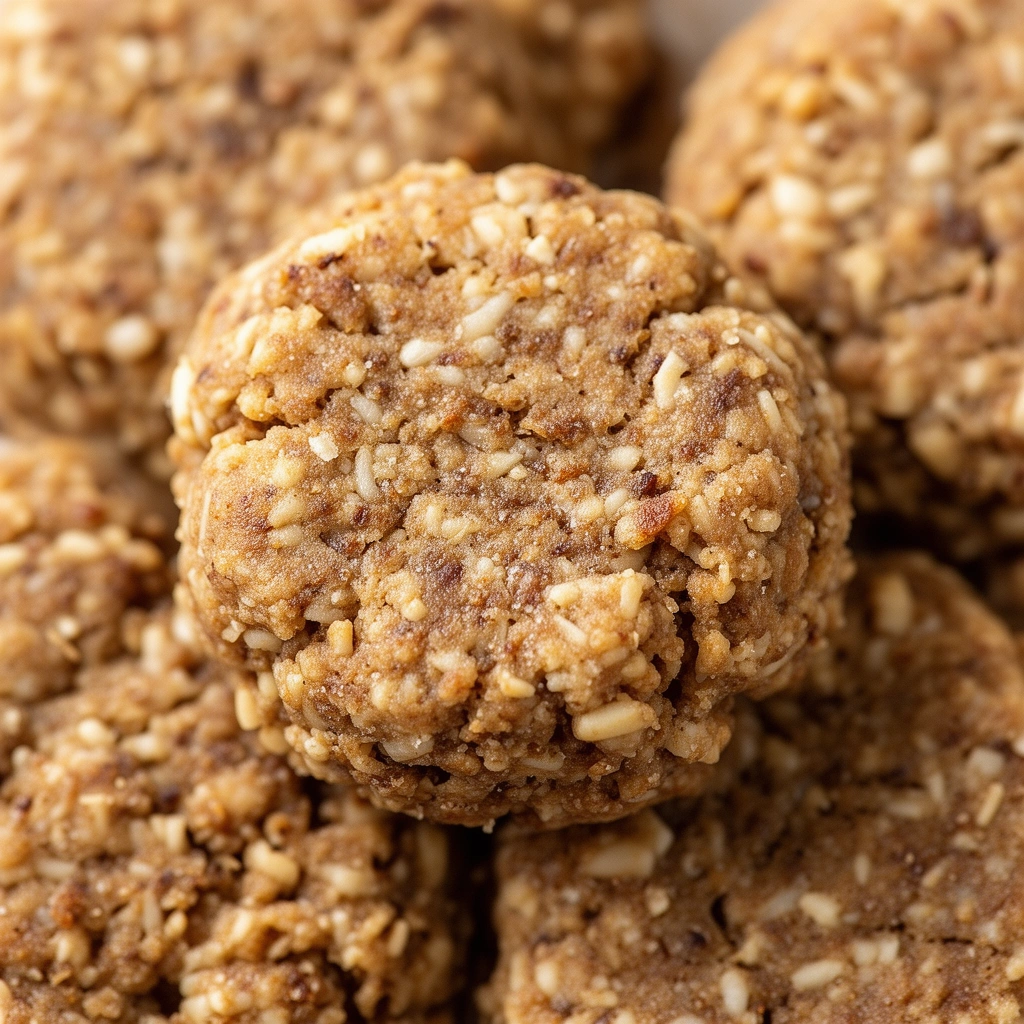
Homemade Two-Ingredient Dog Treats: The Easiest Way to Spoil Your Pup
Ever wonder if you could whip up dog treats without running to the store for a dozen weird ingredients? I get it. Between work, errands, and just trying to survive the week, nobody has time for complicated recipes—especially not for the dog. That’s exactly why homemade two-ingredient dog treats have become my go-to solution when my pup gives me those puppy eyes at 4pm.
I started making these treats after realizing most store-bought options were packed with preservatives I couldn’t even pronounce. Turns out, you don’t need a culinary degree or a pantry full of specialty items. Just two ingredients. That’s it. And your dog will act like you handed them a steak dinner.
What Are Two-Ingredient Dog Treats, Exactly?
Two-ingredient dog treats are simple, homemade snacks made using just two dog-safe ingredients—usually one dry base and one wet binder. Think peanut butter and oats, or pumpkin and flour. No fancy equipment. No long ingredient lists. Just basic pantry staples mixed together, shaped, and baked.
I love these because they cut out the guesswork. When you make treats yourself, you control exactly what goes into your dog’s belly. No mystery preservatives, no artificial colors, no weird fillers. Just real food your dog can actually digest and enjoy.
The recipe I’m walking you through today uses peanut butter and banana—a classic combo that dogs go crazy for. It’s naturally sweet, packed with potassium, and has just enough protein from the peanut butter to keep tails wagging.
Key Terms You Should Know
Before we jump into the kitchen, let’s clarify a few terms that’ll come up throughout this recipe.
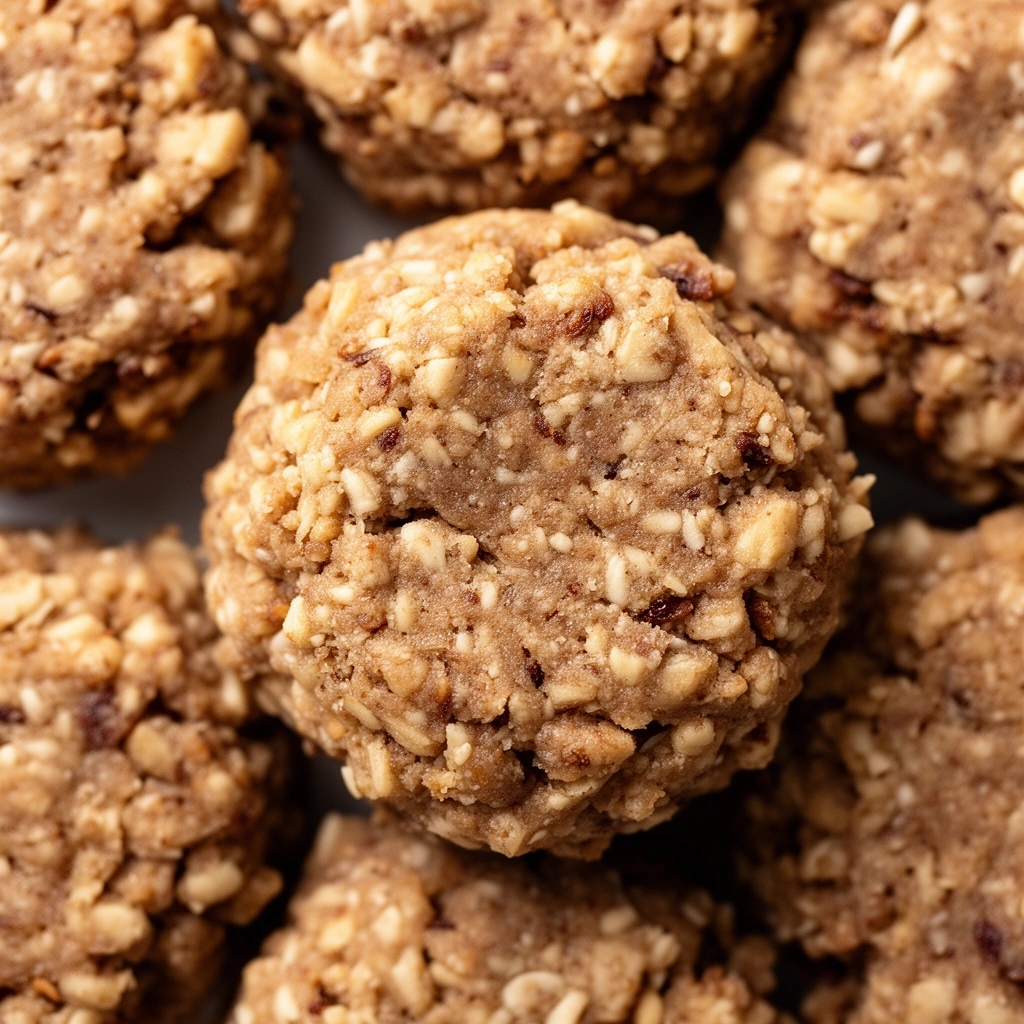
Binder
: The ingredient that holds everything together, giving the treat its shape and texture. In our recipe, mashed banana acts as the binder.
Dry Base
: The ingredient that adds bulk and structure, often flour-based or oat-based. This soaks up moisture and creates that satisfying, chewy or crunchy bite.
Xylitol
: A sugar substitute found in many peanut butter brands. This is toxic to dogs and must be avoided at all costs. Always check labels.
Dehydrating
: A low-heat baking method that removes moisture slowly, resulting in a longer shelf life and chewier texture.
Cooling Rack
: A wire rack that allows air to circulate around baked treats, helping them cool evenly and avoid sogginess.
What You’ll Need
Here’s the short list. Yes, it’s really this short.
- 1 ripe banana (mashed)
- 2 tablespoons of natural peanut butter (xylitol-free)
- Optional: a fork for mashing, a baking sheet, and parchment paper
That’s it. No baking powder, no eggs, no random spices. Just banana and peanut butter working together like a dream team.
Step-by-Step: Making Peanut Butter Banana Dog Treats
Alright, let’s get into the actual process. I promise this is easier than making your morning coffee.
- Preheat your oven to 350°F (175°C). This gives the treats time to firm up while the oven reaches temperature.
- Mash the banana in a bowl until it’s smooth with no big chunks. A fork works fine here.
- Add the peanut butter to the mashed banana and stir until fully combined. The mixture should look thick and slightly sticky.
- Line a baking sheet with parchment paper to prevent sticking.
- Scoop small dollops of the mixture onto the sheet using a spoon or small cookie scoop. Keep them roughly the same size so they bake evenly.
- Flatten slightly with the back of a spoon if you want a more uniform, chip-like shape.
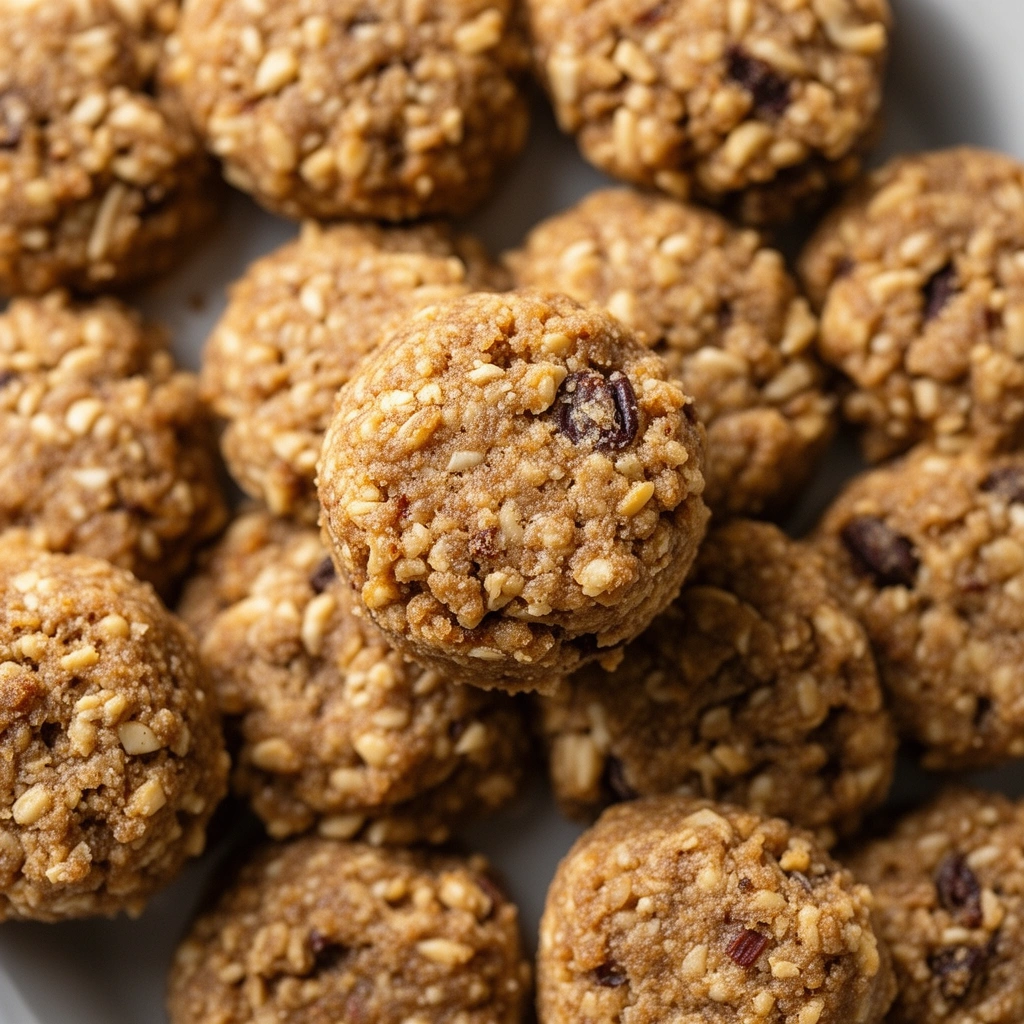
- Bake for 20–25 minutes, checking around the 20-minute mark. You’re looking for a firm, slightly golden edge.
- Cool completely on a wire rack before serving. This step matters more than people think—warm treats can crumble apart.
- Store properly in an airtight container. More on that below.
That’s the whole process. No mixer needed, no complicated folding techniques, nothing that requires a culinary background.
Tips for Success
I’ve made these treats more times than I can count, and I’ve picked up a few tricks along the way that make a real difference.
- Use a very ripe banana. The riper it is, the sweeter and mashier it gets, which helps the mixture bind better.
- Stick with natural peanut butter that only lists peanuts (and maybe salt) as ingredients. Skip anything with added sugars or oils.
- Don’t overbake. These treats go from perfectly chewy to rock-hard pretty fast. Check them a few minutes before the recommended time.
- Size matters for smaller dogs. If you’ve got a tiny breed, make mini versions so they don’t have to gnaw through something oversized.
- Let them cool fully before handling. This helps them hold their shape and prevents mushy centers.
- Consider flattening the dough more if you want crunchier treats, since thinner shapes bake faster and crisp up nicely.
Common Mistakes and How to Avoid Them
Even simple recipes can go sideways if you’re not paying attention. Here’s what usually trips people up.
Using peanut butter with xylitol
: This is the biggest and most dangerous mistake. Xylitol is toxic to dogs, even in small amounts. Always double-check the ingredient label before buying peanut butter for pet treats.
Skipping the cooling step
: I know, waiting is hard when your dog is staring at you. But treats that haven’t cooled properly tend to fall apart or stay too soft in the middle.
Making treats too big
: Oversized treats aren’t just messy—they can also be a choking hazard, especially for small breeds. Stick to bite-sized portions.
Storing them wrong
: Leaving treats out in the open air dries them out fast or invites unwanted moisture, which leads to mold. Always use an airtight container.
Not adjusting bake time for texture preference
: Some dogs prefer soft, chewy treats. Others do better with crunchier bites (especially if they have dental issues). Adjust your bake time based on what works for your dog.
Storing Your Homemade Treats
Since there are no preservatives involved, storage matters a lot here.
- Store in an airtight container at room temperature for up to 3 days.
- For longer freshness, keep them in the refrigerator for up to 1 week.
- Want them to last even longer? Freeze them in a freezer-safe bag for up to 3 months. Just thaw before serving.
I usually make a double batch and freeze half. It saves time and keeps a steady treat supply on hand without extra effort.
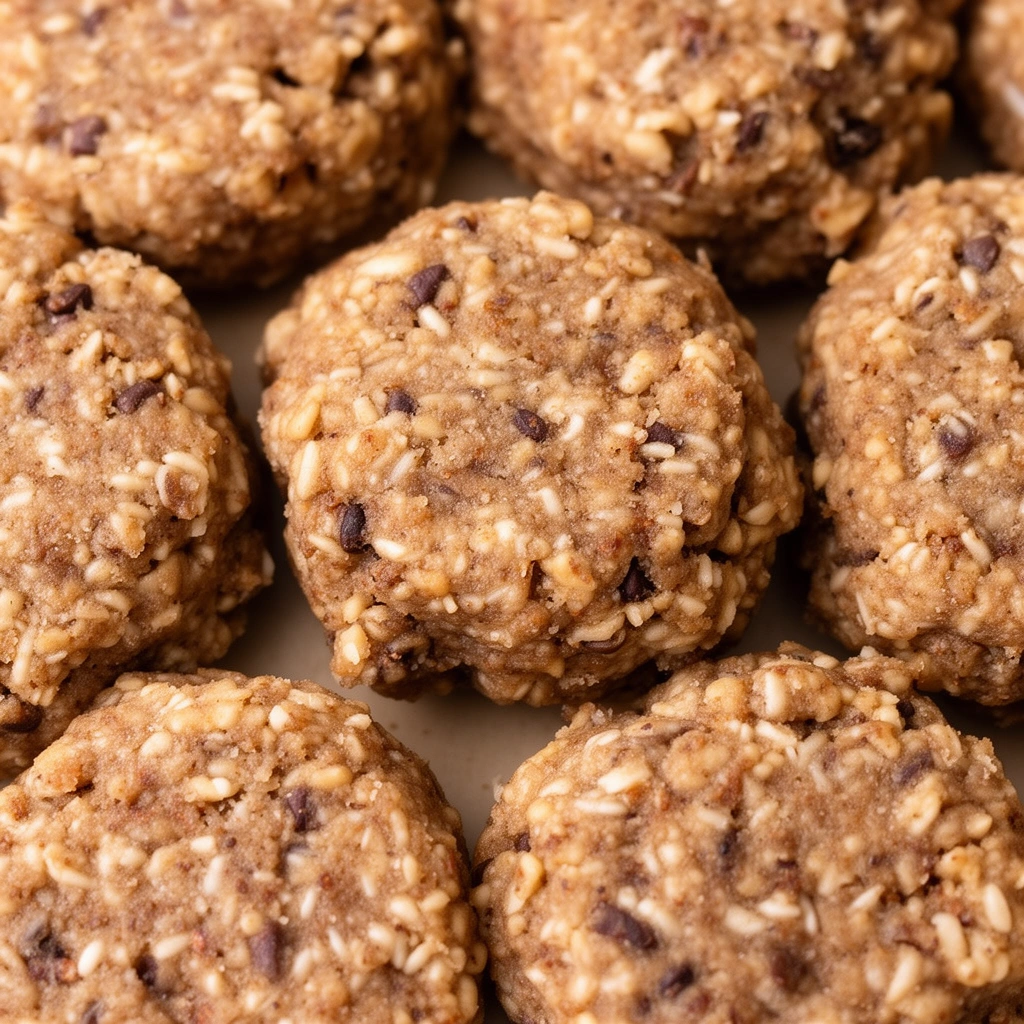
Similar Variations You Can Try
Once you get comfortable with the banana-peanut butter combo, it’s fun to experiment with other two-ingredient pairings. Here are a few I’ve tried and loved.
- Pumpkin and Oat Treats – Mix canned pumpkin (unsweetened) with rolled oats for a fiber-rich, digestion-friendly snack.
- Sweet Potato and Flour Treats – Mash cooked sweet potato and combine with whole wheat flour for a naturally sweet, chewy bite.
- Cottage Cheese and Oat Treats – Blend cottage cheese with oats for a protein-packed option that’s great for active dogs.
- Apple and Peanut Butter Treats – Puree apple (no seeds!) with peanut butter for a fruity twist that most dogs adore.
- Carrot and Egg Treats – Shred carrots and mix with a beaten egg for a crunchy, veggie-forward snack.
Each variation follows the same basic process: combine, shape, bake, cool, store. Once you understand the formula, you can basically improvise with whatever dog-safe ingredients you have sitting around.
A Few Safety Notes Worth Mentioning
Before wrapping up, I want to flag a few safety points that often get overlooked.
- Always check with your vet if your dog has allergies, diabetes, or any digestive issues before introducing new treats.
- Introduce new treats slowly, watching for any signs of upset stomach or allergic reaction.
- Avoid ingredients toxic to dogs, including grapes, raisins, onions, garlic, and of course, xylitol.
- Treats should make up no more than 10% of your dog’s daily calorie intake, according to most veterinary guidelines. Even healthy treats can lead to weight gain if overdone.
Wrapping It Up
Making homemade two-ingredient dog treats really is as simple as it sounds. With just banana and peanut butter, you can create a snack that’s healthier, cheaper, and way more satisfying to give than anything store-bought. I’ve found that once you nail down the basic method, it opens the door to endless variations depending on what your dog loves and what you’ve got in the kitchen.
So next time your dog gives you that pleading look, skip the store run. Grab a banana, some peanut butter, and get baking. Homemade two-ingredient dog treats might just become your new favorite way to say “good boy.”