Homemade Carrot Oat Dog Treats Recipe: A Simple, Healthy Way to Spoil Your Pup
Ever caught your dog staring at you while you snack, eyes wide, tail wagging like crazy? I know that look. It’s the “please share” look. That’s exactly why I started making homemade carrot oat dog treats. My dog goes nuts for them, and I love knowing exactly what’s in every bite. No weird preservatives. No mystery ingredients. Just simple, wholesome stuff your pup will beg for.
If you’ve searched around for a good carrot oat dog treat recipe, you’ve probably noticed most articles skip the details that actually matter. They tell you to “mix and bake,” but they don’t explain why certain ingredients work better, how to store the treats properly, or what to do if your dough turns out too sticky. I’m fixing that today.
What Are Carrot Oat Dog Treats, Anyway?
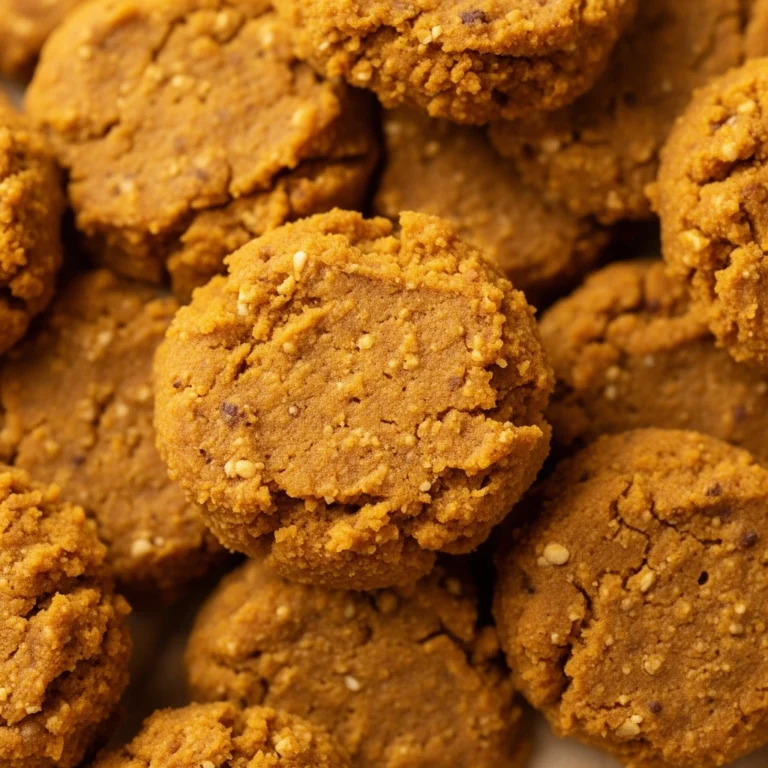
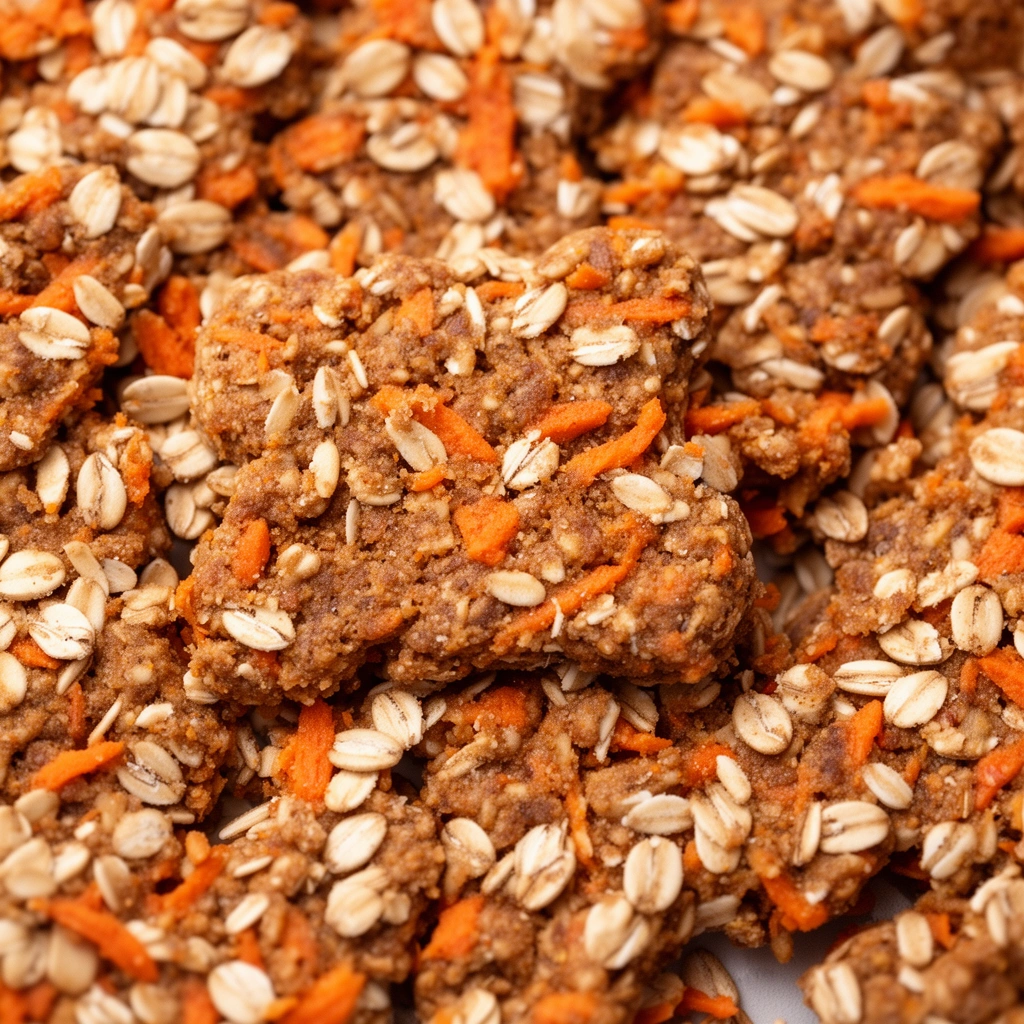
Let’s break it down before we start baking. Carrot oat dog treats are small, baked snacks made from grated carrots, rolled oats, and a few pantry staples. They’re crunchy on the outside, slightly chewy inside, and packed with fiber and vitamins your dog actually needs.
Carrots aren’t just filler here. They bring natural sweetness, so you don’t need sugar or honey. Oats add fiber, which helps with digestion, and they’re gentle on dogs with grain sensitivities compared to wheat flour. Together, these two ingredients create a treat that’s tasty, nutritious, and easy on the stomach.
I like calling this a “beginner-friendly” recipe because it doesn’t require fancy equipment or rare ingredients. If you’ve got a food processor, a mixing bowl, and an oven, you’re basically set.
Key Terms You Should Know
Before jumping into the steps, here’s a quick rundown of terms that’ll pop up throughout this recipe.
Rolled oats
: Whole oat grains that have been steamed and flattened. They cook faster than steel-cut oats and blend smoothly into dough.
Oat flour
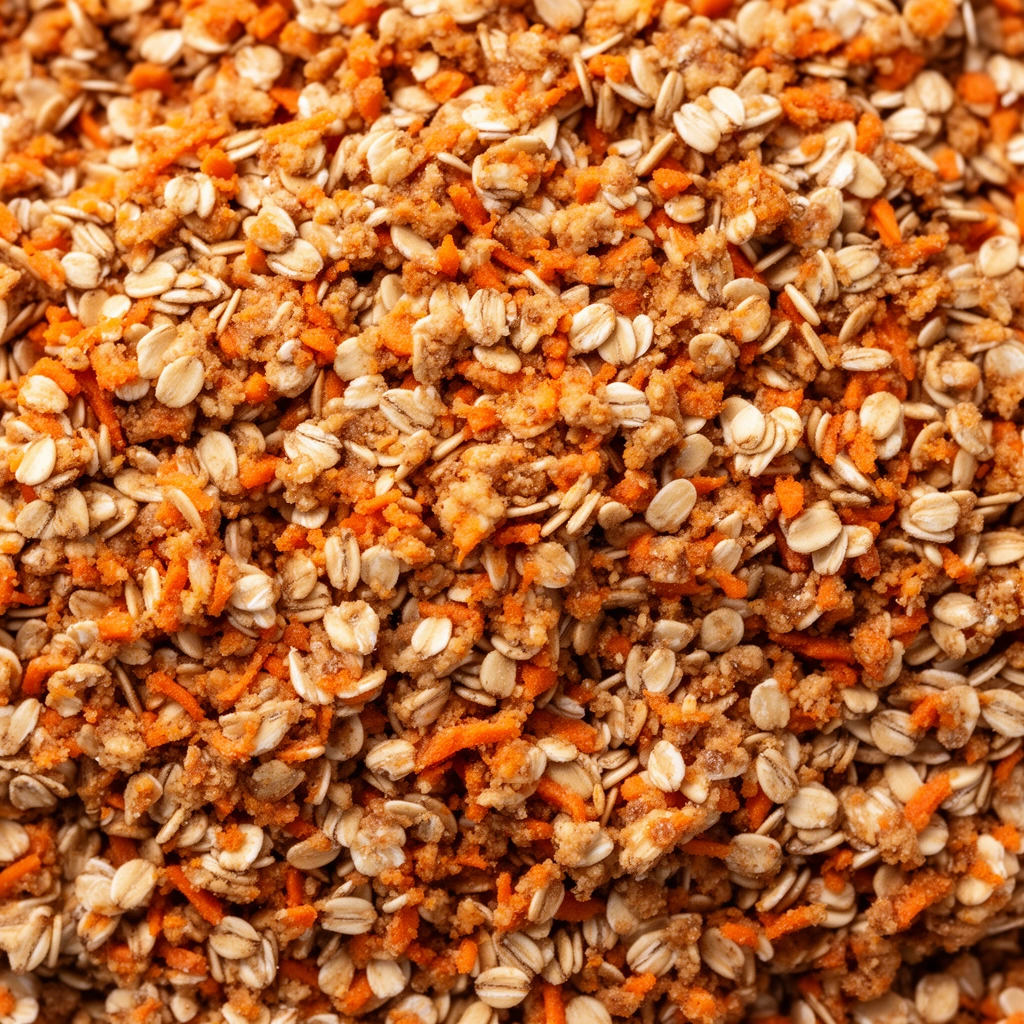
: Ground rolled oats, used to bind the dough. You can make your own by blitzing oats in a blender.
Binder
: An ingredient (like egg or applesauce) that holds the dough together so it doesn’t crumble apart.
Dough consistency
: How firm or sticky your mixture feels before baking. This affects whether your treats hold their shape.
Cooling rack
: A wire rack that lets air flow around baked treats, helping them crisp up evenly instead of getting soggy on the bottom.
Ingredients You’ll Need
Here’s what goes into a solid batch of carrot oat dog treats. I’m keeping the list simple, but I’ll also mention swaps later for dogs with allergies.
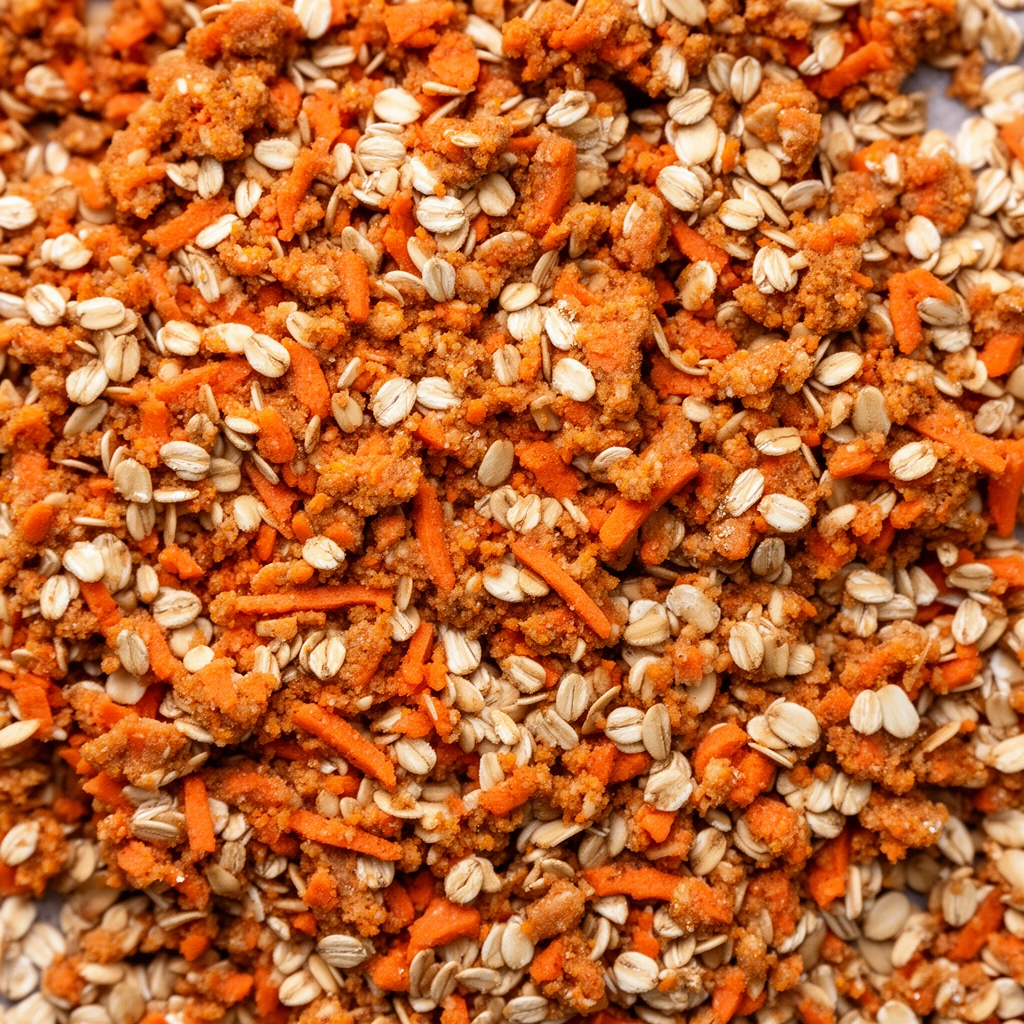
- 2 cups rolled oats (or oat flour)
- 1 cup grated carrots (about 2 medium carrots)
- 1 large egg
- 1/4 cup unsweetened applesauce
- 2 tablespoons coconut oil, melted
- 1/4 cup water (add more if needed)
- Optional: a pinch of cinnamon for added flavor
That’s it. No sugar, no salt, no artificial anything. Just real food your dog can enjoy without guilt.
Step-by-Step Instructions
Now let’s get into the actual process. I’ve made this recipe more times than I can count, so I’ll walk you through it the way I do it in my own kitchen.
- Preheat your oven to 350°F (175°C). Line a baking sheet with parchment paper so nothing sticks.
- Grind the oats into flour. If you’re using whole rolled oats, toss them into a food processor or blender until they turn into a coarse flour. This step helps the dough bind better.
- Grate the carrots. Use a fine grater so the pieces blend smoothly into the dough instead of creating big chunks that mess with texture.
- Mix wet ingredients first. In a large bowl, whisk together the egg, applesauce, and melted coconut oil until combined.
- Add the carrots. Stir the grated carrots into the wet mixture. This distributes the natural sweetness evenly.
- Fold in the oat flour. Add it gradually, about half a cup at a time, mixing well after each addition. The dough should feel firm but slightly sticky, not wet.
- Adjust with water if needed. If the dough feels too dry and crumbly, add a tablespoon of water at a time until it holds together when pressed.
- Roll out the dough. On a floured surface (use a little extra oat flour), roll the dough to about 1/4-inch thickness.
- Cut into shapes. Use a cookie cutter, or just slice into small squares with a knife. Bone shapes are cute, but squares work just as well.
- Place treats on the baking sheet. Leave a little space between each one so air circulates during baking.
- Bake for 20-25 minutes. Flip halfway through for even crisping. The treats should turn golden brown and feel firm to the touch.
- Cool completely on a wire rack. This step matters more than people think. Cooling on a rack lets moisture escape, so your treats end up crunchy instead of soft and soggy.
That’s the whole process. Not complicated at all, right? The magic really happens in the details, like grating carrots finely and cooling the treats properly.
Tips for Success
I’ve learned a few tricks over time that make this recipe come out better every single time.
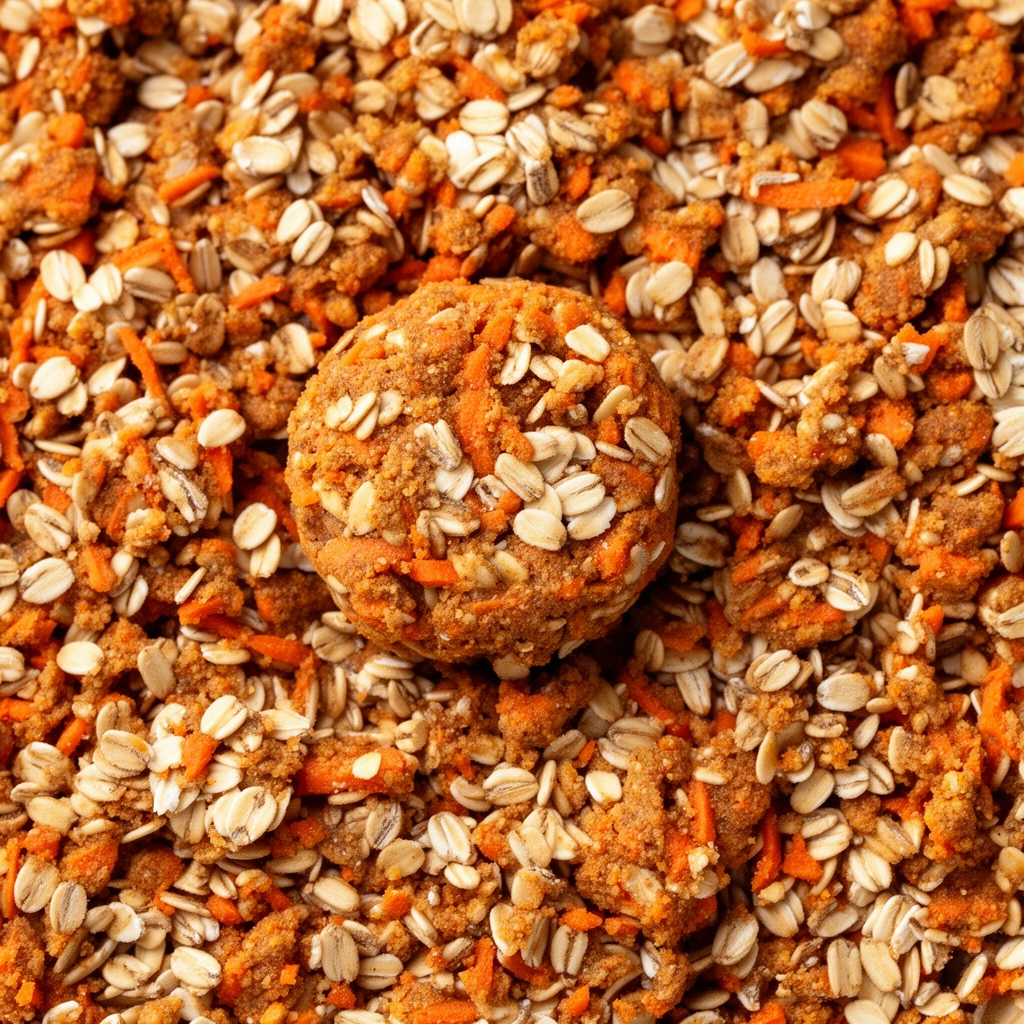
- Use fresh carrots instead of pre-shredded bagged ones. Fresh carrots have more moisture and flavor.
- Don’t skip the cooling step. Treats continue to firm up as they cool, so pulling them too early leaves them chewy instead of crispy.
- Store extras in an airtight container in the fridge for up to a week, or freeze for up to three months.
- If your dog has a sensitive stomach, start with just one treat to see how they react before giving more.
- Cut treats small, especially for smaller dog breeds. Big chunks are harder to chew and digest.
- Label your treats with the date you made them. Homemade snacks don’t have preservatives, so they don’t last as long as store-bought ones.
Common Mistakes and How to Avoid Them
Even simple recipes can go sideways. Here’s what usually trips people up, and how to dodge those problems.
Dough too wet or sticky
This happens when there’s too much liquid compared to oat flour. Fix it by adding more oat flour, a tablespoon at a time, until the dough firms up.
Treats turn out soft instead of crunchy
This usually means they were underbaked or not cooled properly. Bake a few extra minutes and always cool on a wire rack, not directly on the baking sheet.
Carrots not blending in smoothly
If you use a coarse grater, big carrot pieces can make the dough uneven. Stick with a fine grater for smoother texture.
Using honey or sugar for sweetness
Dogs don’t need added sugar. Carrots and applesauce already provide natural sweetness, so skip anything extra.
Skipping the egg without adjusting other ingredients
Some dogs are allergic to eggs. If you skip it, add an extra tablespoon of applesauce or a flax egg substitute to keep the dough bound together.
Variations You Can Try
Once you’ve nailed the basic recipe, it’s fun to switch things up. Here are some variations I’ve tried myself.
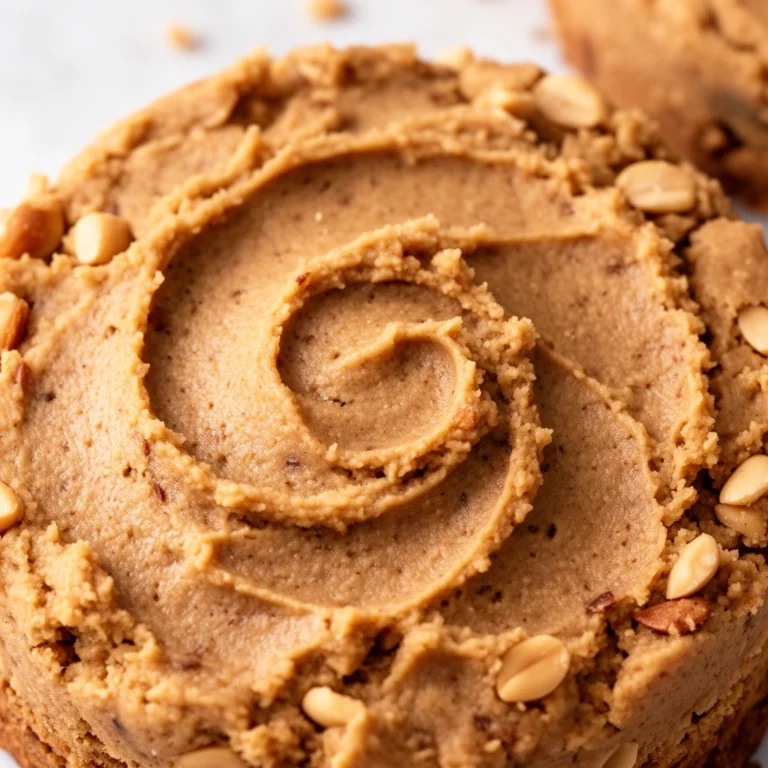
- Peanut butter carrot oat treats: Add 2 tablespoons of unsweetened, xylitol-free peanut butter to the wet mixture for extra flavor dogs love.
- Pumpkin carrot oat treats: Swap the applesauce for pumpkin puree. It adds fiber and a fall-friendly flavor.
- Grain-free version: Replace oat flour with almond flour or chickpea flour if your dog has grain sensitivities.
- Blueberry carrot oat treats: Mash a handful of blueberries into the dough for a fruity twist and added antioxidants.
- Herb-infused treats: Add a small pinch of dried parsley for fresh breath benefits, since parsley is safe for dogs in small amounts.
Each variation keeps the same basic method, just with small ingredient swaps. That’s the beauty of this recipe. It’s flexible enough to fit whatever your dog likes best.
Wrapping It Up
Making homemade carrot oat dog treats isn’t just about saving money, though that’s a nice bonus. It’s about knowing exactly what your dog is eating and giving them something made with real care. This recipe is simple enough for beginners, flexible enough for picky pups, and healthy enough that you won’t feel guilty handing out seconds.
Next time your dog gives you that begging stare, skip the store-bought bag and reach for a batch of these carrot oat dog treats instead. Your kitchen will smell amazing, and your dog will probably think you’re the best human alive. Give the recipe a try this week. I bet it becomes a regular thing in your house, just like it did in mine.