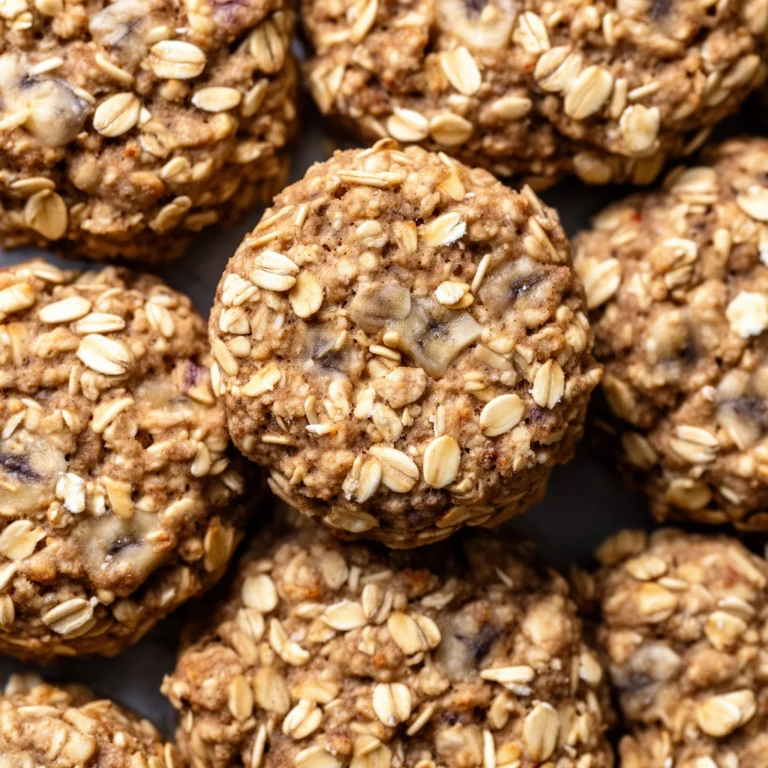
Homemade Baby Food Dog Treats: A Simple Way to Spoil Your Pup
Ever caught your dog staring at you while you feed the baby? Mine does it every single time. That’s actually how I stumbled onto homemade baby food dog treats. I had a jar of pureed sweet potato sitting in the fridge, my dog was giving me those sad puppy eyes, and a light bulb went off. Why not turn baby food into a treat my dog could enjoy too?
Turns out, I wasn’t the only pet parent with this idea. Baby food makes an incredibly convenient base for dog treats because it’s already pureed, usually free of harsh preservatives, and comes in flavors dogs go nuts for. But there’s more to this than just scooping some jarred food into a mold. I want to walk you through everything I’ve learned, including the stuff that often gets left out of other guides.
What Exactly Are Baby Food Dog Treats?
Before jumping into the kitchen, let’s get clear on what we’re actually making.
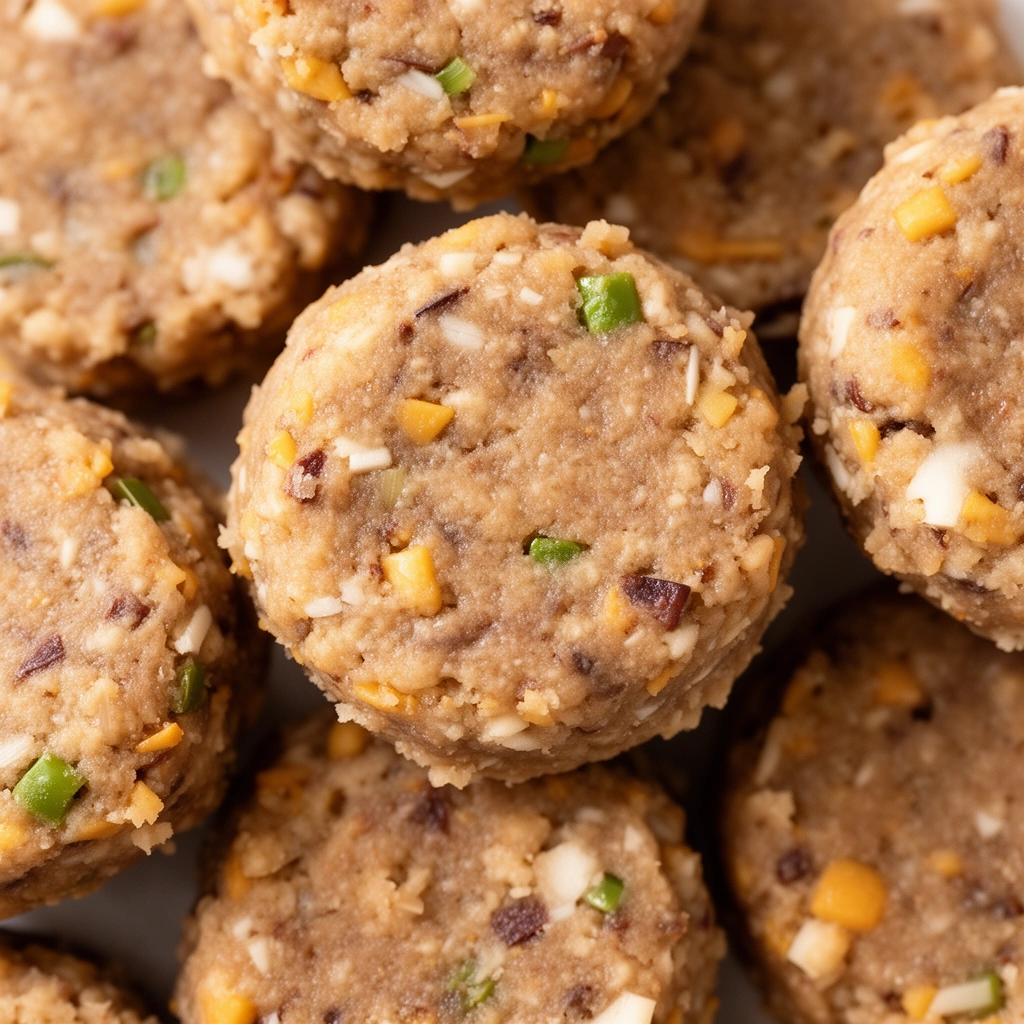
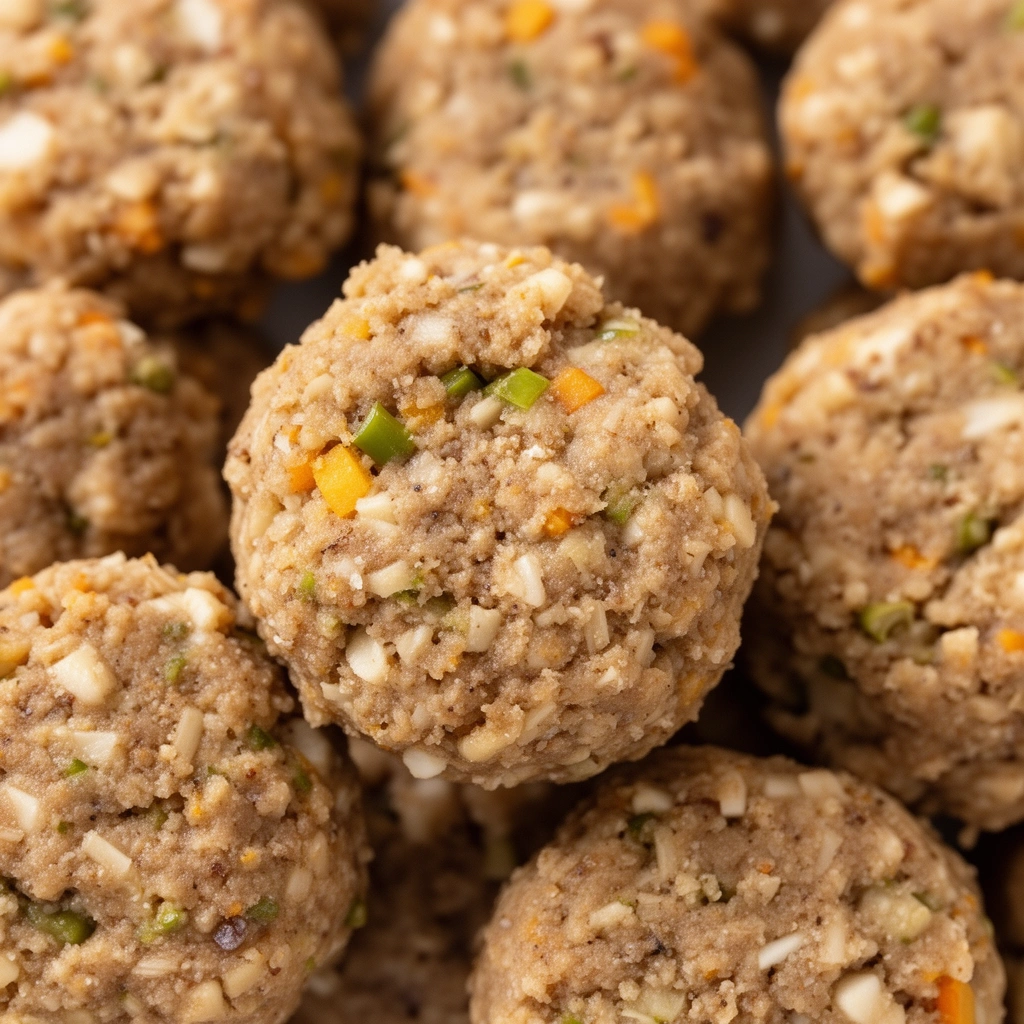
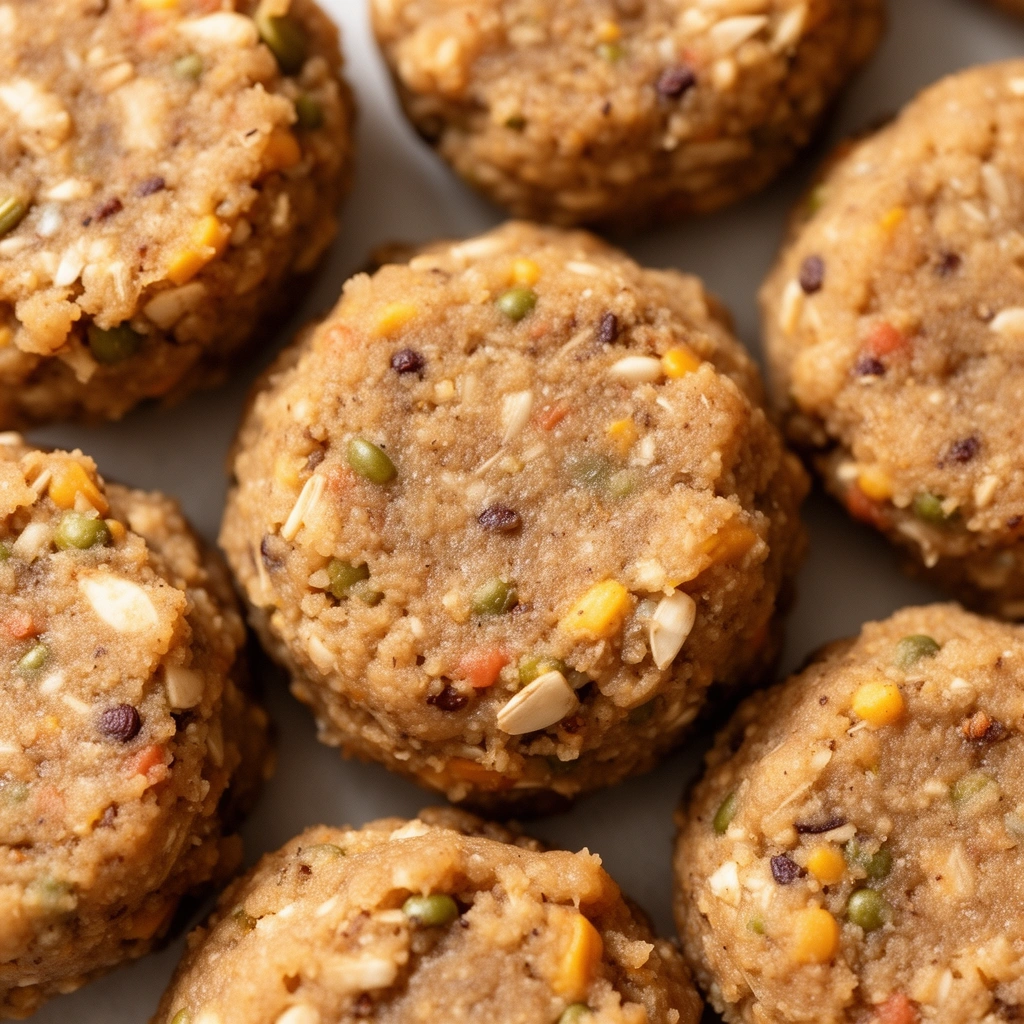
Baby Food Dog Treats
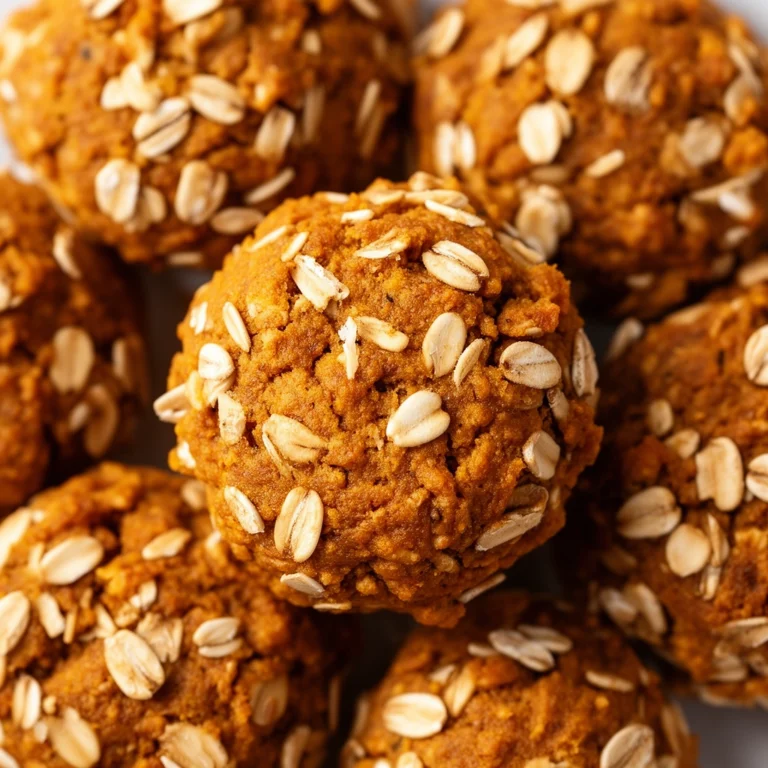
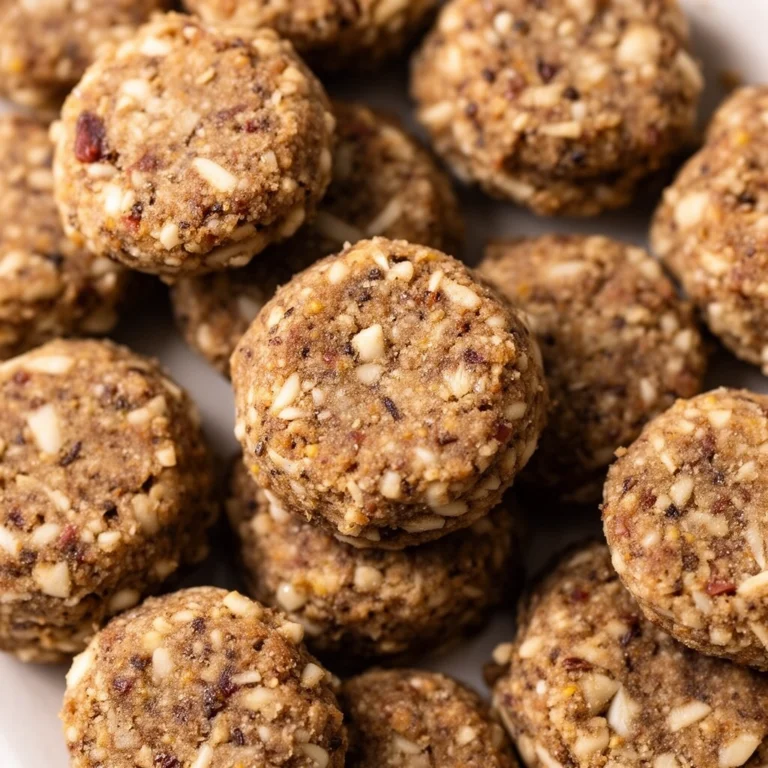
: Small, bite-sized snacks made using pureed baby food (either store-bought jars or homemade puree) combined with dog-safe ingredients like flour, oats, or eggs, then baked or frozen into an easy-to-eat form.
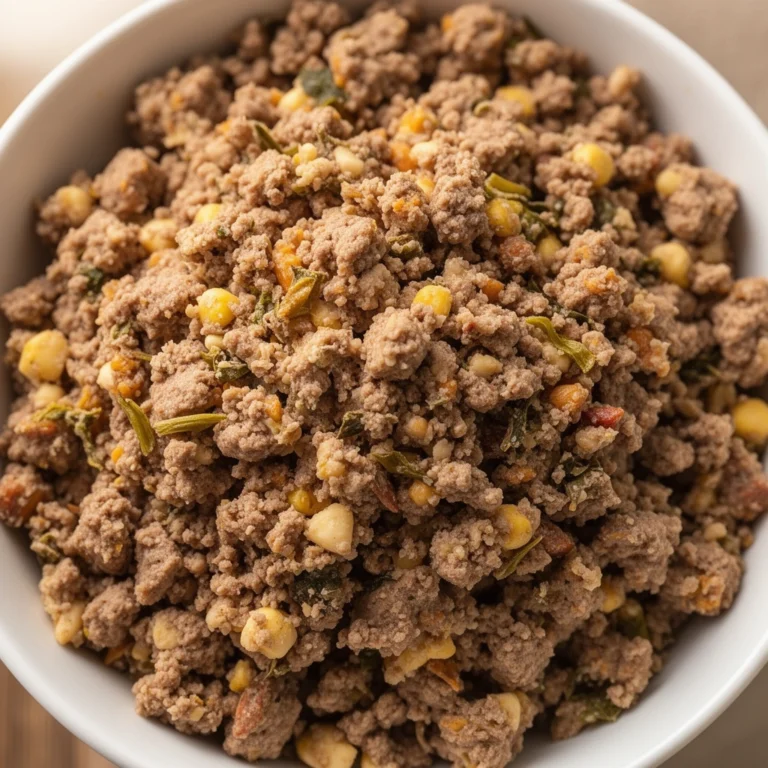
Puree
: A smooth, blended mixture of fruit, vegetables, or meat with no chunks. This is the base texture found in most baby food jars.
Binder
: An ingredient like flour, oat flour, or egg that holds the treat together so it doesn’t crumble apart.
These treats work great for a bunch of reasons. They’re soft, so older dogs or puppies with weaker teeth can chew them without trouble. They’re portion-controlled, since baby food jars already come in small servings. And honestly, they smell amazing, which means your dog will probably do a little happy dance when you pull them out.
Why Baby Food Works So Well for Dog Treats
I get asked this a lot. Why not just use regular pureed fruit or veggies instead of baby food? You definitely can, but baby food has a few advantages worth mentioning.
- Consistency – Every jar has the same smooth texture, which makes mixing dough or filling molds way easier.
- Portability – You can toss a jar in your bag for training treats on the go.
- Variety – Baby food comes in tons of flavors, from chicken and sweet potato to blueberry and pear.
- Shelf stability – Unopened jars last a long time in the pantry, so you can stock up without worry.
That said, not every baby food jar is safe for dogs. This is where a lot of articles drop the ball. They tell you to “just grab baby food” without warning you about ingredients that can actually hurt your dog.
Ingredients You’ll Need
Here’s a basic list to get started. I’ll cover substitutions later, but this is the foundation.
- 1 jar of plain baby food (stage 1 or 2, no added onion, garlic, or salt)
- 1 cup of oat flour or whole wheat flour
- 1 egg (helps bind everything together)
- Optional: a splash of water if the dough feels too dry
That’s it. No fancy equipment, no obscure ingredients hiding in the back of a health food store.
Baby Food Flavors to Avoid
This part matters a lot, and honestly, it’s often glossed over. Some baby food flavors contain ingredients that are toxic to dogs.
- Onion or garlic powder – Even small amounts can damage a dog’s red blood cells over time.
- Grape or raisin blends – These are dangerous for dogs, even in tiny quantities.
- Added sugar or salt – Not toxic, but not great for your dog’s long-term health either.
- Chocolate or cocoa-flavored desserts – Obviously a hard no.
Always flip the jar over and read the ingredient list. Stick to single-ingredient purees like plain sweet potato, plain carrot, plain chicken, or plain pumpkin. These are the safest bets.
Step-by-Step: How to Make Baby Food Dog Treats
Alright, let’s get into the kitchen. I’ll break this down into clear steps so nothing gets confusing.
- Preheat your oven to 350°F (175°C). This gives the oven time to reach the right temperature before your treats go in.
- Choose your baby food flavor. Sweet potato, pumpkin, and chicken are crowd-pleasers among dogs.
- Mix the wet ingredients. In a bowl, combine the baby food jar with the egg. Stir until smooth.
- Add the flour gradually. Pour in the oat flour a little at a time, mixing as you go. Stop once the dough feels firm but slightly sticky, similar to cookie dough.
- Knead briefly. Just 30 seconds to a minute on a floured surface helps bring the dough together.
- Roll it out. Use a rolling pin to flatten the dough to about a quarter-inch thickness.
- Cut into shapes. A cookie cutter works great here, or you can just use a knife to cut small squares.
- Place on a lined baking sheet. Parchment paper keeps things from sticking.
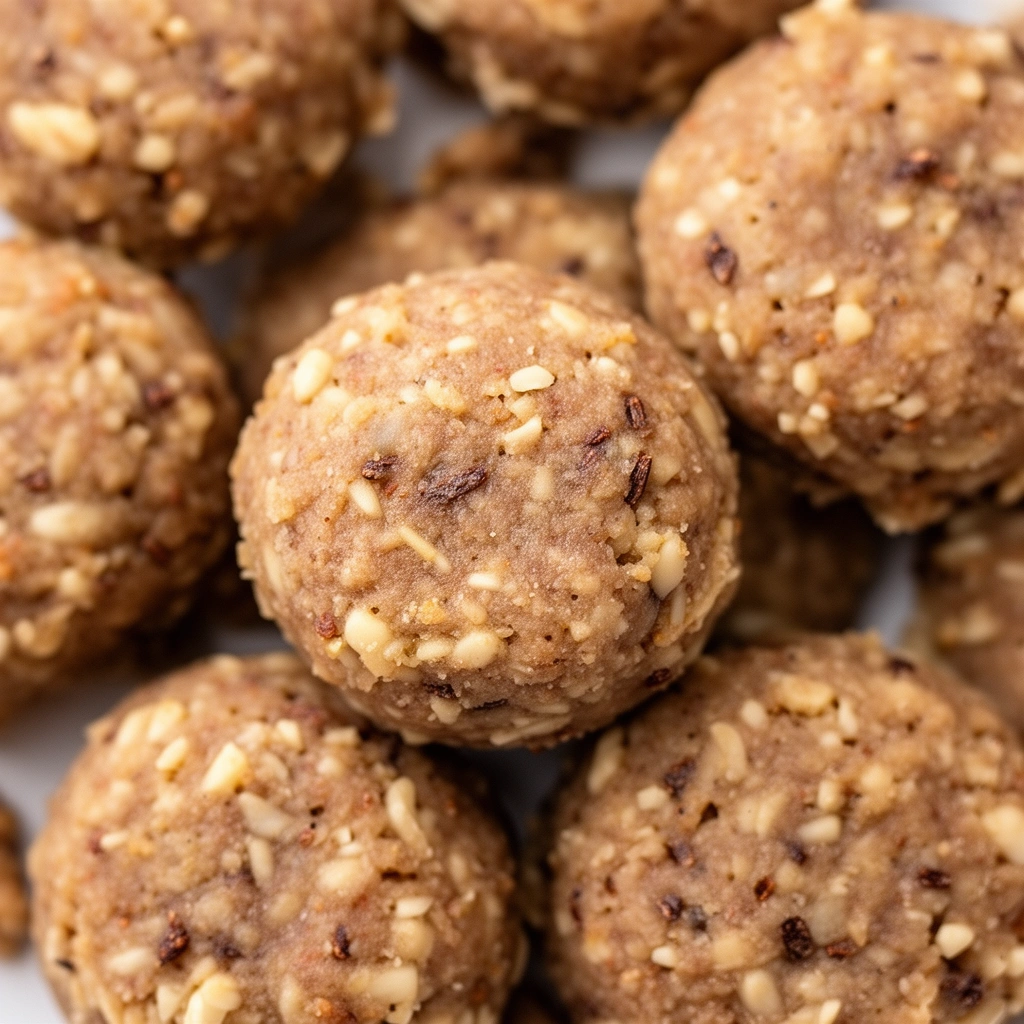
- Bake for 20 to 25 minutes. You’re looking for a firm, slightly golden treat.
- Cool completely before serving. This step matters more than people think. Warm treats can be too soft and crumbly.
Storage Tips Most Articles Forget to Mention
This is one area I noticed missing from a lot of guides out there. Homemade treats don’t have preservatives, so storage really matters.
- Countertop: Keep treats in an airtight container for up to 3 days.
- Refrigerator: Store for up to 1 week in a sealed container or bag.
- Freezer: Freeze in a single layer first, then transfer to a freezer bag. These stay good for up to 3 months.
- Labeling: Write the date you made them on the container. It sounds small, but it saves you from guessing later.
If you’re making a big batch, freezing half is smart. Nobody wants a bag of moldy treats hiding in the back of the fridge.
Tips for Success
I’ve made plenty of batches, some great, some total flops. Here’s what actually helps.
- Use stage 1 or stage 2 baby food since they’re pureed with fewer added ingredients.
- Don’t rush the cooling step. Treats firm up as they cool, so patience pays off.
- Keep treats small. Dogs don’t need huge portions, especially for training rewards.
- Test a small piece before giving your dog the whole treat, just to check texture and make sure it’s not too hard.
- Rotate flavors so your dog doesn’t get bored with the same jar every time.
Common Mistakes and How to Avoid Them
I’ve made a few of these myself, so let me save you the trouble.
- Using flavored or mixed baby food – Always check for hidden ingredients like onion powder. Stick to single-ingredient jars.
- Skipping the binder – Without flour or oats, the dough falls apart and won’t hold its shape.
- Overbaking – This makes treats rock hard. Keep an eye on the oven around the 20-minute mark.
- Not adjusting for allergies – Some dogs react to eggs or wheat. Watch for itching or upset stomach after the first try.
- Serving treats too big – Baby food treats are meant to be small snacks, not full meals.
Variations You Can Try
Once you’ve nailed the basic recipe, it’s fun to switch things up.
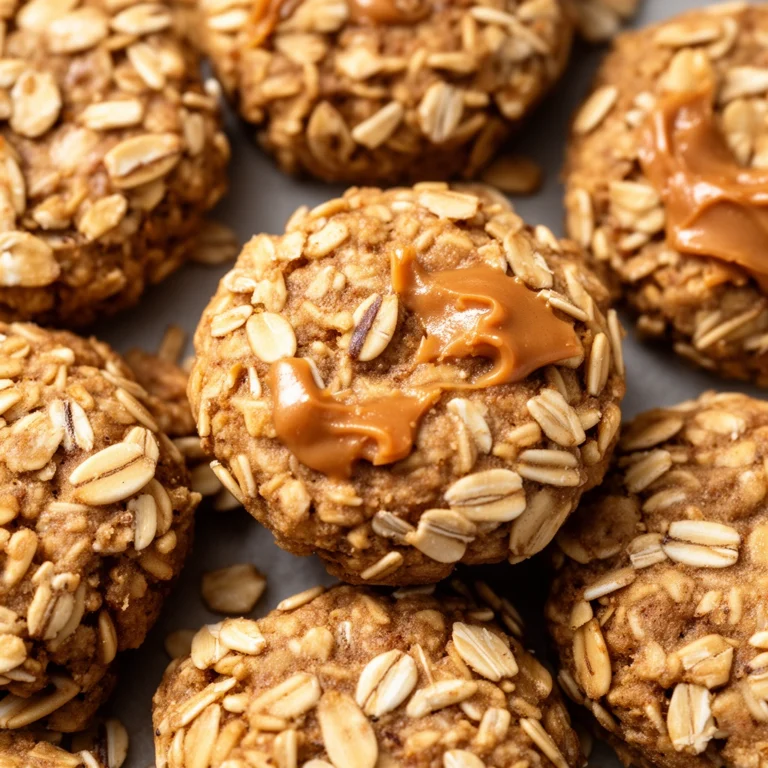
- Peanut Butter Boost – Add a tablespoon of unsweetened, xylitol-free peanut butter to the dough for extra flavor.
- Frozen Baby Food Bites – Skip baking altogether and freeze the puree mixture in ice cube trays for a cool summer treat.
- Grain-Free Version – Swap oat flour for chickpea flour or coconut flour if your dog has grain sensitivities.
- Meat-Based Treats – Use chicken or turkey baby food for a protein-packed option, great for training rewards.
- Pumpkin Spice Blend – Mix pumpkin baby food with a pinch of cinnamon (never nutmeg, which is toxic to dogs) for a fall-themed treat.
Wrapping It Up
Homemade baby food dog treats are honestly one of the easiest ways to spoil your dog without spending a fortune or hunting down rare ingredients. You already know what goes into them, you control the quality, and your dog gets to enjoy something made just for them.
Next time you’re at the store grabbing baby food for a little one at home, grab an extra jar for your four-legged friend. A little effort in the kitchen goes a long way when it comes to making your dog’s tail wag.