Peanut Butter Oatmeal Dog Treats: A Simple Recipe Your Pup Will Beg For
Ever caught your dog staring at you with those big, hopeful eyes while you’re in the kitchen? I know that look well. That’s usually my cue to whip up a batch of peanut butter oatmeal dog treats. These treats are easy, cheap, and honestly smell so good you might want to taste one yourself (don’t worry, they’re safe for humans too, just not very sweet for our taste buds).
I’ve made these treats more times than I can count, and I’ve learned a few tricks along the way. Some recipes out there skip important details like which peanut butter is safe, how to store the treats properly, or what to do if your dog has allergies. I’m going to cover all of that here, plus give you a foolproof recipe that works every single time.
What Are Peanut Butter Oatmeal Dog Treats?
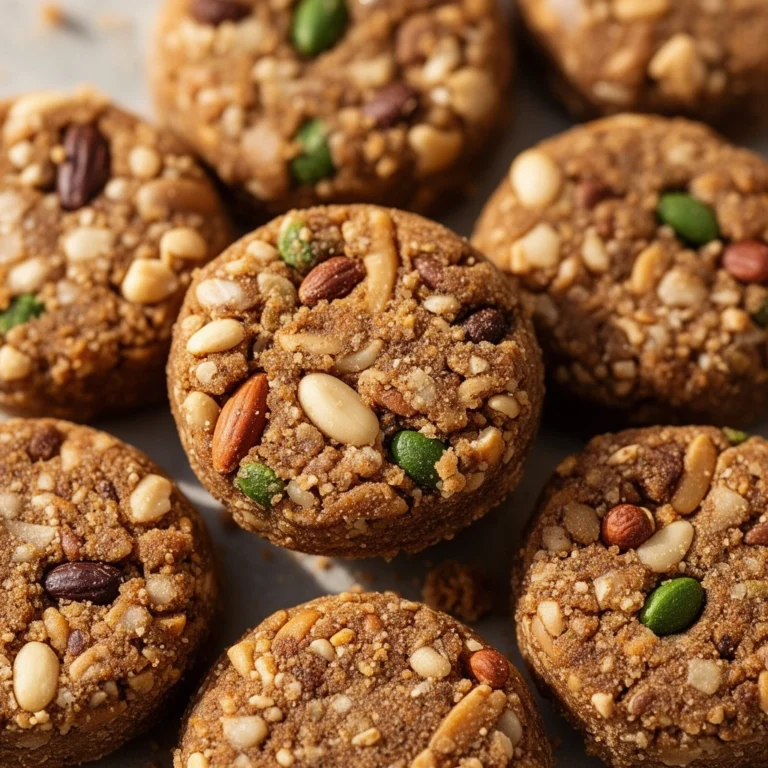
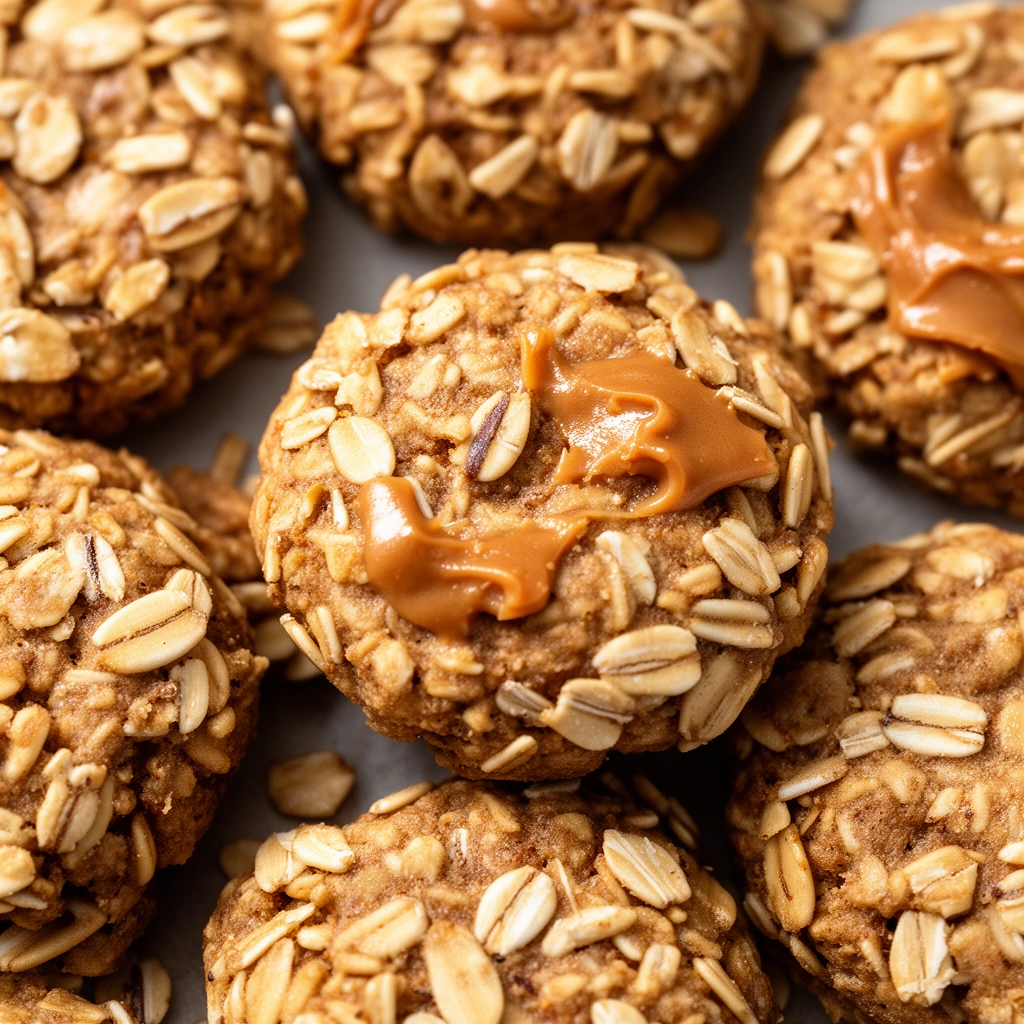
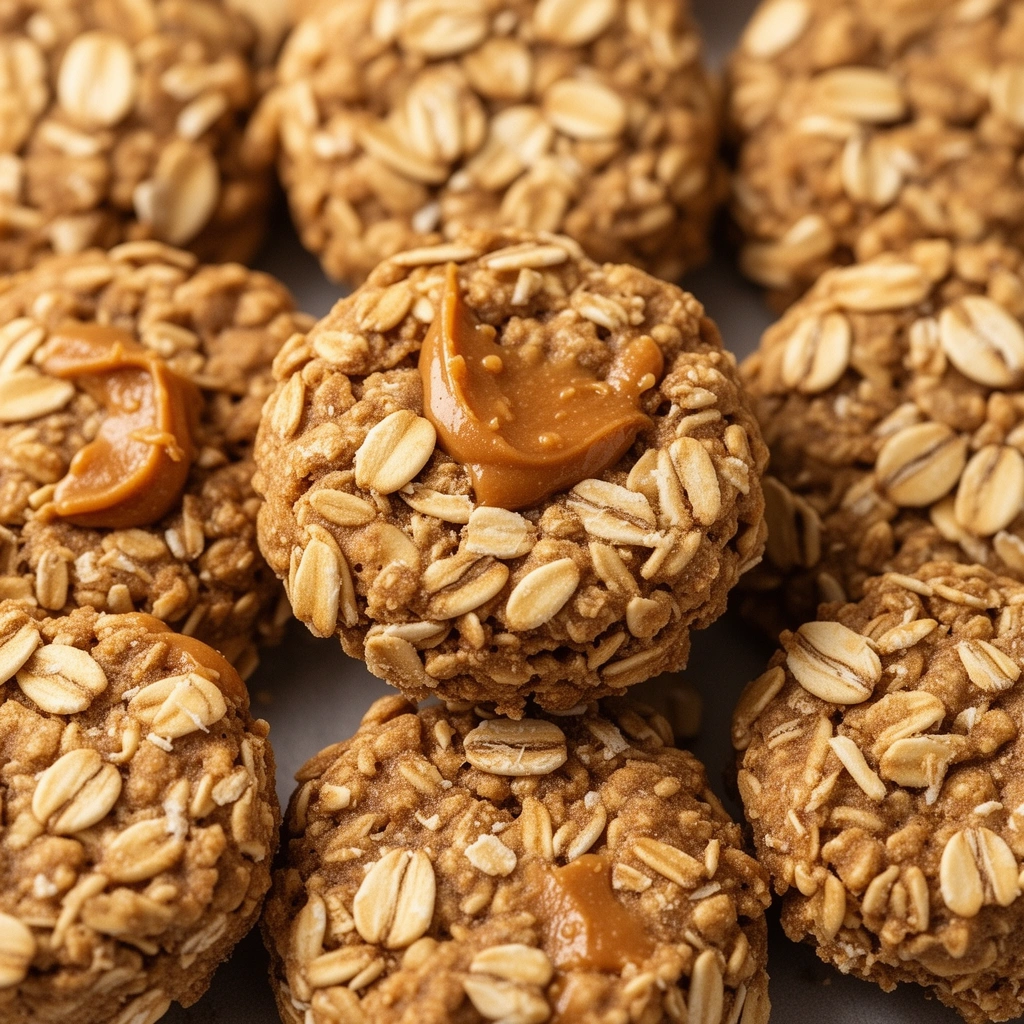
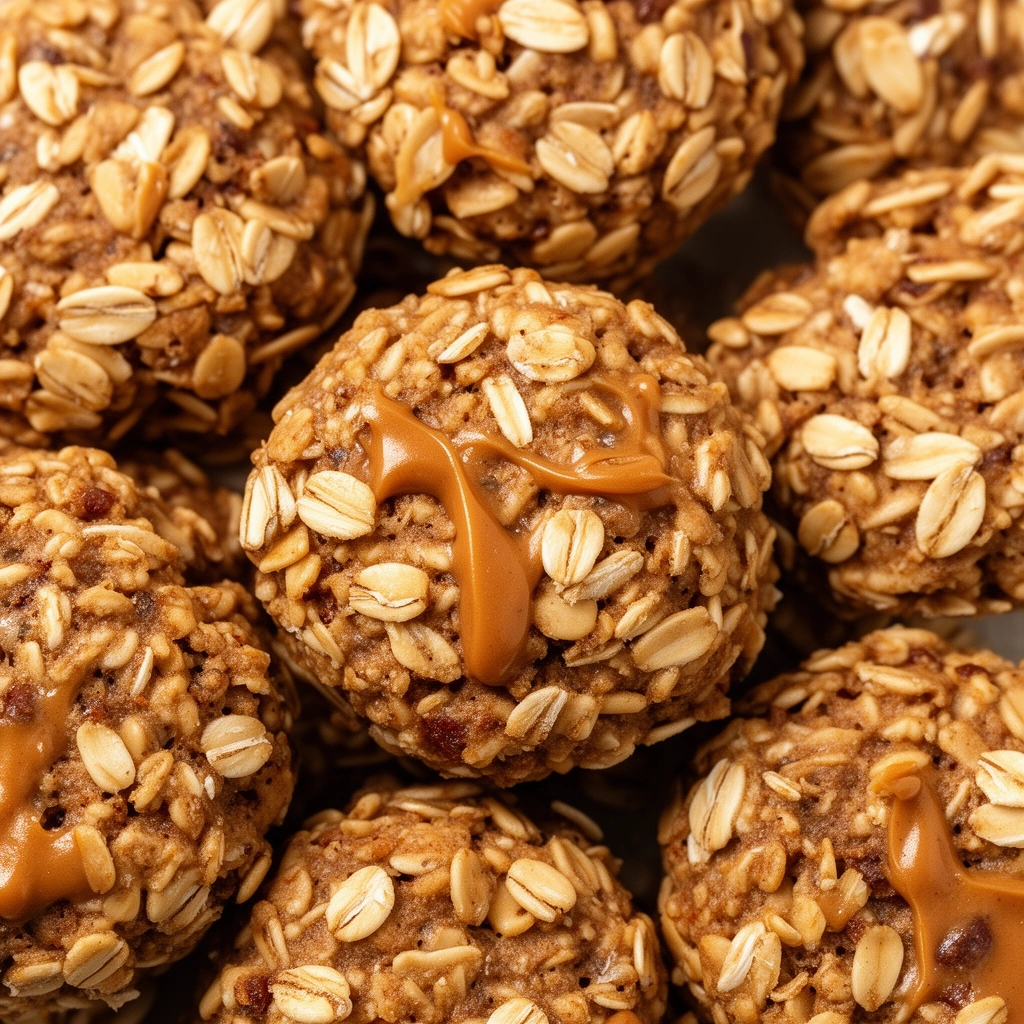
Let’s break this down simply. Peanut butter oatmeal dog treats are homemade biscuits made from just a handful of ingredients: peanut butter, oats, and usually an egg or some flour to hold everything together. They’re baked until crunchy, which makes them perfect for dogs who love a satisfying crunch.
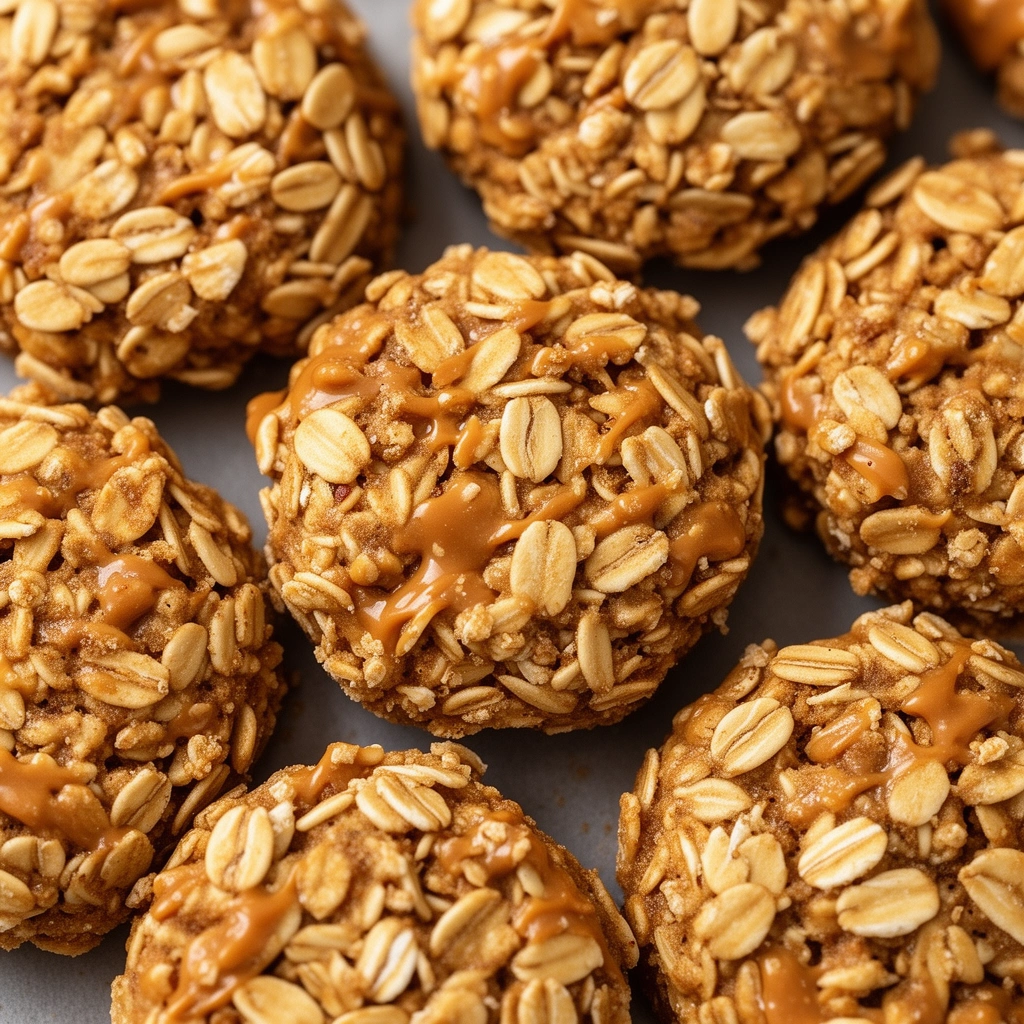
Why do dog owners love these treats so much? For one, they’re budget-friendly. Store-bought treats can get expensive, especially the “natural” or “grain-free” kinds. Making your own at home costs a fraction of the price. Plus, you control exactly what goes into them. No weird preservatives, no mystery ingredients, just wholesome stuff your dog will love.
Another reason these treats are so popular is that most dogs genuinely love the taste of peanut butter. It’s rich, a little sweet, and dogs go nuts for it (pun intended). Oats add fiber and a chewy texture, making the whole treat feel hearty rather than just sugary fluff.
Key Terms You Should Know
Before we jump into the recipe, let’s go over a few terms that’ll help you understand what you’re working with.
Xylitol
: A sugar substitute found in many peanut butter brands, especially “natural” or sugar-free ones. This is toxic to dogs and must be avoided at all costs.
Rolled Oats
: Oats that have been steamed and flattened. These are different from instant oats and work best for treat recipes because they hold their shape better.
Binder
: An ingredient like egg or mashed banana that helps hold the dough together so it doesn’t crumble apart.
Grain-Free Flour
: Alternative flours like coconut flour or oat flour, useful for dogs with grain sensitivities.
Baking Sheet Liner
: Parchment paper or a silicone mat that prevents treats from sticking to the pan.
Knowing these terms makes the whole process smoother. Trust me, the xylitol part especially matters. I always double-check the ingredient label on my peanut butter before using it.
Ingredients You’ll Need
Here’s what goes into a basic batch of peanut butter oatmeal dog treats:
- 1 cup rolled oats
- 1 cup peanut butter (unsalted, no xylitol)
- 1 egg
- 1/2 cup water (add more if the dough feels too dry)
- 1 cup flour (whole wheat, oat flour, or a gluten-free blend)
- Optional: a splash of pure vanilla extract
That’s it. No fancy equipment, no hard-to-find ingredients. Just simple pantry staples that most of us already have at home.
Step-by-Step Instructions
Now let’s get into the actual making process. I’ll walk you through it step by step so there’s no guesswork involved.
- Preheat your oven to 350°F (175°C).
- In a large bowl, mix the peanut butter and egg together until smooth.
- Add the water and stir until combined.
- Slowly mix in the oats and flour, a little at a time, until a thick dough forms.
- If the dough feels sticky, add a bit more flour. If it’s too dry, add a splash more water.
- Roll the dough out on a floured surface until it’s about 1/4 inch thick.
- Use a cookie cutter (bone-shaped is fun, but any shape works) to cut out treats.
- Place the treats on a parchment-lined baking sheet, spacing them slightly apart.
- Bake for 20 to 25 minutes, or until the edges turn golden brown.
- Let the treats cool completely on the baking sheet before serving.
That cooling step matters more than people think. Treats continue to firm up as they cool, so pulling them off the pan too soon can leave you with a softer, chewier treat instead of that satisfying crunch.
Tips for Success
I’ve made plenty of mistakes over the years, so let me save you some trouble.
- Always check your peanut butter label for xylitol. Even “healthy” brands sometimes sneak it in.
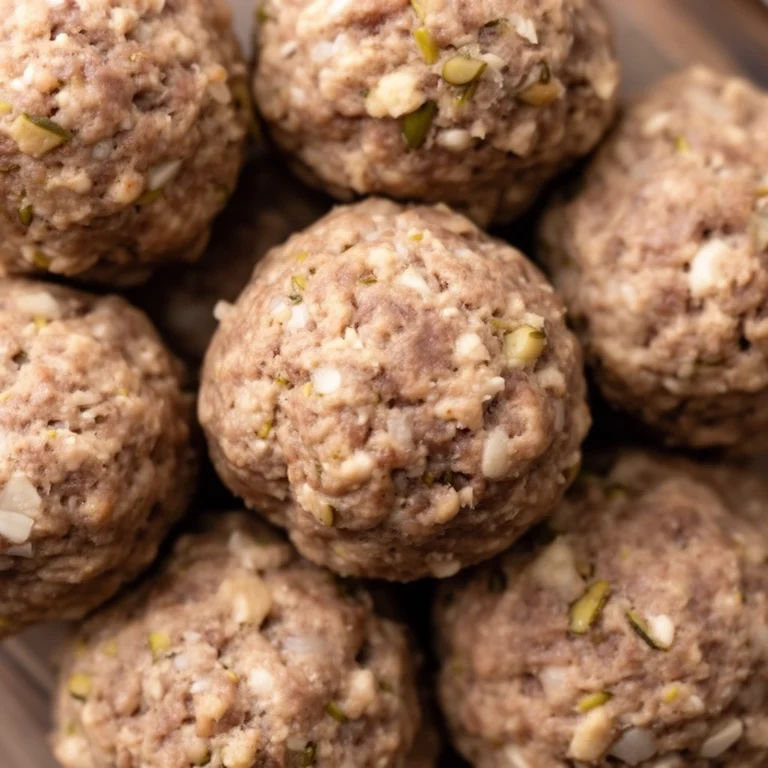
- Use a cookie scoop if you don’t have cutters. Small dough balls flattened with a fork work just as well.
- Store treats in an airtight container at room temperature for about a week, or freeze them for up to three months.
- If your dough feels too sticky to roll, chill it in the fridge for 15 minutes before rolling it out.
- Cut treats into small sizes if you have a small breed dog. Big chunks can be a choking hazard.
Following these small tips makes a huge difference in how your treats turn out and how safe they are for your pup.
Common Mistakes and How to Avoid Them
Even simple recipes can go sideways. Here are the most common slip-ups I’ve seen (and made myself).
Mistake: Using peanut butter with xylitol
: This is the biggest and most dangerous mistake. Always read labels carefully. If it says “sugar-free,” put it back on the shelf.
Mistake: Skipping the cooling step
: Treats that go straight from the oven into a container will trap steam and turn mushy. Always let them cool fully on a wire rack.
Mistake: Rolling the dough too thick
: Thick treats take longer to bake and often stay soft in the middle. Aim for that quarter-inch thickness for the best crunch.
Mistake: Not adjusting for allergies
: Some dogs are sensitive to wheat or grains. If your pup has a sensitive stomach, swap regular flour for oat flour or a gluten-free blend.
Mistake: Overbaking
: Leaving treats in too long can make them rock-hard or even burnt. Keep an eye on the oven around the 20-minute mark.
Avoiding these mistakes isn’t hard once you know what to watch for. A little attention goes a long way.
Variations You Can Try
One of the best parts about making treats at home is customizing them. Here are a few fun variations I’ve tried myself.
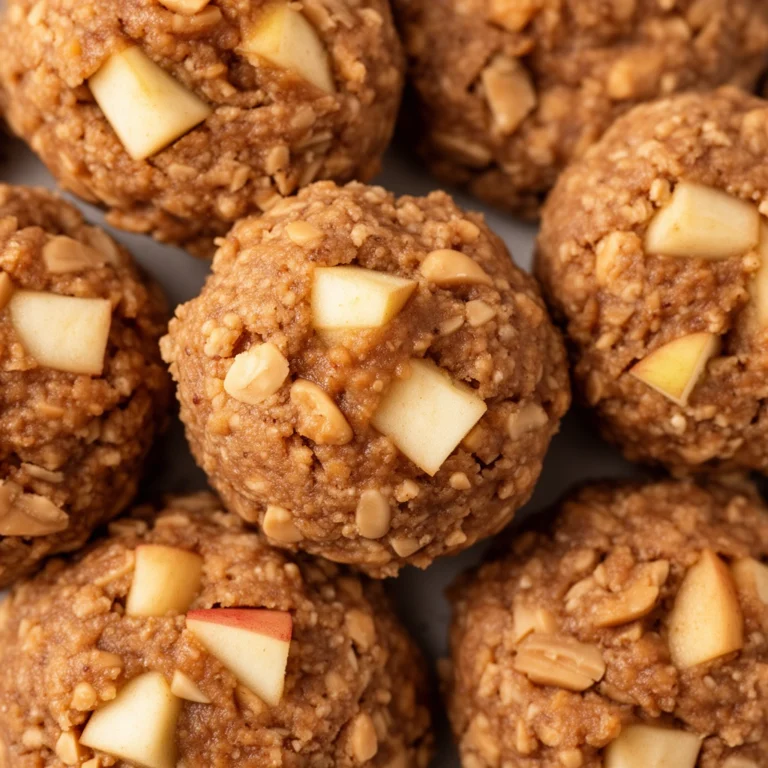
- Banana Peanut Butter Oatmeal Treats: Swap the water for a mashed ripe banana for natural sweetness.
- Pumpkin Peanut Butter Oats: Add 1/4 cup pumpkin puree for extra fiber and a fall-flavored twist.
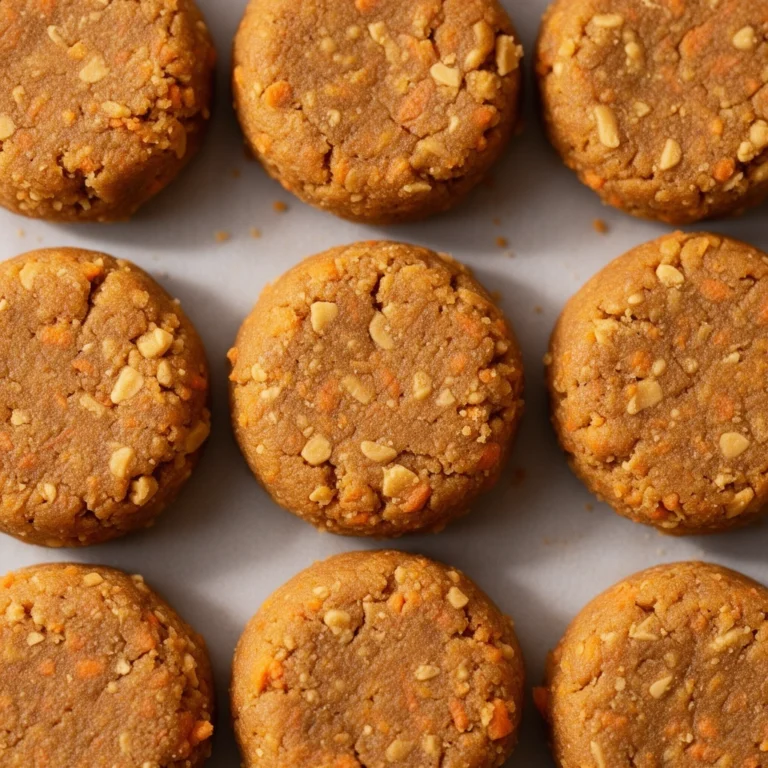
- Carrot Oat Bites: Mix in shredded carrot for added crunch and nutrients.
- Grain-Free Version: Use oat flour or almond flour instead of wheat flour for dogs with grain sensitivities.
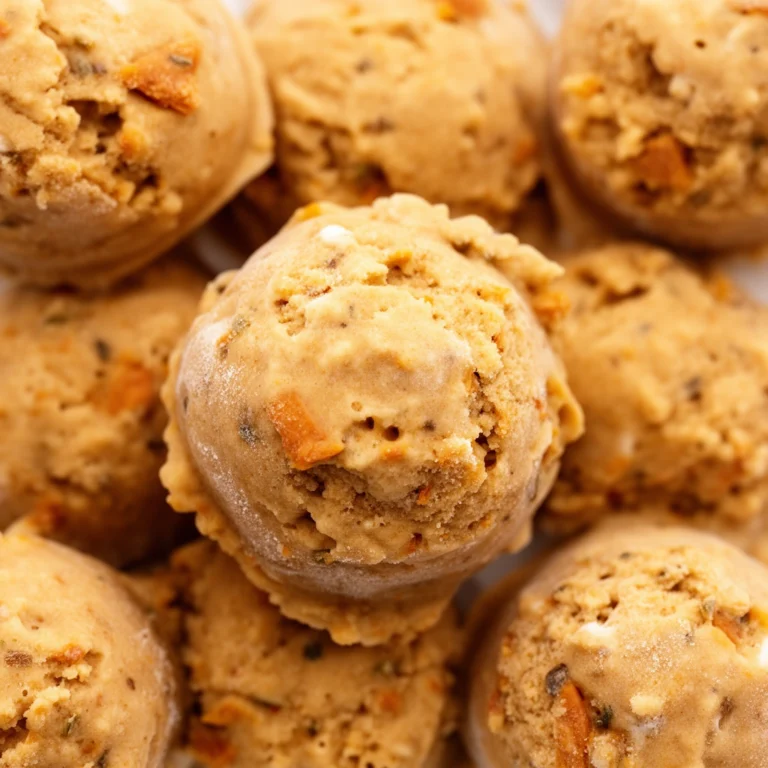
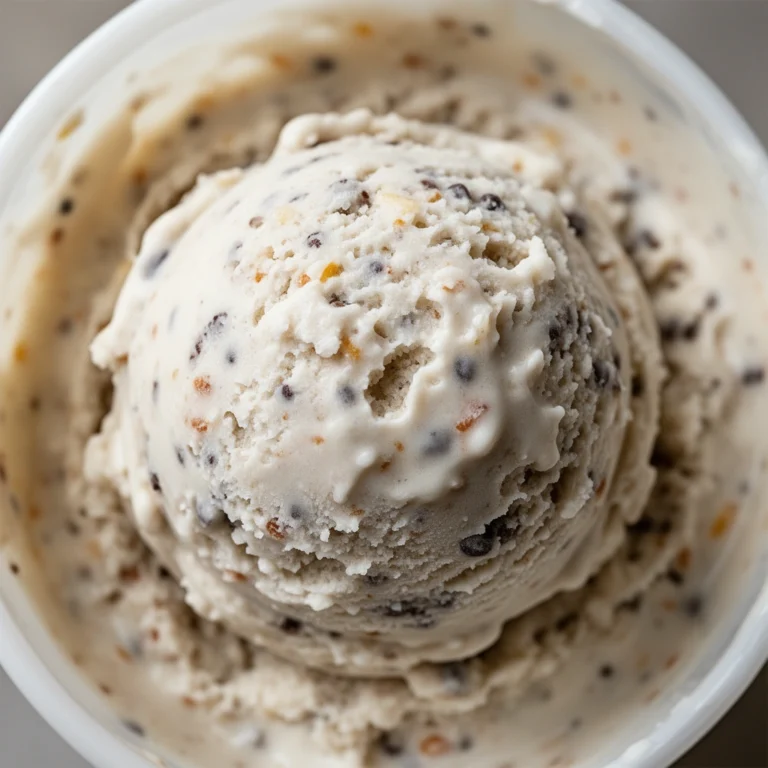
- Frozen Peanut Butter Bites: Skip baking altogether and freeze small balls of dough for a cool summer treat.
These variations let you switch things up depending on the season, your dog’s preferences, or any dietary needs they might have.
Final Thoughts
Making peanut butter oatmeal dog treats at home is one of those small things that brings a surprisingly big smile to your dog’s face. It’s simple, affordable, and lets you control exactly what your furry friend eats. Whether you stick with the classic recipe or try one of the fun variations, your dog is going to think you’re the best chef in the world.
So next time your pup gives you those pleading puppy eyes, skip the store-bought aisle and whip up a fresh batch of peanut butter oatmeal dog treats instead. Your dog will thank you with a whole lot of tail wags.