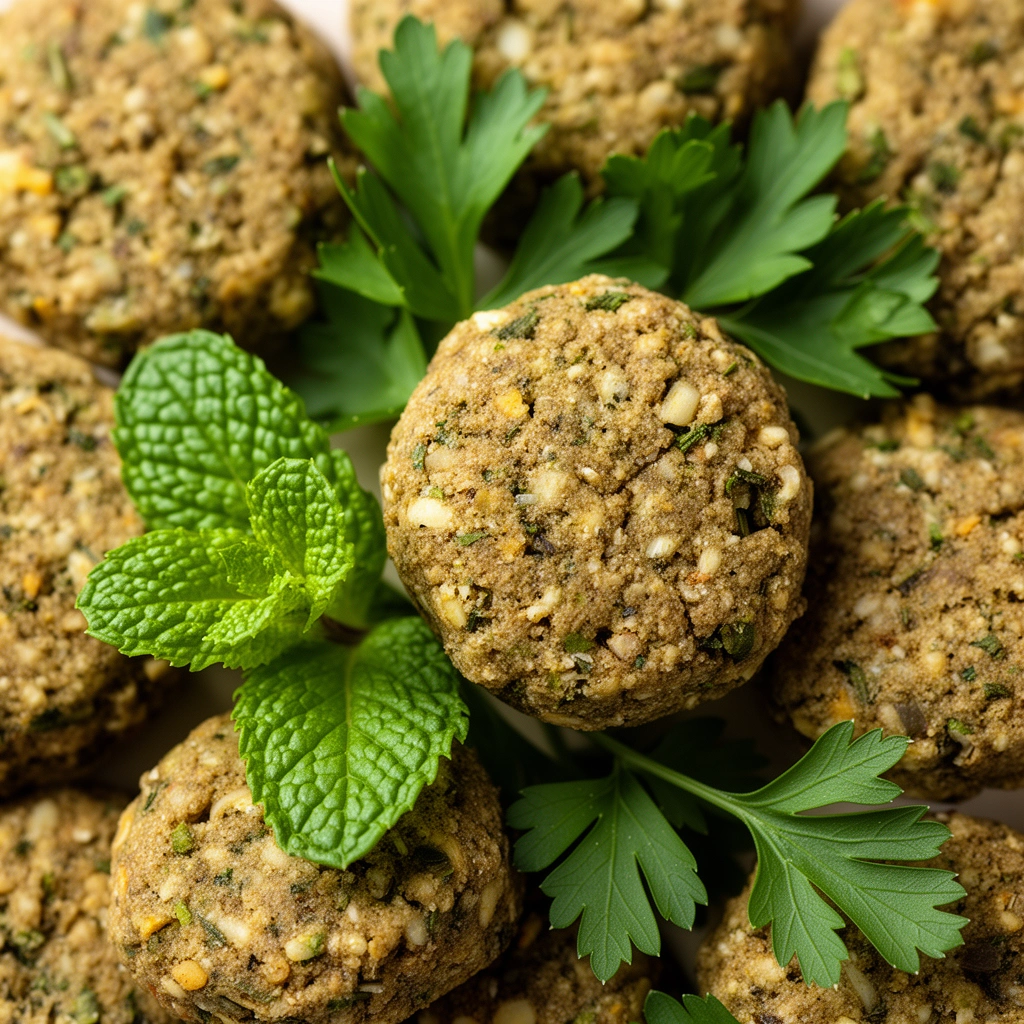
Mint and Parsley Dog Treats: A Fresh-Breath Recipe Your Pup Will Beg For
Ever caught a whiff of your dog’s breath and had to lean away? Yeah, I’ve been there too. That’s exactly why I started making mint and parsley dog treats at home. They’re simple, they smell amazing, and my dog goes nuts for them every single time.
Dog breath doesn’t have to be a running joke in your house. With just a few herbs and pantry staples, you can whip up treats that tackle bad breath naturally. No weird chemicals. No mystery ingredients. Just real food that does real work.
What Exactly Are Mint and Parsley Dog Treats?
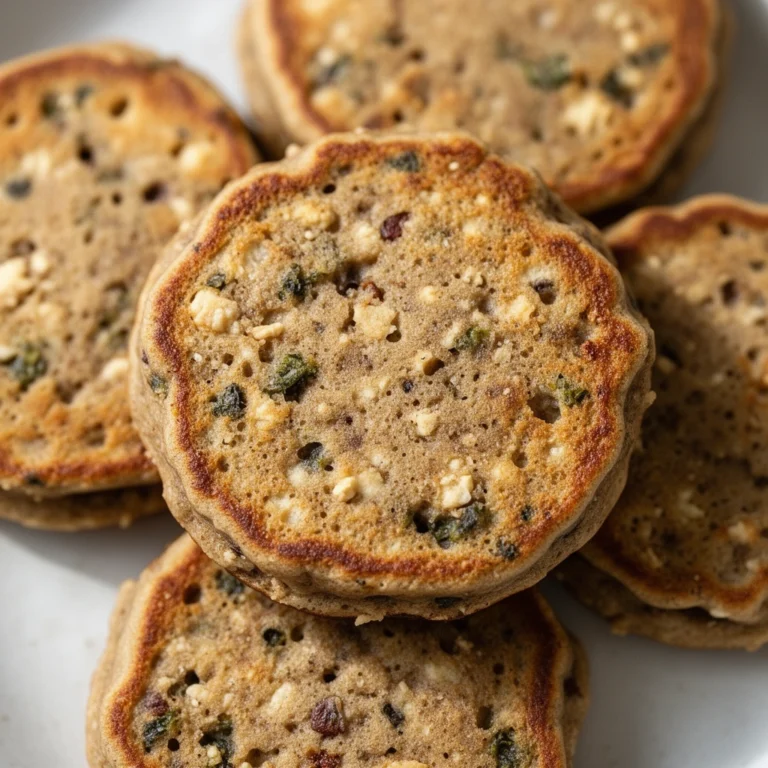
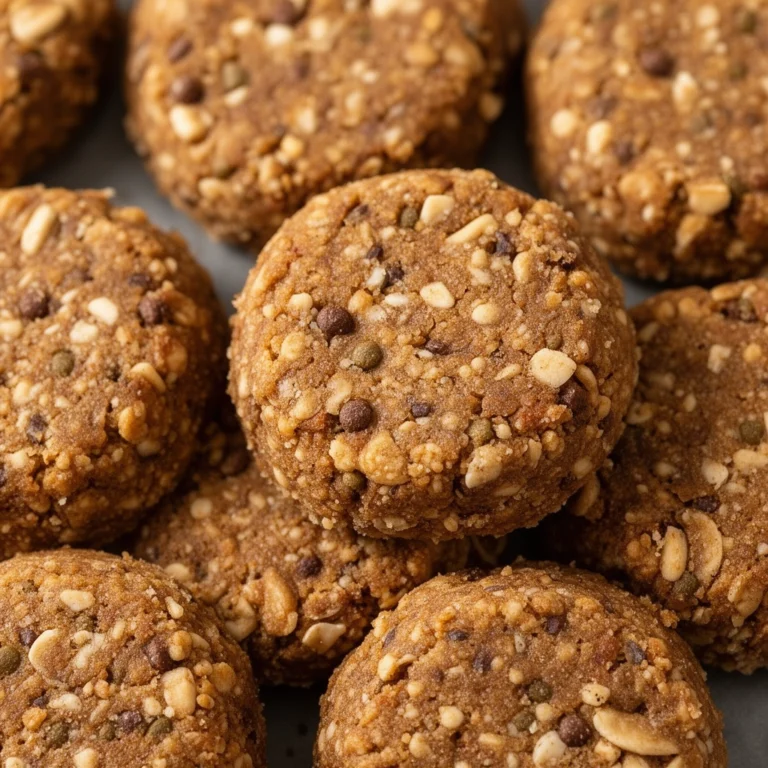
Let me break this down for you. These treats are small, baked biscuits made mostly from flour, eggs, and two powerhouse herbs: mint and parsley. Both herbs are safe for dogs in small amounts, and both happen to be natural breath fresheners.
Parsley contains chlorophyll, which neutralizes odors from the inside out. Mint does something similar but adds a cooling, refreshing punch. Combine them, and you’ve got a treat that fights bad breath while giving your dog something tasty to chew on.
I like to think of these as a two-in-one deal. Your dog gets a snack. You get relief from that not-so-pleasant “kiss test” moment.
Key Terms You Should Know
Chlorophyll
: The green pigment in plants like parsley that helps neutralize strong odors, including doggy breath.
Digestive aid
: Mint has mild properties that can soothe an upset stomach in small doses.
Binder
: An ingredient (like egg or pumpkin puree) that holds the dough together so it doesn’t crumble apart.
Rolling consistency
: The texture your dough needs to reach before you can roll it flat without sticking to everything.
Why This Recipe Works Better Than Most
A lot of recipes online just toss mint and parsley into a bowl without explaining ratios or safety limits. That’s where things go sideways. Too much mint can upset a dog’s stomach. Too little, and you won’t notice any breath-freshening benefit at all.
I’ve tested this recipe multiple times to land on a ratio that’s safe, effective, and doesn’t overpower the taste. Dogs are picky. If it tastes too strong, they’ll turn their nose up and walk away.
Ingredients You’ll Need
Here’s everything you need to gather before you start:
- 2 cups whole wheat flour (oat flour works too for grain-sensitive pups)
- 1/4 cup fresh parsley, finely chopped
- 2 tablespoons fresh mint leaves, finely chopped
- 1 large egg
- 1/2 cup plain pumpkin puree (unsweetened)
- 1/4 cup water (add more if needed)
- 1 tablespoon coconut oil, melted
That’s it. No fillers, no preservatives, nothing your dog can’t pronounce.
Tools You’ll Need
- Mixing bowl
- Rolling pin
- Cookie cutter (bone-shaped is fun, but any shape works)
- Baking sheet
- Parchment paper
- Fork (for poking holes, optional but helps even baking)
Step-by-Step Instructions
Follow these steps closely, and you’ll end up with a batch of treats that actually turn out right the first time.
- Preheat your oven to 350°F (175°C). Line your baking sheet with parchment paper.
- Mix dry ingredients. In a large bowl, combine the flour with chopped parsley and mint. Stir well so the herbs distribute evenly.
- Add wet ingredients. Crack in the egg, then add pumpkin puree and melted coconut oil. Mix until it starts to clump together.
- Add water slowly. Pour in a little water at a time, mixing as you go. Stop once the dough holds together without being sticky or wet.
- Knead the dough. Use your hands to knead it for about a minute. This helps everything bind properly.
- Roll it out. Place the dough on a floured surface and roll it to about 1/4-inch thickness. Thinner dough means crunchier treats; thicker dough means chewier ones.
- Cut your shapes. Use your cookie cutter to cut out treats. Re-roll scraps until you’ve used all the dough.
- Poke holes (optional). A few fork pricks help the treats bake evenly and look a little more homemade.
- Bake for 20-25 minutes. Keep an eye on them after the 18-minute mark. You want them golden brown, not burnt.
- Cool completely. Let them sit on a wire rack for at least 30 minutes before serving. This step matters more than people think, since warm treats can be too soft and crumble apart.
Tips for Success
I’ve made enough batches of these to know what separates a good result from a mediocre one. Here’s what helps:
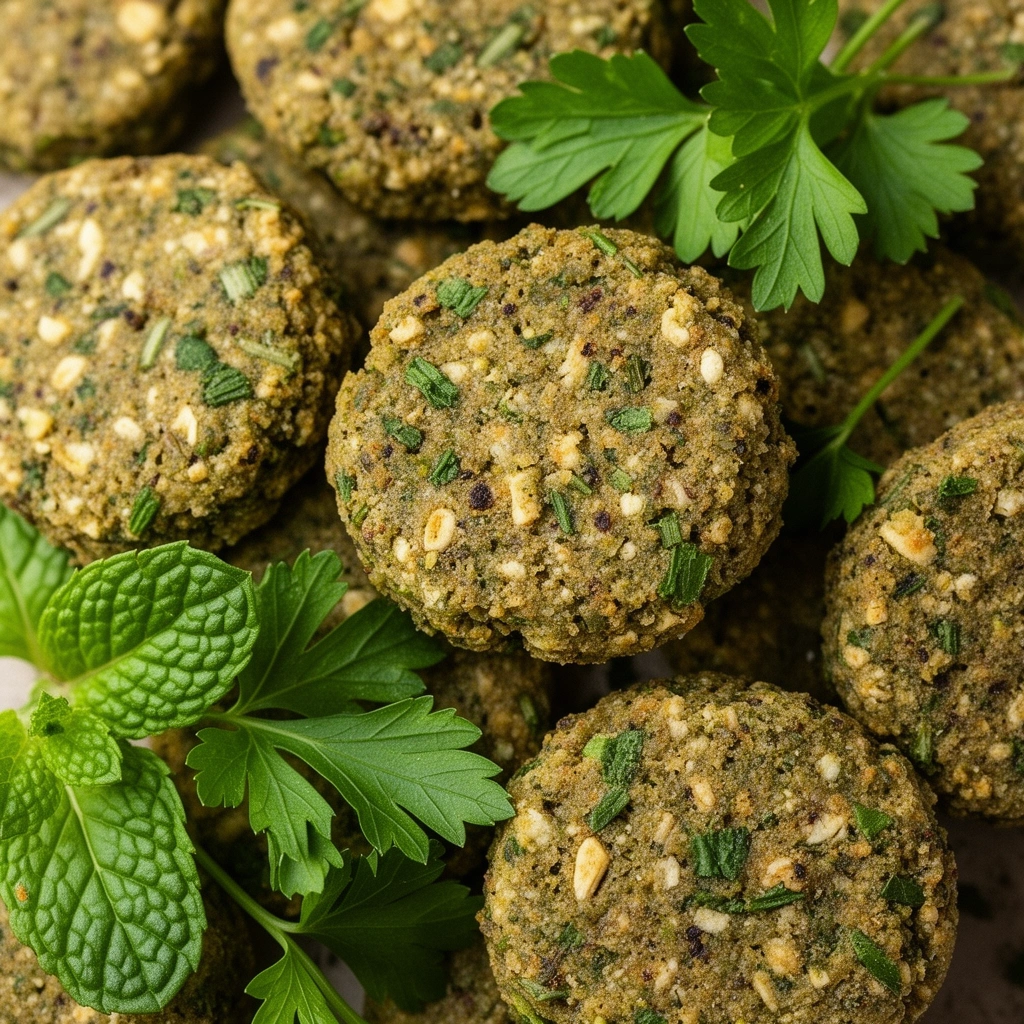
- Use fresh herbs, not dried. Fresh mint and parsley have more moisture and stronger natural oils, which means better flavor and better breath-freshening power.
- Chop herbs finely. Big chunks can be off-putting to some dogs and might not distribute the flavor evenly.
- Don’t skip the cooling step. Treats firm up as they cool, so pulling them too early gives you a soft, crumbly mess.
- Store in an airtight container. These treats stay fresh for about a week at room temperature, or up to three months in the freezer.
- Test a small piece first. Every dog reacts differently to new ingredients, so offer one treat and watch for any tummy upset before giving more.
Common Mistakes and How to Avoid Them
Even simple recipes trip people up sometimes. Here’s where things usually go wrong, and how you can dodge these problems.
Mistake: Using too much mint.
Mint is strong stuff. A little goes a long way, and dumping in extra can cause stomach upset or diarrhea. Stick to the measurements above, and resist the urge to add more “for flavor.”
Mistake: Skipping the kneading step.
If you don’t knead the dough, it won’t hold together well. You’ll end up with treats that crumble apart before they even reach your dog’s mouth.
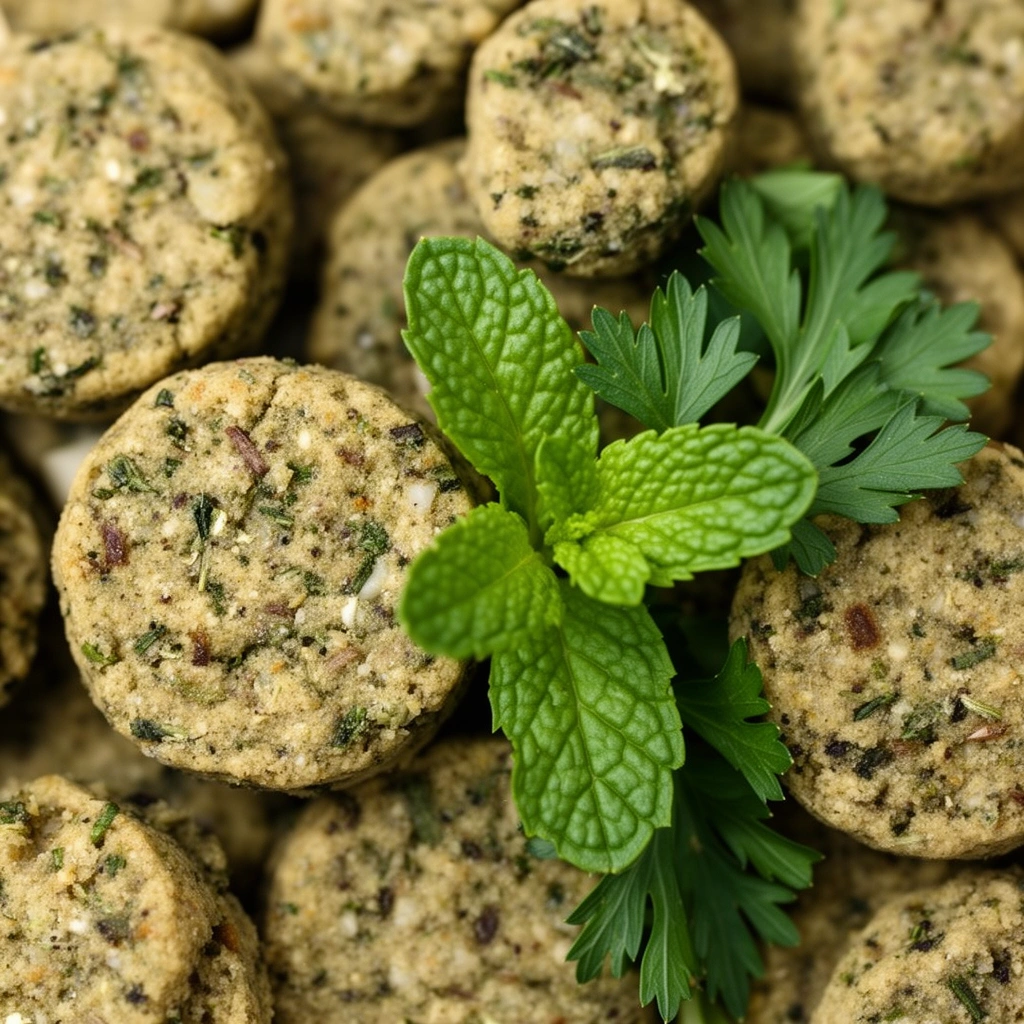
Mistake: Rolling the dough too thin or too thick.
Too thin, and treats burn fast. Too thick, and the inside stays raw or gummy. Stick close to that quarter-inch guideline.
Mistake: Using essential oils instead of fresh herbs.
This one’s important. Peppermint essential oil is way too concentrated and can actually be toxic to dogs. Always use fresh mint leaves, never oils or extracts.
Mistake: Not checking for allergies.
Some dogs have sensitivities to wheat or eggs. If your dog has never had these ingredients before, introduce them slowly and watch for reactions like itching or digestive issues.
Variations You Can Try
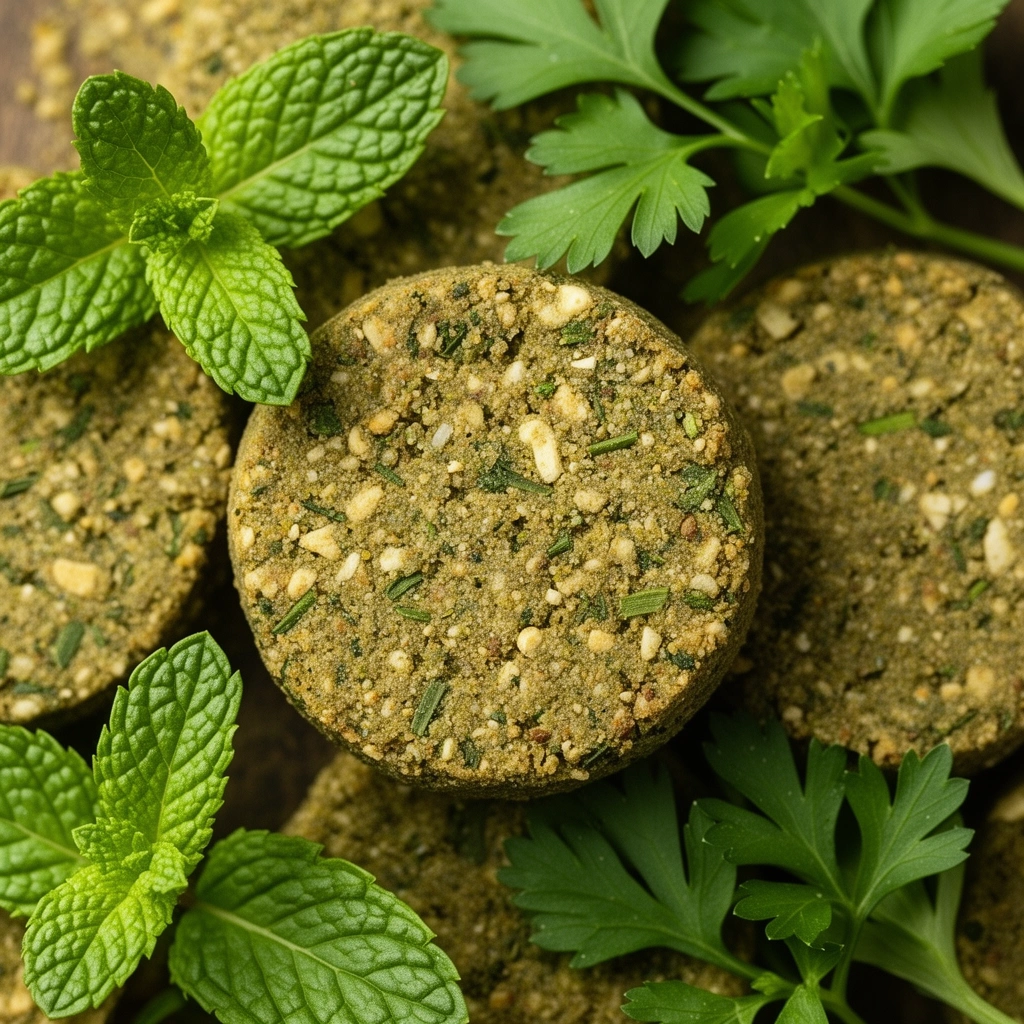
Once you’ve nailed the basic recipe, feel free to switch things up. Here are some variations I’ve experimented with:
- Grain-free version: Swap wheat flour for oat flour or chickpea flour if your dog has grain sensitivities.
- Peanut butter boost: Add a tablespoon of unsweetened peanut butter for extra flavor dogs go crazy for.
- Carrot addition: Grate in a small carrot for added fiber and a slightly sweet taste.
- Apple twist: Mix in finely diced apple (no seeds) for natural sweetness without added sugar.
- Yogurt glaze: After baking, drizzle a bit of plain yogurt over cooled treats for extra appeal, especially for picky eaters.
Each variation keeps the mint and parsley base intact, so you still get that breath-freshening benefit no matter which direction you take it.
A Quick Note on Safety
Before you start baking, it’s worth mentioning a few safety basics. Always use plain, unsweetened pumpkin puree, never the spiced pie filling version, since that often contains ingredients unsafe for dogs. Also, avoid using dried herbs in place of fresh ones unless the recipe calls for it, since dried herbs are more concentrated and can throw off your ratios.
If your dog has any pre-existing health conditions, especially digestive issues, check with your vet before introducing new treats. It’s a simple step that can save you a headache later.
Wrapping It Up
Making mint and parsley dog treats at home isn’t complicated, and the payoff is huge. You get a healthier alternative to store-bought treats, your dog gets a tasty snack, and that awful breath problem gets a little less awful.
I’ve walked you through the exact steps, the common slip-ups, and even a few fun variations to try once you’ve got the basics down. Give this recipe a shot, and I bet your dog will be sitting by the oven door waiting for a taste before you even pull the tray out.