Homemade Easter Dog Treats: A Tail-Wagging Guide for Spring
Easter is right around the corner, and if you’re like me, your dog deserves a seat at the celebration too. Homemade Easter dog treats are the perfect way to include your furry friend in the holiday fun without loading them up on sugar, chocolate, or mystery ingredients from store-bought bags. I’ve spent hours testing recipes in my kitchen, and I’m going to walk you through everything you need to know to bake treats your pup will beg for.
Ever wonder why some dog treats look fancy but taste like cardboard to your dog? Or why your pup sniffs a store-bought biscuit and walks away unimpressed? I’ve been there. That’s why I started making treats at home—simple, safe, and something my dog actually gets excited about.
What Are Homemade Easter Dog Treats?
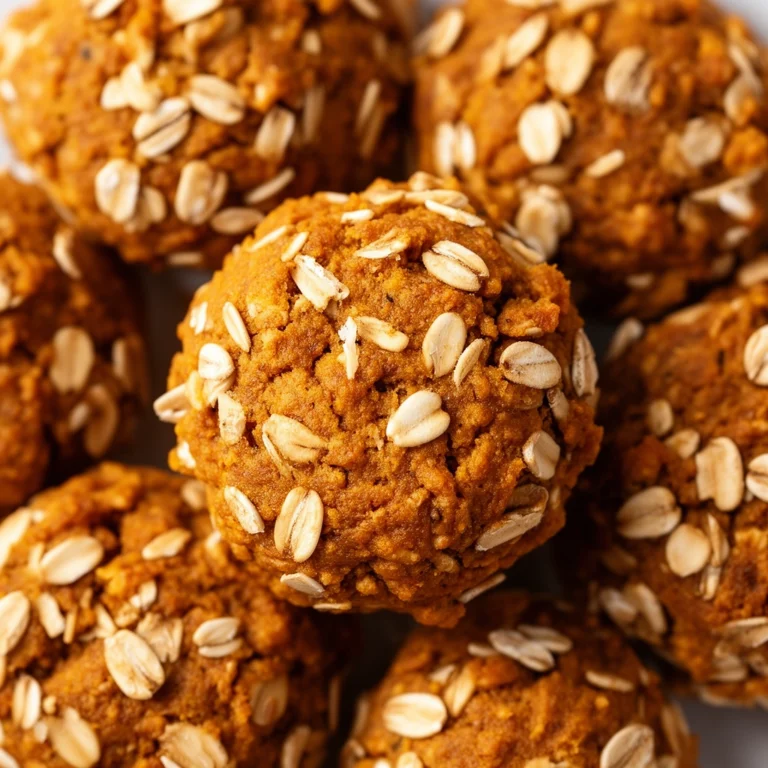
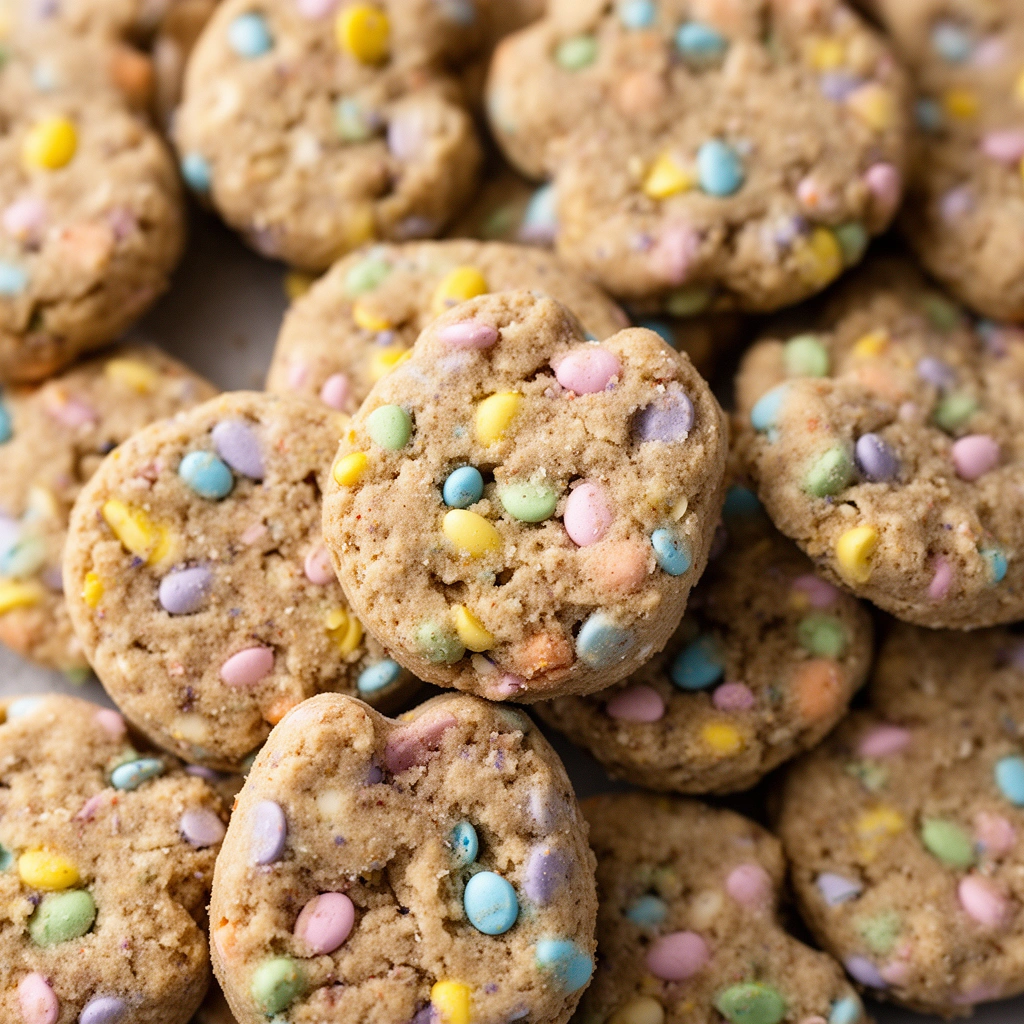
Let’s start with the basics. Homemade Easter dog treats are simple baked snacks made with dog-safe ingredients, shaped and decorated to match the Easter theme. Think carrot-shaped biscuits, bunny cookies, or egg-shaped bites made from oats, pumpkin, or peanut butter.
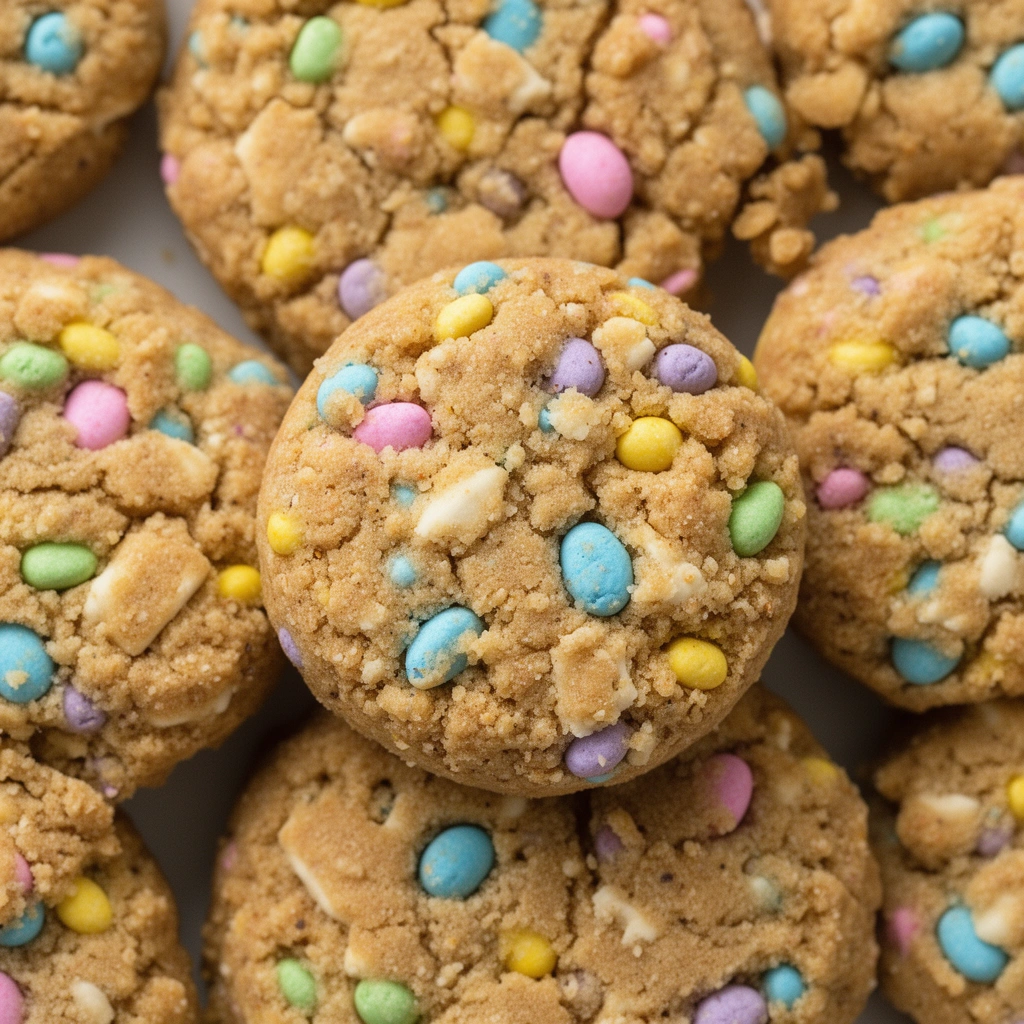
Unlike regular dog treats, these are seasonal. You’re not just baking a snack—you’re creating something festive that fits the spring holiday vibe. Most recipes skip anything toxic to dogs like chocolate, xylitol, raisins, or grapes. Instead, they lean on wholesome staples that are gentle on a dog’s stomach and packed with nutrients.
I like calling these treats a “double win.” Your dog gets a tasty snack, and you get the satisfaction of knowing exactly what went into it. No preservatives. No fillers. Just real food.
Why Bother Making Treats at Home?
You might be asking yourself if this is even worth the effort. Trust me, it is. Here’s why homemade wins over store-bought almost every time:
- Control over ingredients: You decide what goes in and what stays out.
- Fresher taste: Homemade treats don’t sit on a shelf for months.
- Bonding time: Baking with your dog nearby (supervised, of course) is a fun little ritual.
- Budget-friendly: Basic pantry items cost less than fancy specialty treats.
- Customizable: Got a dog with allergies? Swap ingredients easily.
Plus, there’s something satisfying about pulling a tray of bunny-shaped biscuits out of the oven and watching your dog’s tail go into overdrive.
Key Ingredients You’ll Need
Before we get into the actual recipe, let’s break down the star players. Each ingredient serves a purpose, and knowing what they do helps you swap things out if needed.
Oat flour
: A gentle, gluten-free base that’s easy on a dog’s digestion. It also gives treats a nice chewy texture.
Pumpkin puree
: Packed with fiber and vitamin A. It’s great for digestion and adds natural sweetness without sugar.
Peanut butter (unsalted, xylitol-free)
: A dog favorite. Always double-check the label—some peanut butters sneak in xylitol, which is deadly for dogs.
Eggs
: Acts as a binder and adds protein. Helps hold the dough together.
Carrots
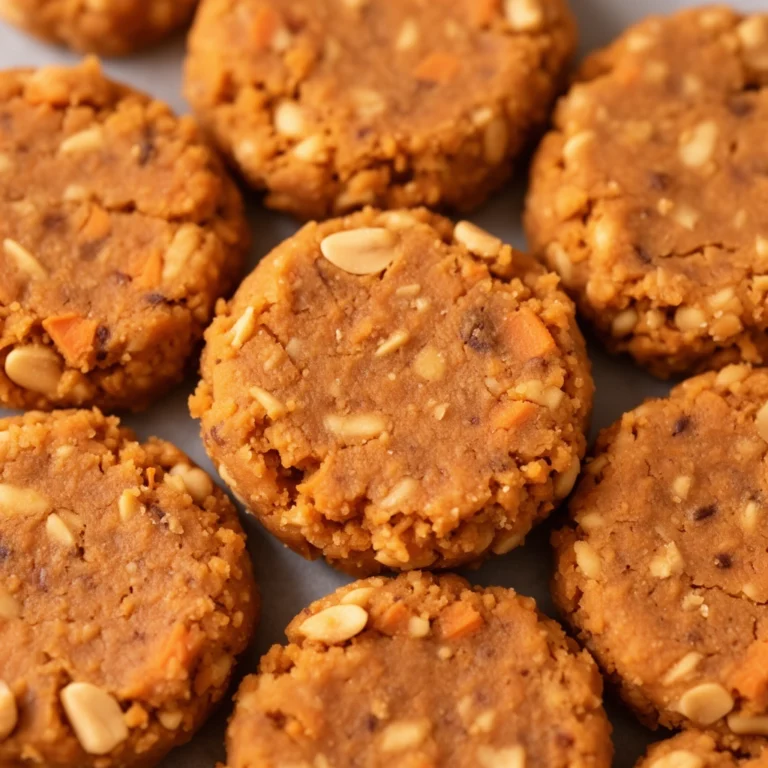
: Shredded or grated carrots bring natural sweetness and crunch. Bonus points for the Easter theme since carrots scream “spring.”
Plain Greek yogurt
: Adds a tangy flavor dogs love and gives treats a soft, moist texture.
These six ingredients form the backbone of most homemade Easter dog treat recipes. You don’t need anything fancy from a specialty store—most of this is already sitting in your kitchen.
Step-by-Step: How to Make Carrot & Peanut Butter Easter Treats
Alright, let’s get into the kitchen. This recipe makes about two dozen small treats, depending on the cookie cutter size you use.
What you’ll need:
- 2 cups oat flour
- 1/2 cup pumpkin puree
- 1/4 cup unsalted, xylitol-free peanut butter
- 1 egg
- 1/2 cup shredded carrots
- 2 tablespoons plain Greek yogurt
- Bunny or egg-shaped cookie cutters
Instructions:
- Preheat your oven to 350°F (175°C) and line a baking sheet with parchment paper.
- In a large bowl, mix the pumpkin puree, peanut butter, egg, and Greek yogurt until smooth.
- Fold in the shredded carrots.
- Slowly add the oat flour, stirring until a thick dough forms. If it’s too sticky, add a bit more flour a tablespoon at a time.
- Turn the dough onto a lightly floured surface and roll it out to about 1/4 inch thickness.
- Use your Easter-themed cookie cutters to cut out shapes.
- Place the shapes on your prepared baking sheet, leaving a little space between each one.
- Bake for 20-25 minutes, or until the edges turn golden brown.
- Let the treats cool completely on a wire rack before serving. This step matters more than people think—warm treats can be too soft and crumble apart.
That’s it. Simple steps, simple ingredients, and a batch of treats that’ll make your dog think Easter is the best holiday ever.
Tips for Success
I’ve made my fair share of treat batches that didn’t turn out right. Here’s what I’ve learned along the way to help you skip the trial and error.
- Always use unsalted peanut butter. Salt isn’t great for dogs in large amounts.
- Grate the carrots finely so they blend smoothly into the dough instead of creating lumps.
- Don’t skip the cooling step. Treats firm up as they cool, giving them the right crunch.
- Store treats in an airtight container to keep them fresh longer.
- If your dough feels too dry, add a splash of water or extra yogurt instead of more wet ingredients that could throw off the balance.
- Keep portions small. Dogs don’t need giant biscuits—bite-sized treats work just as well and prevent overfeeding.
Common Mistakes and How to Avoid Them
Even simple recipes have pitfalls. Let’s talk about the mistakes I see most often, so you can dodge them entirely.
Mistake: Using regular flour instead of dog-safe flour
Some dogs have sensitive stomachs or gluten intolerance. Stick with oat flour or rice flour instead of all-purpose wheat flour when possible.
Mistake: Grabbing any peanut butter off the shelf
This is a big one. Always read labels. Xylitol is showing up in more “natural” peanut butters these days, and it’s extremely toxic to dogs.
Mistake: Overbaking the treats
Overbaked treats turn rock hard, which isn’t fun for smaller dogs or senior pups with weaker teeth. Keep an eye on the oven and pull them out once the edges turn golden, not dark brown.
Mistake: Adding sugar or honey for “flavor”
Dogs don’t need sugar. Natural sweetness from pumpkin or carrots is more than enough.
Mistake: Skipping the cooling process
I mentioned this earlier, but it’s worth repeating. Treats need time to set. Rushing this step leads to crumbly, messy treats.
Fun Variations to Try
Once you’ve nailed the basic recipe, it’s fun to switch things up. Here are a few variations I’ve tried and loved:
- Blueberry Easter Eggs: Swap carrots for mashed blueberries for an antioxidant boost and a fun purple tint.
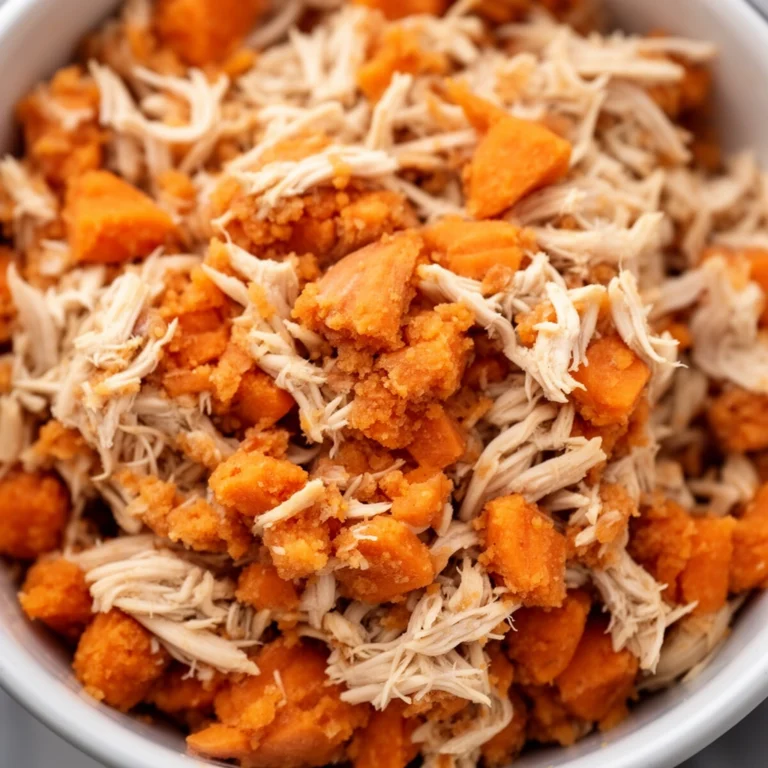
- Sweet Potato Bunnies: Replace pumpkin puree with mashed sweet potato for a slightly different flavor profile.
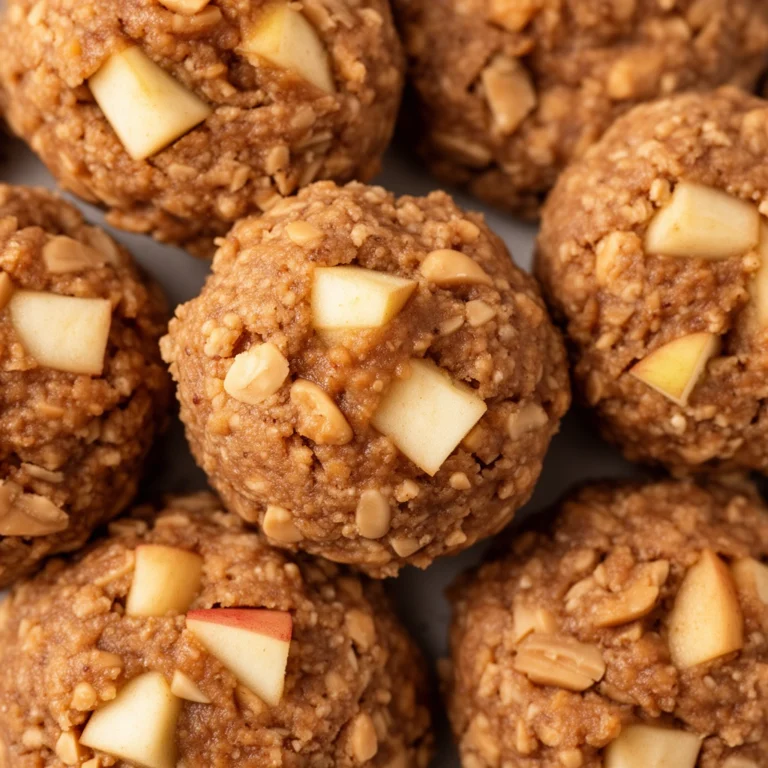
- Apple Cinnamon Bites: Add finely diced apple (no seeds) and a pinch of cinnamon for a fall-meets-spring flavor combo.
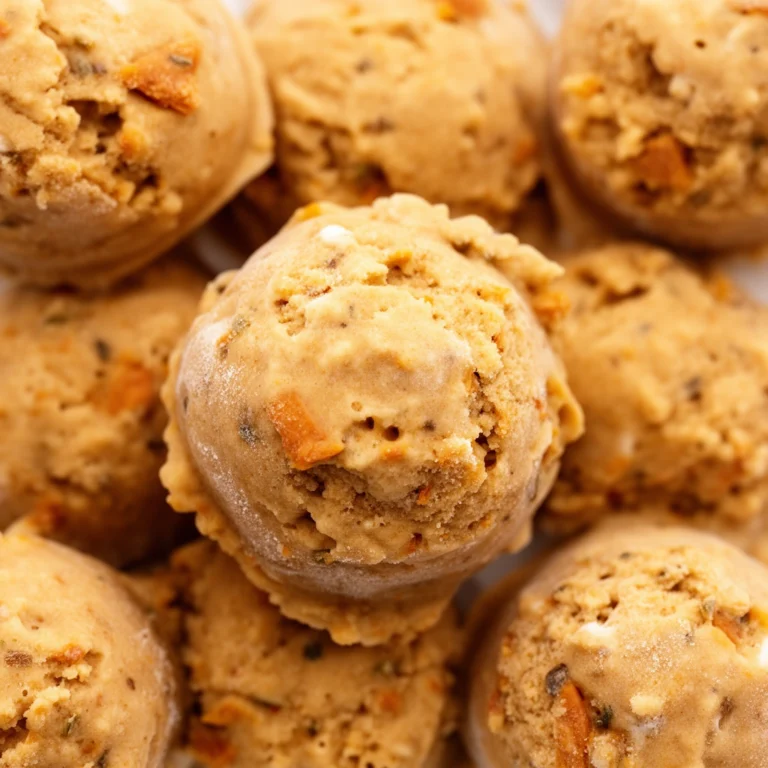
- Frozen Yogurt Eggs: For warmer Easter weather, freeze plain yogurt mixed with mashed banana in egg-shaped silicone molds for a cool, refreshing treat.
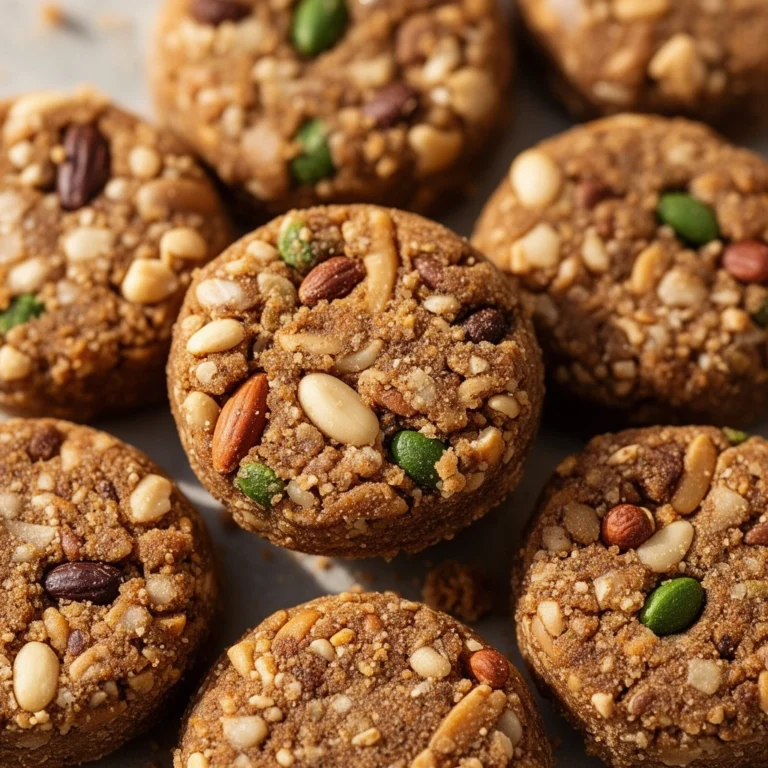
- Grain-Free Version: Use almond flour instead of oat flour for dogs with grain sensitivities. Just watch the quantity since almond flour is denser.
Each variation keeps the Easter spirit alive while giving your dog a little variety. Rotating treats also helps you figure out what flavors your dog loves most.
Wrapping It Up
Making homemade Easter dog treats doesn’t need to be complicated or time-consuming. With a handful of simple, dog-safe ingredients and about 30 minutes of your time, you can whip up a batch of treats that’ll have your pup doing happy spins around the kitchen. From carrot and peanut butter biscuits to frozen yogurt eggs, there’s a recipe here for every dog’s taste and every pet parent’s schedule.
So grab your apron, pull out those cookie cutters, and get baking. Your dog’s Easter basket is about to get a whole lot better with these homemade Easter dog treats sitting right on top.