Homemade Chicken Dog Treats: The Complete Guide Your Pup Deserves
Chicken dog treats might just be the easiest way to make your furry best friend go absolutely bonkers with joy. I’ve been making these for my own dogs for years now, and let me tell you—there’s something magical about watching a dog’s tail turn into a helicopter blade the second they smell chicken cooking in the kitchen.
If you’ve ever stood in the pet store aisle, squinting at ingredient labels you can barely pronounce, wondering what “meat by-products” actually means, you’re not alone. That’s exactly why homemade chicken treats have become such a big deal. You control what goes in. You know it’s fresh. And honestly? Your dog will love you even more for it (as if that were possible).
What Are Chicken Dog Treats, Exactly?
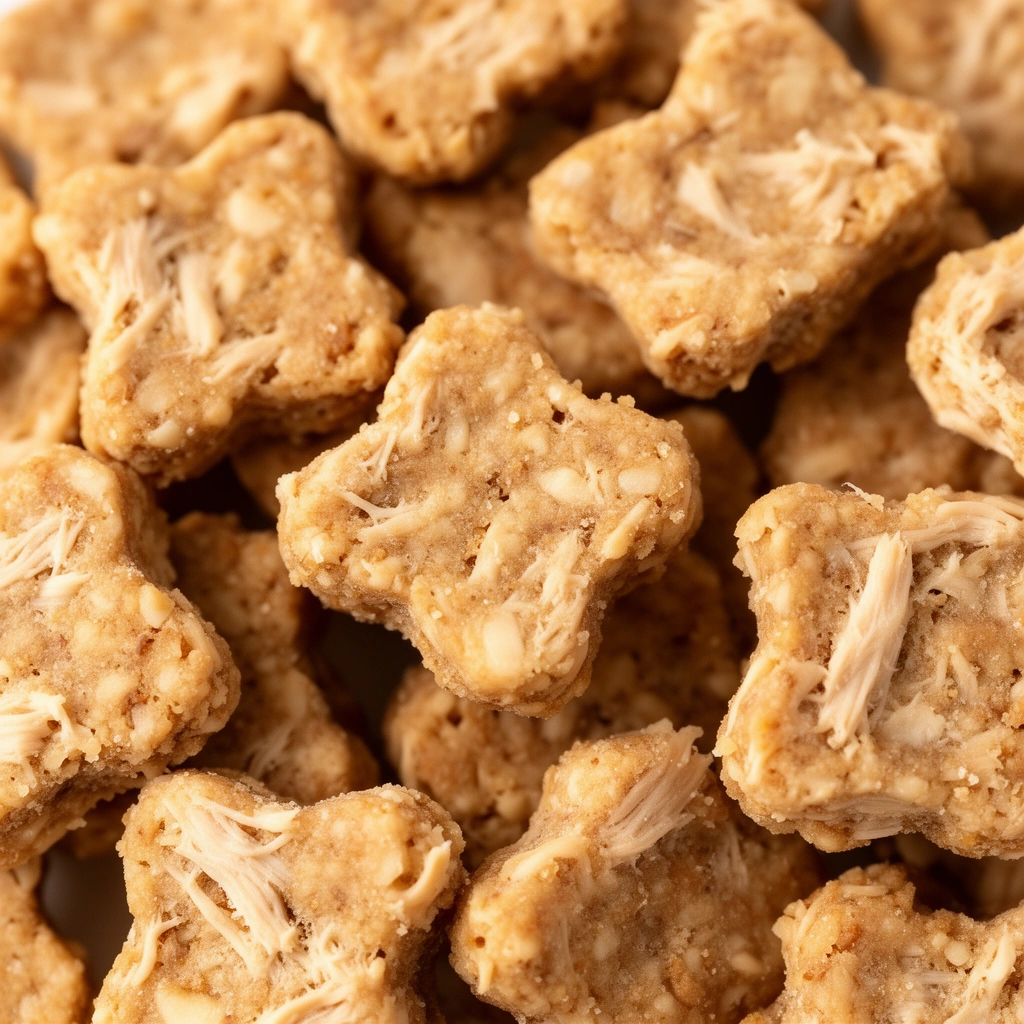
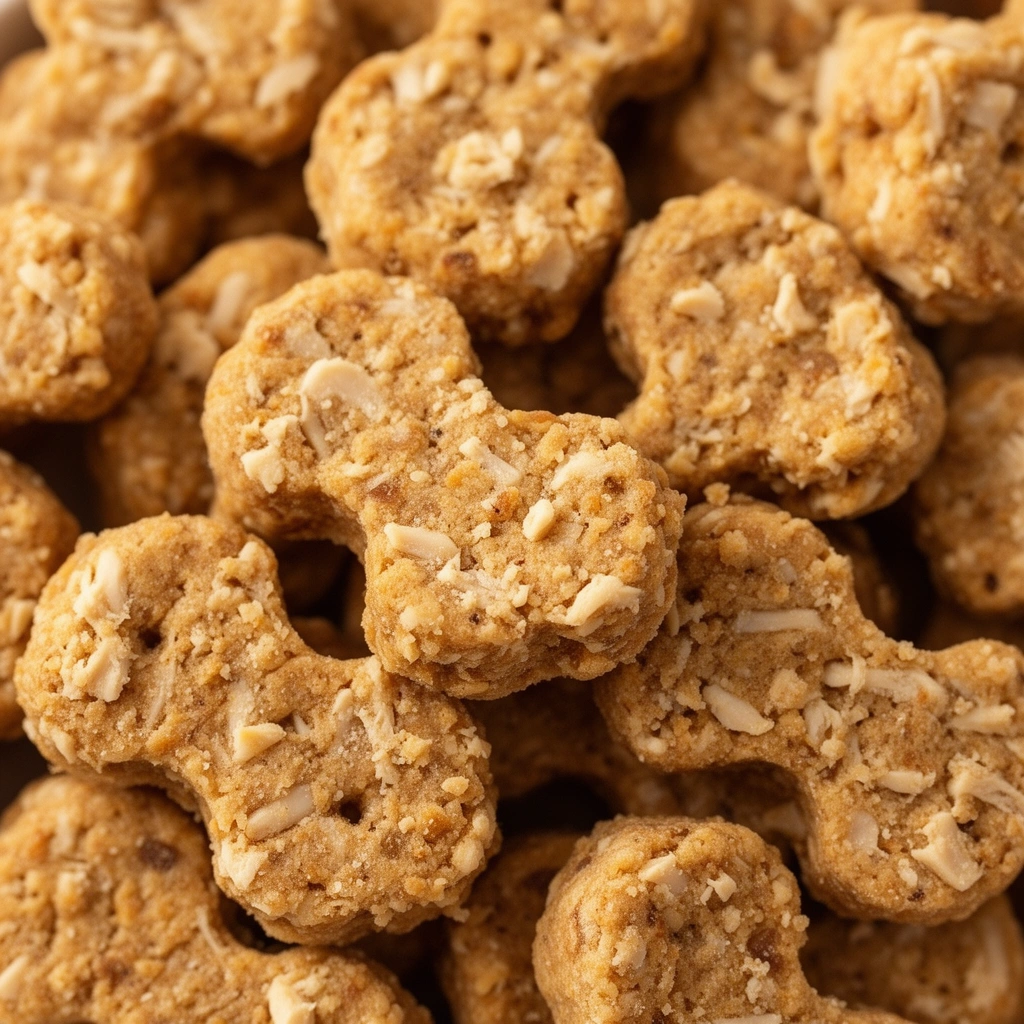
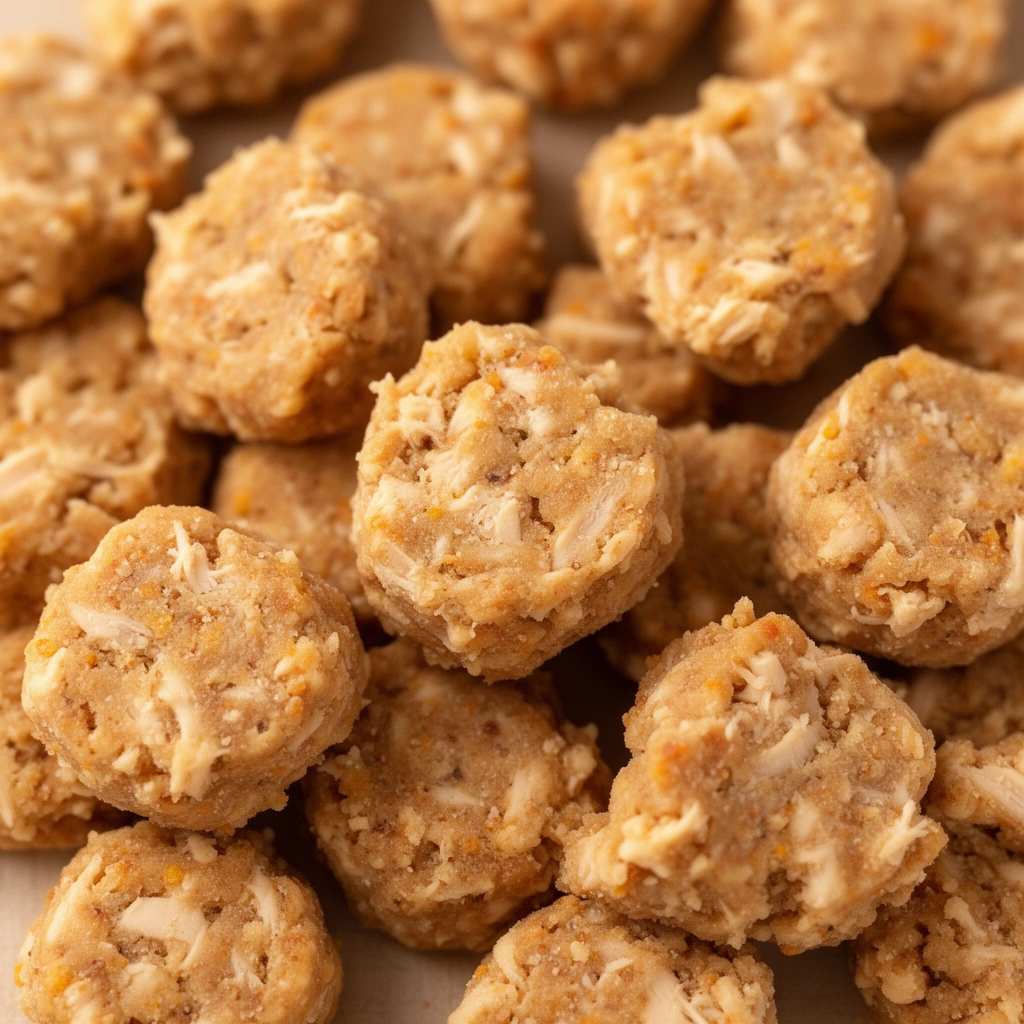
So let’s talk about what we’re actually making here. Chicken dog treats are simple, protein-packed snacks made primarily from chicken meat—sometimes combined with dog-safe flours, eggs, or vegetables to bind everything together. They can be soft and chewy, crispy and crunchy, or somewhere in between depending on how you cook them.
I like to think of them as the difference between fast food and a home-cooked meal. Store-bought treats often contain fillers, preservatives, and mystery ingredients. Homemade chicken treats? Just real food your dog can actually recognize and digest properly.
These treats work great for training sessions, rewarding good behavior, or just spoiling your pup on a lazy Sunday afternoon. They’re also gentler on sensitive stomachs since you’re skipping all those artificial additives.
Key Terms You Should Know
Before we get cooking, let’s break down some terms that’ll pop up throughout this guide.
Dehydrating
: Removing moisture from chicken slowly using low heat, which creates a chewy, jerky-like texture that lasts longer.
Binder
: An ingredient (like egg or oat flour) that holds your treat mixture together so it doesn’t crumble apart.
Rendering
: The process of cooking fat out of meat, which happens naturally when you bake or boil chicken.
Shelf-stable
: A treat that can sit at room temperature without spoiling quickly, usually because most moisture has been removed.
Grain-free
: Recipes that skip wheat, corn, or rice, often using alternatives like coconut flour or chickpea flour instead.
Understanding these words helps you follow recipes better and troubleshoot when something doesn’t turn out right.
What You’ll Need Before Starting
Before diving into the kitchen, gather these essentials. Trust me, having everything ready makes the whole process smoother.
- Boneless, skinless chicken breast or thighs (fresh, not previously frozen if possible)
- A sharp knife for slicing
- Parchment paper or a silicone baking mat
- A baking sheet or dehydrator
- An oven thermometer (ovens lie sometimes)
- Airtight containers for storage
- Optional: a food processor if you’re making chicken jerky bites or ground treats
Skip the seasoning aisle entirely. Dogs don’t need salt, garlic, or onion powder—these can actually harm them. Plain chicken is the way to go here.
Step-by-Step: Making Your Chicken Dog Treats
Alright, let’s get into the actual process. I’m breaking this down into clear steps so nothing gets confusing.
Step 1: Choose Your Chicken
Pick lean cuts like chicken breast. Thighs work too, but they contain more fat, which means shorter shelf life for your treats.
Step 2: Trim the Fat
Remove any visible fat and skin. Fat doesn’t dehydrate well and can turn rancid faster than the meat itself.
Step 3: Slice Thin and Even
Cut the chicken into thin strips, about a quarter-inch thick. Consistency matters here—thicker pieces take longer to cook and might not dry evenly.
Step 4: Preheat Your Oven
Set your oven to 250°F (or use a dehydrator at 165°F if you have one). Low and slow is the name of this game.
Step 5: Arrange on a Baking Sheet
Lay the chicken strips flat on parchment paper, leaving space between each piece so air can circulate.
Step 6: Bake Low and Slow
Cook for about 2 to 3 hours, flipping halfway through. You’re aiming for a firm, dry texture—not raw, not burnt.
Step 7: Check for Doneness
The treats should feel dry to the touch with no squishy or wet spots. If they still feel moist, give them more time.
Step 8: Cool Completely
Let the treats sit at room temperature for at least an hour before storing. Warm treats trap steam, which leads to mold.
Step 9: Store Properly
Place cooled treats in an airtight container. Refrigerate for up to two weeks or freeze for longer storage.
That’s it. Nine simple steps stand between you and a jar full of happy-dog rewards.
Tips for Success
Here are a few things I’ve learned the hard way, so hopefully you can skip the trial and error.
- Always use a meat thermometer to confirm chicken reaches 165°F internally before dehydrating further
- Cut against the grain for chewier treats, or with the grain for treats that snap more easily
- Rotate your baking sheet halfway through cooking for even drying
- Store treats in small batches so you’re not opening the same container repeatedly (this keeps them fresher longer)
- Label your containers with the date you made them—it’s easy to forget!
- If your kitchen feels humid, dry the treats a bit longer than the recipe suggests
Common Mistakes and How to Avoid Them
I’ve made plenty of mistakes over the years, so let me save you some frustration.
Mistake: Cooking chicken at too high a temperature
High heat cooks the outside fast while leaving the inside raw. Stick to low, slow heat every time.
Mistake: Skipping the fat trim
Leftover fat spoils quickly and can cause an upset stomach. Always trim thoroughly before cooking.
Mistake: Storing treats before they’ve cooled
This traps moisture inside the container, leading to mold within days. Patience pays off here.
Mistake: Cutting inconsistent sizes
Uneven pieces mean some treats finish cooking while others remain undercooked. A sharp knife and steady hand go a long way.
Mistake: Adding seasonings “for flavor”
Dogs don’t need salt, pepper, or spices. Plain chicken tastes plenty good to them, I promise.
Mistake: Using frozen chicken without fully thawing
This creates uneven cooking and excess moisture. Always thaw completely first.
Similar Variations You Can Try
Once you’ve mastered the basic chicken treat, the fun really begins. Here are some variations worth exploring.
- Chicken and sweet potato bites – Mash cooked sweet potato with shredded chicken, form into small balls, and bake until firm
- Chicken jerky strips – Marinate lean chicken in bone broth (no salt added) before dehydrating for extra flavor
- Chicken and pumpkin treats – Combine pureed pumpkin, oat flour, and shredded chicken, then bake in small molds
- Frozen chicken broth cubes – Perfect for hot summer days; freeze chicken broth in ice cube trays for a cooling snack
- Chicken liver crisps – Slice chicken liver thin and dehydrate for a nutrient-dense, iron-rich treat
- Grain-free chicken meatballs – Mix ground chicken with egg and chickpea flour, then bake at 350°F for 20 minutes
Each variation offers something a little different, whether it’s texture, nutrition, or just variety to keep mealtime interesting.
Wrapping It All Up
Making chicken dog treats at home really isn’t complicated once you know the steps. You get full control over ingredients, save money compared to store-bought options, and most importantly, you get to watch your dog enjoy something made with actual love and care.
Give these chicken dog treats a try this weekend. I bet your pup will be sitting by the oven door before you even finish preheating it.