2-Ingredient Pumpkin Dog Treats: The Simple Recipe Your Pup Will Beg For
Ever wonder if you could whip up a healthy dog treat with just two things from your kitchen? I get it. Store-bought treats are pricey, and half the time you can’t even pronounce what’s in them. That’s exactly why I started making 2-ingredient pumpkin dog treats at home, and honestly, I haven’t looked back since.
This recipe is about as simple as it gets. No fancy equipment. No fifteen-item grocery list. Just pumpkin, flour, and a little bit of your time. My dog goes absolutely nuts for these, and I love knowing exactly what’s going into her belly.
What Are 2-Ingredient Pumpkin Dog Treats?
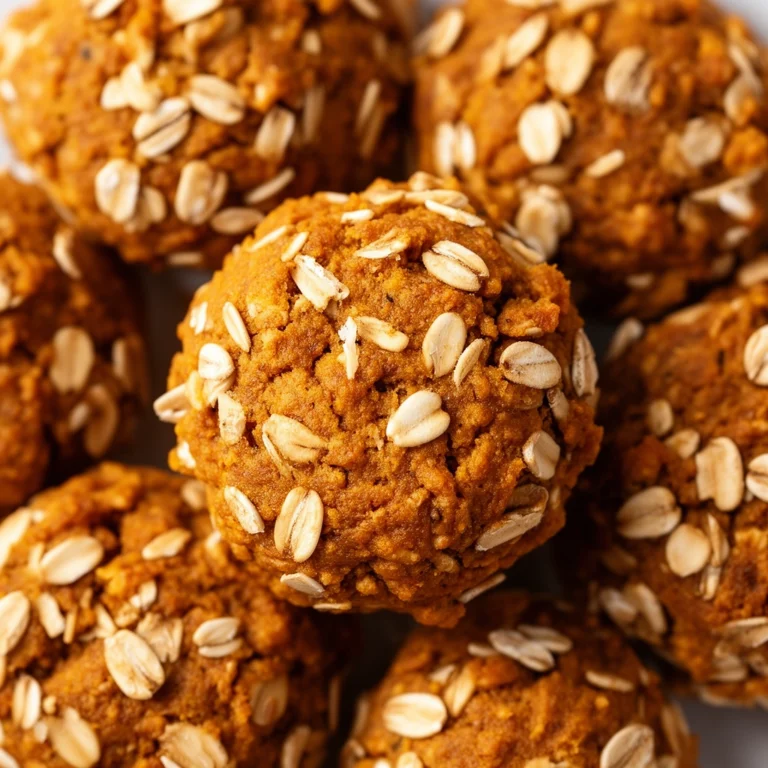
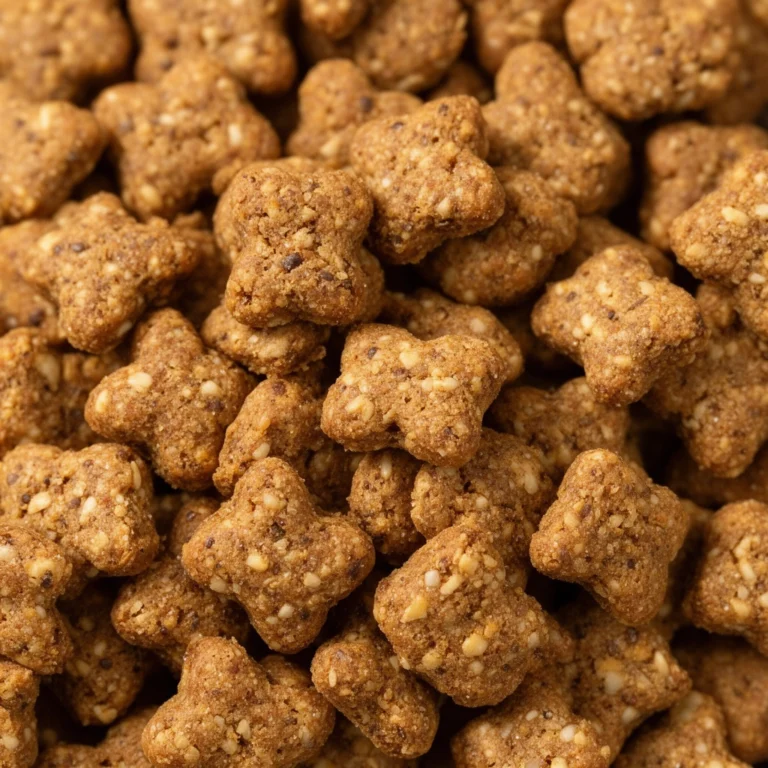
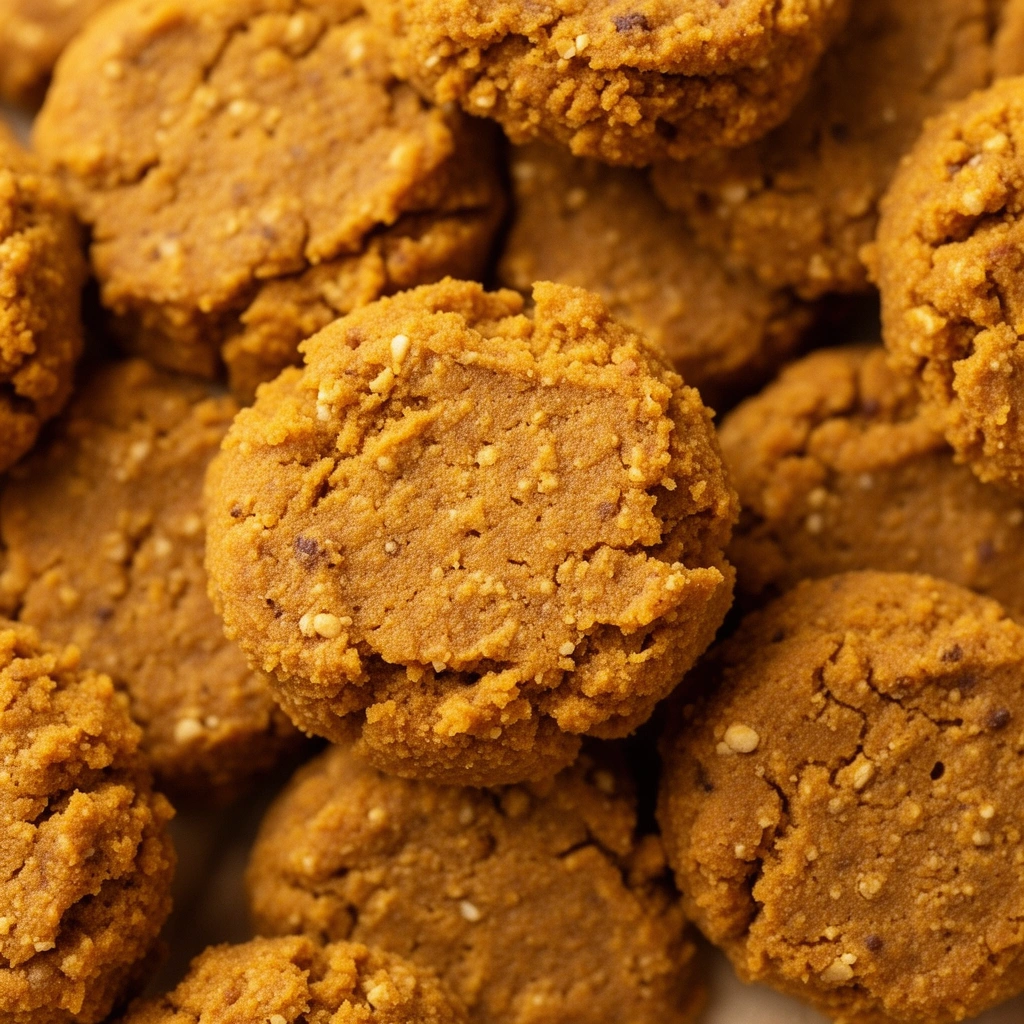
Let’s break this down before we start baking. These treats are exactly what they sound like: crunchy, bite-sized biscuits made from canned pumpkin and flour. That’s it. No eggs, no oil, no weird preservatives you can’t spell.
Here’s a quick rundown of what you’re working with:
Pumpkin puree — Plain, canned pumpkin (not pumpkin pie filling) packed with fiber and vitamins that support your dog’s digestion.
Whole wheat flour — The binding agent that turns pumpkin into a dough you can roll and cut.
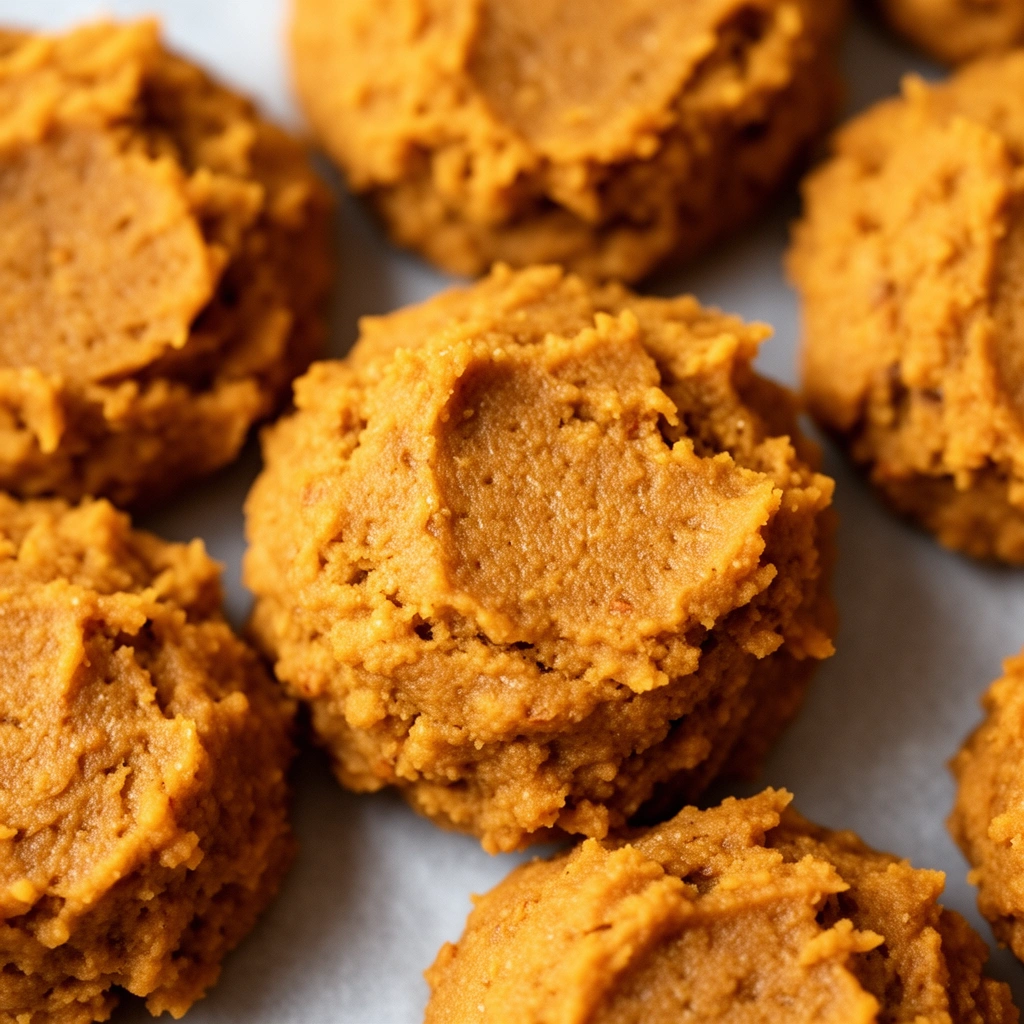
Dough consistency — The texture you want before baking; it should feel like stiff cookie dough, not batter.
Cookie cutter or shot glass — Your shaping tool. You don’t need anything special here.
I know two ingredients sounds almost too easy to be a “recipe.” But trust me, there’s a bit of technique involved to get the texture right, and I’ll walk you through every bit of it.
Why Pumpkin Is Actually Good for Dogs
Before we get into the mixing bowl, let’s talk about why pumpkin deserves a spot in your dog’s diet. A lot of recipes skip this part, but I think it matters.
Pumpkin is loaded with:
- Fiber, which helps firm up loose stools or ease constipation
- Vitamin A, good for eye health and immune function
- Potassium, which supports muscle and nerve function
- Low calories, making it a smart choice for dogs watching their weight
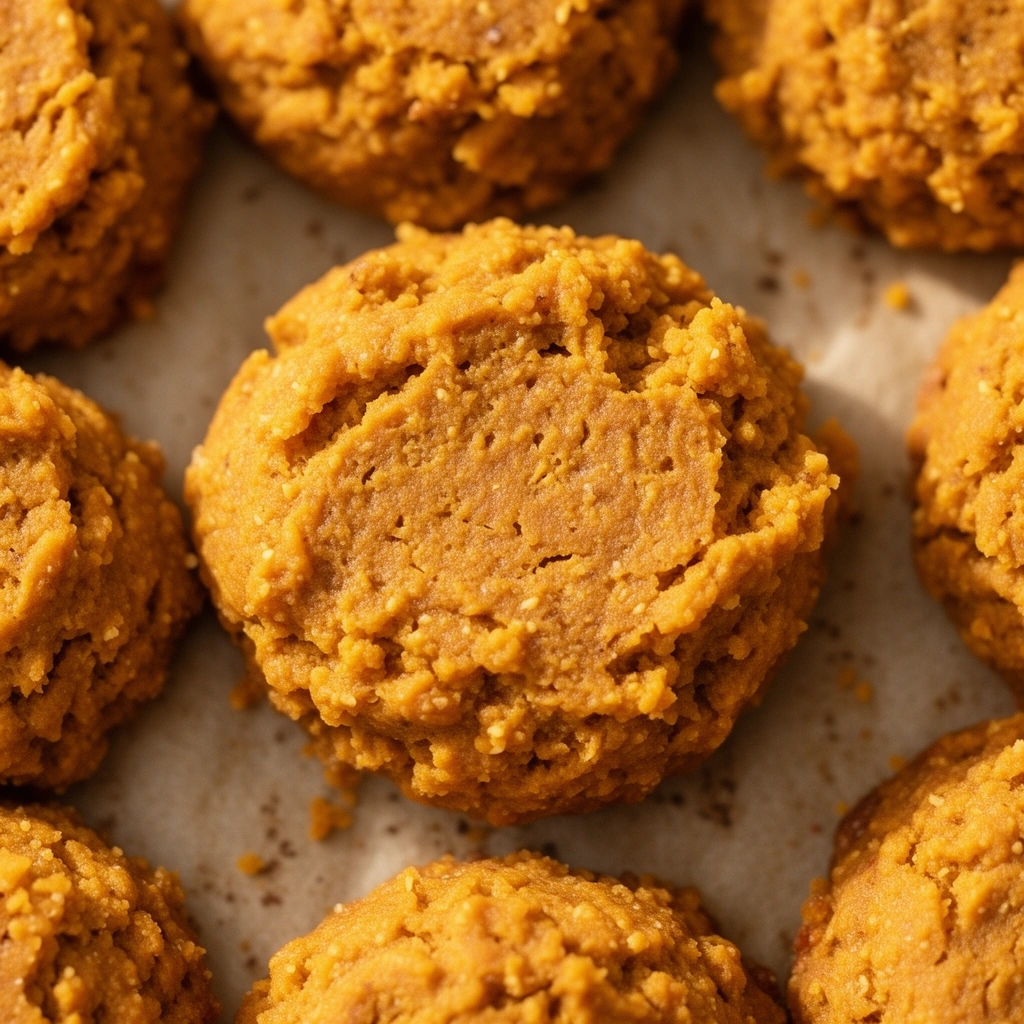
One thing worth mentioning: always use plain canned pumpkin. Pumpkin pie mix has added sugar and spices like nutmeg, which isn’t safe for dogs. Check that label twice.
Ingredients You’ll Need
Here’s your short shopping list:
- 1 cup canned pumpkin puree (plain, unsweetened)
- 2 to 2.5 cups whole wheat flour (add gradually)
That’s genuinely it. Some folks like to toss in a pinch of cinnamon, but I’ll cover swaps and add-ins later.
Step-by-Step Instructions
Alright, let’s get our hands a little messy. Follow these steps and you’ll have a batch ready in under 45 minutes.
- Preheat your oven to 350°F (175°C) and line a baking sheet with parchment paper.
- In a large mixing bowl, pour in the pumpkin puree.
- Add flour a half cup at a time, stirring after each addition.
- Keep mixing until the dough pulls together and no longer feels sticky.
- Turn the dough onto a floured surface and knead for about a minute.
- Roll the dough out to roughly a quarter-inch thickness.
- Use a cookie cutter, knife, or even a shot glass to cut out shapes.
- Place the treats on your lined baking sheet, spacing them slightly apart.
- Bake for 20 to 25 minutes, then flip and bake another 15 to 20 minutes for extra crunch.
- Let them cool completely on a wire rack before serving or storing.
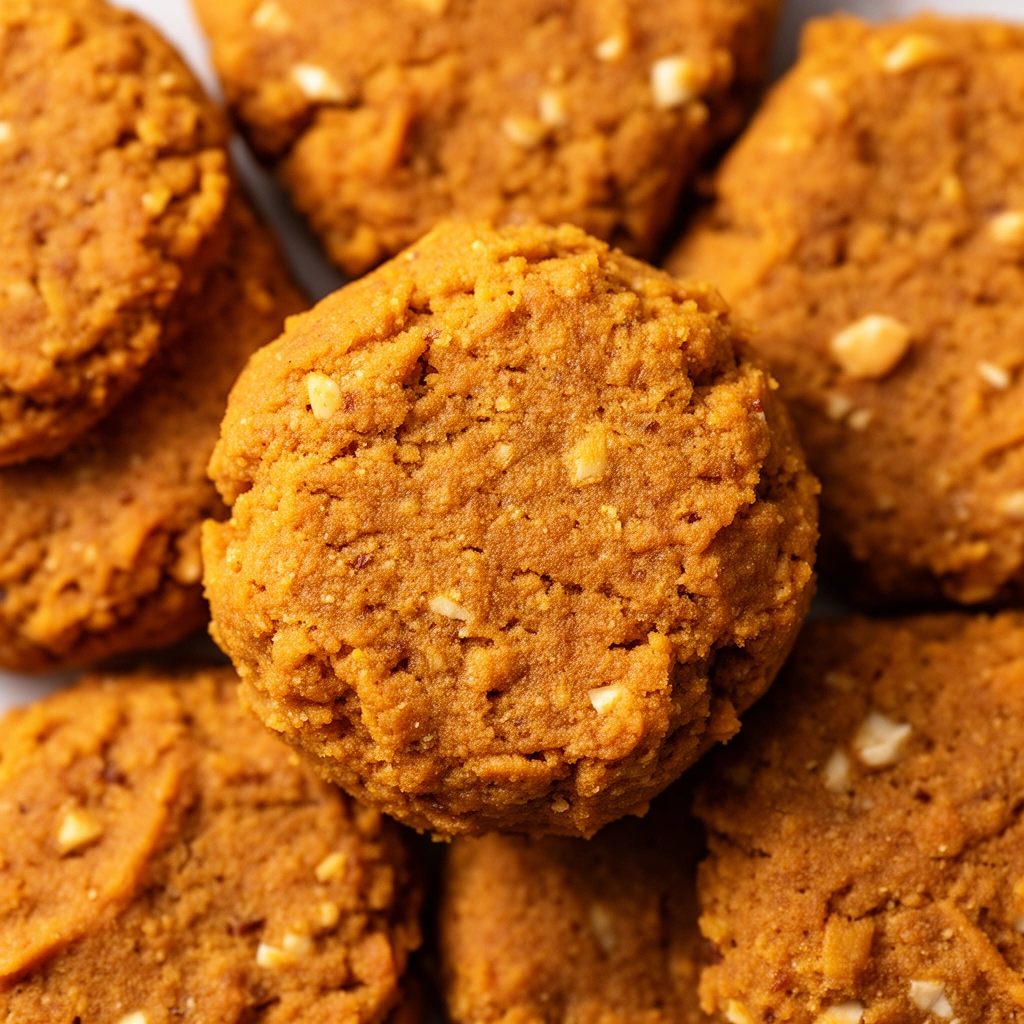
That last step matters more than people think. Warm treats are soft and can crumble apart. Cooling time gives them that satisfying crunch dogs love.
Tips for Success
I’ve made these treats more times than I can count, and I’ve picked up a few tricks along the way.
- Add flour slowly. Dumping it all in at once can make the dough too dry, and there’s no easy way to fix that.
- Use a fork to poke small holes in each treat before baking. This helps them bake evenly and cool faster.
- Roll thinner for crunchier treats, thicker if your dog prefers something softer.
- Store extra pumpkin puree in ice cube trays and freeze it for your next batch.
- Let treats fully cool before sealing them in a container, or moisture will build up and make them soggy.
Common Mistakes and How to Avoid Them
Even with just two ingredients, things can go sideways. Here’s what usually trips people up.
Dough too sticky — This happens when there’s too much pumpkin relative to flour. Fix it by adding flour a tablespoon at a time until it firms up.
Treats turn out mushy — Usually caused by underbaking or skipping the flip-and-bake step. Give them the full bake time and let them cool on a rack, not a flat plate.
Using the wrong pumpkin — Grabbing pumpkin pie filling instead of plain puree is probably the most common slip-up. Always double-check the can label.
Treats stick to the baking sheet — Skipping parchment paper is the culprit here. It takes two seconds and saves you a scrubbing headache.
Dough cracks while rolling — This means it’s a bit too dry. Knead in a tiny splash of water or an extra spoonful of pumpkin.
Storage and Shelf Life
Since these treats have no preservatives, storage matters. Here’s how I keep mine fresh.
- Store at room temperature in an airtight container for up to one week.
- Refrigerate for up to two weeks if your kitchen runs warm.
- Freeze for up to three months. Just thaw at room temperature before serving.
- Always check for any unusual smell or mold before giving your dog a treat from an older batch.
Similar Variations You Can Try
Once you’ve nailed the basic recipe, it’s fun to switch things up. Here are a few variations I’ve tried with great results.
Peanut butter pumpkin treats — Add two tablespoons of unsweetened, xylitol-free peanut butter to the dough for extra flavor dogs adore.
Oat flour version — Swap whole wheat flour for oat flour if your dog has a grain sensitivity.
Cinnamon pumpkin treats — A small pinch of cinnamon adds warmth without any risk, since it’s dog-safe in small amounts.
Coconut flour treats — Great for dogs with wheat allergies, though you’ll need less coconut flour since it absorbs more moisture.
Frozen pumpkin bites — Skip the baking altogether. Freeze small dollops of the pumpkin mixture in silicone molds for a cool summer treat.
A Quick Note on Portion Size
Even healthy treats need moderation. Treats should never make up more than 10% of your dog’s daily calorie intake. For a small dog, one or two treats a day is plenty. Larger dogs can handle a few more, but always watch their weight and adjust as needed.
If your dog has any health conditions, especially diabetes or pancreatitis, chat with your vet before adding pumpkin treats to their routine. Pumpkin is generally safe, but every dog’s needs are a little different.
Wrapping It Up
Making 2-ingredient pumpkin dog treats at home is one of the easiest ways to spoil your pup without spoiling your budget or their health. You control exactly what goes in, you skip the mystery preservatives, and honestly, the whole process is kind of fun once you get the hang of it.
Give this recipe a shot this weekend. Grab a can of pumpkin, some flour, and get ready for your dog to follow you around the kitchen like you’re holding gold. These 2-ingredient pumpkin dog treats might just become your new go-to.