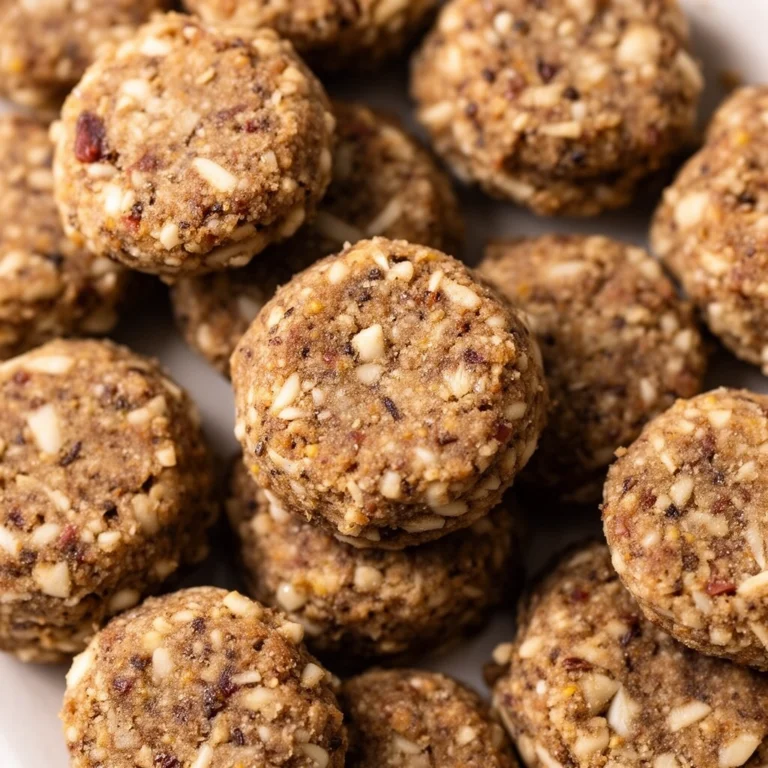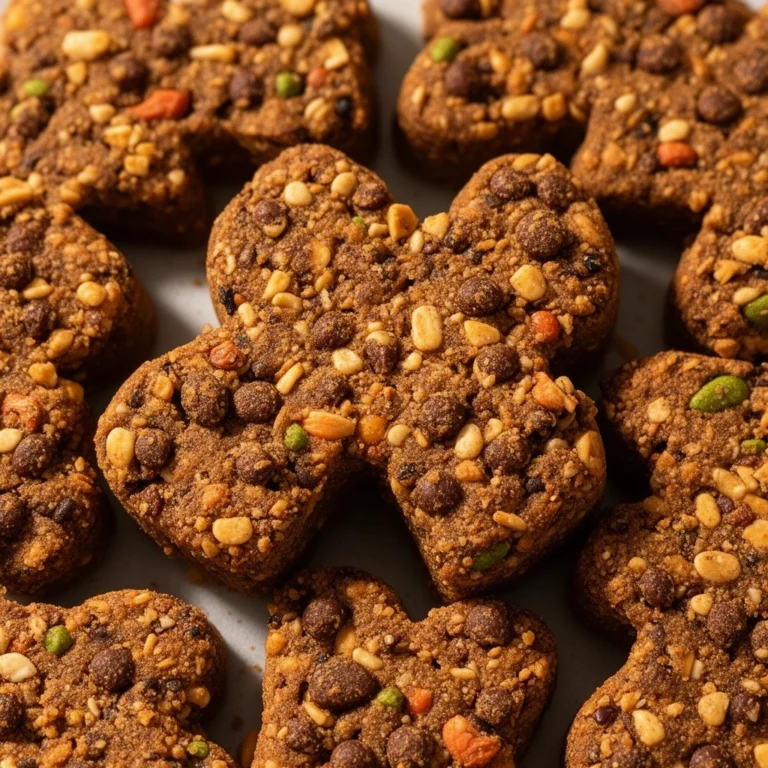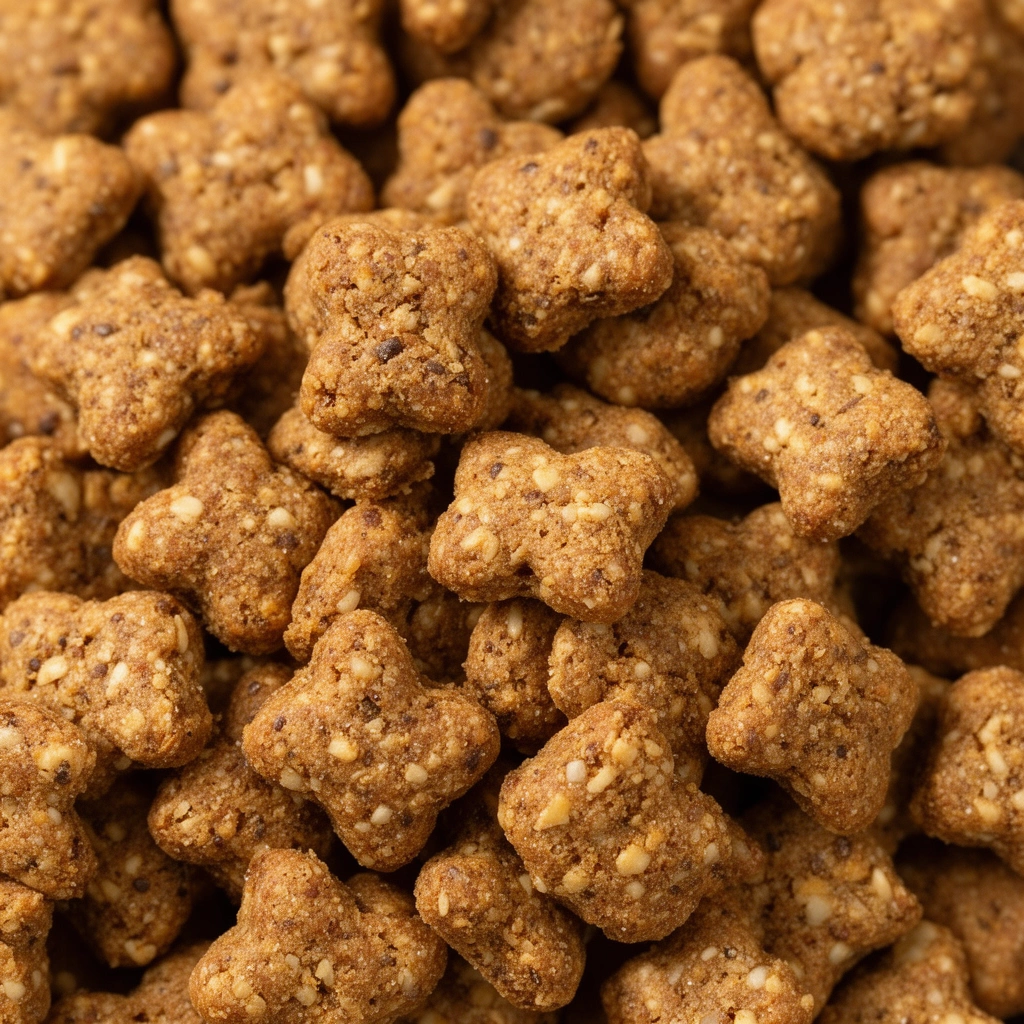
Homemade Dog Training Treats: The Ultimate Guide to Making Your Pup’s Favorite Rewards
Ever wondered why your dog perks up the second you grab that treat bag? Dog training treats are the secret weapon behind every “sit,” “stay,” and “come” your furry friend actually listens to. I’ve spent years testing different recipes in my kitchen, and let me tell you—store-bought treats often fall short on both nutrition and taste. Today, I’m sharing everything I know about making dog training treats that actually work, along with a few things other guides tend to skip.
Why Homemade Training Treats Beat Store-Bought Options
Let’s be honest here. Commercial training treats are convenient. But they’re also loaded with fillers, preservatives, and artificial flavors your dog doesn’t need. When I switched to homemade treats, I noticed my dog responded faster during training sessions. Why? Because I could control the ingredients, the size, and most importantly, the smell.
Dogs learn through positive reinforcement. That means the treat needs to be small, tasty, and quick to eat so training doesn’t lose momentum. A treat that takes thirty seconds to chew defeats the whole purpose of rapid-fire training reps.
Key Terms You Should Know
Before jumping into the recipe, let’s clear up some terminology that’ll help you understand training treats better.
Training Treat
: A small, low-calorie snack given during obedience training to reinforce good behavior immediately after it happens.
High-Value Treat
: A treat your dog finds extra exciting, usually meatier or smellier than regular kibble. These work best for tough commands or distracting environments.
Low-Value Treat
: A treat that’s fine for easy commands your dog already knows well, like sitting for a meal.
Bait Timing
: The window of time (usually 1-2 seconds) after a correct behavior when a treat must be given for effective reinforcement.
Treat Fatigue
: When a dog becomes bored or unmotivated by the same treat used repeatedly during long training sessions.
Pea-Sized Portion
: The ideal treat size for training—small enough to avoid weight gain but tasty enough to reward properly.
What You’ll Need to Make Training Treats
Here’s a straightforward list of ingredients that work well for a basic chicken and oat training treat recipe. This combo is budget-friendly and gentle on most dogs’ stomachs.
- 1 cup cooked chicken breast (shredded or finely chopped)
- 1 cup rolled oats
- 1 egg
- 2 tablespoons peanut butter (xylitol-free, always check the label)
- 1/4 cup unsweetened applesauce
- A pinch of parsley (helps with fresh breath)
You’ll also need a food processor, a baking sheet, parchment paper, and a small cookie cutter or knife for cutting shapes.
Step-by-Step Process for Making Training Treats
Making these treats isn’t complicated. Follow these steps and you’ll have a batch ready within an hour.
- Preheat your oven to 350°F (175°C) and line a baking sheet with parchment paper.
- Toss the cooked chicken into a food processor and pulse until it’s finely shredded.
- Add the rolled oats, egg, peanut butter, and applesauce into the processor.
- Blend everything together until you get a thick, dough-like consistency. If it’s too sticky, add a bit more oats.
- Roll the dough out on a flat surface until it’s about 1/4 inch thick.
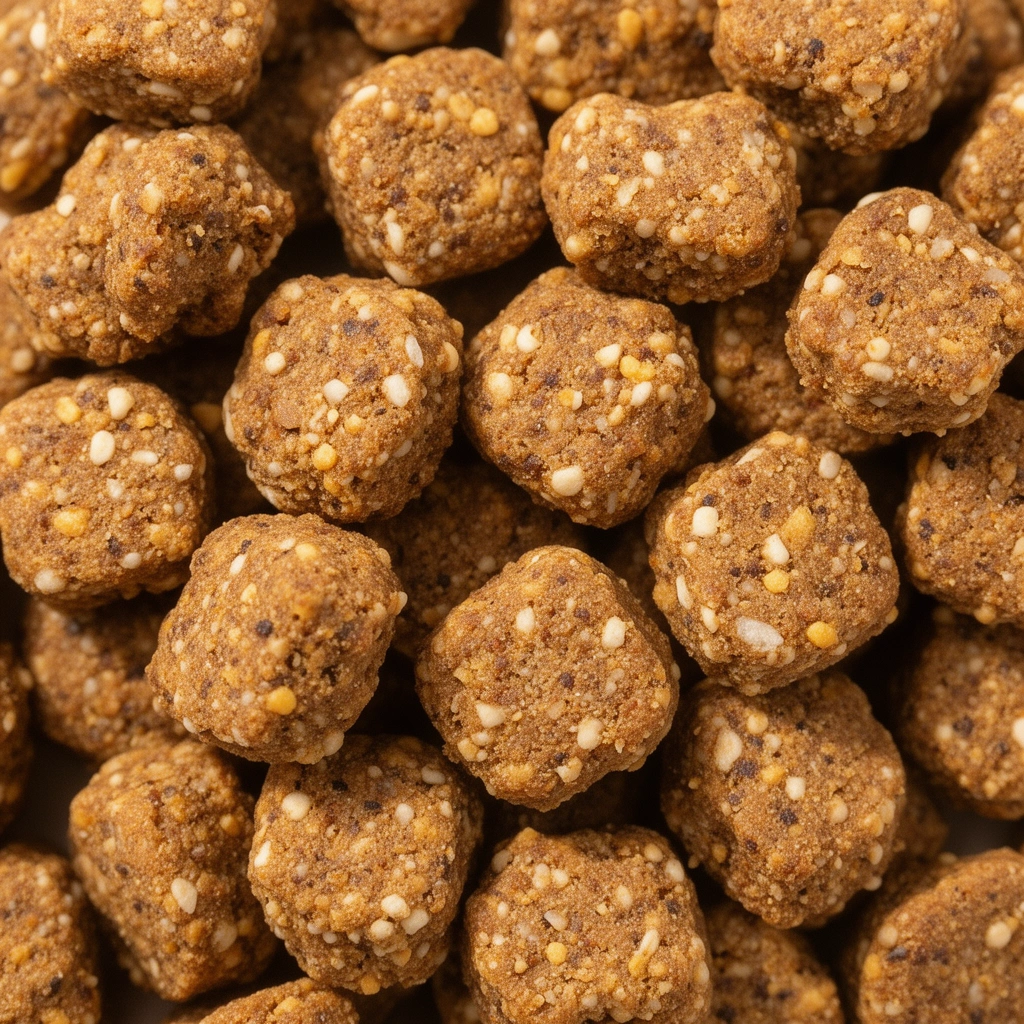
- Use a small cookie cutter (or just a knife) to cut the dough into pea-sized pieces. Remember, smaller is better for training.
- Place the pieces onto your prepared baking sheet, leaving a little space between each one.
- Bake for 20-25 minutes, or until they’re firm but not rock-hard.
- Let them cool completely before storing or feeding to your dog.
That’s it. Simple, right? The whole batch usually makes around 100 pea-sized treats, which is plenty for several training sessions.
Tips for Success
Getting the recipe right is only half the battle. Here’s what actually makes a difference during real training sessions.
- Keep treats small. Bigger treats slow down training and add unnecessary calories.
- Use a treat pouch that clips to your waistband so you’re not fumbling with bags mid-session.
- Rotate between two or three treat flavors to avoid treat fatigue.
- Always factor training treats into your dog’s daily calorie count, especially if training multiple times a day.
- Store treats in an airtight container in the fridge for up to a week, or freeze for longer storage.
- Test the treat’s smell strength before a big training session. Stronger-smelling treats work better in distracting environments like dog parks.
- Break treats into even smaller pieces if your dog tends to gulp and lose focus quickly.
Common Mistakes and How to Avoid Them
I’ve made plenty of mistakes over the years, and I’ve seen other dog owners repeat the same ones. Here’s what to watch out for.
Mistake: Making treats too large.
Fix: Stick to pea-sized portions. Dogs don’t need a huge chunk to feel rewarded—they need frequency, not quantity.
Mistake: Using ingredients that upset your dog’s stomach.
Fix: Avoid onions, garlic, grapes, and anything containing xylitol. Stick to plain, simple proteins and grains.
Mistake: Overbaking treats until they’re too hard.
Fix: Check treats a few minutes before the recommended time. You want firm, not brick-hard.
Mistake: Only using one treat type for every training session.
Fix: Rotate flavors and textures. Dogs get bored just like people do.
Mistake: Forgetting to adjust meal portions on heavy training days.
Fix: Reduce regular meal size slightly if your dog is getting a lot of treats that day. This prevents unwanted weight gain.
Mistake: Not testing treats for allergies before a full training session.
Fix: Introduce new ingredients slowly and watch for signs of itching, upset stomach, or unusual behavior.
Similar Variations Worth Trying
Once you’ve nailed the basic recipe, it’s fun to experiment. Here are a few variations that have worked well in my kitchen.
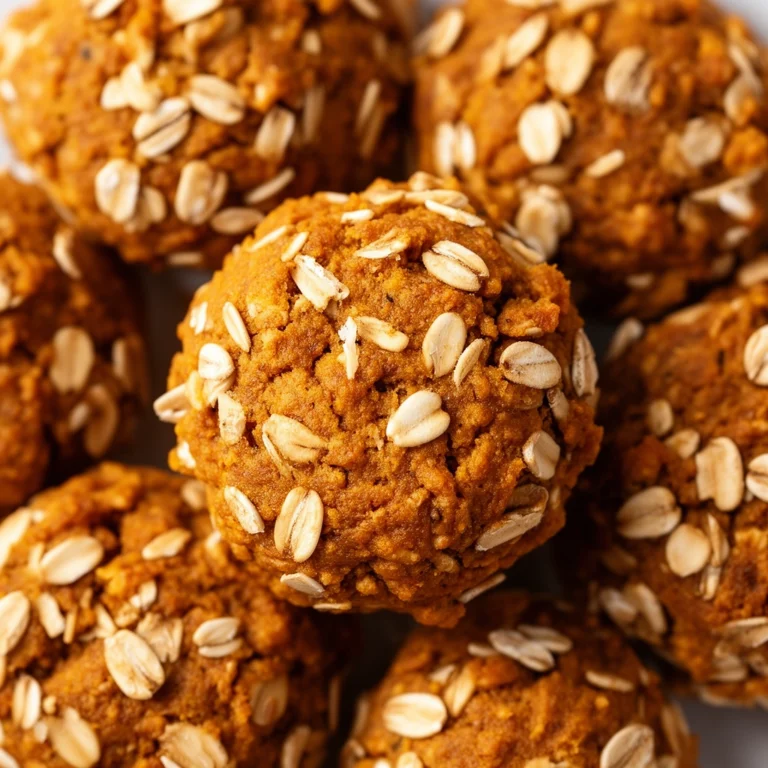
Pumpkin and Oat Treats
: Swap chicken for canned pumpkin puree. Great for dogs with sensitive stomachs and adds fiber.
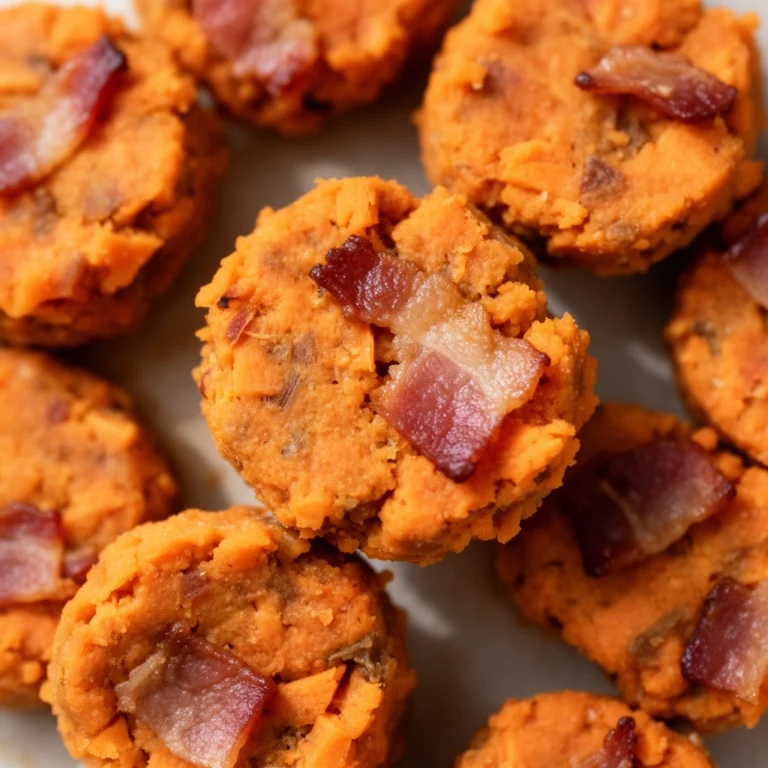
Salmon and Sweet Potato Bites
: Use canned salmon and mashed sweet potato instead of chicken and applesauce. Excellent high-value treat for tough training sessions.
Liver Training Treats
: Beef or chicken liver, dehydrated or baked, makes an intensely smelly, high-value treat perfect for distraction-heavy environments.
Peanut Butter and Banana Drops
: A no-bake option using just peanut butter, banana, and a bit of oat flour, rolled into small balls and refrigerated.
Freeze-Dried Options
: If you own a dehydrator, freeze-dried liver or chicken breast makes for extremely lightweight, long-lasting training treats that don’t crumble in your pocket.
Each variation serves a purpose. Pumpkin treats are gentle and low-value, good for easy commands. Liver treats are your secret weapon for tricky, high-distraction training.
Wrapping It Up
Making your own dog training treats gives you control over quality, size, and flavor—three things that genuinely affect how well your training sessions go. I’ve found that dogs respond better and stay focused longer when treats are fresh, small, and varied. Plus, you’ll save money compared to buying specialty training treats from pet stores.
Start with the basic chicken and oat recipe, then branch out once you know what excites your dog most. Whether you’re teaching a new puppy basic commands or reinforcing tricks with an older dog, homemade dog training treats make the whole process smoother, healthier, and honestly, a lot more rewarding for both of you.