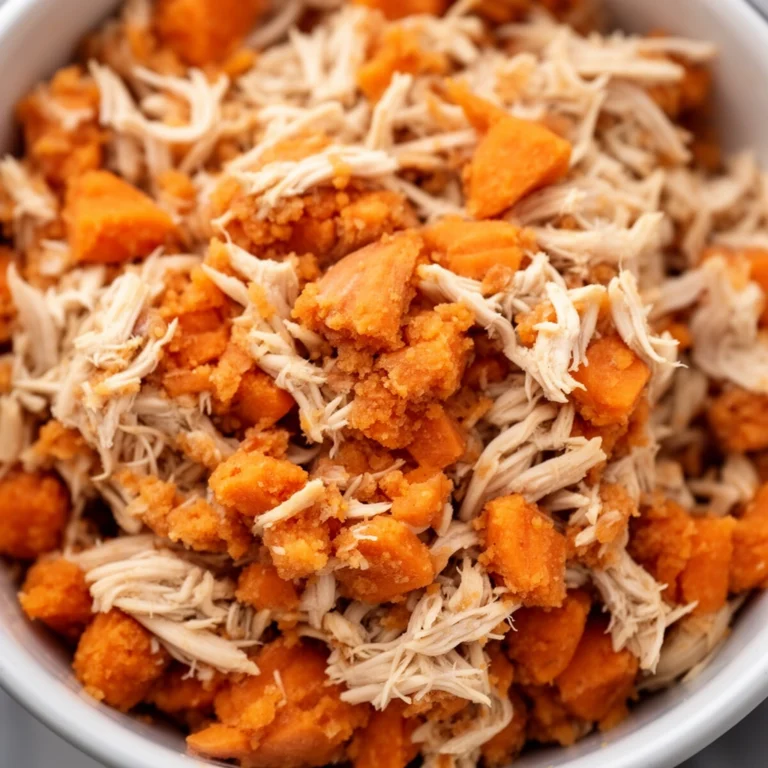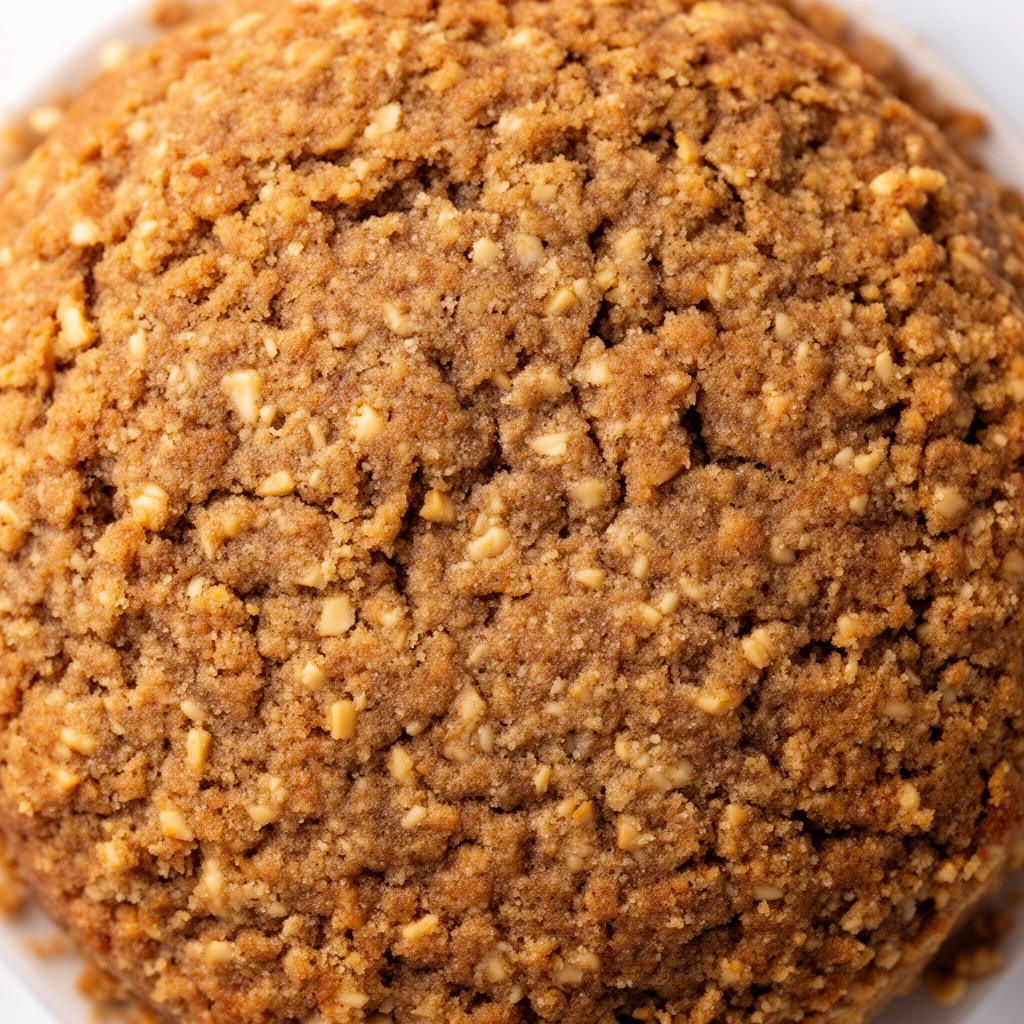
Easy 3-Ingredient Dog Cake Recipe: The Simplest Way to Celebrate Your Pup
Ever wonder how you can bake your dog a birthday cake without turning your kitchen into a disaster zone? I get it. You want to celebrate your furry best friend, but you don’t have hours to spend measuring out a dozen different ingredients. That’s exactly why I fell in love with this easy 3-ingredient dog cake recipe. It’s quick, it’s safe, and your pup will practically do a happy dance when they smell it baking.
I’ve made this cake more times than I can count—birthdays, “gotcha days,” even just a random Tuesday when my dog looked extra deserving of a treat. And every single time, it’s been a hit. No fancy equipment. No weird ingredients you’ve never heard of. Just three simple things you probably already have in your pantry.
What Makes This Dog Cake So Special
Before we jump into the recipe, let me tell you why this particular cake stands out. Most homemade dog cake recipes ask for five, six, sometimes ten ingredients. That’s fine if you’re a seasoned baker with time on your hands. But if you’re like me—juggling work, life, and a dog who’s staring at you with those pleading eyes—you need something fast.
This cake uses only three ingredients, and each one serves a purpose. There’s no filler, no unnecessary steps, and nothing that will upset your dog’s stomach. It’s moist, it smells amazing, and honestly, I’ve been tempted to taste it myself (and I have, no shame).
The best part? You can customize it easily. Swap out the flavor base, add a topping, or turn it into cupcakes. But at its core, this recipe stays simple. That’s the whole point.
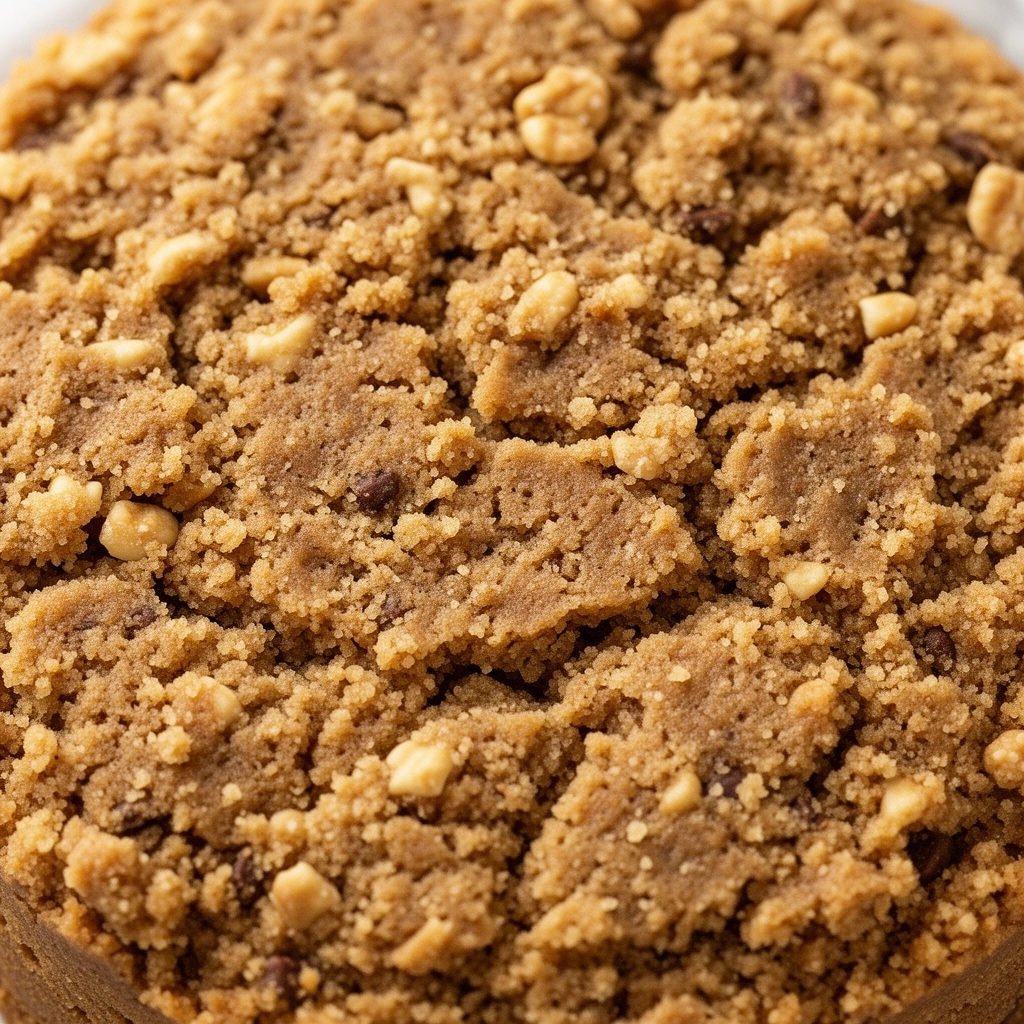
Key Terms You Should Know
Before diving into the steps, let’s clear up a few terms. This helps make sure you’re using the right stuff and understand why each ingredient matters.
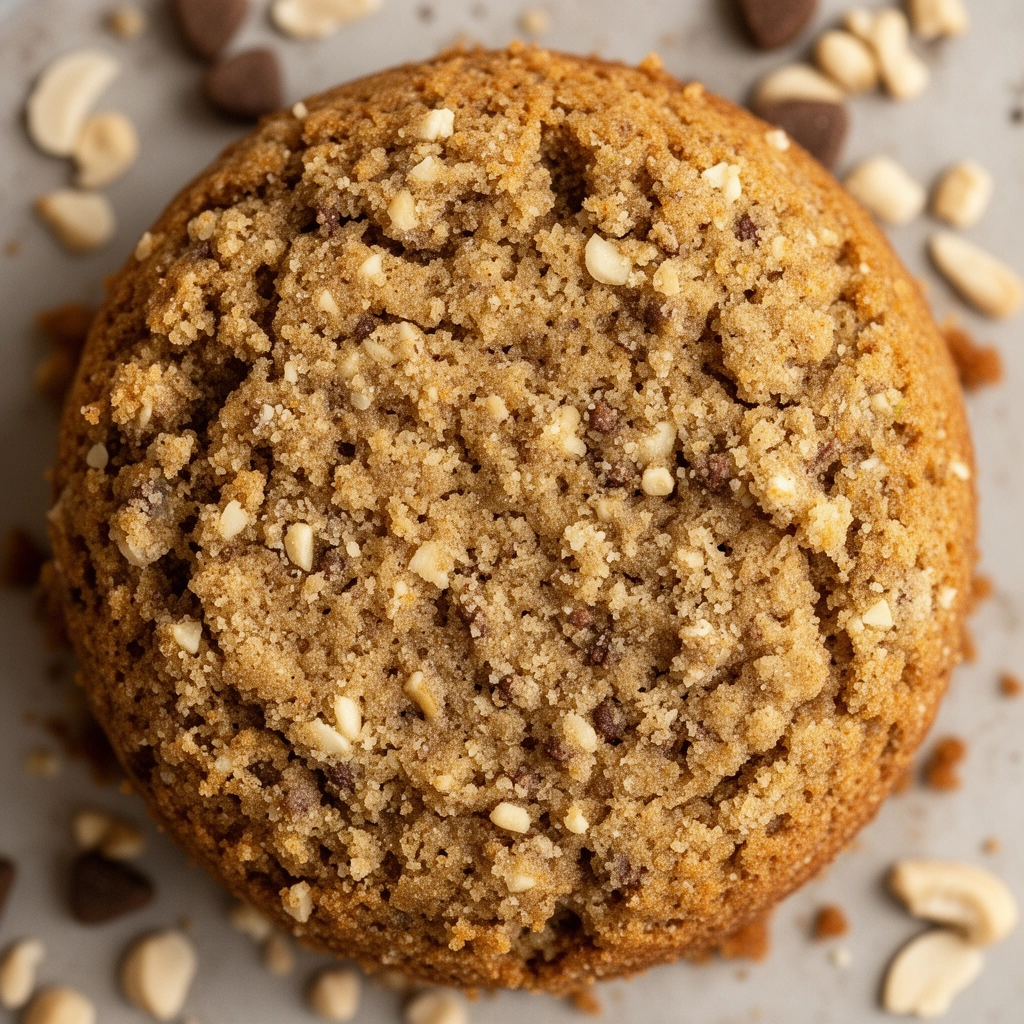
Peanut Butter (Xylitol-Free)
: A creamy, protein-rich spread made from ground peanuts. Always check the label to confirm it does not contain xylitol, a sugar substitute that is toxic to dogs.
Applesauce (Unsweetened)
: Pureed apples with no added sugar. This acts as a natural binder and adds moisture without introducing anything harmful.
Whole Wheat Flour
: A flour milled from the entire wheat grain. It’s gentler on a dog’s digestive system compared to processed white flour and adds a bit of fiber.
Binder
: An ingredient that holds the batter together, helping it keep its shape while baking.
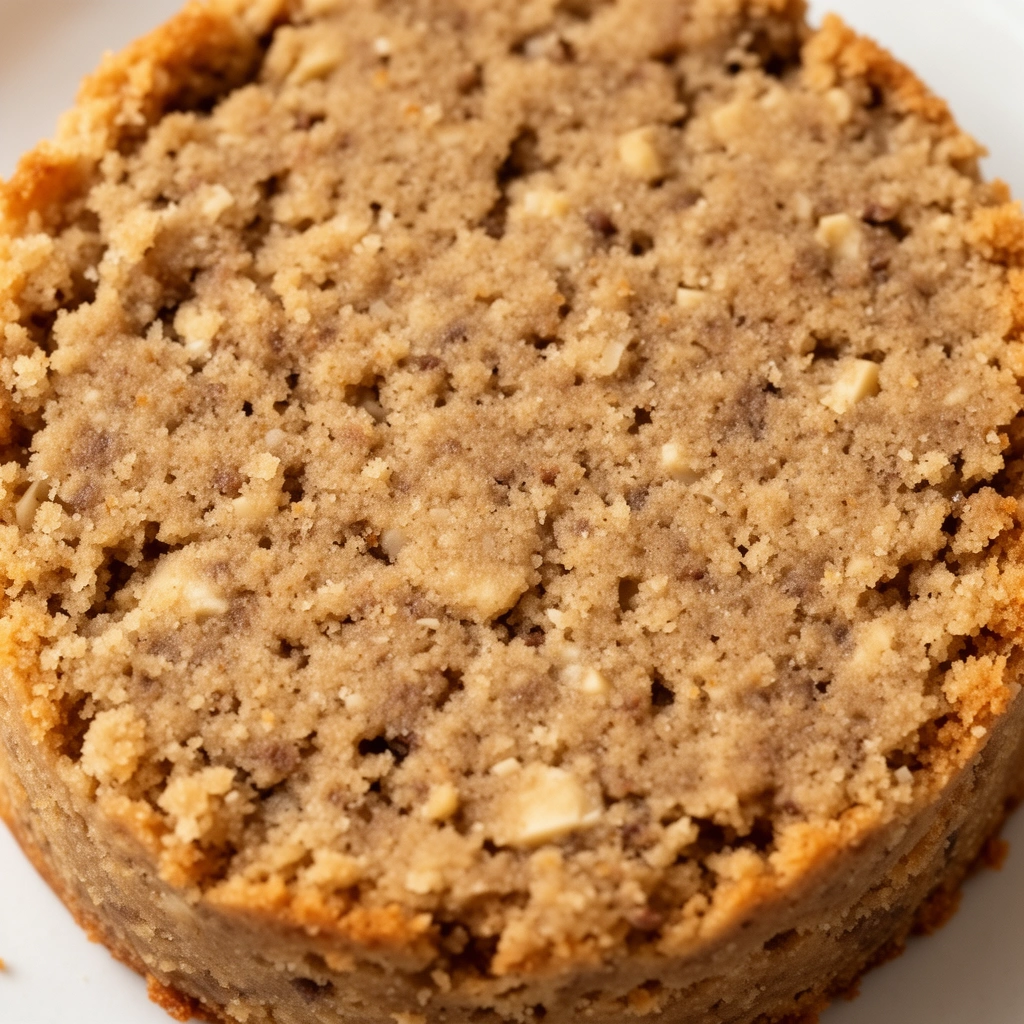
Xylitol
: A sugar alcohol found in many sugar-free products. It is extremely toxic to dogs, even in small amounts, so always double-check ingredient labels.
Ingredients You’ll Need
Here’s the short list. Yes, it’s really this short.
- 1 cup whole wheat flour
- 1/2 cup unsweetened applesauce
- 1/4 cup xylitol-free peanut butter
That’s it. Three ingredients, zero stress.
Step-by-Step Instructions
Now let’s get into the fun part—actually making the cake.
- Preheat your oven to 350°F (175°C). This gives the oven time to reach the right temperature while you mix everything.
- In a large bowl, combine the whole wheat flour, applesauce, and peanut butter. Stir until you get a thick, smooth batter. If it feels too dry, add a splash of water. If it feels too wet, sprinkle in a bit more flour.
- Grease a small round cake pan or line it with parchment paper. This step prevents sticking and makes cleanup way easier.
- Pour the batter into the pan and smooth out the top with a spatula or the back of a spoon.
- Bake for 20 to 25 minutes. You’ll know it’s done when a toothpick inserted into the center comes out clean.
- Let the cake cool completely before removing it from the pan. This usually takes about 20 minutes.
- Once cooled, you can decorate it however you like—more on that below.
That’s the whole process. No complicated folding techniques. No waiting for yeast to rise. Just mix, bake, and cool.
Tips for Success
I’ve made plenty of mistakes over the years, so let me save you some trouble.
- Check every label. Peanut butter brands change their recipes sometimes. Always scan the ingredient list for xylitol before you buy, even if you’ve used that brand before.
- Use room temperature ingredients. Cold peanut butter straight from the fridge doesn’t mix as smoothly. Let it sit out for a few minutes first.
- Don’t overmix. Stir just until combined. Overmixing can make the cake dense instead of light.
- Test with a toothpick, not a timer alone. Ovens vary, so the toothpick test is more reliable than sticking strictly to the clock.
- Let it cool fully. I know it’s tempting to dig in right away, but a warm cake falls apart easily when you try to slice or decorate it.
Common Mistakes and How to Avoid Them
Even a simple recipe has room for error. Here are the slip-ups I see most often, along with how to dodge them.
- Using the wrong peanut butter. This is the biggest one. Always, always check for xylitol. If you’re unsure, make your own peanut butter at home with just peanuts and a food processor.
- Skipping the grease or parchment paper. Your cake can stick to the pan and fall apart when you try to remove it. A little cooking spray or a parchment liner saves you a headache.
- Adding sugar or honey “for taste.” Dogs don’t need sugar the way we do. Their taste buds are different, and added sugar can lead to health problems over time.
- Baking at too high a temperature. This can burn the outside while leaving the inside undercooked. Stick to 350°F for the best results.
- Cutting the cake too soon. I mentioned this in the tips section, but it deserves repeating. Patience pays off here.
Variations You Can Try
Once you’ve nailed the basic recipe, feel free to get creative. Here are a few variations I’ve tried myself.
- Pumpkin Version: Swap the applesauce for canned pumpkin puree (unsweetened, not pie filling). This gives the cake a slightly different flavor and adds even more fiber.
- Banana Twist: Replace applesauce with mashed ripe banana. It adds natural sweetness and a fruity aroma dogs seem to love.
- Cupcake Style: Divide the batter into a muffin tin instead of a cake pan. This works great for parties with multiple dogs or if you want smaller portions to freeze for later.
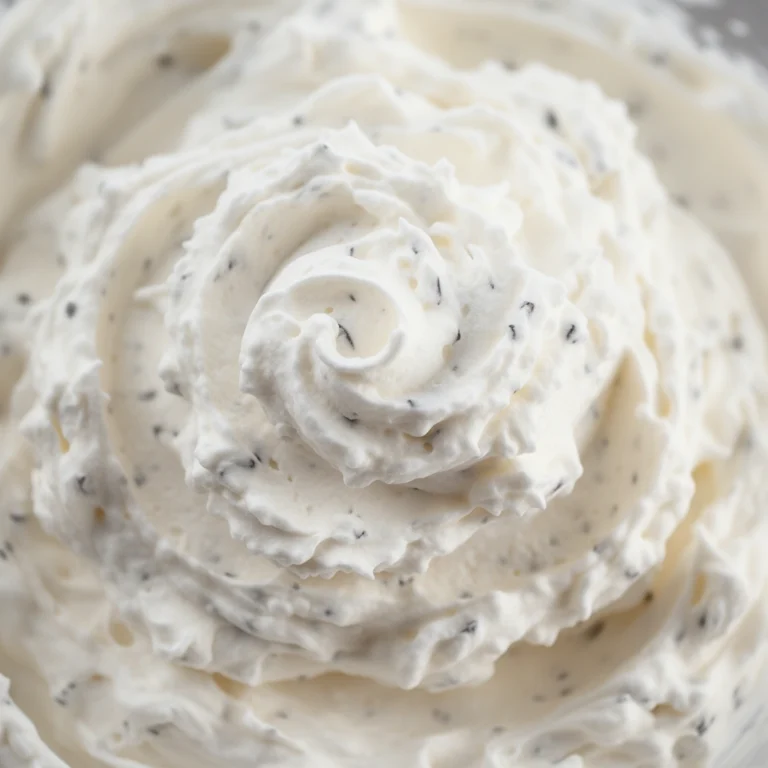
- Frosting Topper: Mix a bit of plain Greek yogurt with a touch of peanut butter and spread it on top once the cake cools. It looks just like frosting but stays dog-safe.
- Oat Flour Swap: If your dog has a wheat sensitivity, try using oat flour instead. It has a milder taste and works well with the other two ingredients.
Why Homemade Beats Store-Bought
I want to touch on this because it’s worth mentioning. Store-bought dog cakes often come loaded with preservatives, artificial coloring, or ingredients that sound harmless but aren’t great for long-term health. When you bake at home, you control exactly what goes into your dog’s body.
Plus, there’s something special about handing your dog a cake you made yourself. It’s a small act, but it means something. Dogs pick up on our energy and effort, even if they can’t say “thank you” in words.
Storing and Serving Your Dog Cake
Once your cake is baked and decorated, you’ll want to store it properly so it stays fresh.
- Keep the cake in an airtight container in the fridge for up to five days.
- For longer storage, wrap individual slices in plastic wrap and freeze for up to two months.
- When serving, cut the cake into small pieces, especially for smaller dog breeds. This prevents choking and makes portion control easier.
- Always let frozen slices thaw in the fridge overnight before serving.
Final Thoughts
Baking for your dog doesn’t have to be complicated. This easy 3-ingredient dog cake recipe proves that you can whip up something delicious and safe without spending your whole afternoon in the kitchen. Three ingredients, a handful of steps, and you’ve got a treat that celebrates your pup in the best way possible.
So next time you’re marking a birthday, a gotcha day, or just want to spoil your dog for no particular reason, remember this recipe. It’s simple, it’s reliable, and most importantly, your dog will absolutely love it.