Homemade Dog Treats with Rolled Oats: A Complete Guide Your Pup Will Beg For
Ever caught your dog staring at you with those big, hopeful eyes while you’re baking in the kitchen? I have. Every single time. That’s exactly why I started making homemade dog treats with rolled oats—simple, wholesome snacks that don’t require a chemistry degree or a trip to three different specialty stores.
Rolled oats are a game changer for dog treats. They’re cheap, they’re already sitting in your pantry, and dogs seem to genuinely love the taste and texture. But here’s the thing: not every recipe out there tells you why certain ingredients work, what to do when things go wrong, or how to switch things up when your dog gets bored. I’m going to fix that.
Why Rolled Oats Make Great Dog Treats
Before we jump into the recipe, let’s talk about why oats deserve a spot in your dog’s treat jar.
Rolled oats are gentle on the stomach, packed with fiber, and naturally gluten-friendly for pups who need a break from wheat. They also have a mild, slightly sweet flavor that pairs well with almost anything—peanut butter, pumpkin, bananas, you name it.
Here’s what oats bring to the table nutritionally:
- Soluble fiber – helps with digestion and keeps your dog feeling full longer
- Complex carbohydrates – gives your dog steady energy instead of a sugar spike
- B vitamins – supports healthy skin and coat
- Manganese and iron – small but important minerals for overall wellness
- Low fat content – a smart choice for dogs watching their waistline
One thing a lot of recipes skip over: not all oats are created equal. Let’s break that down.
Types of Oats: What Actually Works Best
Definition List: Oat Varieties
Rolled Oats (Old-Fashioned Oats)
: Steamed and flattened oat groats. These are the sweet spot for dog treats—soft enough to bind well, but sturdy enough to hold shape.
Quick Oats
: Rolled oats cut into smaller pieces and pre-cooked slightly more. They work in a pinch but can make treats mushier.
Steel-Cut Oats
: Chopped, not rolled. These take longer to cook and don’t blend into dough easily. Skip these for baking.
Instant Oats
: Usually flavored or processed with added sugar. Avoid these completely for dog treats.
Stick with old-fashioned rolled oats. They give you the best texture and the most reliable results.
What You’ll Need Before You Start
Here’s your ingredient checklist for a basic batch of oat-based dog treats:
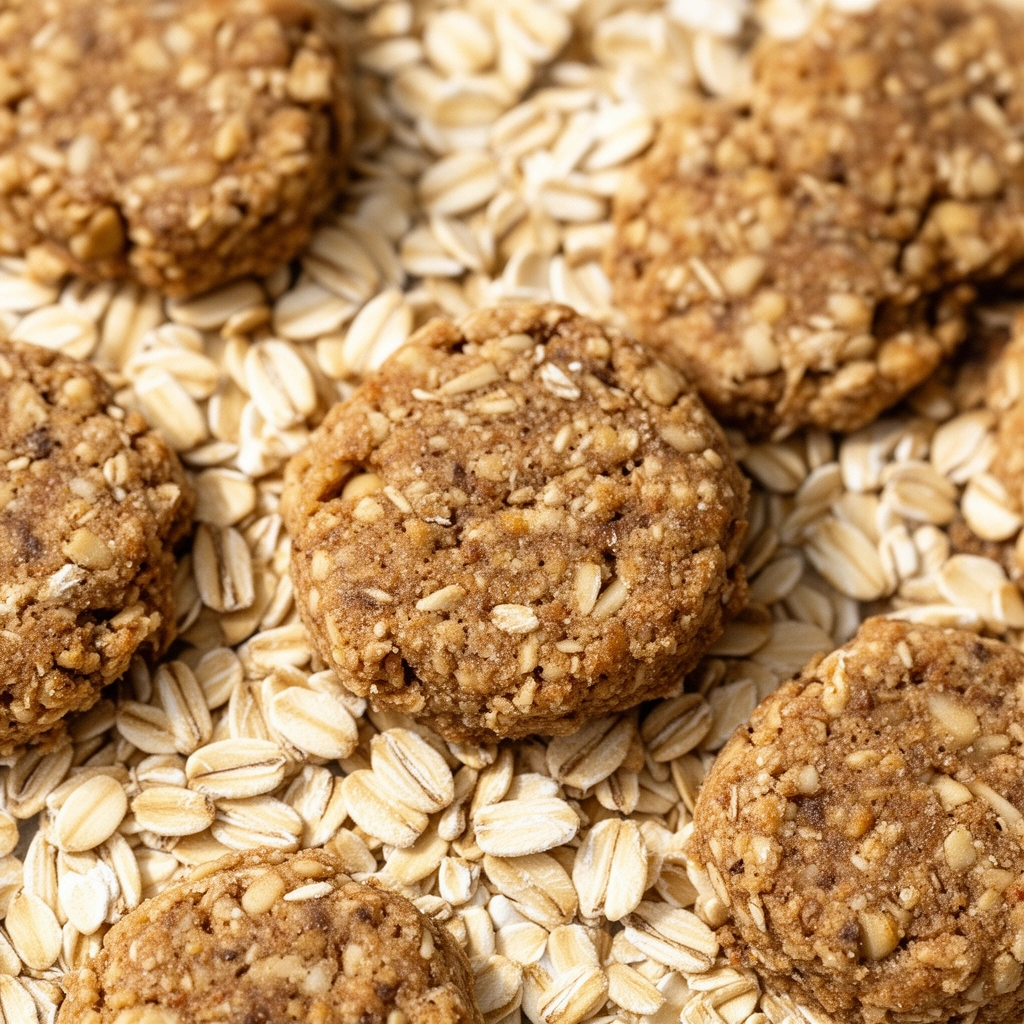
- 2 cups rolled oats
- 1 cup mashed ripe banana (or unsweetened applesauce)
- 1/2 cup plain peanut butter (xylitol-free—this is non-negotiable)
- 1 egg
- 1/4 cup water (adjust as needed)
- Optional: a pinch of cinnamon for extra flavor
That’s it. No weird preservatives, no mystery powders.
Step-by-Step: Making Rolled Oat Dog Treats
I’m going to walk you through this like I’m standing right next to you in the kitchen.
Step 1: Preheat your oven
Set it to 350°F (175°C). Line a baking sheet with parchment paper.
Step 2: Mix your wet ingredients
In a large bowl, combine the mashed banana, peanut butter, and egg. Stir until smooth and creamy.
Step 3: Add the oats
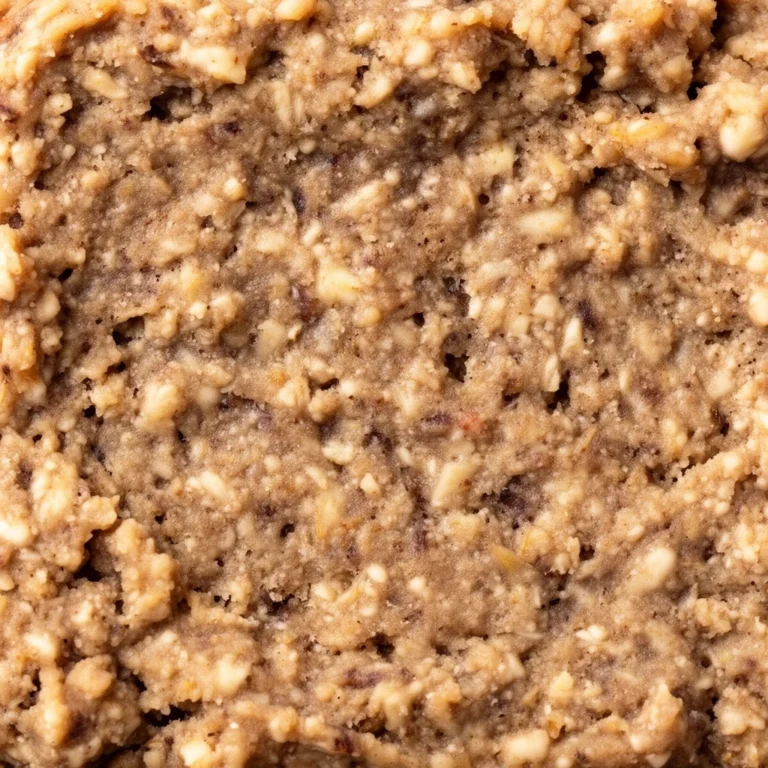
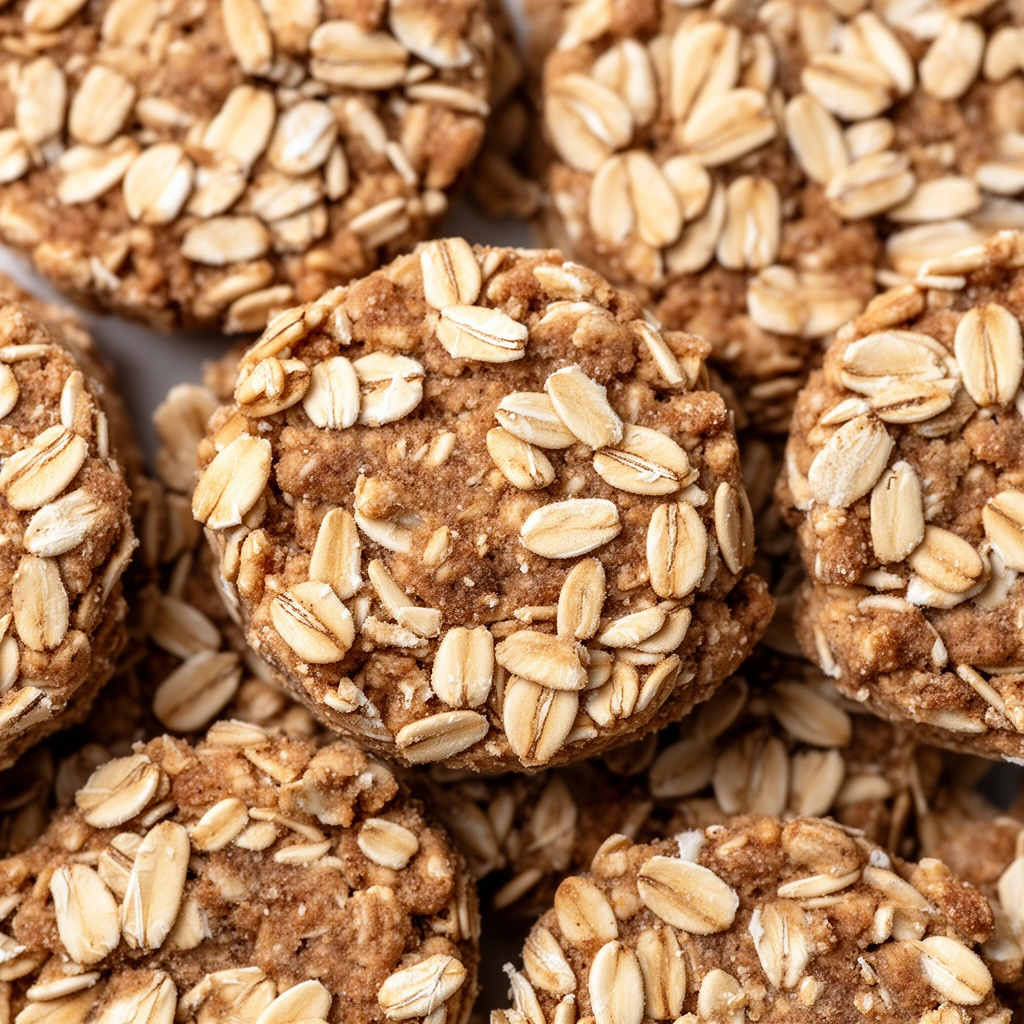
Slowly fold in the rolled oats. The mixture will start to thicken. If it feels too dry, add water a tablespoon at a time.
Step 4: Let the dough rest
Give it five minutes. This lets the oats soak up moisture, which makes rolling out the dough way easier.
Step 5: Roll and cut
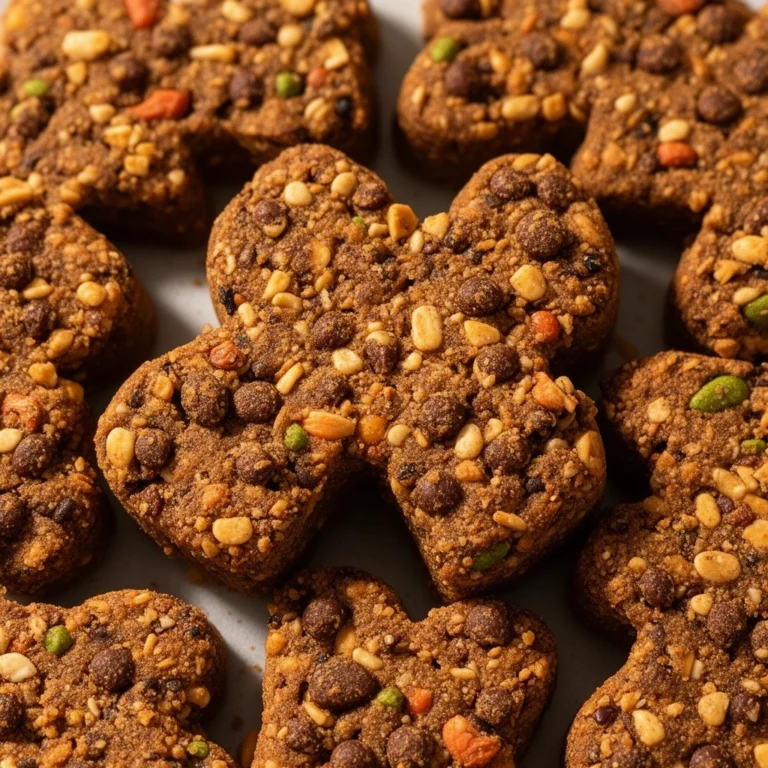
Roll the dough to about 1/4-inch thickness on a floured surface (use a little extra oat flour to prevent sticking). Use a cookie cutter—bone shapes are fun, but honestly, circles work just fine too.
Step 6: Bake
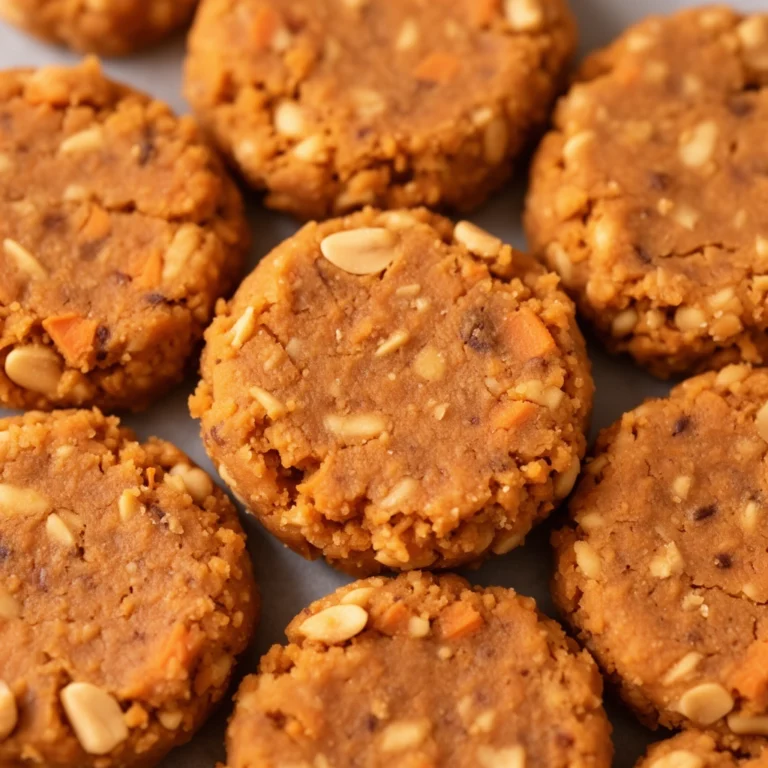
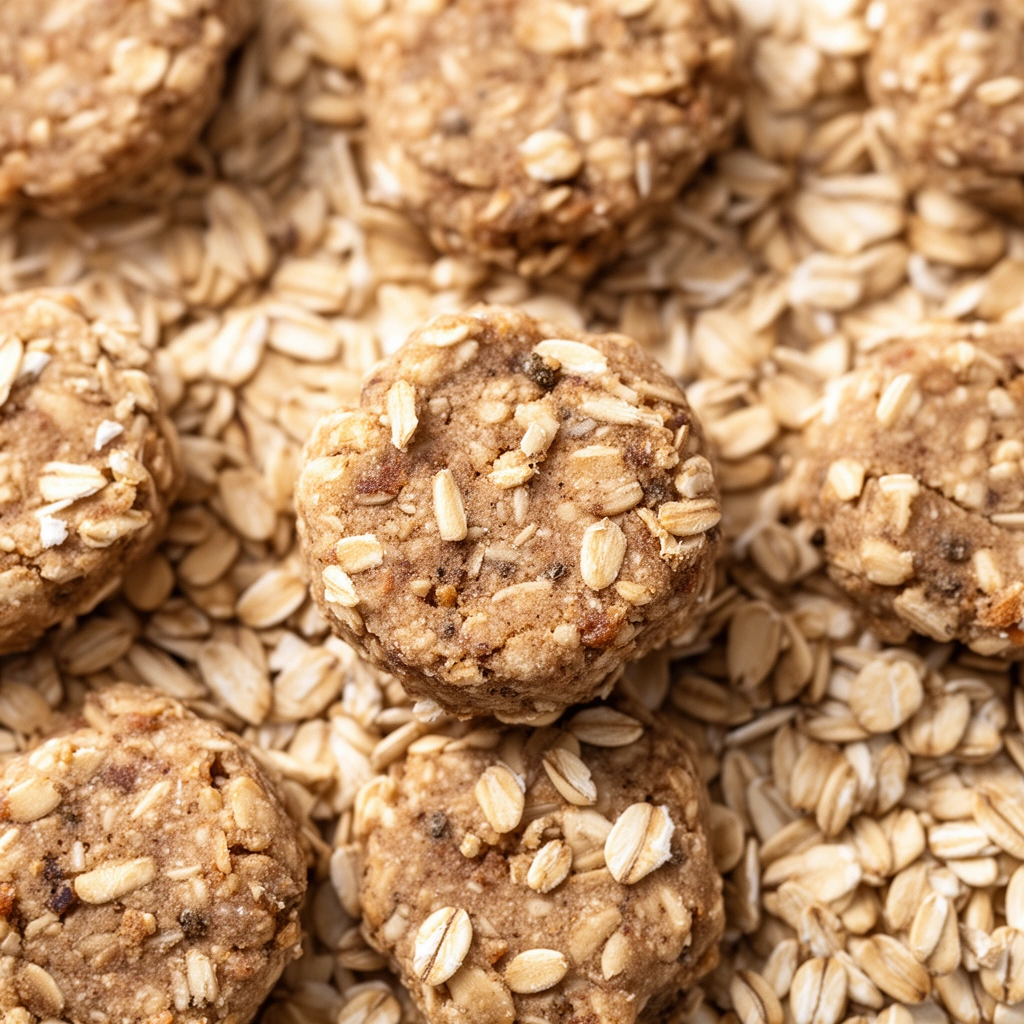
Place treats on your prepared baking sheet. Bake for 20-25 minutes, flipping halfway through for even crisping.
Step 7: Cool completely
This step matters more than people think. Treats continue to firm up as they cool. Rushing this step means chewy, soft treats that spoil faster.
Step 8: Store properly
Keep them in an airtight container. More on storage below.
Tips for Success
- Use overripe bananas. They’re sweeter and mash easier, giving your dough better flavor without added sugar.
- Check your peanut butter label every time. Brands change recipes. Xylitol is toxic to dogs, and it sometimes sneaks into “natural” peanut butter without much warning.
- Grind some oats into flour. Pulsing a portion of your oats in a blender creates a finer texture that helps treats hold together better.
- Don’t overbake thin treats. Thinner treats crisp up fast and burn easily. Keep an eye on them after the 15-minute mark.
- Size treats based on your dog. A Great Dane and a Chihuahua shouldn’t get the same size cookie. Adjust cutter size accordingly.
Common Mistakes (And How to Dodge Them)
Mistake: Dough too sticky to roll
This usually means too much wet ingredient or not enough oats. Add oats a tablespoon at a time until the dough firms up.
Mistake: Treats fall apart after baking
This happens when there’s not enough binding agent. Egg and peanut butter both help hold things together—don’t skip either unless you’re substituting properly (like using pumpkin puree instead of egg).
Mistake: Treats go soft or moldy within days
This is a storage issue, not a recipe issue. Homemade treats lack preservatives, so they don’t last as long as store-bought ones. I’ll cover proper storage next.
Mistake: Using flavored or instant oats
This introduces added sugars and sometimes artificial flavoring—stuff you specifically wanted to avoid by making treats at home in the first place.
Mistake: Ignoring your dog’s allergies
Oats are generally safe, but some dogs have grain sensitivities. Watch for itching, digestive upset, or unusual behavior after introducing any new treat.
How to Store Homemade Oat Treats
This is where a lot of recipes fall short—they tell you how to bake but not how to keep the treats fresh.
- Room temperature: Store in an airtight container for up to 1 week.
- Refrigerator: Extends freshness to about 2 weeks. Great for treats with banana or pumpkin, since moisture content is higher.
- Freezer: For long-term storage, freeze treats in a sealed bag for up to 3 months. Thaw a few at a time as needed.
Always check for changes in smell, texture, or visible mold before giving treats to your dog, especially after the one-week mark.
Fun Variations to Keep Things Interesting
Dogs get bored of the same treat just like we do. Here are some easy swaps:
- Pumpkin Oat Treats – Replace banana with pumpkin puree for a fall-favorite flavor and added fiber.
- Blueberry Oat Bites – Fold in mashed blueberries for antioxidants and a slightly tart flavor dogs seem to love.
- Cheesy Oat Crackers – Swap peanut butter for shredded cheddar cheese and skip the banana entirely for a savory version.
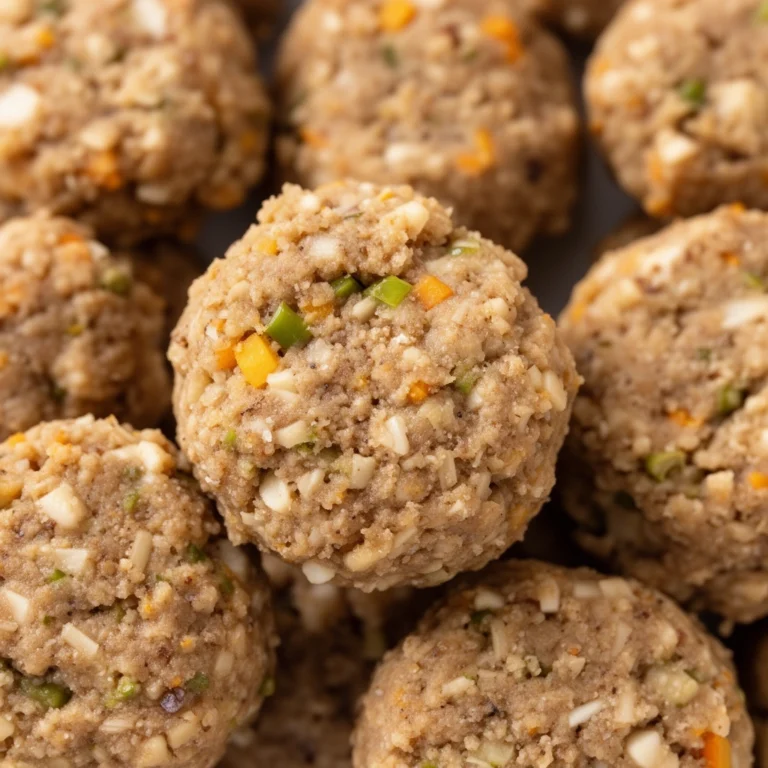
- Carrot and Oat Chews – Grated carrot adds crunch, natural sweetness, and a boost of vitamin A.
- Coconut Oat Treats – A tablespoon of unsweetened shredded coconut adds a subtle tropical twist.
- Frozen Oat Yogurt Bites – Mix oats with plain yogurt and freeze in silicone molds for a cooling summer treat.
Each variation keeps the oat base but changes up flavor, texture, and nutritional benefits—perfect for dogs who get picky or for pet parents who like to experiment.
When to Talk to Your Vet
If your dog has a history of pancreatitis, diabetes, or grain sensitivities, run any new treat recipe by your vet first. Oats are generally considered safe and even beneficial, but every dog is different. What works for one pup might not sit well with another.
Wrapping It Up
Making homemade dog treats with rolled oats isn’t complicated, and honestly, it’s kind of fun once you get the hang of it. You control exactly what goes into each bite, you save money compared to store-bought options, and your dog gets a treat made with real love (and real ingredients).
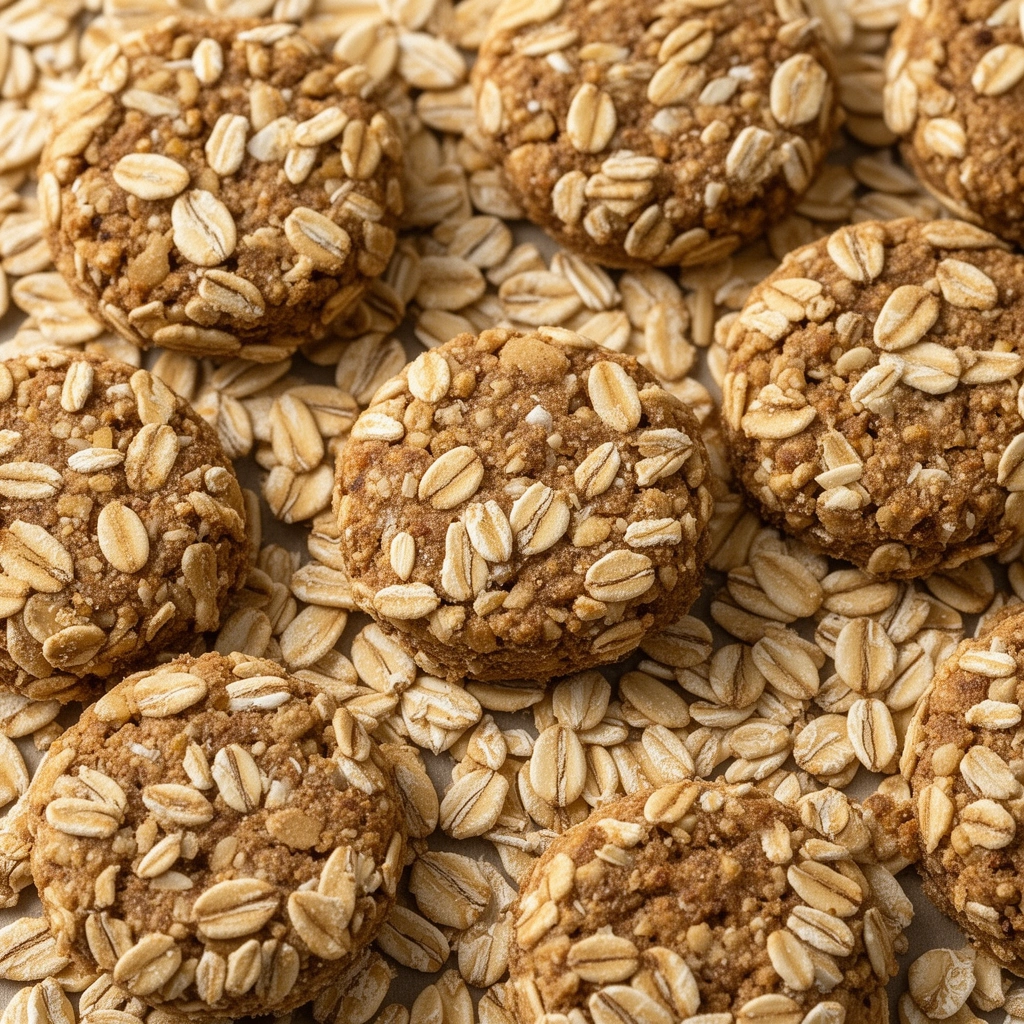
Start simple, watch how your dog reacts, and don’t be afraid to experiment with the variations above. Before long, you’ll have a go-to recipe that becomes part of your regular routine—one that keeps tails wagging and paws waiting patiently by the oven door.