Homemade Whipped Cream for Dogs: The Pup-Approved Treat Your Dog Will Beg For
Ever caught your dog staring longingly at your ice cream, practically drooling on your shoes? I know that feeling well. That’s exactly why homemade whipped cream for dogs has become one of my go-to treats. It’s simple, safe, and honestly, way more fun to make than you’d think.
If you’ve ever wondered whether you can share that fluffy topping with your furry best friend, the answer is yes—but only if you make it the right way. Store-bought whipped cream often hides sugar, artificial sweeteners, and dairy amounts that can upset a dog’s stomach. That’s where a homemade version comes in clutch.
What Exactly Is Dog-Safe Whipped Cream?
Let’s clear up any confusion before we start mixing anything.
Dog-safe whipped cream is a modified version of regular whipped cream, made without the ingredients that hurt dogs. Think no refined sugar, no xylitol (which is toxic to dogs), and often little to no dairy at all if your pup is lactose sensitive.
Here’s a quick breakdown of terms you’ll want to know:
Puppuccino
: A dog-friendly whipped cream treat, popularized by coffee shops like Starbucks, usually served in a small espresso cup.
Xylitol
: An artificial sweetener found in many sugar-free products. Extremely toxic to dogs, even in small amounts.
Lactose intolerance
: A digestive issue where dogs can’t properly break down milk sugar, leading to gas, bloating, or diarrhea.
Heavy cream
: A dairy product with high fat content, commonly used as the base for whipped cream recipes.
Coconut cream
: A dairy-free alternative made from the flesh of coconuts, often used for dogs with dairy sensitivities.
Knowing these terms helps you make smarter choices depending on your dog’s needs. Some dogs handle dairy just fine. Others? Not so much.
Why Make It at Home Instead of Buying It?
I get asked this a lot. Why not just grab a can of whipped cream from the store?
Here’s the thing—most commercial whipped creams contain:
- Added sugars that contribute to weight gain and dental issues
- Artificial flavors or preservatives
- Sometimes xylitol in “sugar-free” versions, which is a genuine emergency risk
- High sodium content in aerosol varieties
Making it yourself puts you in total control. You know exactly what’s going into your dog’s bowl, and you can tweak the recipe based on allergies, weight goals, or just personal preference.
Ingredients You’ll Need
Before jumping into the steps, let’s talk about what you’ll actually need to gather.
- Heavy whipping cream (or coconut cream for a dairy-free version)
- A small amount of natural sweetener like plain pumpkin puree or mashed banana (optional)
- A splash of vanilla extract (make sure it’s alcohol-free)
- Optional: a pinch of cinnamon for extra flavor
Notice there’s no sugar on that list. Dogs don’t need it, and honestly, they won’t miss it either.
Step-by-Step: How to Make Homemade Whipped Cream for Dogs
Alright, let’s get into the actual process. This takes about 10 minutes, tops.
- Chill your equipment first. Pop your mixing bowl and whisk (or beaters) into the freezer for about 10-15 minutes. Cold tools help the cream whip up faster and fluffier.
- Pour in the heavy cream. Use about 1 cup of heavy whipping cream or coconut cream as your base.
- Add your flavor boosters. Toss in a tablespoon of pumpkin puree or mashed banana if you want natural sweetness. Add a small splash of vanilla extract too.
- Start whipping. Using a hand mixer or stand mixer, beat the cream on medium speed. You’ll notice it start to thicken within a couple of minutes.
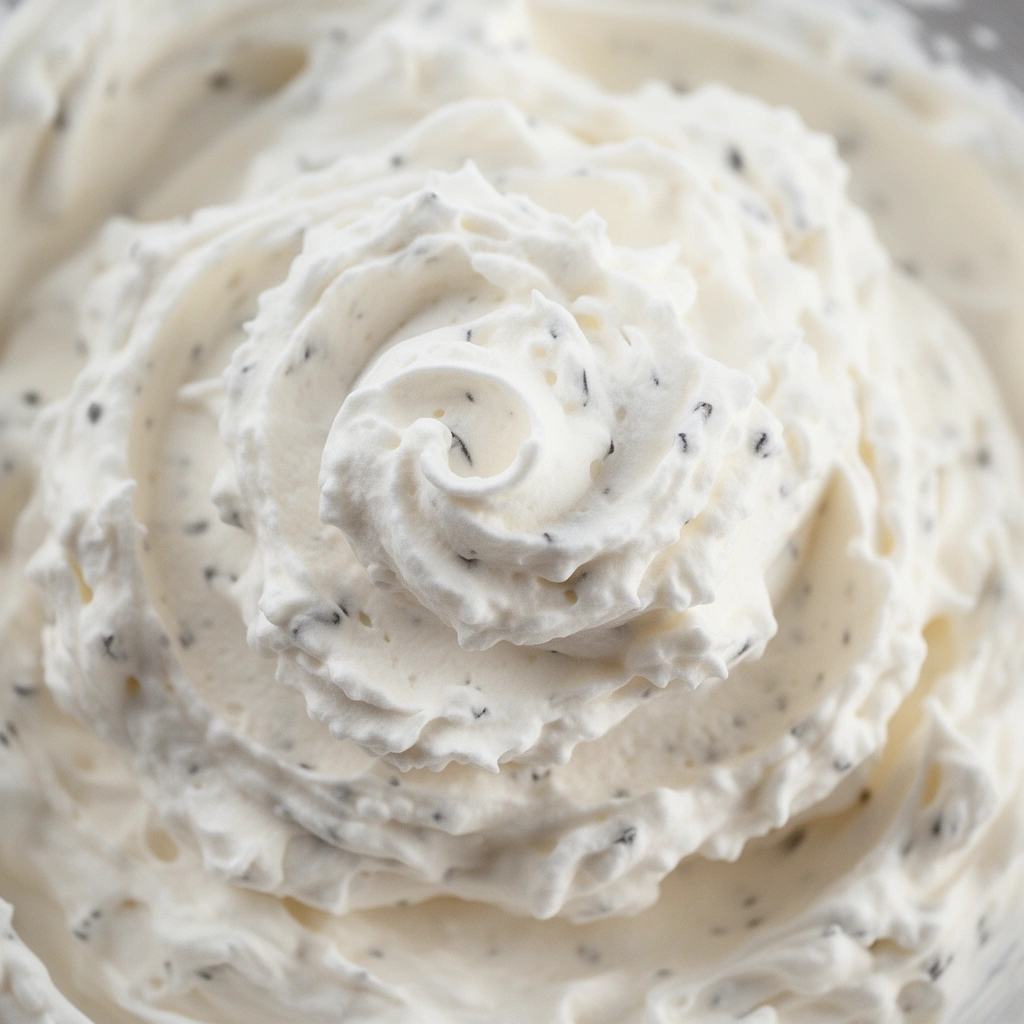
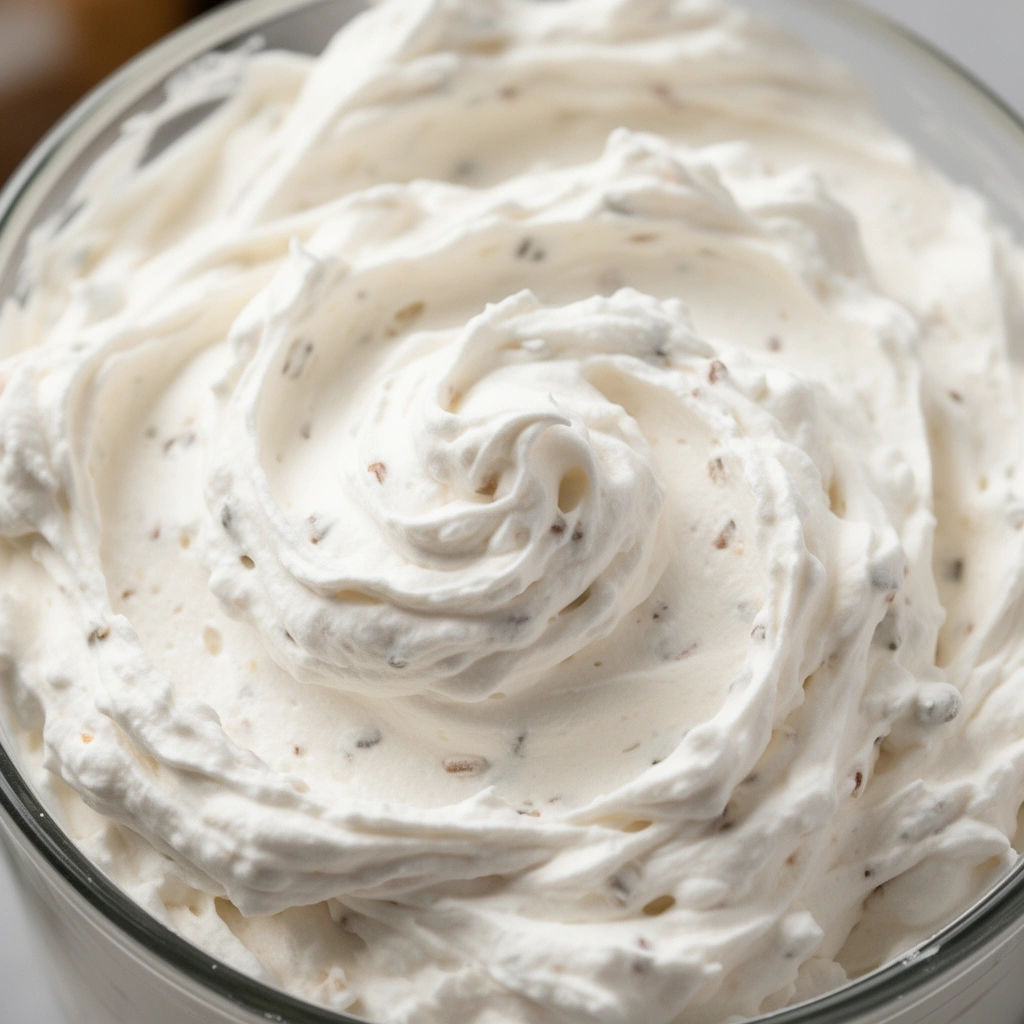
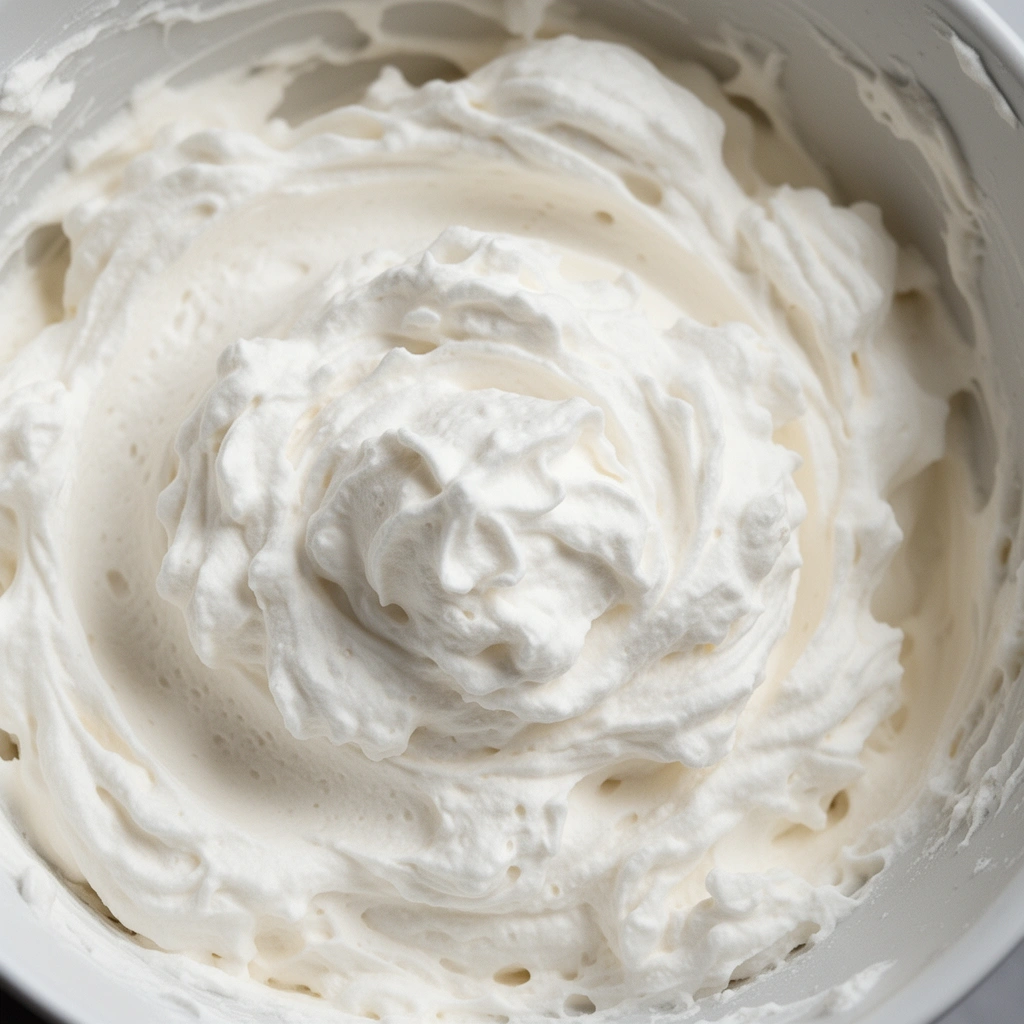
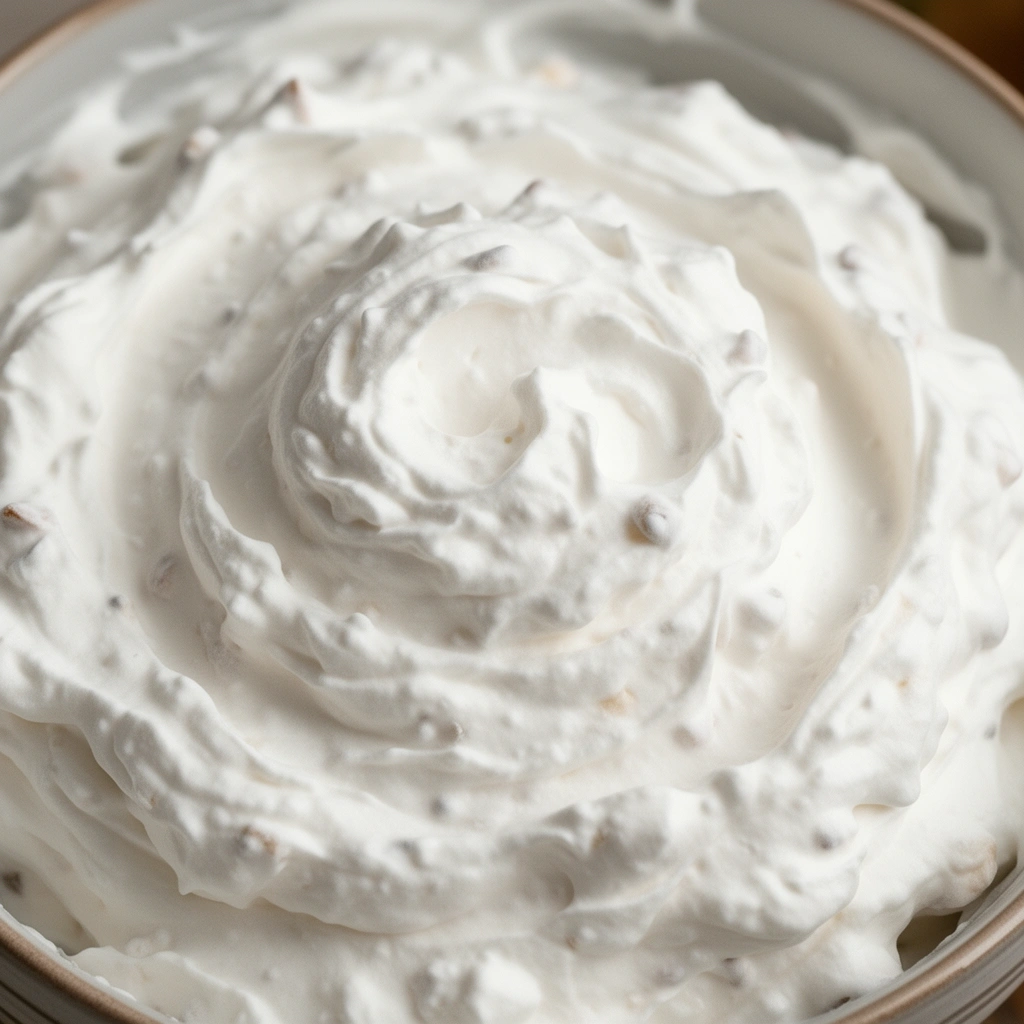
- Watch for soft peaks. Keep mixing until the cream holds its shape but still looks soft and glossy. Don’t overdo it, or you’ll end up with butter instead of whipped cream.
- Taste test (the safe way). Dip a clean spoon in and check the texture. It should be light, fluffy, and hold together nicely.
- Serve immediately or store. Spoon a small amount into your dog’s bowl or a puppuccino cup right away, or refrigerate for later use.
That’s genuinely all there is to it. No fancy equipment, no complicated steps.
Serving Size Guidelines Based on Dog Size
This part matters more than people realize. Whipped cream, even the homemade dog-safe kind, is still a treat—not a meal replacement.
- Small dogs (under 20 lbs): 1-2 tablespoons max
- Medium dogs (20-50 lbs): 2-3 tablespoons
- Large dogs (50+ lbs): 3-4 tablespoons
Keep in mind, even healthy treats should stay within 10% of your dog’s daily caloric intake. Whipped cream is fun, but it shouldn’t become a daily habit for every dog, especially ones prone to weight gain or pancreatitis.
Tips for Success
I’ve made this treat more times than I can count, so here are a few things that make a real difference.
- Use cold cream straight from the fridge. Room temperature cream won’t whip properly.
- Chill your mixing bowl beforehand. This small step speeds up the whole process.
- Don’t rush the whipping. Patience gives you better texture.
- Add mix-ins like pumpkin or banana slowly, so you don’t deflate the cream.
- Serve fresh whenever possible. The texture starts to break down after a few hours in the fridge.
- Always double-check ingredient labels if you’re adding anything store-bought, like vanilla extract, to avoid hidden xylitol.
Common Mistakes and How to Avoid Them
Even simple recipes go sideways sometimes. Here’s what tends to trip people up.
Mistake: Overwhipping the cream
: This turns your fluffy topping into clumpy butter. Stop mixing as soon as soft peaks form.
Mistake: Using sweetened cream or flavored dairy
: Always check that your heavy cream is plain, with no added sugars or flavorings.
Mistake: Adding xylitol-containing sweeteners
: Double-check any “sugar-free” ingredient before adding it. When in doubt, leave it out.
Mistake: Serving too much at once
: Too much whipped cream, even homemade, can cause tummy troubles like diarrhea, especially in dogs with dairy sensitivities.
Mistake: Storing it too long
: Homemade whipped cream doesn’t have preservatives, so it won’t last as long as the canned stuff. Use it within 2-3 days.
Dairy-Free and Alternative Variations
Not every dog handles dairy well, and that’s totally fine. There are some great alternatives worth trying.
- Coconut cream whipped topping: Swap heavy cream for chilled coconut cream. It whips up beautifully and works great for lactose-sensitive pups.
- Greek yogurt whip: Blend plain Greek yogurt with a touch of water until fluffy. Lower in fat, higher in protein.
- Pumpkin spice version: Add pumpkin puree and a pinch of cinnamon for a fall-inspired treat.
- Peanut butter whipped cream: Mix in a spoonful of unsweetened, xylitol-free peanut butter for a rich, nutty flavor dogs go crazy for.
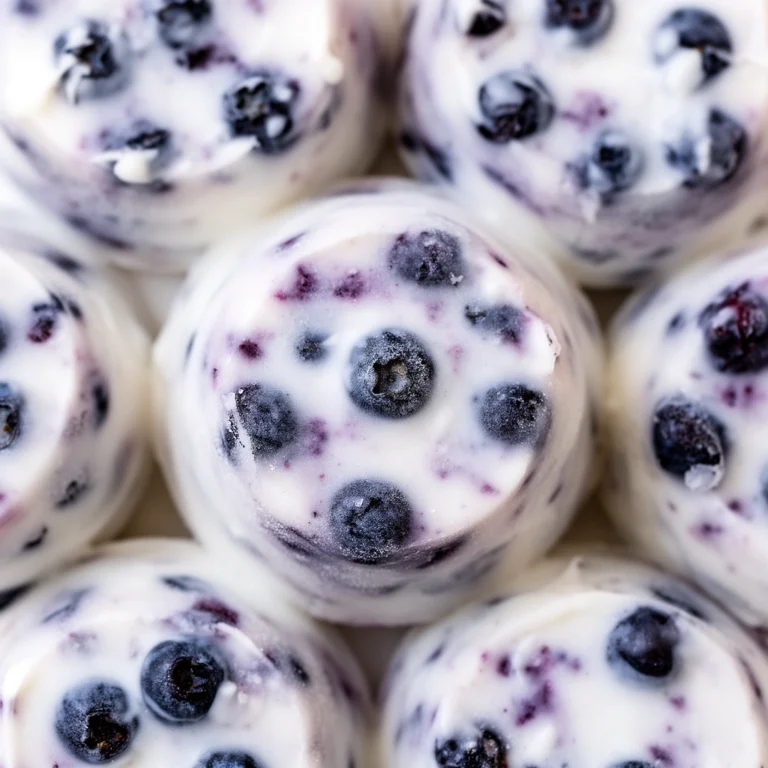
- Frozen whipped cream bites: Pour the finished whipped cream into an ice cube tray and freeze for a cool summer treat.
Each version brings something a little different to the table, so feel free to experiment based on what your dog likes and tolerates.
Storage and Shelf Life
Since there’s no stabilizers or preservatives involved, homemade whipped cream doesn’t last forever.
- Store in an airtight container in the fridge for up to 3 days.
- If it starts separating or looks watery, it’s time to toss it.
- For longer storage, freeze small portions in ice cube trays and thaw as needed.
Wrapping It Up
Making homemade whipped cream for dogs isn’t complicated, and it genuinely makes tail-wagging moments happen fast. I love that I can control exactly what goes into it, skip the sugar and sketchy additives, and still give my dog something special.
Whether you stick with the classic heavy cream version or branch out into coconut cream or peanut butter variations, you’re giving your dog a treat that’s both safe and satisfying. Just remember to keep portions small, watch for dairy sensitivities, and always steer clear of xylitol. That’s really all it takes to make homemade whipped cream for dogs a regular part of your treat rotation, without any of the worry that comes with store-bought stuff.